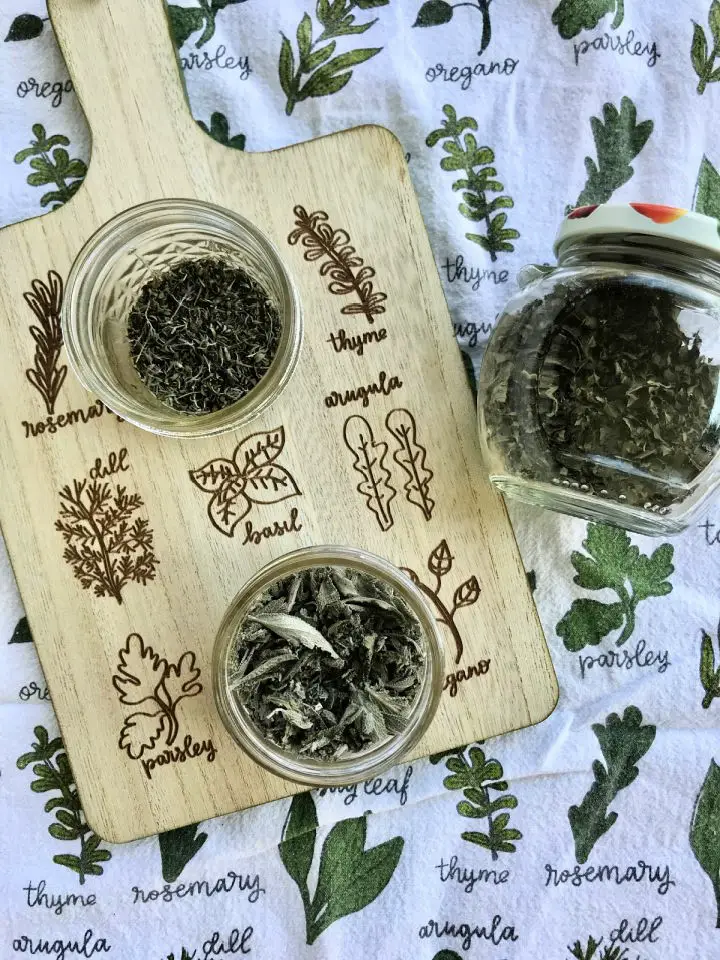
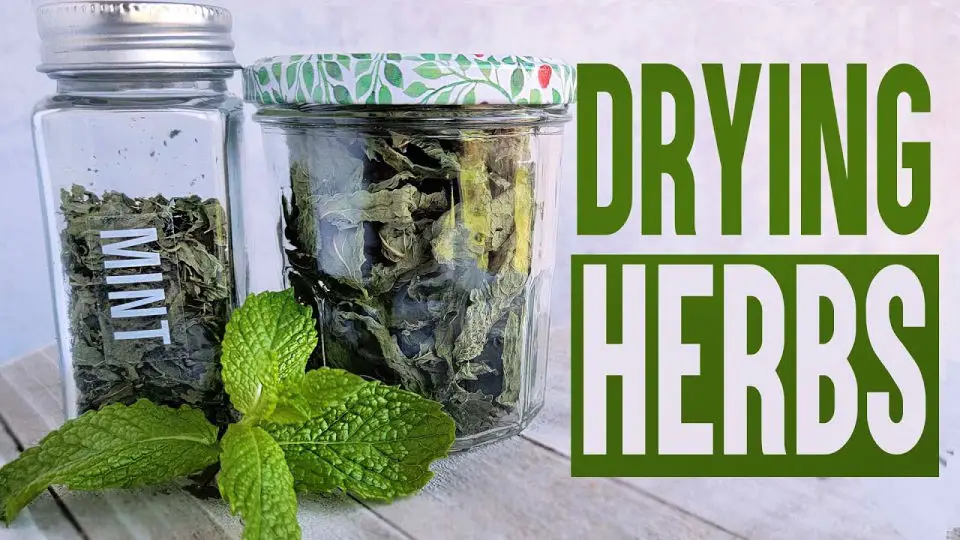
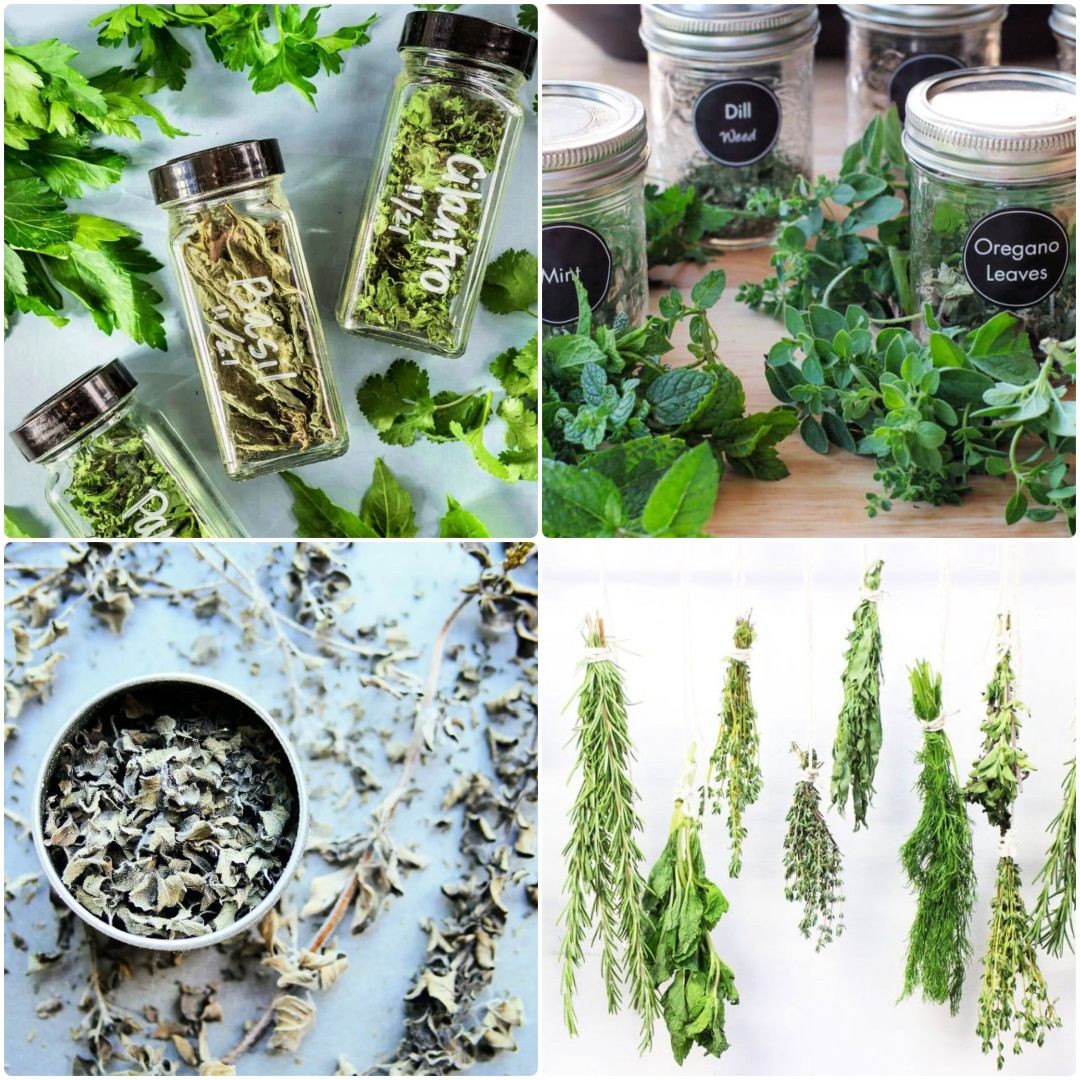
How to Dry Herbs
Savor the rich flavors of homegrown, dried herbs by mastering the art of herb drying. This simple process not only reduces food waste and saves you money but also unlocks a world of creative possibilities. Begin by meticulously washing and preparing your chosen herbs – including cilantro, parsley, basil, mint, dill, thyme, rosemary, and oregano – removing any thick stems or damaged leaves that might compromise their potency. Next, utilize a dehydrator with adjustable temperature settings to precision-craft the perfect drying conditions. Arrange your herbal creations on the trays and carefully monitor the dehydration process for 4-12 hours at low temperatures until they reach a satisfying dryness and crispness. Once complete, store them in airtight containers to preserve their flavor and aroma – ready to elevate your culinary endeavors whenever inspiration strikes.
How to Dry Herbs Using Drying Rack

Transform your kitchen or pantry with a DIY herb drying rack that’s easy to build and maintain. With just a few simple materials – metal pot stands, single jack chains, steel key rings, jute twine, clothes pegs, and pliers – you can create a functional drying rack that will keep your homegrown herbs fresh and within reach at all times. Imagine being able to add the perfect burst of flavor to any dish with freshly dried herbs, whenever you want. It’s a game-changer for anyone who loves cooking or experimenting with new recipes. And the best part? This project requires minimal effort and can be completed in no time. So why wait? Start building your herb drying rack today and start enjoying the convenience of having perfectly preserved homegrown herbs at your fingertips!
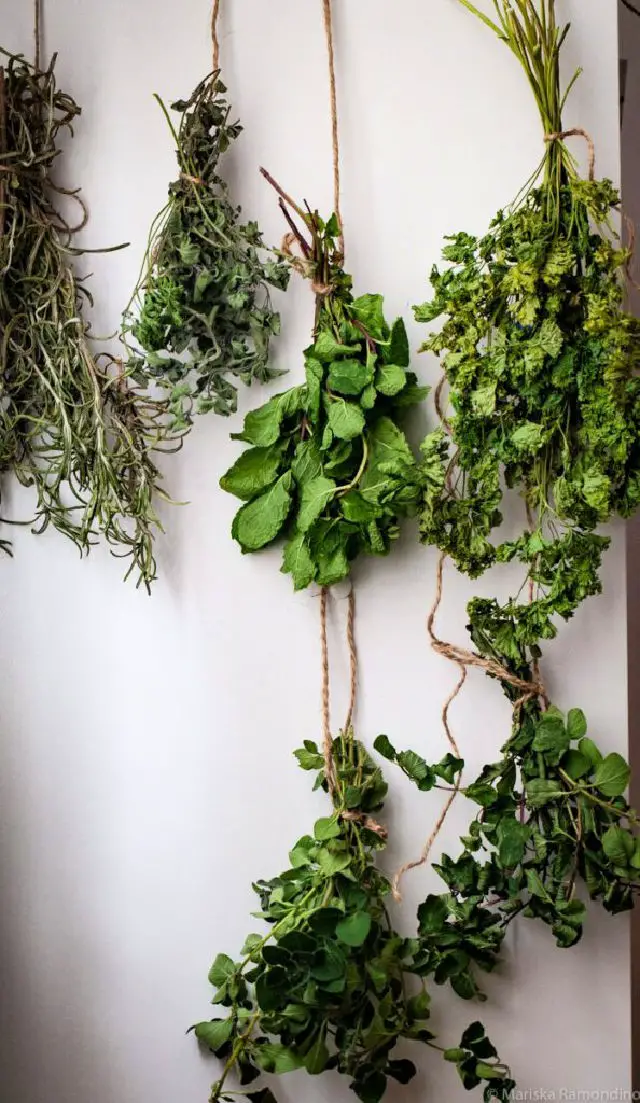
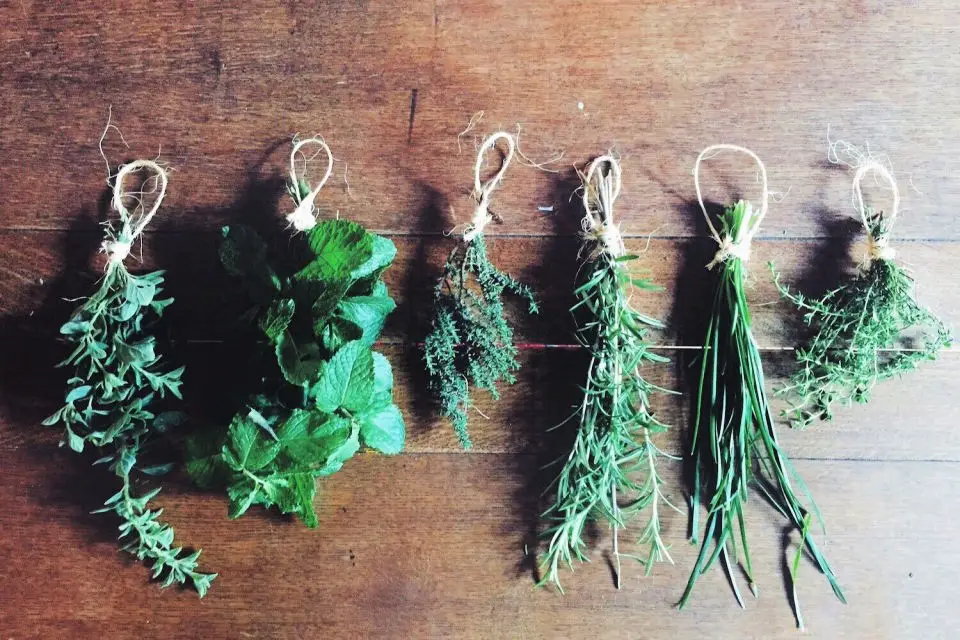
How to Dry Herbs by Hanging
To preserve the potency of your freshly picked herbs for extended use, embark on a simple DIY project that combines air-drying with creative storage solutions. Gather your materials: a selection of fresh herbs, baker’s twine or rubber bands, clothespins, storage bins, labels, and masking tape. For added precision, consider investing in brown lunch bags and a hole punch tool. Follow these straightforward steps to enjoy the aromatic flavors of your herbs well after their initial harvest.
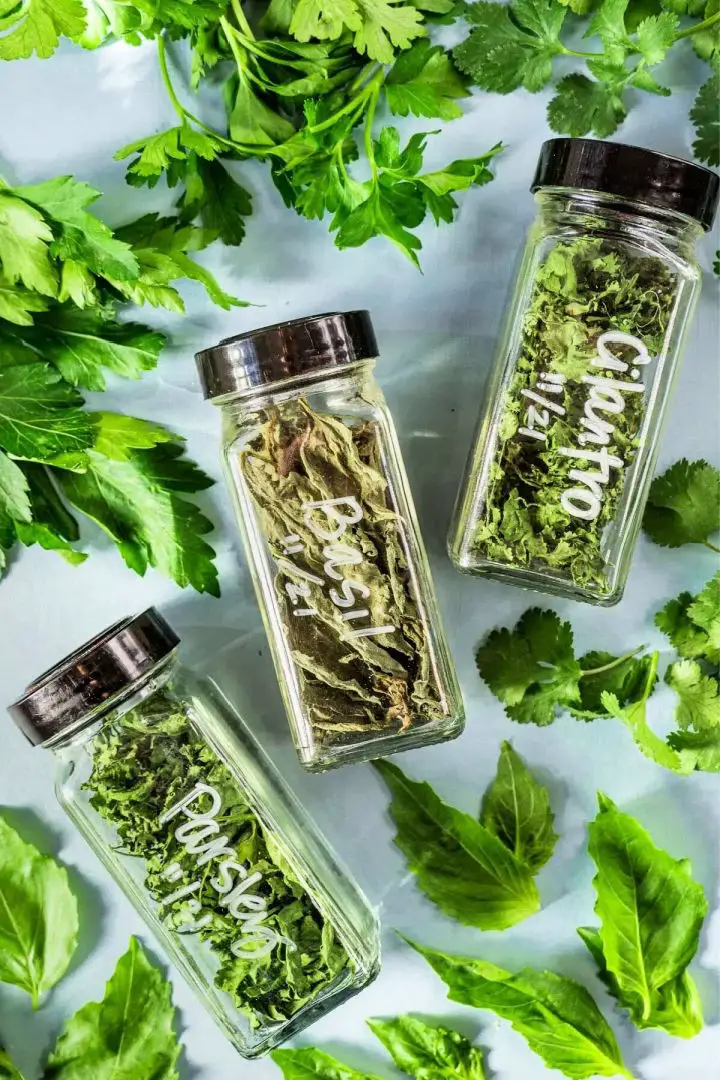
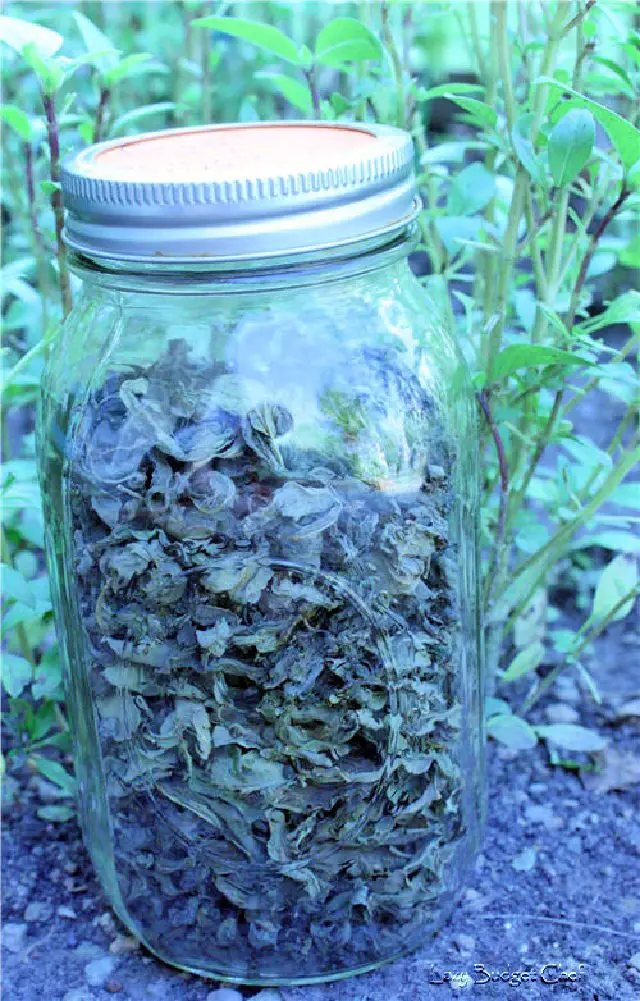
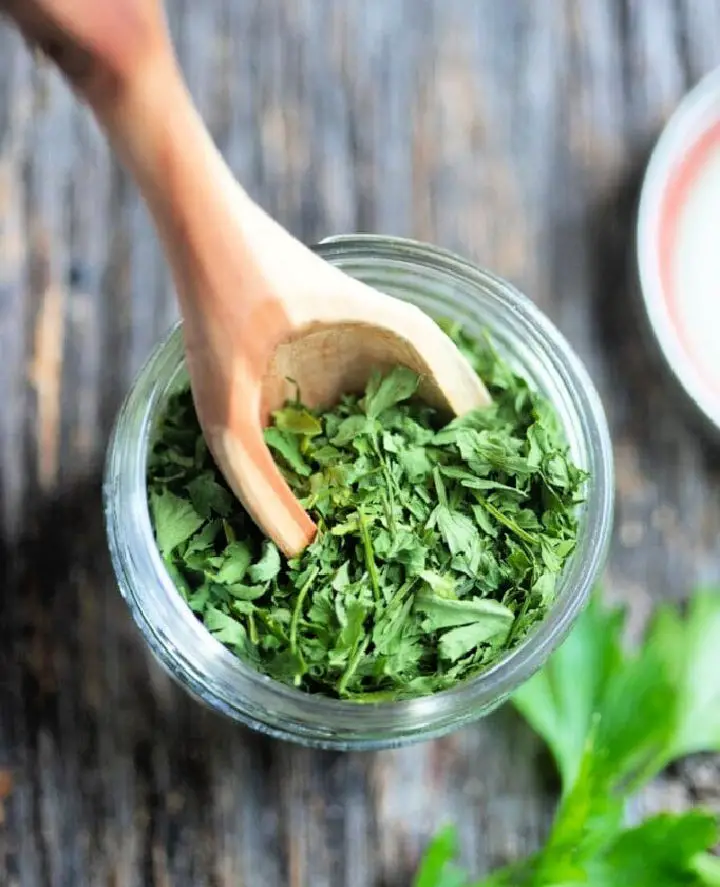
Drying Herbs to Add Flavor to Your Meals
Unlock the secrets to effortlessly preserving fresh herbs and enjoying their flavors for up to a year. Discover how to harvest herbs at their peak, capturing their natural oils and essence. Explore different drying methods, such as air-drying or using a food dehydrator, to gently preserve the delicate seeds. To store your dried herbs, transfer them to clean glass jars with tight-fitting lids and keep them in a cool, dark environment. With this simple approach, you can enjoy the benefits of your homegrown herb bounty for months to come.
How to Preserve Herbs by Drying
Indulge in the flavors of your favorite herbs throughout the year by mastering the art of freezing and drying. This exhaustive guide will walk you through the process of preserving fresh herbs like basil, thyme, parsley, and more, allowing you to enjoy their essence in a variety of dishes. With dried herbs, add a burst of flavor to any meal, while frozen options can be easily incorporated into recipes with olive oil. Elevate your culinary skills by learning how to store these fragrant ingredients for future use.
Drying Herbs in a Food Dehydrator
Transform your herbs into delectable and potent preserves by efficiently drying them in a food dehydrator. Whether you’re working with homegrown or store-bought herbs, the key to success lies in choosing fresh, prime leaves before they reach full flowering. Opt for early harvesting to maximize potency, and consider leaving edible leaves on their stems while removing any thicker ones to speed up the drying process. Gently pat excess moisture from each herb, using silicon mesh liners for smaller types to facilitate even air circulation. As you track which herb lies in each tray, be sure to store them whole after drying to preserve the optimal flavor and medicinal value.
Drying Your Own Garden Herbs in the Oven
To effortlessly preserve the freshness of your homegrown herbs, try oven drying! Begin by setting your oven to 175°F (80°C) and preparing baking sheets with parchment paper. Rinse and thoroughly dry the herbs, removing leaves from larger stems if necessary. Arrange them on the prepared sheets in a single layer before placing them in the oven for 15 minutes. Don’t forget to rotate the pans halfway through! Monitor their progress, and if they’re not yet dry, continue baking in short increments until they reach your desired level of dryness. Once done, crush the dried leaves into storage jars, label them, and enjoy them within a year – simply crumble out what you need as needed.
How to Air Dry Herbs at Home
As culinary enthusiasts, it’s essential to harness the full potential of your freshly harvested herbs. To do this, master the art of air-drying them at home. Start by harvesting before the plants flower for optimal oil content and flavor. When pruning, aim to capture the herbs in their most tender morning state to ensure maximum freshness. Next, gently rinse and pat dry with a paper towel, removing any excess moisture. Then, lay the herbs out on a tray or platter in an area with indirect sunlight, where they’ll retain their delectable taste during drying. By following these straightforward steps, you can successfully preserve your garden’s essence year-round through dried herbs, allowing you to enjoy its flavor long after the growing season has passed – so begin air-drying today and unlock the full potential of your homegrown herbs!
How to Dehydrate Rosemary
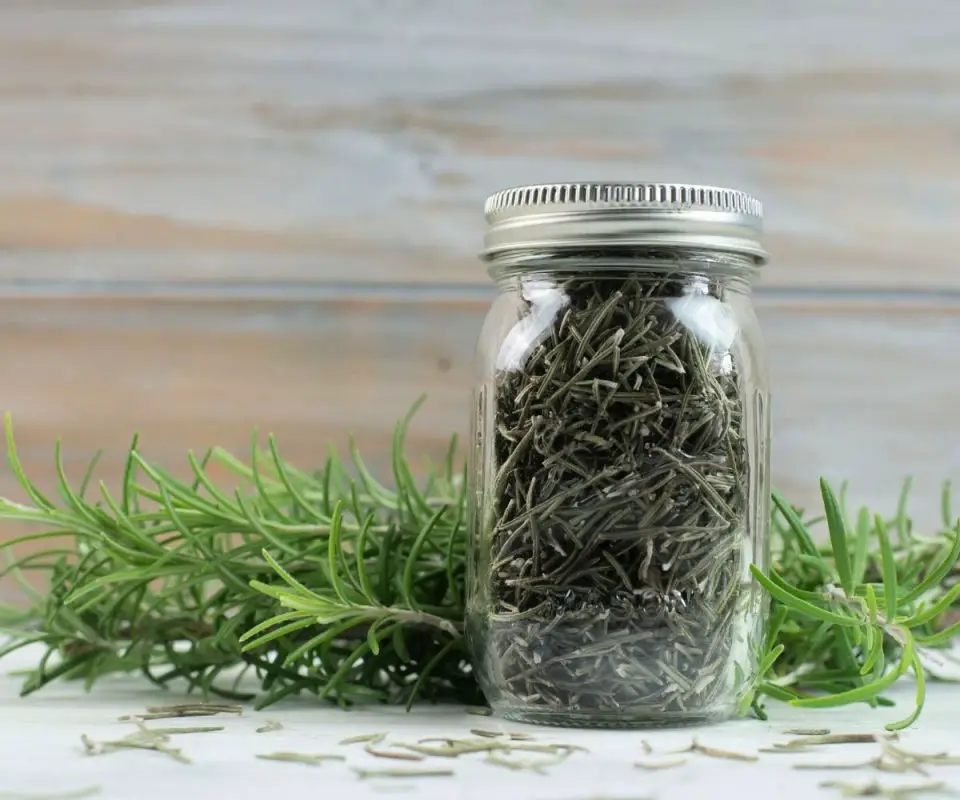
Transform the art of preserving rosemary into a budget-friendly endeavor by leveraging dehydrating techniques. To optimize flavor, harvest the herb in the morning and promptly prepare it for drying by washing and cutting it into manageable pieces. You can utilize either a dehydrator or alternative methods like an oven or air drying setup to achieve the desired outcome. Dehydrate at a low temperature for 8-14 hours, regularly monitoring the process to ensure the perfect level of dryness. Once the rosemary has reached the desired state, strip the leaves from their branches and store them in an airtight container in a cool, dark environment to preserve their freshness. By mastering this cost-effective technique, you’ll be able to reap the rewards of preserving your own rosemary, all while enjoying significant savings.
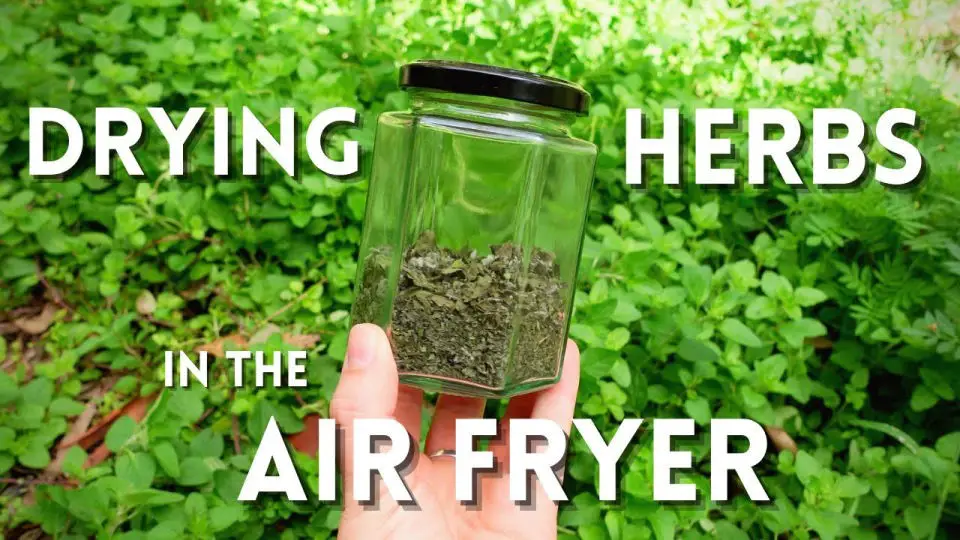
Easy Method to Drying Herbs in an Air Fryer
Transform fresh herbs into dried delights with ease using an air fryer drying and dehydrating method. This efficient approach allows you to reap the benefits of harvesting your culinary or medicinal herbs in just a few minutes. Begin by washing the herbs, removing any unwanted parts, and placing them in a single layer in the air fryer basket or securing them with twine. Set the temperature to 350°f for drying or 130°f for dehydrating, then monitor the process regularly until achieving your desired level of dryness. Once complete, allow the herbs to cool before storing them in airtight containers. With this simple air fryer herb process, you can unlock rewarding results and enjoy the benefits of homegrown dried herbs.
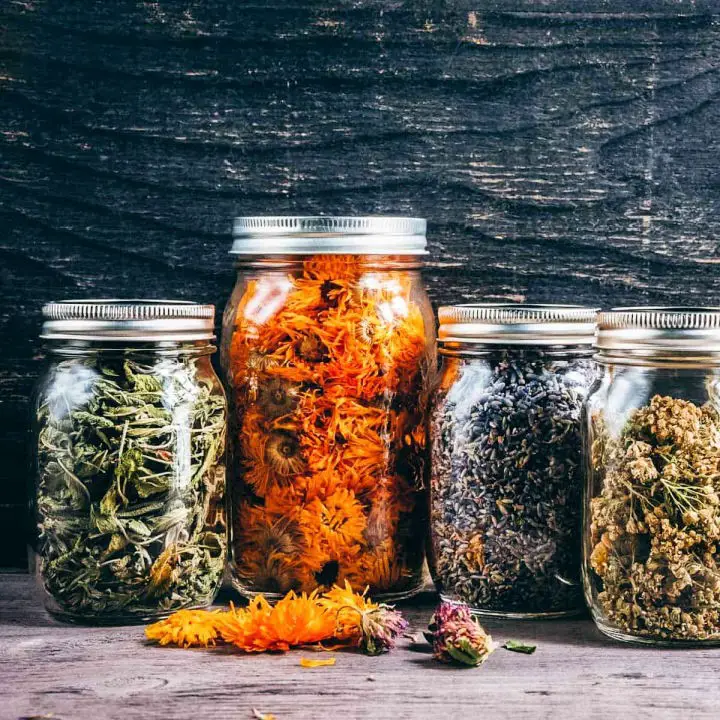
Easy Way to Dry Out Herbs to Preserve for Years
Unlock the full potential of your culinary creations and natural remedies by mastering the art of preserving herbs. Not only will you be able to utilize a variety of fresh and dried herbs, including popular options like basil, mint, rosemary, dill, and thyme, but you’ll also reap the numerous health benefits they provide. Whether you’re looking for a quick and efficient air-drying method or prefer a more controlled approach using your oven, there’s an option to suit your needs. To ensure optimal potency and shelf life, store your dried herbs in glass or metal containers away from direct light. With this knowledge, you’ll be able to enjoy flavorful meals and natural remedies for years to come.
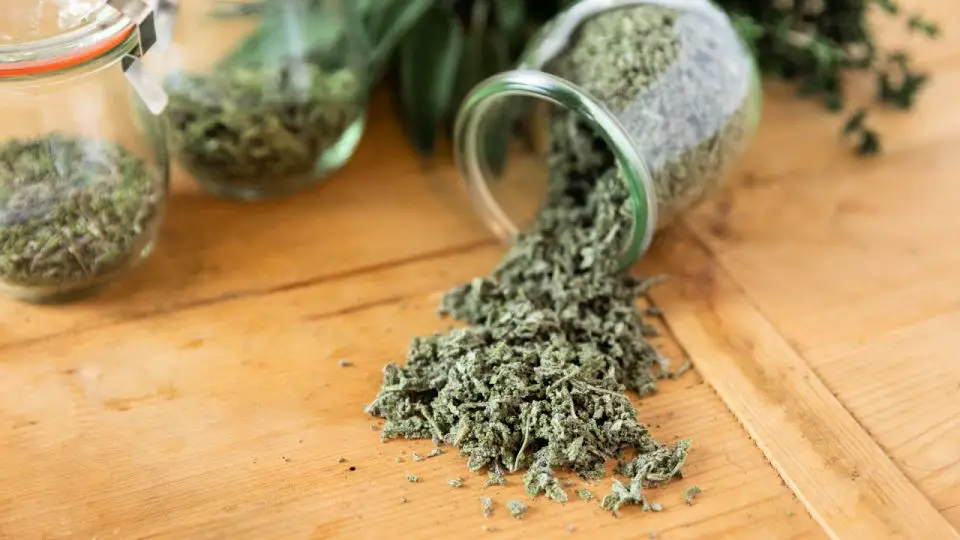
How to Dehydrate Herbs at Home

Discover the art of drying herbs at home with three reliable methods: air drying, oven drying, and using a food dehydrator. Air drying is a timeless technique where bunches of herbs are suspended in a well-ventilated environment. Oven drying is an affordable option, but be cautious not to overcook them, as this can compromise their flavor profile. For speedier results and optimal flavor preservation, consider investing in a food dehydrator. Once dried, store your herbs in airtight containers and unlock the full potential of their flavors when cooking, crafting seasoning blends, tea infusions, pickling, or making infused oils.
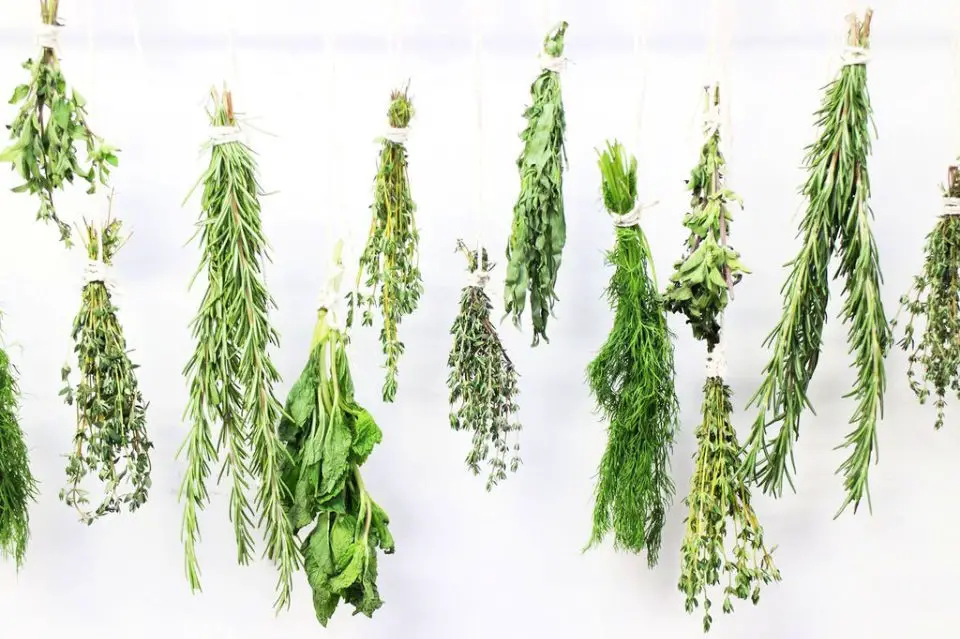
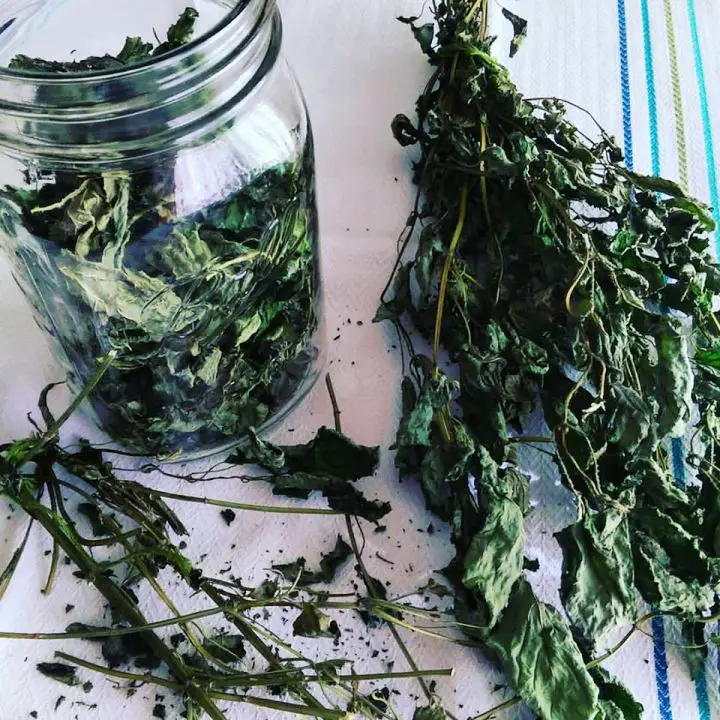
How to Air Dry Herbs
For herb enthusiasts looking for a straightforward method to preserve their fresh flavors for year-round use, air drying is an excellent solution. To get started, simply bundle your chosen herbs together using twine or rubber bands and hang them in a dark, dry space. Allow the herbs to air dry until they reach the desired level of crispness, which typically takes anywhere from a few days to two weeks. Once the herbs have reached the perfect state, remove any stems and store them in an airtight container for later use. With this simple process, you’ll be able to enjoy the aromatic flavor of freshly dried herbs throughout the year.
Best Way to Dry Fresh Herbs in the Oven
To unlock the secret to effortlessly preserving fresh herbs without sacrificing their flavors, start by giving them a thorough wash and dry before spreading them evenly on a baking sheet. Next, set your oven to its lowest temperature – around 170°F – and leave the door slightly ajar to allow steam to escape. As the herbs begin to dry, check and rotate the sheets every 15-30 minutes until they reach the perfect crumbly texture. Once fully dried, let them cool before transferring them to an airtight container for later use; if any stray leaves remain, you can always resort to the microwave as a reliable alternative drying method. With this straightforward approach, you’ll soon be enjoying a stash of homemade dried herbs at your fingertips.
How to Dry Oregano in the Oven
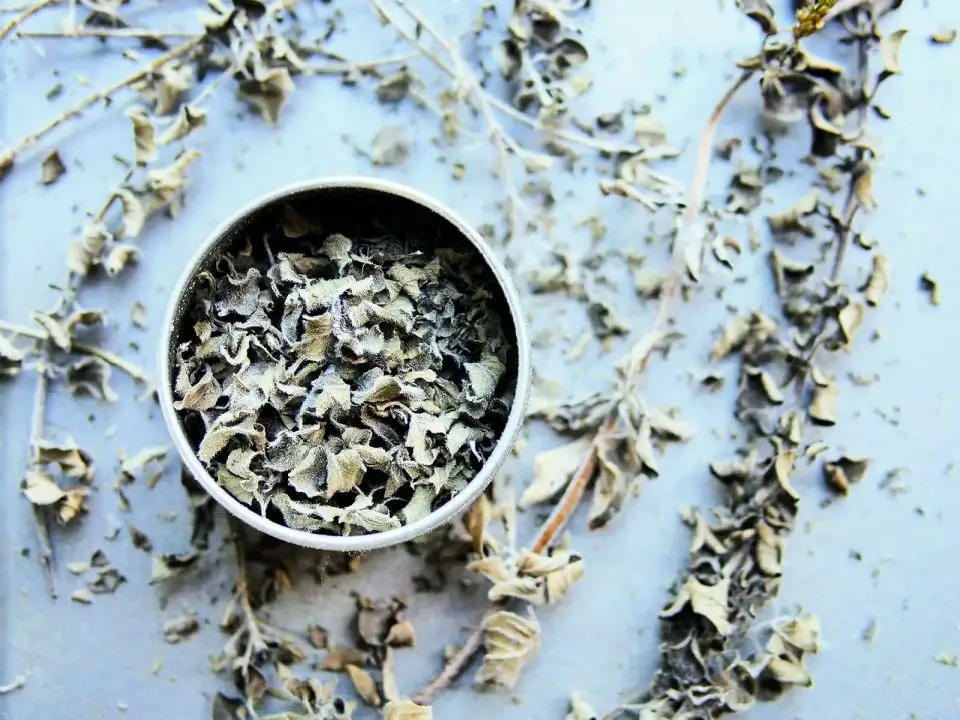
Dry your oregano and other herbs quickly using your oven’s lowest temperature setting. Begin by preparing fresh, moisture-free oregano sprigs, then lay them out in single layers on a baking tray without overlapping. Preheat the oven to approximately 200°F (90°C) and place the tray in the middle rack with the door slightly ajar for airflow. Once preheated, switch off the oven and allow the herbs to dry as the heat dissipates inside. Once completely dry, remove the dried leaves from their stems and store them in an airtight container for up to six months.
Making Dried Herbs in the Microwave
Discover the thrill of rapid and effortless microwave herb drying, a game-changer for preserving flavors from your garden or local store. This speedy method is ideal for capturing the essence of chives, tarragon, marjoram, dill, rosemary, thyme, oregano, or sage, transforming them into long-lasting, aromatic treasures. Initially skeptical recipe testers have been stunned by the results – homemade dried herbs retain their freshness for up to six months, outperforming store-bought alternatives. With this hassle-free technique, you’ll be enjoying the best of herbal goodness in no time!
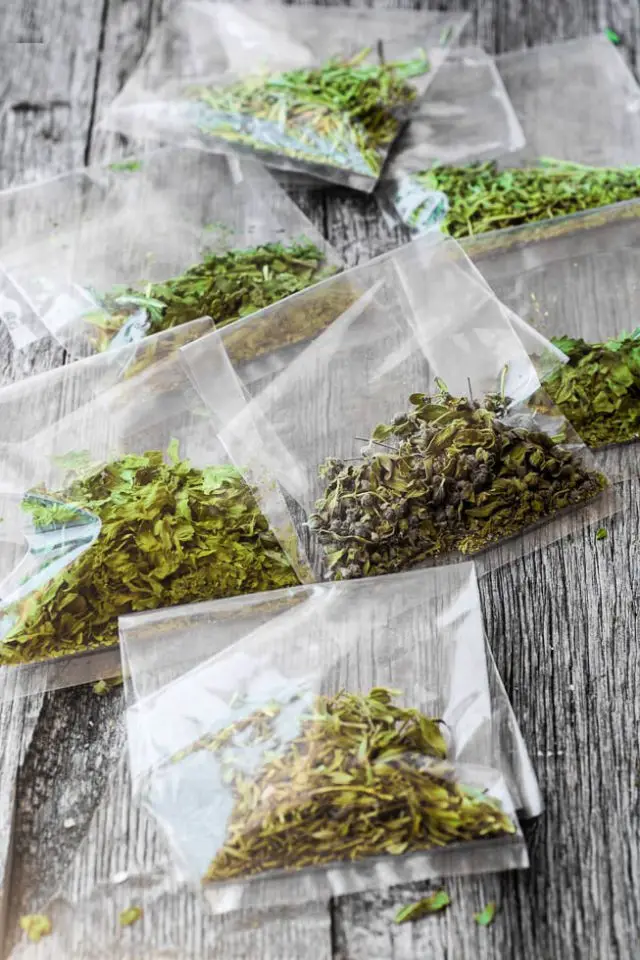
Easy Way to Dry Fresh Herbs Without a Dehydrator
Discover three budget-friendly and effortless ways to dry fresh herbs without a dehydrator! By stockpiling herbs in bulk and refilling old spice jars, you’ll save money and have an organic supply on hand. When winter rolls around, preserve your garden’s bounty using these methods that avoid sacrificing flavor to ovens or microwaves. To start, place fresh herbs in a paper bag, shaking it occasionally until completely dry. For smaller-leaved herbs, hang them upside down in a cool, dark spot. Larger leaves can be dried on an elevated rack with cheesecloth or paper towel. Once dry, store the desiccated herbs in airtight containers and enjoy your fresh herb stash all year round.
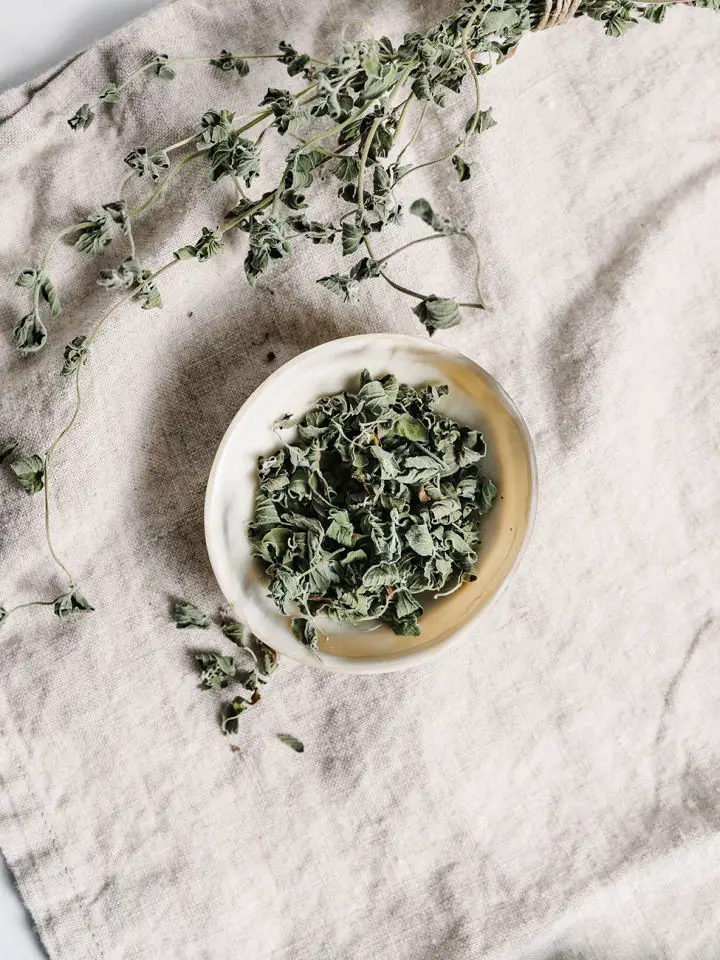
How to Dry Lemon Balm
Transport your senses with the calming and citrusy charm of lemon balm, also affectionately known as cidreira. For centuries, this herb has been prized for its ability to craft a soothing and delightful herbal tea experience. Cultivating this mint family member is surprisingly effortless – simply plant it in a garden or large pot and let nature take its course. To dry the leaves, start by trimming the stems and giving them a thorough wash before using paper towels to gently absorb any excess moisture. Next, hang bunches of dried leaves in a cool, dark space for 2-3 weeks before storing them in an airtight jar or tin for future use. And finally, simply boil these lovely herbs to create a revitalizing cup of herbal tea that’s sure to delight your taste buds.
How to Dehydrate Herbs in Air Fryer Directions
Unlock the essence of herbs any time of the year by harnessing the power of an air fryer to dehydrate them. This method not only saves your home from unwanted heat but also preserves the nutrients and aroma of the herbs in a remarkably short period of 3-4 hours, outperforming traditional oven drying and air drying methods. The results are robust and reminiscent of fresh herbs, minus the hassle of maintaining high temperatures or waiting for lengthy air-drying periods. Whether you’re a basil enthusiast, an oregano aficionado, or a thyme devotee, simply prepare your chosen herb by picking, cleaning, and rinsing its leaves before introducing them to the air fryer’s gentle warmth.
Microwave Dried Herbs Tutorial
Indulge in the delightful experience of preserving fresh herbs with a remarkably simple microwave method. This approach allows you to dry a variety of herbs, including cilantro and rosemary, while maintaining their vibrant colors and flavorful aromas. Simply combine your chosen herbs with paper and microwave them for a convenient and additive-free way to store months’ worth of herbs. The joy of drying your own herbs is amplified by the satisfaction of knowing exactly what goes into the process, allowing you to enjoy the fruits of your labor throughout the year.
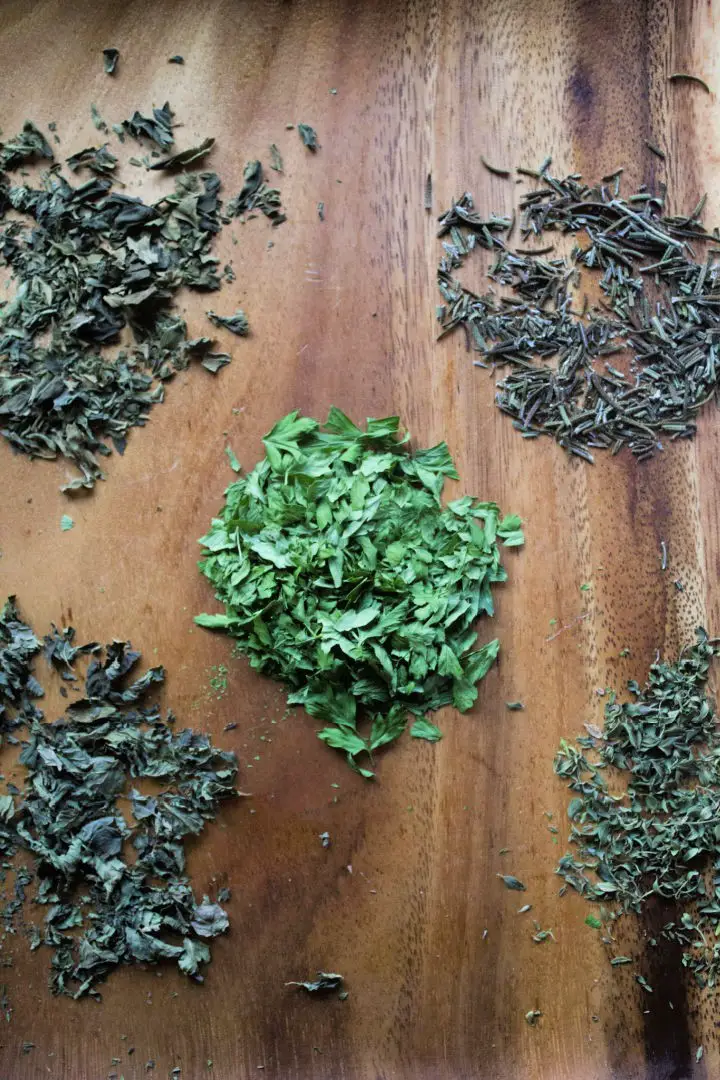
How to Dry Parsley Without a Dehydrator
Elevate the flavors of home-grown seasonings with minimal effort! Discover the art of dehydrating parsley and other herbs, preserving their natural zest. From utilizing a food dryer to alternative methods like suspension or sun drying, maintaining low temperatures ensures the conservation of delicate oils and preferred taste profiles. Store your dried herbs in an airtight glass jar, shielded from heat and light, and relish their rich aroma in various dishes. Remember to adjust quantities accordingly, as dried herbs are more potent than their fresh counterparts.
How Do You Dry Herbs

Unlock the flavor potential of your kitchen by mastering the art of herb dehydration. This comprehensive guide will walk you through the steps of harvesting, preparing, and dehydrating herbs to create a bountiful supply of fresh flavors. Whether you’re looking to craft custom spice blends or preserve your favorite herbs for future use, this process offers endless possibilities. For optimal results, consider investing in an excalibur 9-tray dehydrator with a built-in 48-hour timer. Once your herbs are dry, use a spice grinder to grind them into fine powders that can be used to elevate your cooking. Take the first step on this flavorful journey today and discover the rich rewards of homemade spices!
How to Dry Herbs From Your Garden
Discover the art of dehydrating herbs with the Sahara folding dehydrator! This versatile device allows you to perfectly dry mint and thyme, as well as other herbs, to incorporate into a variety of dishes. Whether you’re creating flavorful teas, enhancing casseroles, soups, or stews, the Sahara’s air dry feature ensures proper airflow to prevent moisture buildup and retain the crisp texture of your dried herbs. To achieve optimal results, simply wash off any excess moisture from your fresh herbs before placing them on the trays. Once dehydrated, store your dried herbs in an airtight container to preserve their flavor and aroma for extended periods.
Quick Method to Preserve Herbs
Unlock the art of drying herbs with ease by leveraging your air fryer’s capabilities. For regions plagued by high humidity, preserving fresh herbs can be a challenge – but fear not! By setting the temperature to 100°C (or adjusting according to the herb’s water content) and utilizing a heatproof object to prevent burning or airborne herbs, you’ll achieve precise control. If you’re an air fryer owner, take advantage of this method to savor summertime flavors year-round.
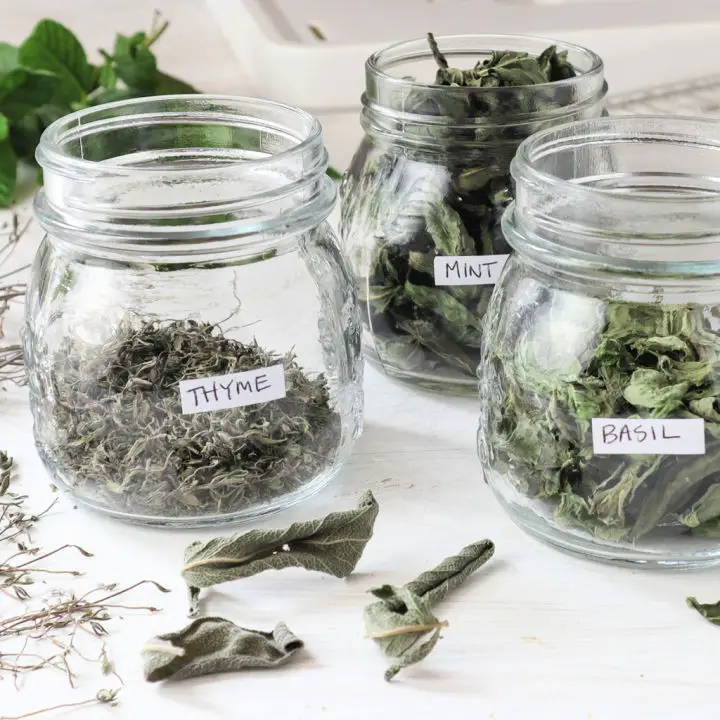
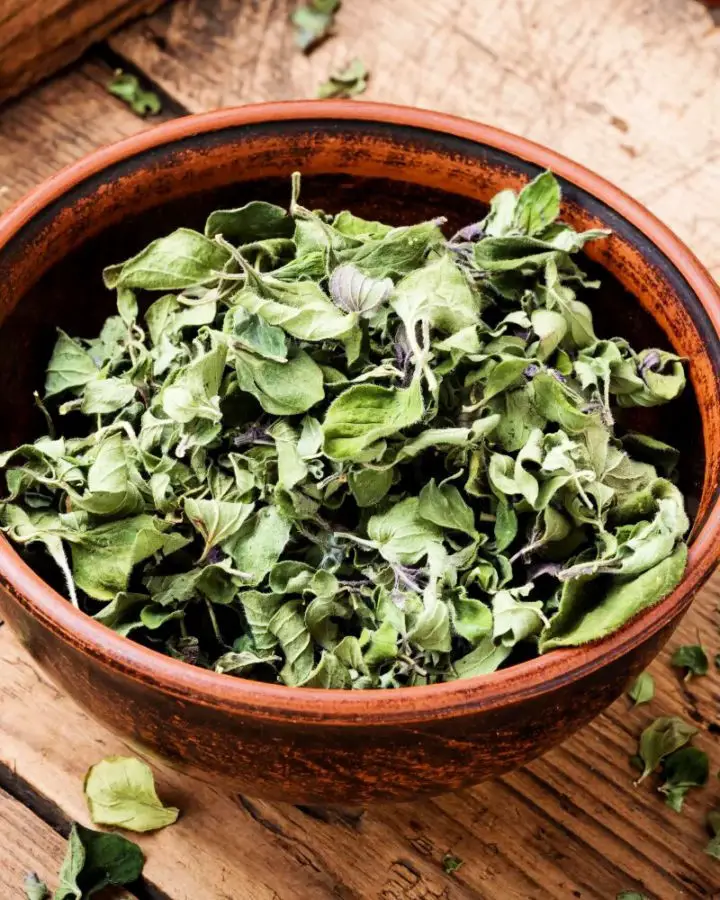
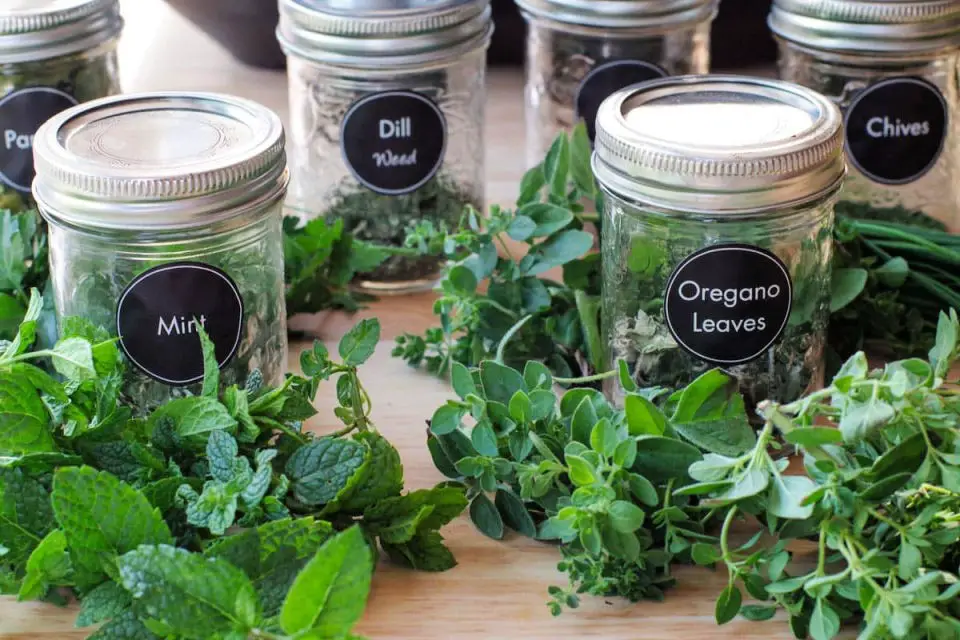
How to Dehydrating Herbs
Preserving the essence of your favorite herbs is now a breeze! You can dehydrate them at home using either a dehydrator or by simply hanging them up to dry. A crucial step in this process is ensuring that the herbs are laid out in a single layer without any overlap, as different types require varying drying times. Start by setting your temperature range to 110-120°F (49-50°C), and adjust according to humidity levels until the leaves become easily breakable, which typically takes around 4-8 hours. Once dried, remove any stems and store the herbs in airtight containers for optimal preservation. A fun fact is that dried herbs are actually more potent than their fresh counterparts – simply use half as much when cooking to reap the benefits! With these simple steps, you can enjoy the rich flavors of your preserved herbs for months to come.
Conclusion:
In summary, mastering the art of drying herbs unlocks a world of culinary possibilities while safeguarding the potency and flavors of your beloved plants. By exploring diverse techniques such as air drying, utilizing a drying rack or oven, microwave, or food dehydrator, you can effortlessly identify the optimal method that suits your unique needs. With this comprehensive guide, discover 25 innovative ways to dry herbs, taking your home cooking experience to new heights and expanding your understanding of herbal preservation. By investing in drying herbs today, you’ll be rewarded with a lifetime of flavorful meals.
