Easy Neon Sign Tutorial
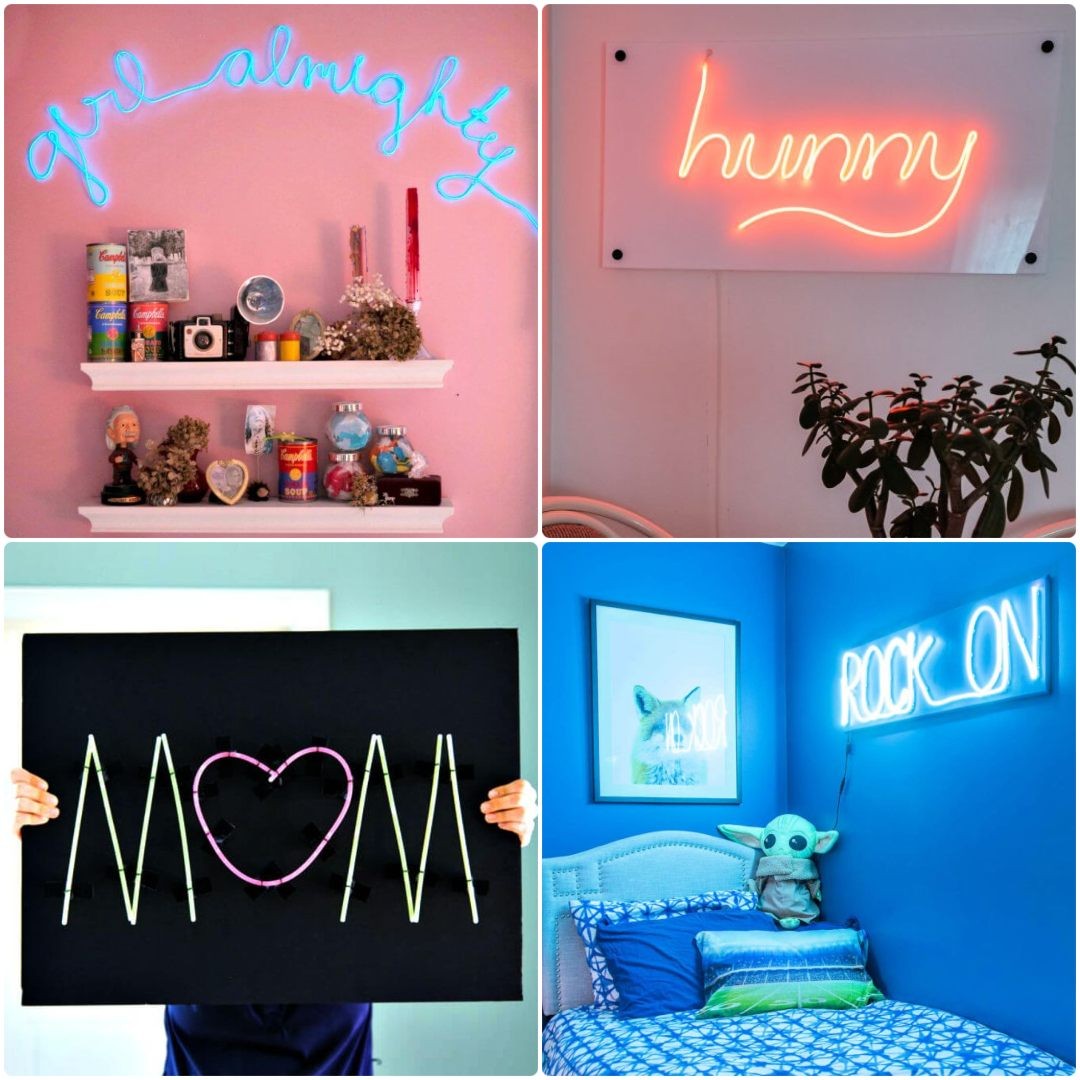
Bring a touch of personalized elegance to your home with a customized neon sign, crafted with ease through this DIY tutorial. To get started, gather essential materials: an acrylic panel measuring 24 inches by 36 inches, neon lights, and stand-offs. Follow the step-by-step guide to create a stunning design featuring the word ‘hunny.’ Begin by sketching the letter template on the acrylic panel, carefully marking the spacing for each individual letter. Once complete, divide the neon rope into manageable sections and glue it down piece by piece, securing it with clamps as it dries. Trim any excess cord before attaching an end piece to give your sign a polished finish. Finally, drill a hole to thread in the cord and hang your masterpiece using stand-offs, proudly displaying your customized creation.
Budget-Friendly DIY Led Neon Light
Transform your space with a DIY neon sign that’s as unique as you are. This budget-friendly project lets you create personalized messages or bold designs without breaking the bank. To get started, simply gather some essential materials: flexible LED light strips, plywood, clips, screws, and d-rings. First, conceptualize your design and map out the lettering on the plywood to ensure precise spacing. Cut it to size, then give it a coat of paint for a personalized touch. Next, attach the clips to the plywood along the curves and angles of each letter, making sure to leave some room for the LED lights to double back on themselves. Finally, install the lights and hang your masterpiece using d-rings and picture hooks. With these simple steps, you’ll be enjoying your one-of-a-kind DIY neon sign in no time.
DIY LED-Based Neon Open Sign
Transforming a personalized neon open sign from DIY fantasy to reality, this illuminating tutorial is the ultimate game-changer. By combining an expanded PVC sheet, x-carve CNC machine, design software, pixel-free LED trim strips, and other essential materials such as 20-gauge 2-conductor wire, soldering iron, heat shrink, and a 24V power supply, you’ll be empowered to create your own unique LED-based neon open sign. To achieve optimal results, it’s crucial to maintain consistent 4mm-wide channels and avoid tight bends when working with the LED trim for even light diffusion. Don’t forget to drill access holes for cables and solder them to individual LED strips – with this step-by-step guide, you’ll be well on your way to creating a one-of-a-kind masterpiece.
How to Make a Neon Sign With El Wire
Get ready to unleash your creativity, DIY enthusiasts! With this comprehensive guide, you’ll be able to craft a stunning low-cost neon sign that’s sure to captivate audiences at weddings or in home decor. All you need is an EL wire kit, acrylic sheets, a print of your favorite quote, marker, and glue – plus the right tools like a drill and tape. Follow along for expert guidance on bringing your design to life, from preparation to completion. With this step-by-step tutorial, you’ll be creating a mesmerizing piece that’s sure to illuminate any room.
Cute DIY Neon ‘Candy’ Sign
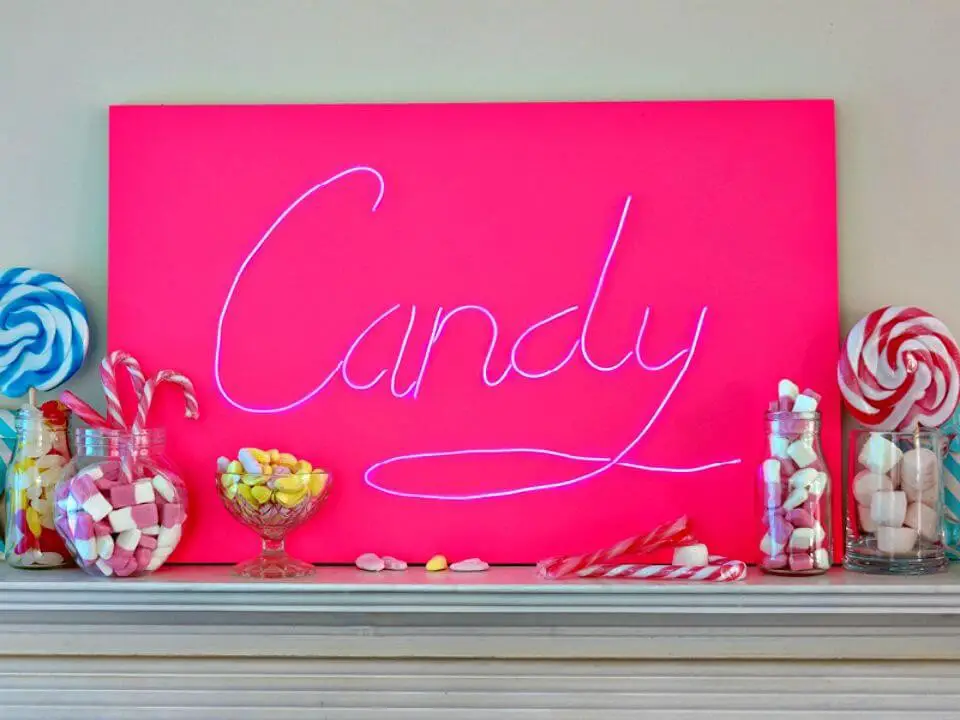
Bring your imagination to life by creating a unique DIY neon sign that’s as easy to make as it is stunning. With a few simple supplies, including rust-oleum neon spray paint, MDF board, electroluminescent wire (el wire), and more, you can craft a beautiful piece of art that doubles as home decor or the perfect addition to special occasions like weddings and parties. What’s more, you’ll have the freedom to customize the design to fit your personal style. The best part? This project is surprisingly economical and straightforward to complete. Make an unforgettable statement with your handmade neon sign today! With this tutorial, you’ll be amazed at what you can create.
Homemade Brick and Neon Sign With El Wire
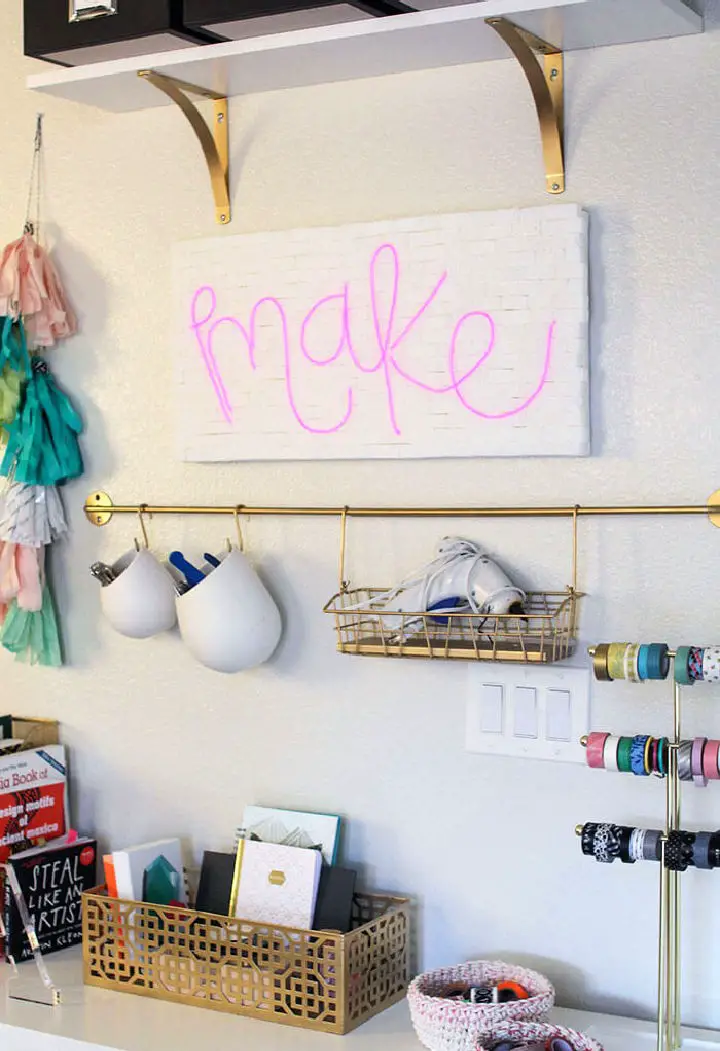
Transforming your space with a unique, custom neon sign is now within reach. By combining EL wire and foam project bricks, you can create an eye-catching DIY masterpiece without requiring power tools. With just a few simple materials – including 12 x 24 canvas, a foam cutter or serrated knife, tacky glue, yarn, and super glue – you can bring any word or phrase to life. Whether you’re looking to add a touch of whimsy to your home decor or create a memorable piece for a special occasion, the possibilities are endless. Start crafting today and discover an affordable way to inject some personality into your space.
Make Your Own Neon Letter Light
Transform your living space into a unique work of art by crafting a personalized DIY neon letter light! To get started, gather a few essential supplies: wire, pliers, E6000 glue, neon rope light, a marker, and binder clips. With these simple materials, you can create an eye-catching piece that’s sure to impress without breaking the bank. Take it to the next level by spelling out any word or phrase for a truly custom look. Or, if you’re feeling ambitious, try your hand at the advanced project featuring a neon light bulb on a concrete base for a show-stopping display.
How to Make Neon Sign at Home
Transform your decorating game without shattering the bank! Create a breathtaking DIY neon sign that will leave everyone green with envy. With a mere handful of affordable essentials, you can craft a show-stopping light-up masterpiece. Simply gather EL wire (approximately $14 for a 15-foot strand), 16-gauge metal wire, a hot glue gun, washi tape, pliers or wire cutters, and a large sheet of paper. Let your imagination run wild with design ideas and bask in the glory of owning an unparalleled neon sensation at a price that’s simply dazzling!
Make a Neon Rainbow Sign
Transforming your home’s decor into something extraordinary has never been easier or more affordable than with a DIY neon rainbow sign. This simple project requires only a few basic materials: an EL wire kit, white foam board, printed photo, scrap paper, electrical tape, and an empty photo frame. To add an extra layer of vibrancy to your design, print the background onto semi-gloss photo paper using a Canon Pixma TS9020 printer. Follow our step-by-step guide to create your very own magical neon rainbow sign, and let your imagination run wild with the colors available from the EL wire kit. With this project, you can turn any space into a stunning work of art.
Making a Neon Light Sign
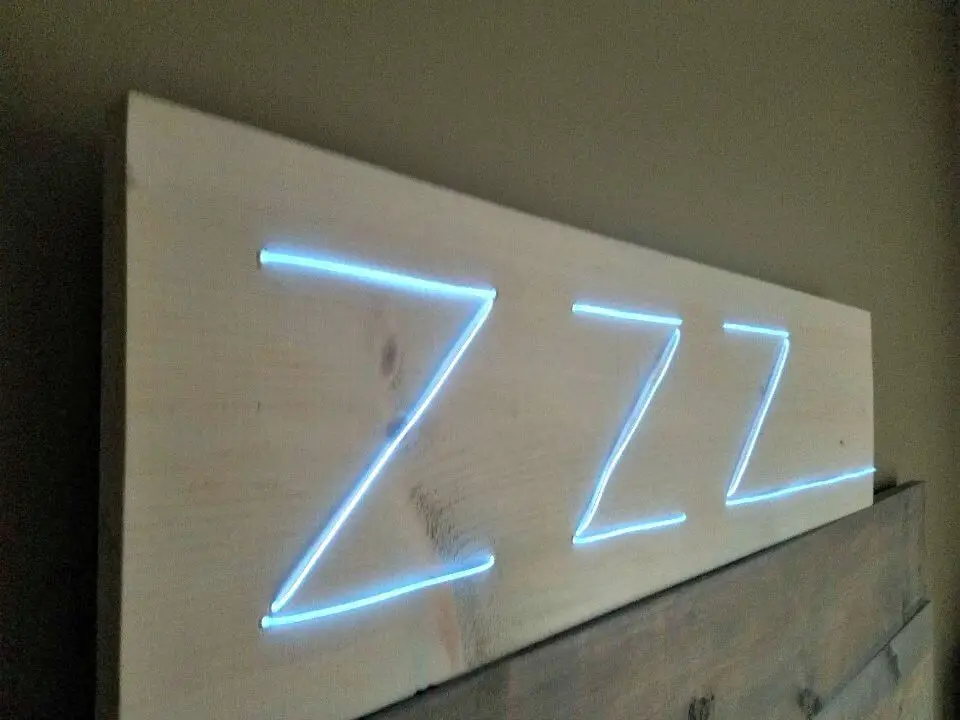
Bring a touch of excitement to your home decor by crafting a unique DIY neon sign that reflects your personal style. With only a handful of materials, you can create a one-of-a-kind piece that adds character and charm to any room. To get started, gather EL light wire ($12), a spare wood board, white tape from the hardware store ($2), and a drill with a drill bit similar in size to the wire. Follow our easy-to-follow step-by-step instructions or watch our video tutorial for expert guidance on how to bring your personalized neon sign to life at home.
DIY Neon Sign With Glow Sticks
Unleash your creativity and craft a one-of-a-kind DIY neon sign that will leave mom beaming with pride this Mother’s Day. This trendy home decor element offers endless possibilities for customization, making it the perfect gift or statement piece. To get started, gather your essential supplies: a printable glow stick template, 18 x 24 inch black foam core board (or choose another color to match your style), a strip of risers for added dimension, floral wire in black, duct tape, clear tape, nine glow sticks (eight measuring 9 inches and one measuring 22 inches), a seam ripper, awl, and wire cutters. Follow the step-by-step instructions carefully to assemble your masterpiece, then watch as it illuminates any room and brings a smile to mom’s face.
How to Make Wire-Wrapped Neon Sign
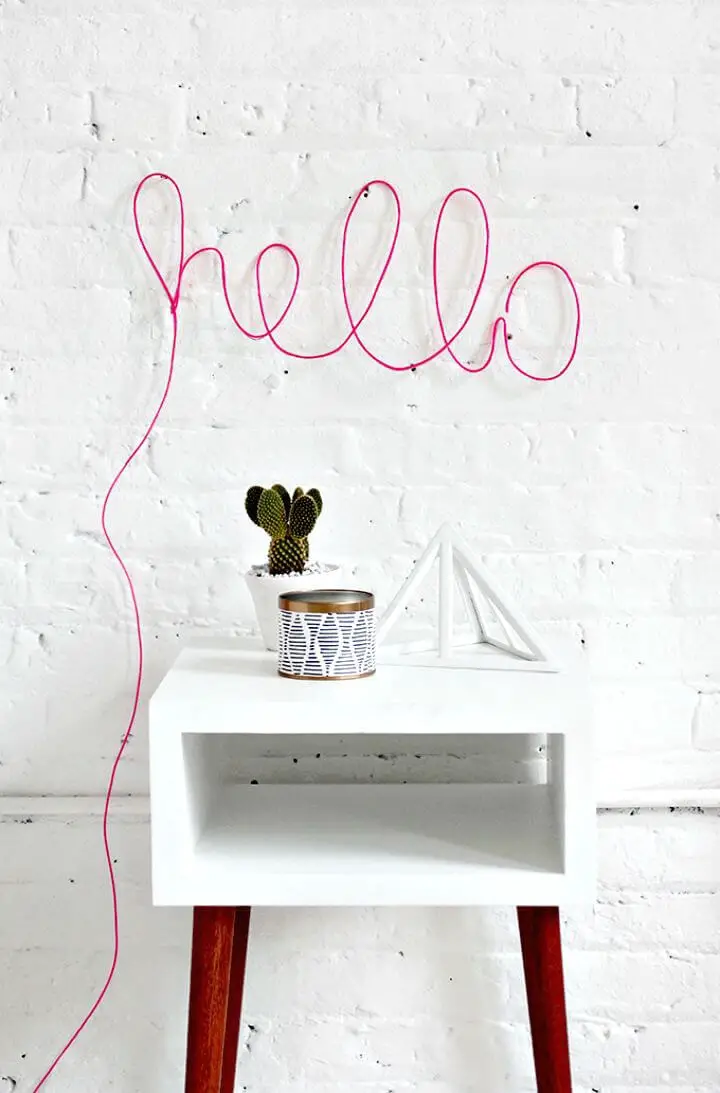
Transform any wall into a masterpiece with wire-wrapped word art. To get started, collect essential supplies: craft wire, strips of stretch fabric, super glue, tape, needle-nose pliers (if needed), and a printed template for guidance. Then, follow the easy-to-follow step-by-step process to create your unique wire speech bubble or word design. With these simple instructions, you’ll be able to add charm to your home décor and unleash your creativity in no time.
Creative Neon Sign Light
Transform your living space with a captivating DIY neon sign light, crafted at a fraction of the cost of store-bought alternatives. To bring this creative project to life, gather essential materials including plexiglass or acrylic sheets, colored glow wire or EL wire kits, AA batteries, paper, whiteboard markers, super glue, drill bits (1/4 inch), and adhesive wallpaper or spray adhesives. Follow the step-by-step guide and supplement with a video tutorial for expert guidance. With this personalized neon sign, you can effortlessly add a trendy touch to any room in your home, making it an ideal DIY project for anyone looking to inject some personality into their living space.
Simple DIY Led Neon Sign
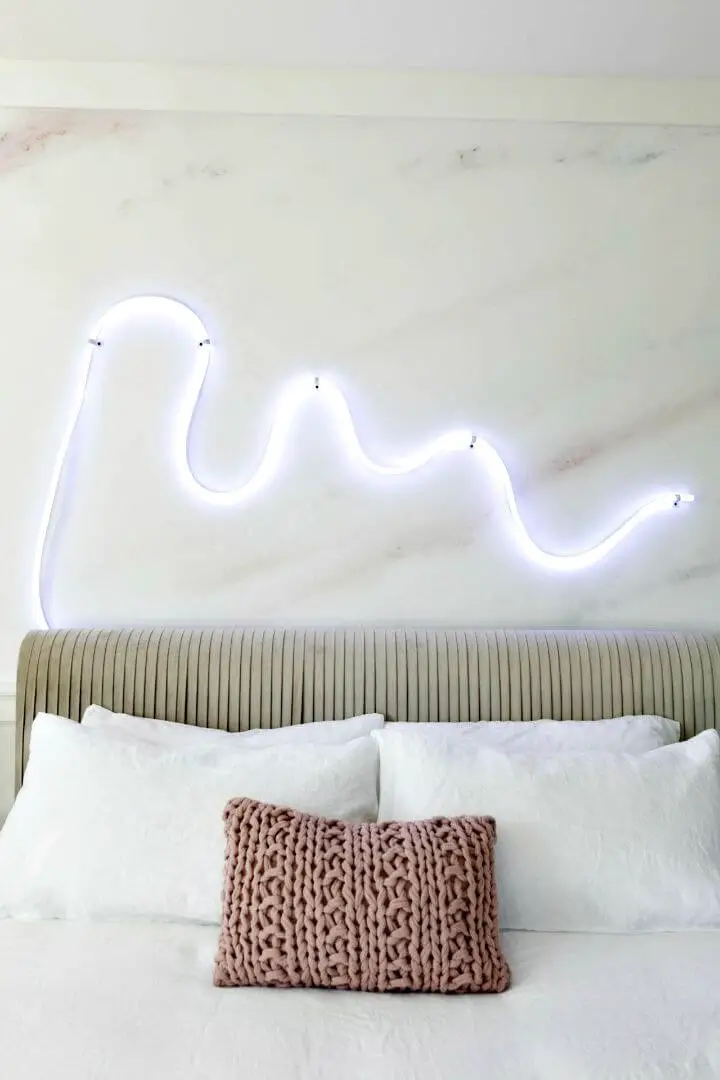
Transform your space with a radiant DIY led neon sign that’s as stunning as it is budget-friendly. Unlike traditional neon signs, this project boasts durability, brightness, and visual appeal without breaking the bank or posing fragility concerns. To bring your creative vision to life, you’ll need basic tools such as a hairdryer, tape measure, power drill, and mounting clips (like conduit wall straps with a touch of white spray paint). Get ready to unleash your inner artist and craft an eye-catching centerpiece that’s sure to wow! With no hefty price tag or risk of damage, the possibilities are endless.
Homemade Neon Sign
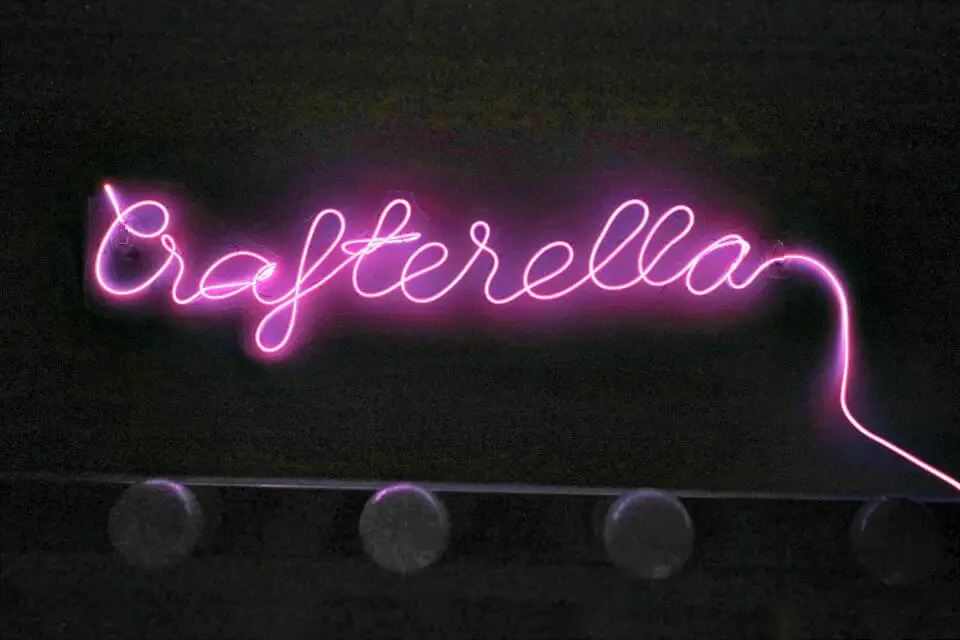
Bring to life a personalized neon sign through this incredible DIY project! Begin by designing a custom sign featuring EL wire and an acrylic sheet, either with your own handwriting or unique pattern. Choose the perfect thickness, length, and colors of EL wire to match your vision, and select an acrylic plate that’s at least 1/4 inch thick for added durability. Secure the wire to the sheet using super glue ultra gel and a power drill, then give it a stylish makeover by covering the sheet with wallpaper. Finally, bring your one-of-a-kind design to life using a 9v battery – and behold your breathtaking homemade creation!
DIY Neon Sign Under $10
Transform your space into a dazzling haven for under $10 by crafting a custom DIY neon sign. To get started, gather an assortment of materials including EL wire, paper, a marker pen, clear plastic, double-sided sticky tape, thin wire, and wire cutters. Begin by carefully tracing the template onto the plastic, ensuring precise lines. Next, attach the EL wire to the plastic using sticky tape, securing it further with thin wire. With these simple steps, you’ll be basking in the radiant glow of your DIY neon sign without exceeding your budget.
Custom Faux Neon Sign
Unleash your creativity and create a one-of-a-kind custom DIY neon sign with just a few simple materials. EL wire in your desired color, utility wire, yarn or string, fishing wire, paper, and tape are all you need to bring your design to life. By following the step-by-step guide, shape the wire into words or shapes that capture your imagination, secure it with yarn or string, and attach the EL wire along the frame. In no time at all, you’ll have a stunning faux neon sign that adds a touch of unique vibrancy and charm to any space.
Easy DIY El Wire Neon Sign
Transform any space into a personalized haven by crafting distinctive DIY neon signs, blending bold colors and innovative shapes with ease. Bring an unprecedented level of customization to your home or business with the help of EL wire and aluminum wire. With a mere $8 investment in supplies, you can follow step-by-step guidelines to create a show-stopping decoration that’s as budget-friendly as it is impressive. Shape the aluminum wires into words or shapes that reflect your unique style, then weave the EL wire along the framework for an eye-catching display. The result? A one-of-a-kind masterpiece that’s sure to captivate and inspire in any room.
Creative Neon Sign for Wedding
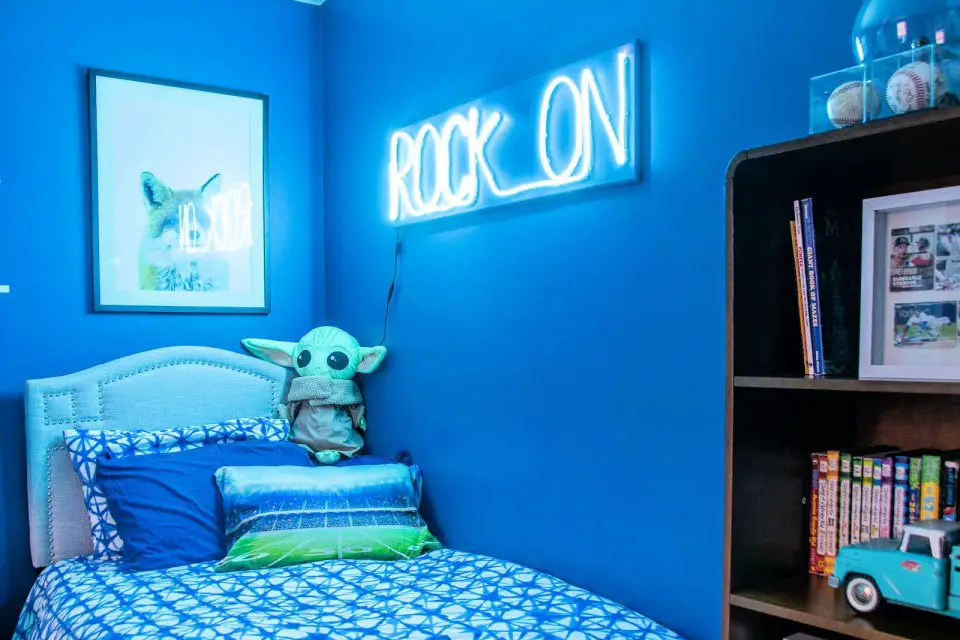
Transform your home decor into a beacon of modern style with a DIY neon-inspired sign that’s surprisingly easy to make. No glass-blowing skills or specialized equipment are required, just follow our step-by-step guide and let the creative possibilities shine through! With this project, you can customize your faux neon sign with different words and attach them to separate battery packs for unique emphasis. Add a touch of whimsy to any room with EL wire – it’s a simple yet captivating way to illuminate your space.
Make a Neon Sign Out Of El Wire
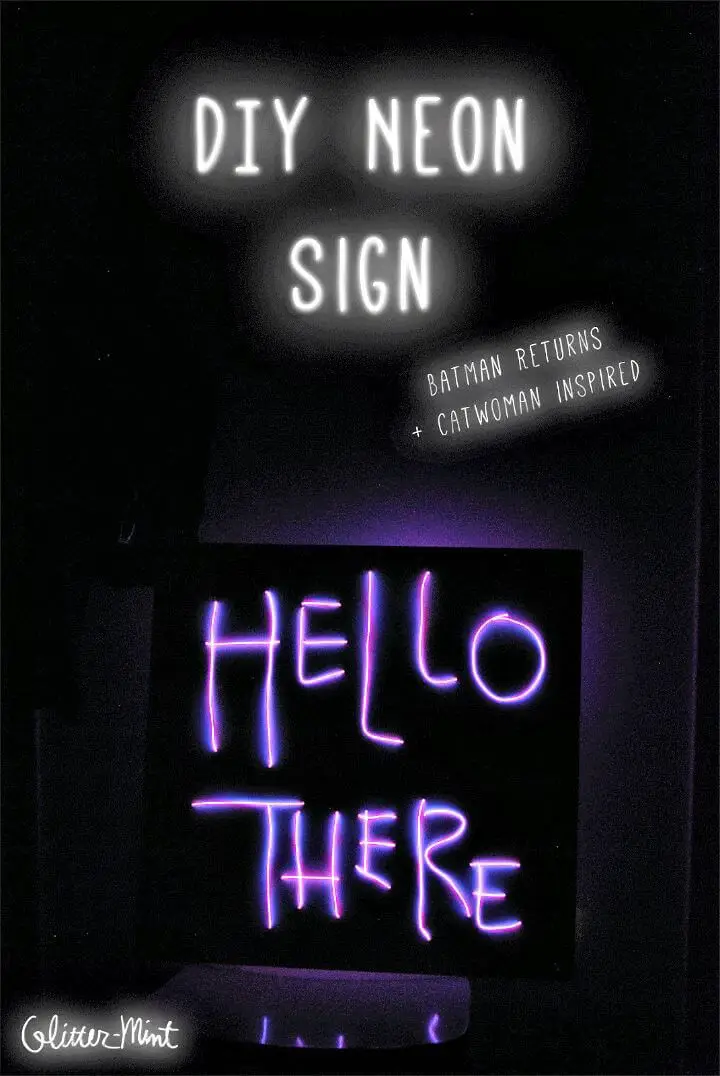
Get ready to transform your space with this unique DIY neon sign project inspired by Selina Kyle’s iconic apartment in Batman Returns. Following a video and written guide, you’ll learn how to create the famous ‘Hell Here’ sign using pink electroluminescent (EL) wire. To start, gather materials like a wooden board, fishing line, white paint, and at least 2 strands of EL wire (3 for a larger design). Drill holes for the letters and carefully thread the EL wire through, ensuring the distinct ‘t’ and ‘o’ are separate to allow for on/off control. Secure everything from the back before choosing between hanging equipment or command strips to display your creation. Add a touch of glamour to your home decor by embracing this crafty project.
Conclusion:
Embracing the art of DIY neon signs is an excellent way to infuse your personal space with captivating illumination. By leveraging various techniques and materials, such as LED ropes, EL wire, and acrylic, individuals can create custom light displays that not only reflect their personality but also fit within their budgetary constraints. From intricately designed neon letter lights to bespoke wedding signs and unique artistic expressions, the possibilities for DIY creativity are endless. With a dash of creative flair and a willingness to experiment, you can bring an air of neon wonder into your life, transforming ordinary spaces into extraordinary ones.

