What is the difference between HTV and Iron on?
In the craft industry, one of the most perplexing aspects is undoubtedly the plethora of terminology. Heat transfer vinyl, which we’ve previously discussed and referred to as HTV, is also known as iron-on vinyl or simply iron-on. To simplify matters, it’s essential to understand that there’s no distinction between heat transfer vinyl and iron-on vinyl; both terms are used interchangeably throughout the industry and in this guide. Notwithstanding, it’s crucial to recognize a vital difference between heat transfer vinyl and adhesive vinyl. Unlike HTV, adhesive vinyl doesn’t require heat application; instead, it functions more like a sticker. This type of vinyl is commonly employed for car decals and home decor applications.
What kind of shirts can HTV be applied to?
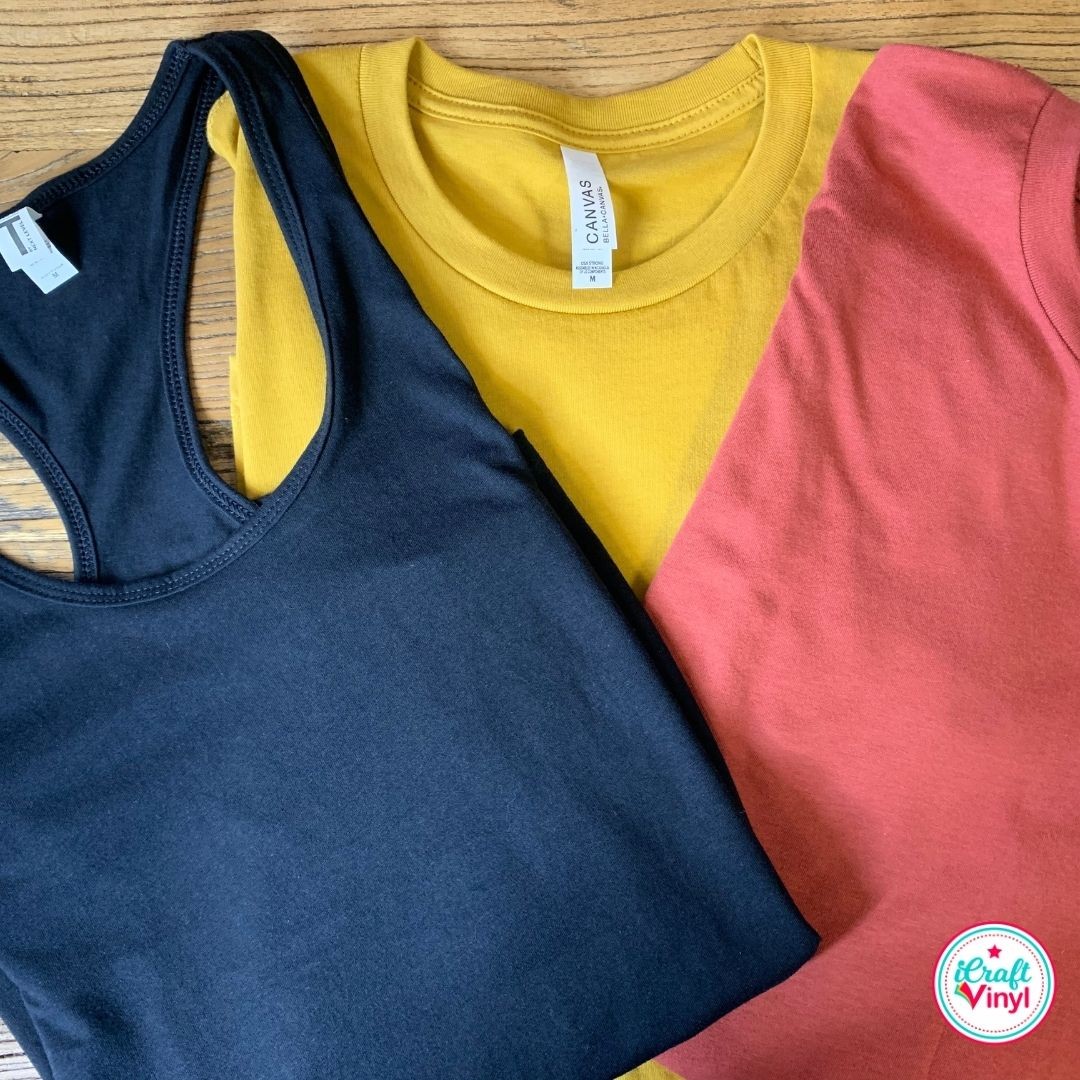
When it comes to applying heat transfer, the possibilities are truly endless. As long as the material can withstand the heat, the creative applications are virtually limitless. From unexpected items like socks and hats to more traditional uses like t-shirts, the versatility of heat transfer is one of its greatest strengths. In fact, iron-on vinyl is commonly used for creating custom designs on a wide range of fabrics, including cotton, polyester, poly blends, cotton blends, spandex, silk, rayon, and many others. Of course, it’s essential to adjust your heat settings according to the specific material you’re working with, as a delicate silk garment might be damaged or even burned if exposed to the same high temperatures used for thicker fabrics. We’ll delve deeper into the proper heat settings for different materials later in this blog post.
Different HTV Materials
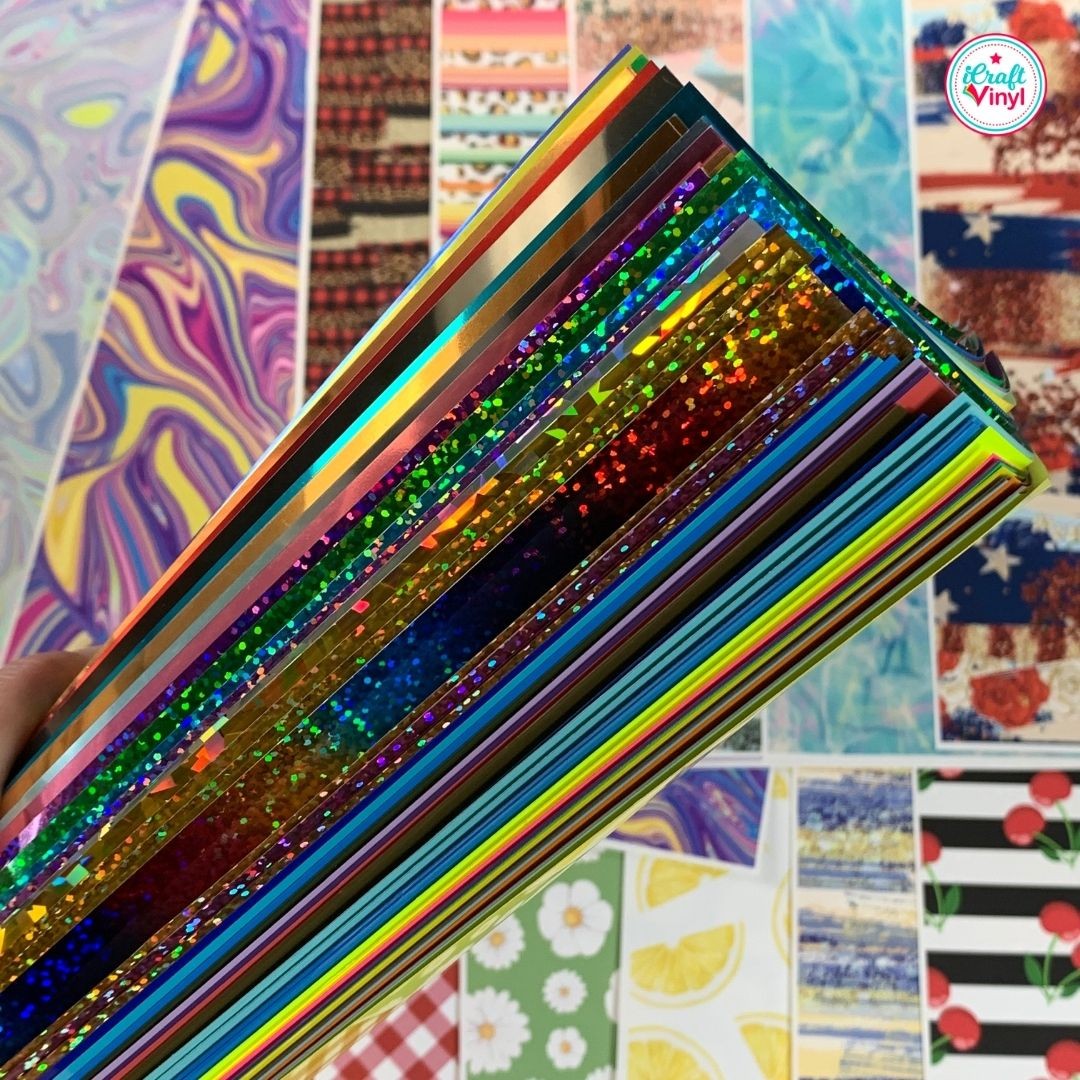
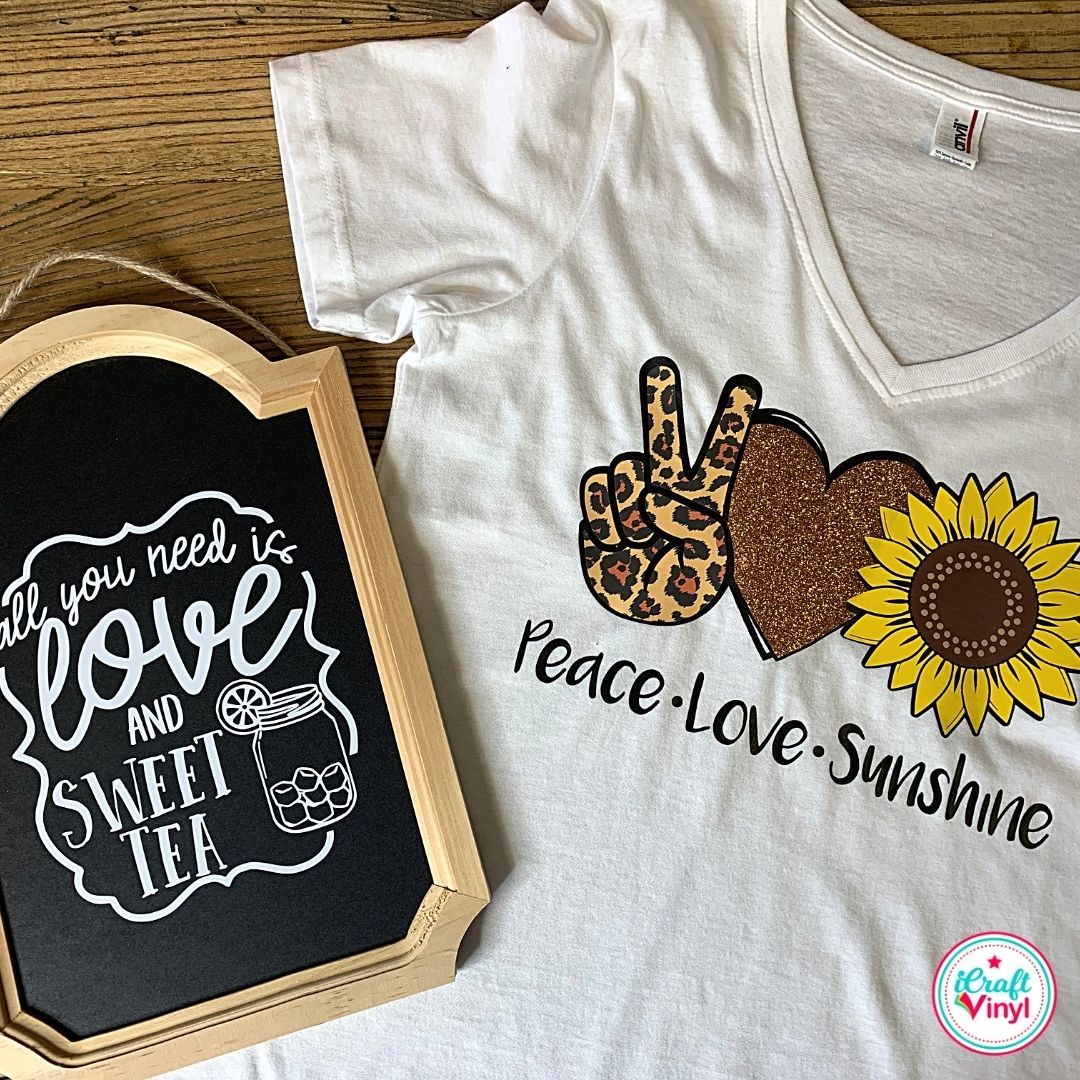
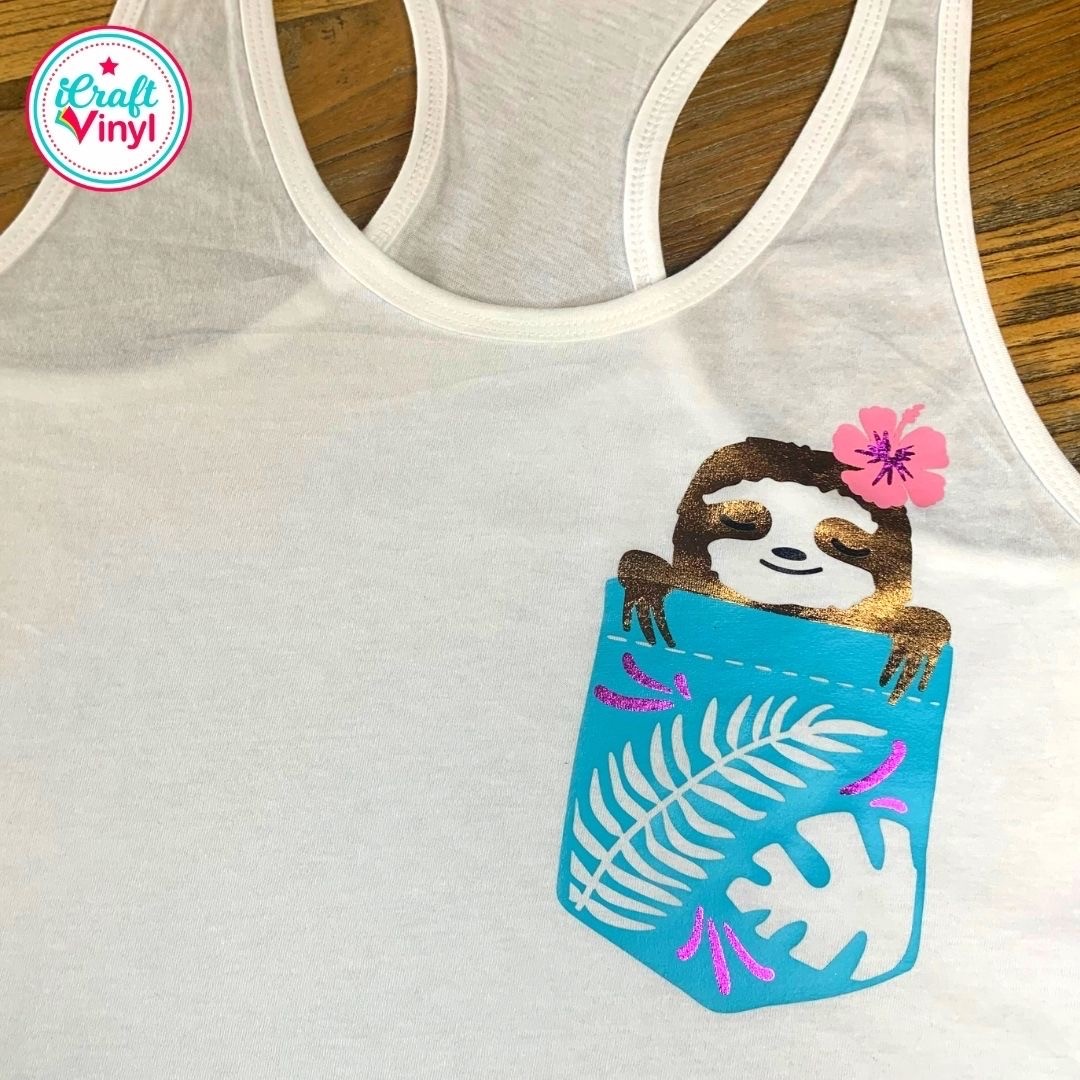
When it comes to decorating your items with heat transfer vinyl, the possibilities are endless! The variety of HTV materials available is truly impressive. You can opt for a timeless classic like matte HTV, or go bold with glitter, liquid metallic, spectrum, or patterned iron-on. Each material has its unique characteristics and advantages, making it perfect for specific projects and recipients. Additionally, you can find materials that offer special effects, such as glow-in-the-dark HTV, which adds an extra layer of excitement to your designs. Alternatively, puff HTV takes heat transfer vinyl to the next level by literally puffing up when heated, adding texture and visual interest to your creations.
Ready to Use HTV? Let’s Dive in!
Before embarking on your first heat transfer vinyl (HTV) project, ensure you have the necessary materials within reach. This will enable you to focus on the creative process without interruptions.
Supplies you’ll need:
To successfully apply a heat transfer vinyl design onto a shirt, you’ll need the following essential tools: first, a cutting machine like Cricut or Silhouette; secondly, a tool specifically designed for weeding, also known as a weeding tool; thirdly, a good pair of scissors to trim any excess vinyl material. Additionally, you will require your chosen heat transfer vinyl product, the shirt on which you want to apply the design, and finally, either a heat press or a home iron to ensure proper application.
Step 1: Prepare your File
With the help of your cutting software, you can either create a custom design file or download a pre-made one from a professional designer – all for free or a small fee. The design file is commonly referred to as a cut file and comes in various formats such as SVG, .dxf, .jpg, or .png. For beginners, we recommend starting with simple one-color designs, but once you gain more experience, you can layer multiple colors and materials together on a shirt. When designing for heat transfer vinyl (HTV), it’s essential to consider the size of your design. For adult medium shirts, start with an 8-inch width and adjust as needed. For other projects like koozies, mugs, or tote bags, measure the item to determine the ideal design size. Once you’ve determined the perfect size, it’s time to cut out your design on your cutter. Before doing so, always remember to mirror your design. This ensures that you’re cutting through the vinyl and not the carrier sheet. Additionally, make sure the HTV is placed with its shiny side (carrier sheet side) down on the cutting mat.
Step 2: Cut your Design
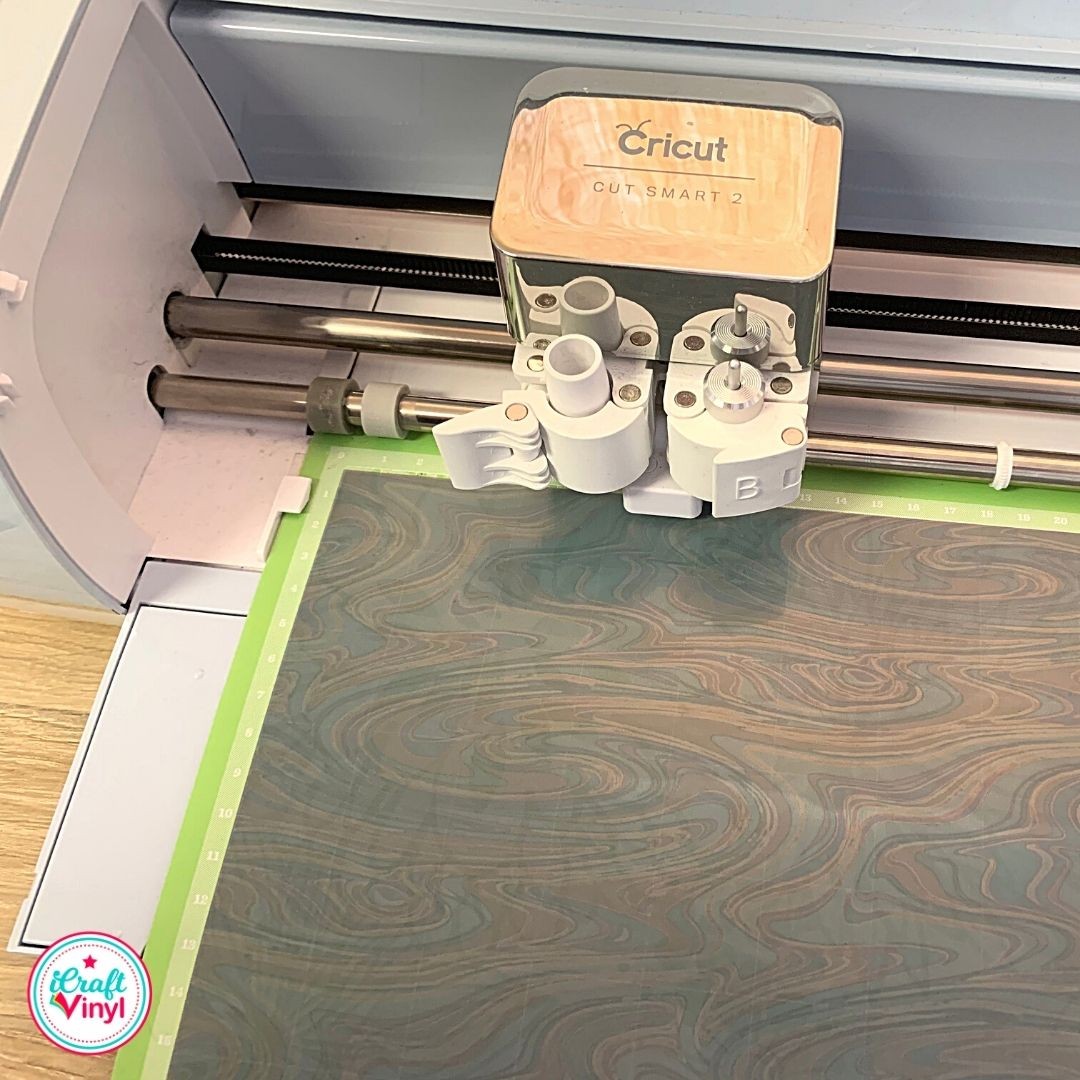
When preparing to cut your heat transfer vinyl (HTV), it’s crucial to set the correct cut settings for the specific material you’ve chosen. Different materials, such as matte and liquid metallic HTV, require less pressure than thicker materials like hologram or glitter. To ensure a precise cut, it’s essential to perform a small test cut, especially when working with new materials or machines. A well-cut piece of HTV will have excess material that can be easily peeled away.
Step 3: Weed out any Excess Material
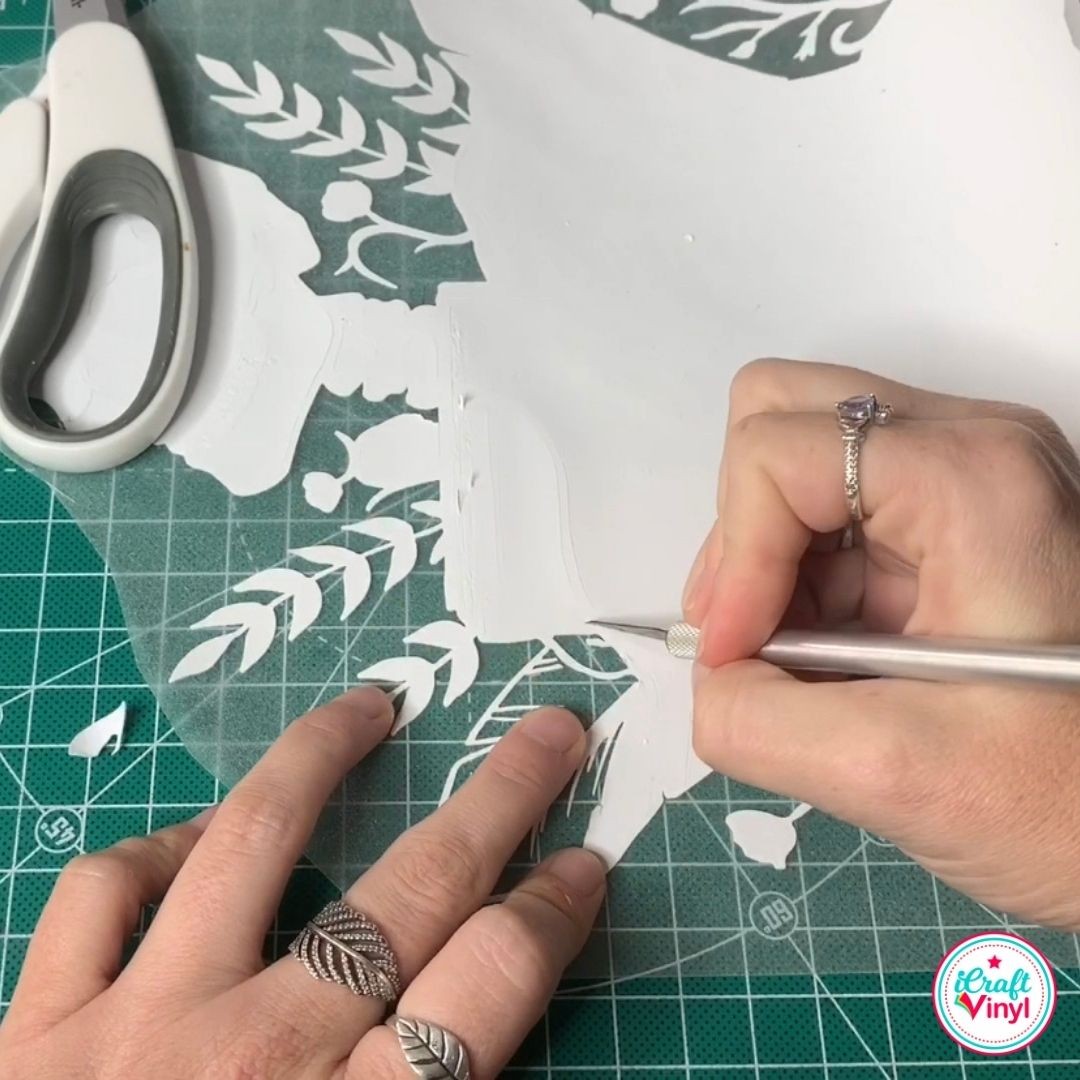
When it comes to crafting with heat transfer vinyl (HTV), a crucial step is weeding, which involves removing excess material from your design using specialized tools like hooks or craft knives. To minimize waste and ensure precision, start by cutting around the design with scissors before carefully working your way inwards, starting from the outer edges, until all unnecessary parts are removed. With this step complete, you’ll be ready to apply the final touches – literally! The next step is applying the HTV itself, which we’ll explore further down the line.
Step 4: Center design
To achieve precise placement of your heat transfer, begin by centering your design on a flat surface. Start by folding your shirt in half vertically and giving it a gentle press or iron to create a clear crease down the middle. This crease will serve as your guide throughout the process. Next, fold your design in half with the adhesive side facing outward. Then, place the carrier sheet on top of the design, ensuring that the crease on the sheet aligns perfectly with the one on the shirt. As you apply heat, this alignment will guarantee a centered and evenly applied design every time.
Step 5 (a): How to Apply HTV with Iron
When ironing, ensure you’re working on a stable surface or, if necessary, on a towel laid out on the ground. Avoid using an ironing board or flimsy table, as they won’t provide the firm pressure required to achieve a secure bond between the design and carrier sheet. To prevent steam from interfering with the process, set your iron to its highest setting and refrain from using steam. Cover your design with parchment paper, a thin towel, or a Teflon sheet before pressing. Apply firm pressure in 15-20 second increments, avoiding any back-and-forth sliding motion. If the design is large, divide it into sections for easier handling. After completing the ironing process, allow the design to cool completely before removing the carrier sheet. Once cooled, re-cover the design with parchment paper and perform a final 15-20 second ironing session.
Step 5 (b): How to Apply HTV with Heat Press
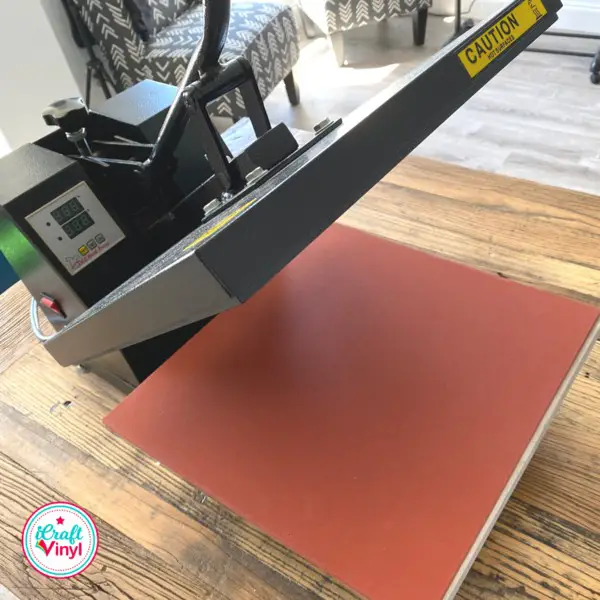
Before applying a design using heat transfer vinyl, it’s crucial to familiarize yourself with your manufacturer’s recommended heat settings for the press. Typically, you’ll want to set the temperature between 305-310 degrees Celsius and apply gentle pressure. The process involves two stages: first, apply even pressure for 8-10 seconds, then remove the carrier sheet and complete a final pressing for another 10 seconds. Depending on the material being used, it may be necessary to let the design cool slightly before removing the carrier sheet; however, this can vary depending on the specific material. If you notice the vinyl isn’t adhering as expected, adjust your pressure settings or ensure there are no cold spots on the heat press using a temperature gun. Once you’ve mastered this basic process, you’ll be well on your way to creating custom designs with iron-on vinyl. With practice and patience, you can confidently tackle a variety of crafting projects.
