What You Will Need
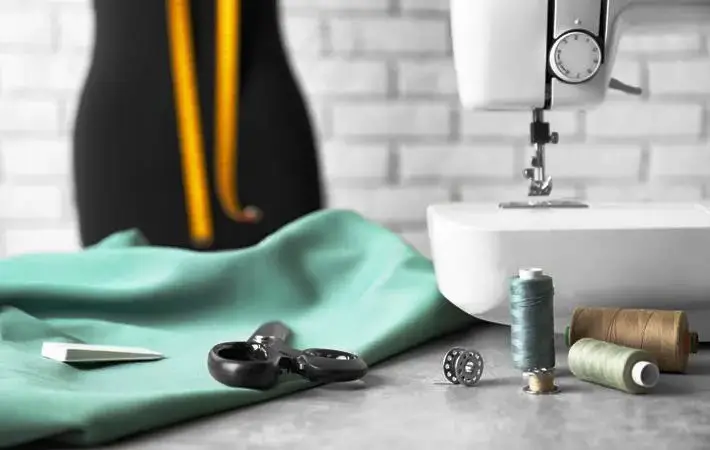
As we prepare to embark on this creative journey, it’s essential to gather the necessary tools and materials. To get started, make sure you have the following essentials within arm’s reach: sewing machine, scissors, straight pins, tailor’s chalk or marker/pen/pencil, padding, basting spray, seam ripper, and some quilt patterns to serve as inspiration. Additionally, don’t forget to select your fabric of choice – perhaps some old clothes or blankets that can be repurposed into this unique DIY quilted jacket for your son.
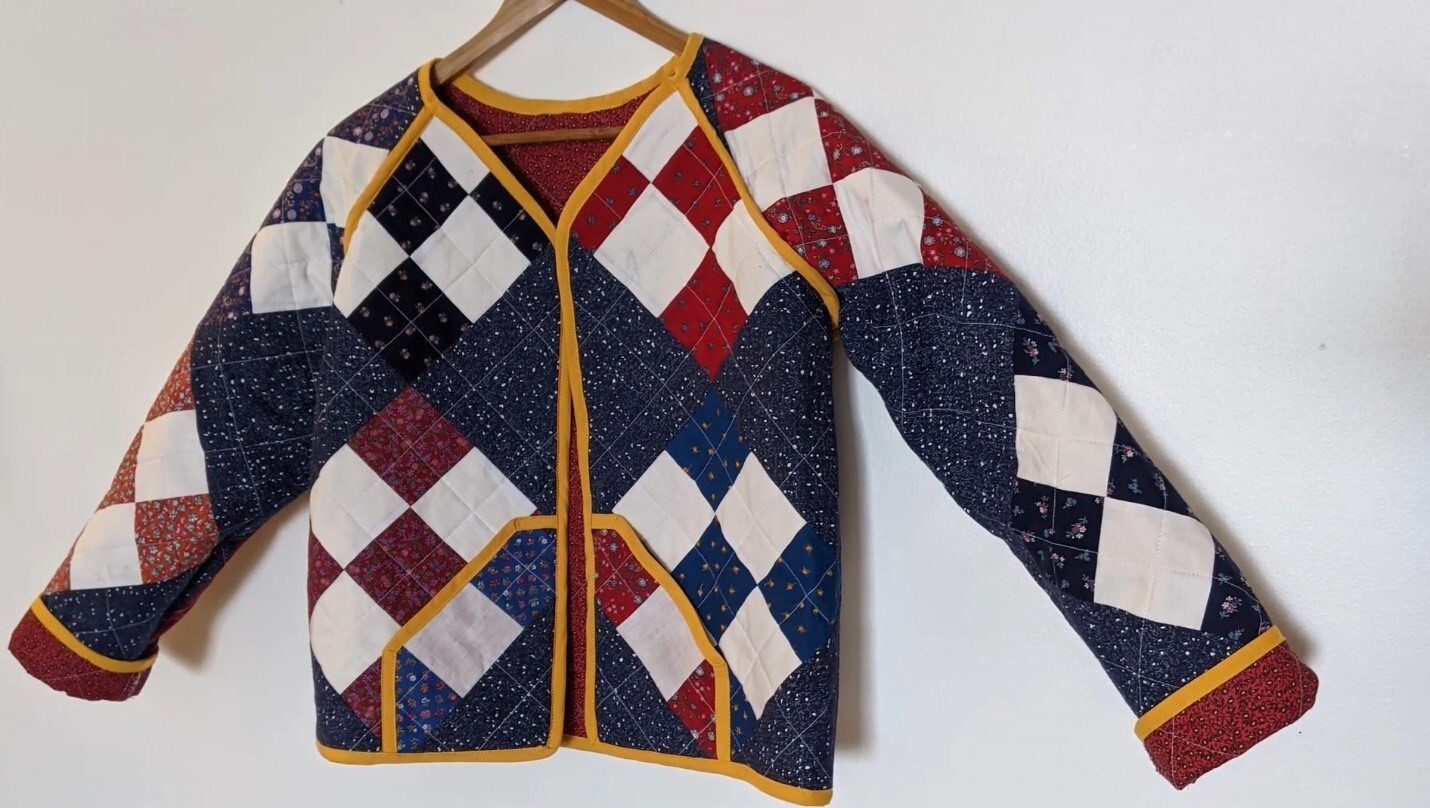
Step 1: Determine Sizing
When crafting a DIY quilted jacket for your child, start by measuring their size or using one of their garments as a pattern. Consider the fact that this jacket will likely be worn over at least one layer of clothing, so avoid creating a fit that’s too restrictive. Instead, aim for a design that allows for ease of movement and comfortable wear.
Step 2: Cut and Alter The Jacket Patterns
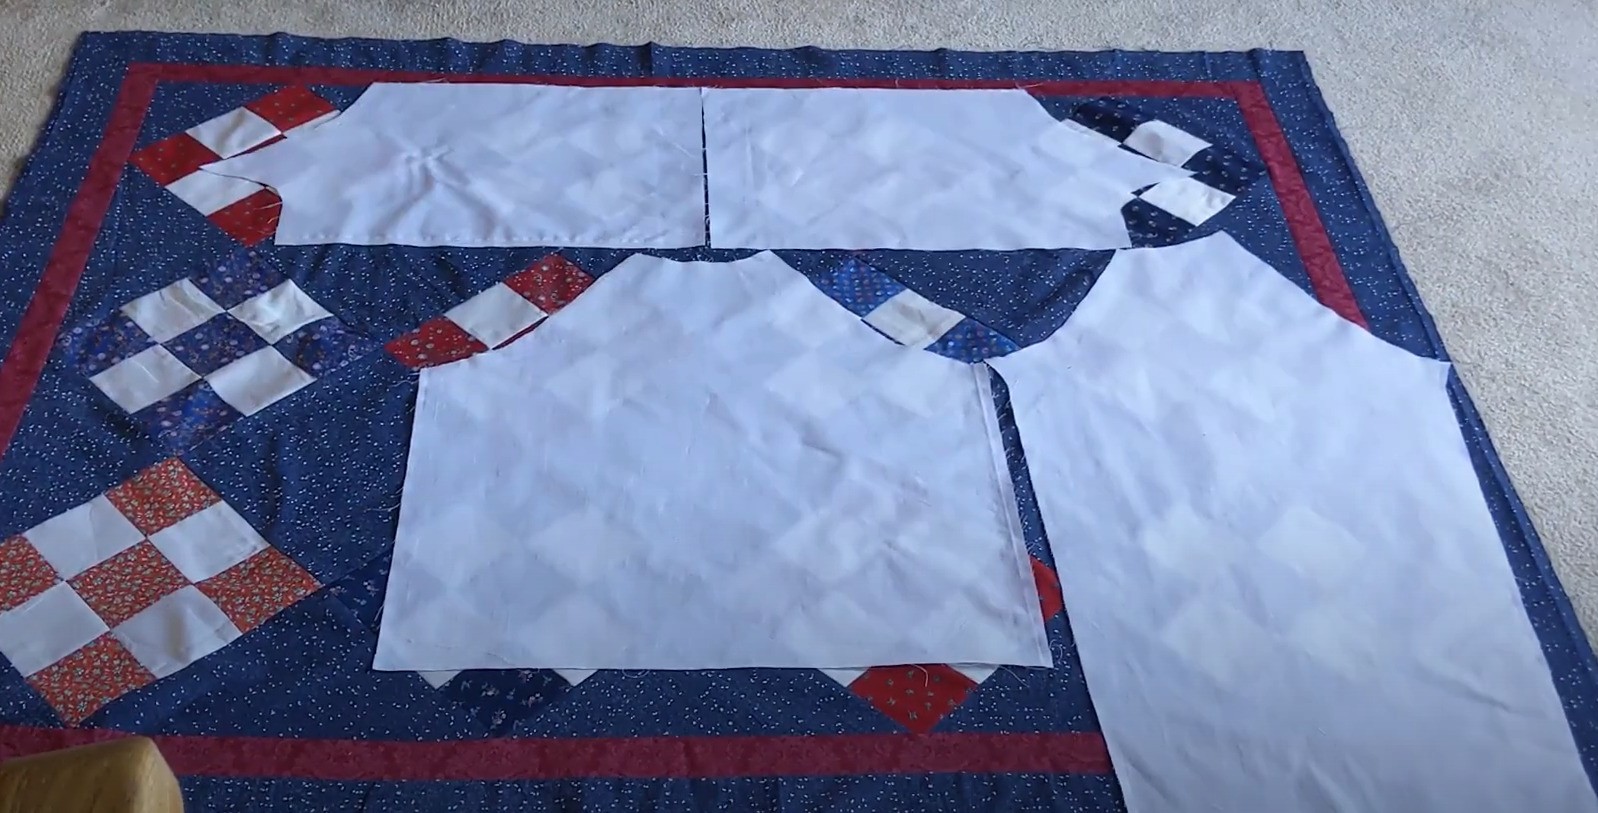
To ensure a precise fit, cut out the pattern pieces according to your child’s exact measurements. Use tape to temporarily attach the parts and inspect the overall shape. If necessary, make any adjustments before proceeding with the sewing process.
Step 3: Trace and Cut The Fabric
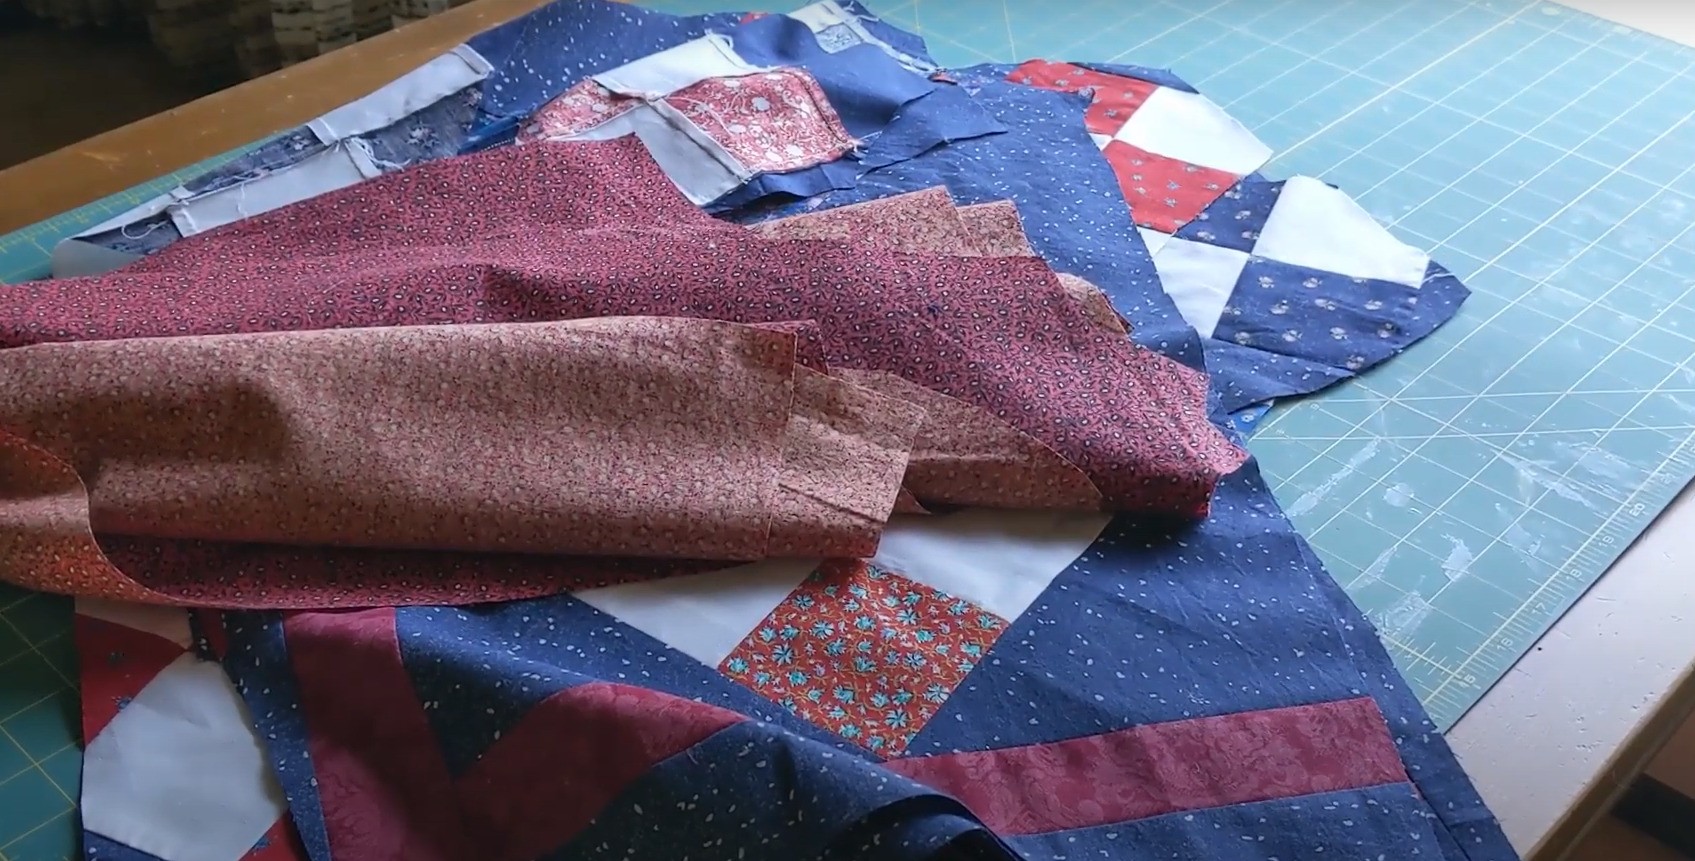
Position the body pattern piece flat on the quilted fabric, ensuring it spans the entire width or nearly so. Take a moment to consider the orientation that will maximize the usage of remaining fabric, particularly when it comes to the two sleeve pieces. This careful planning will help minimize waste and ensure a smooth sewing process.
Step 4: Make Quilted Lines
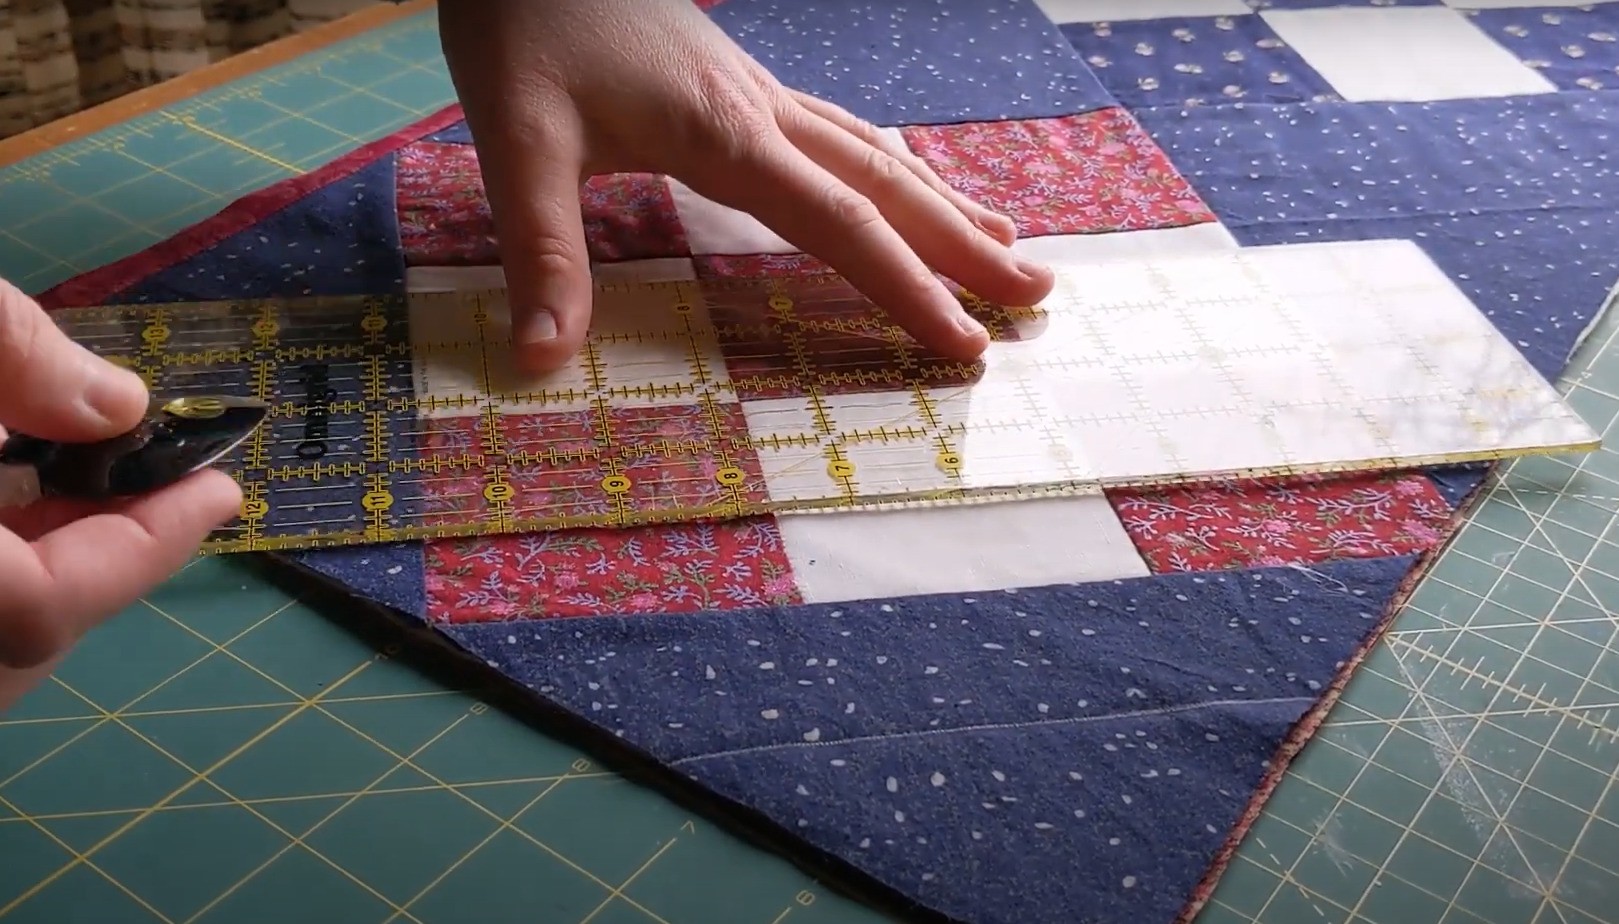
When working with non-quilted fabrics, creating quilted lines is a straightforward process. If you’re repurposing old clothes or using regular fabric, begin by applying basting spray to secure the padding in place between the front and back pieces. Next, use a ruler and pen to mark your quilt pattern, leaving space between the lines according to the design you’ve chosen.
Step 5: Sew Sandwiched Pieces
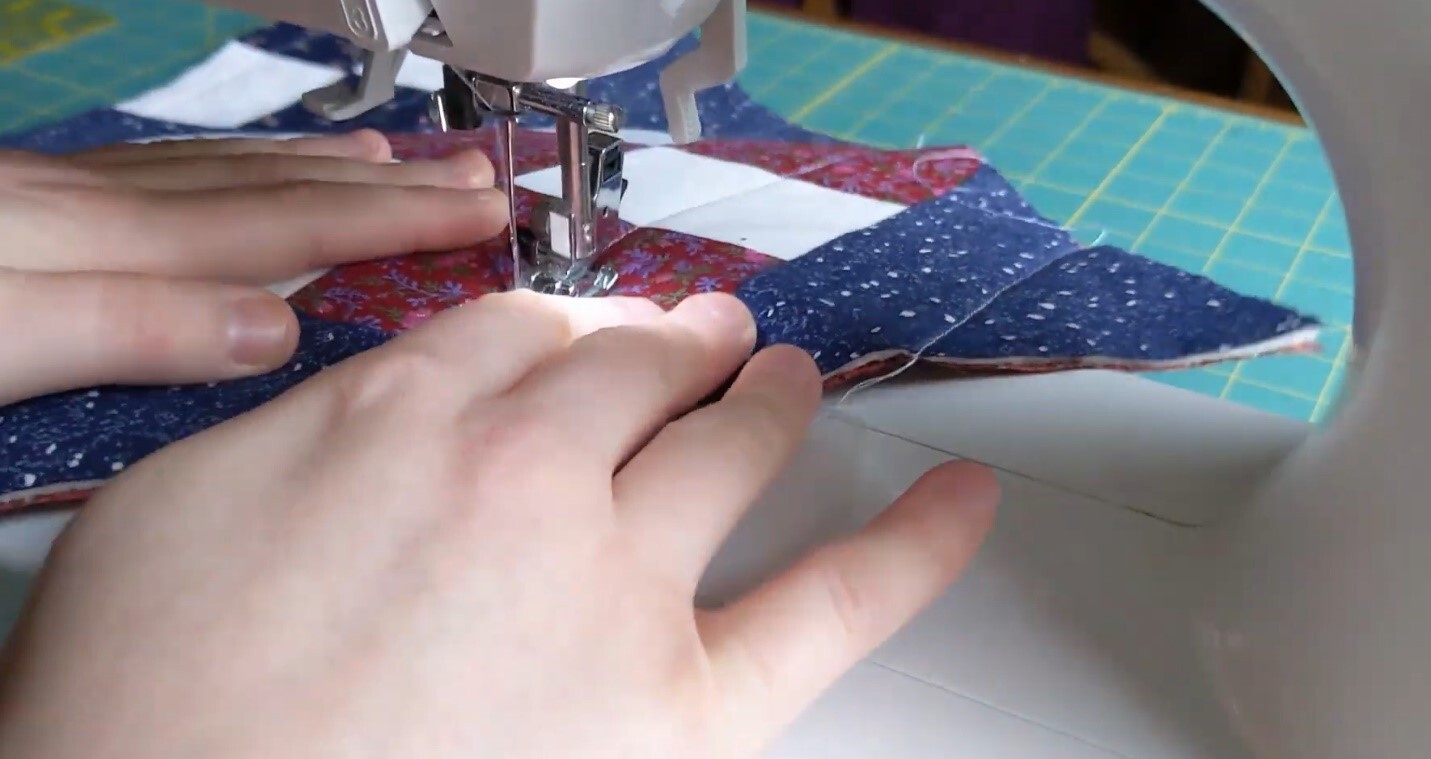
When creating the signature quilted pattern, start by sewing along the lines you’ve drawn. A helpful tip is to complete this step immediately after establishing the initial parallel lines. This will ensure a seamless and visually appealing design.
Step 6: Bind Body With Bias Tapes
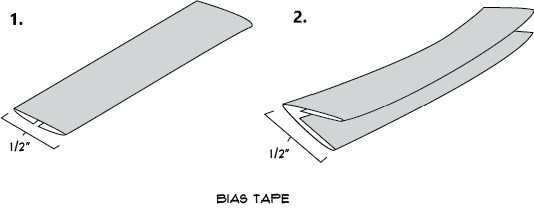
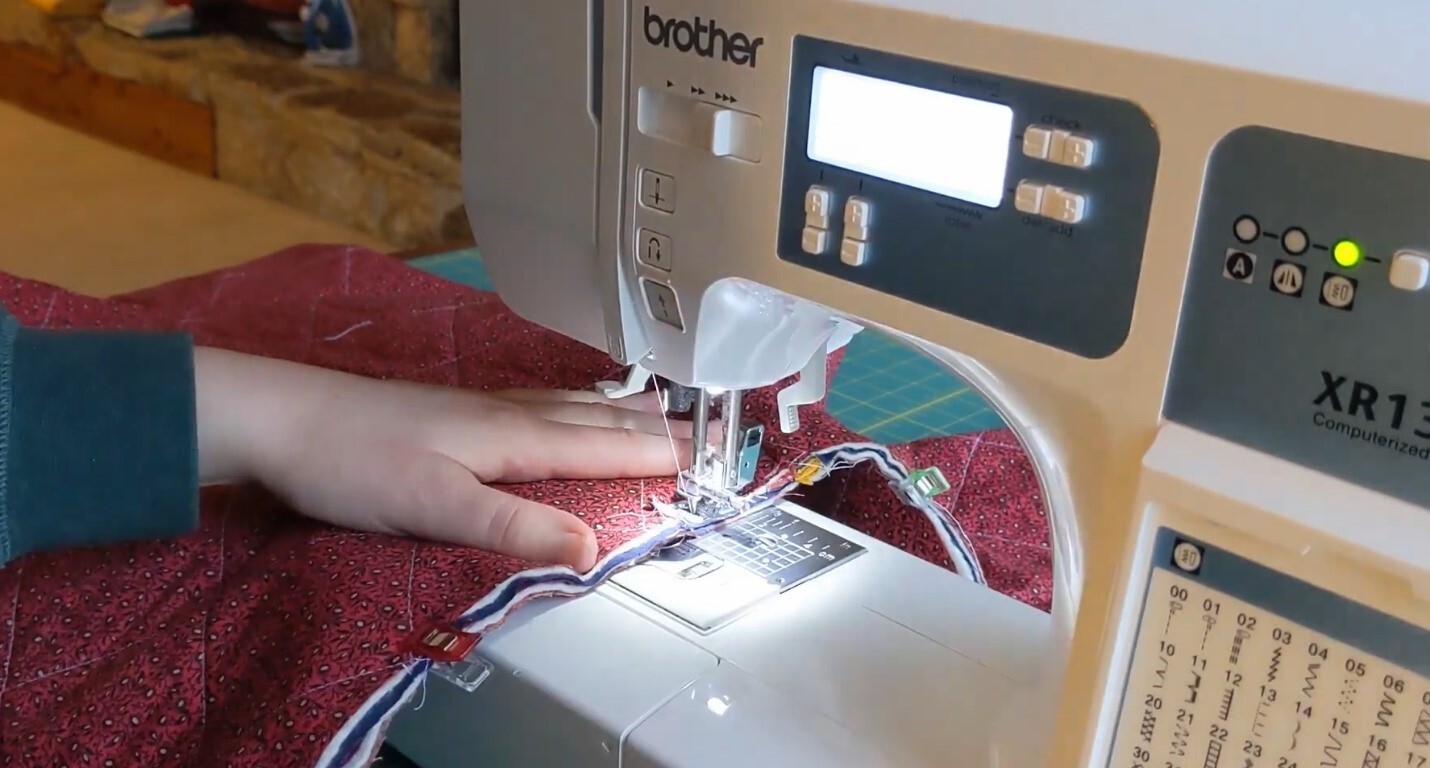
To finish the garment’s seams, start by creating bias tapes for the raw edges of the body and sleeves’ hems. To do this, fold a fabric strip in half, press it with an iron to create a crisp crease, then unfold and repeat the process on both sides. For a more detailed guide, refer to a reliable bias tape tutorial. Once you’ve prepared your bias tapes, carefully sew the pieces together, taking care to trim any excess fabric before pinning the bias tapes onto the exposed seams. Finally, secure everything in place with a straight stitch.
Step 7: Put Everything Together
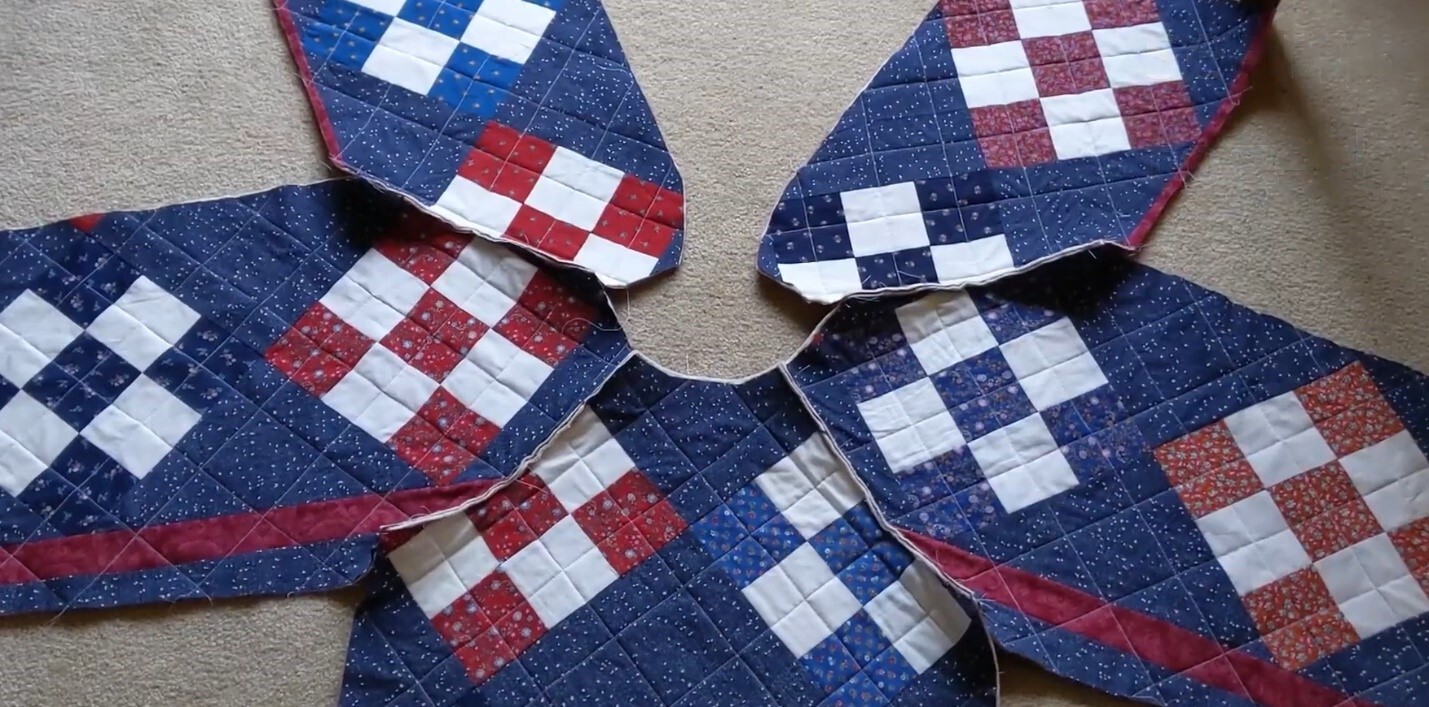
Begin by focusing on the shoulder area. Once completed, move on to pinning the inside of the jacket together. With the foundation established, sew the side seams using a straight stitch to form the quilted jacket’s main body. Next, take the sleeve armhole and pin it into the corresponding opening in the jacket (right sides facing each other). Ensure accurate alignment by lining up the shoulder notch with the underarm seam and underarm notch. Securely pin the sleeve within the armhole of the body and complete the assembly by sewing it in place.
Step 8: Pockets
When creating a custom quilted jacket for your toddler boy, consider adding functional pockets that can accommodate his favorite toys or accessories. To make them user-friendly, cut out the pocket material to fit comfortably within his grasp. For added comfort and ease of use, you can bind the top edge of each pocket before sewing it into the jacket. Simply pin the pockets in place and then sew them securely to ensure they remain attached and functional.
Step 9: Finish
As you near the end of the process, it’s essential to round off the corners and remove any excess fabric before securing the bias tapes to the raw edges using a pin. This step requires attention to detail as you work to eliminate any bulk or fraying. Next, apply this same technique to the cuffs and bottoms, ensuring a seamless finish. Once complete, move on to the final stage where you’ll hand sew the bias tapes into place, taking care to secure those hard-to-reach areas with precision. With these meticulous steps complete, your project is now fully finished.
