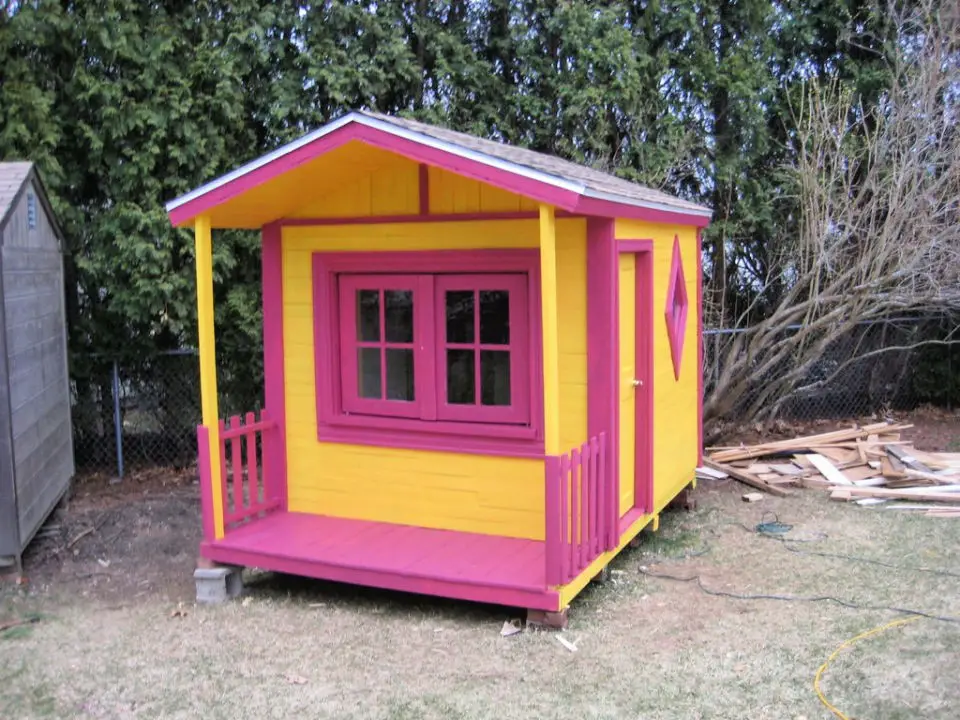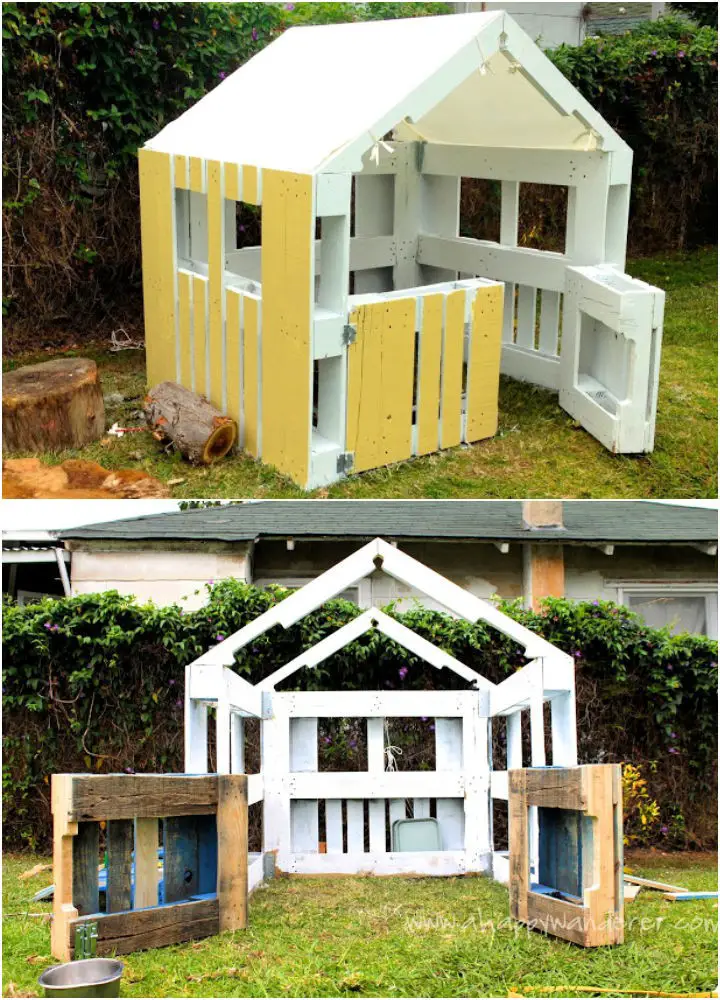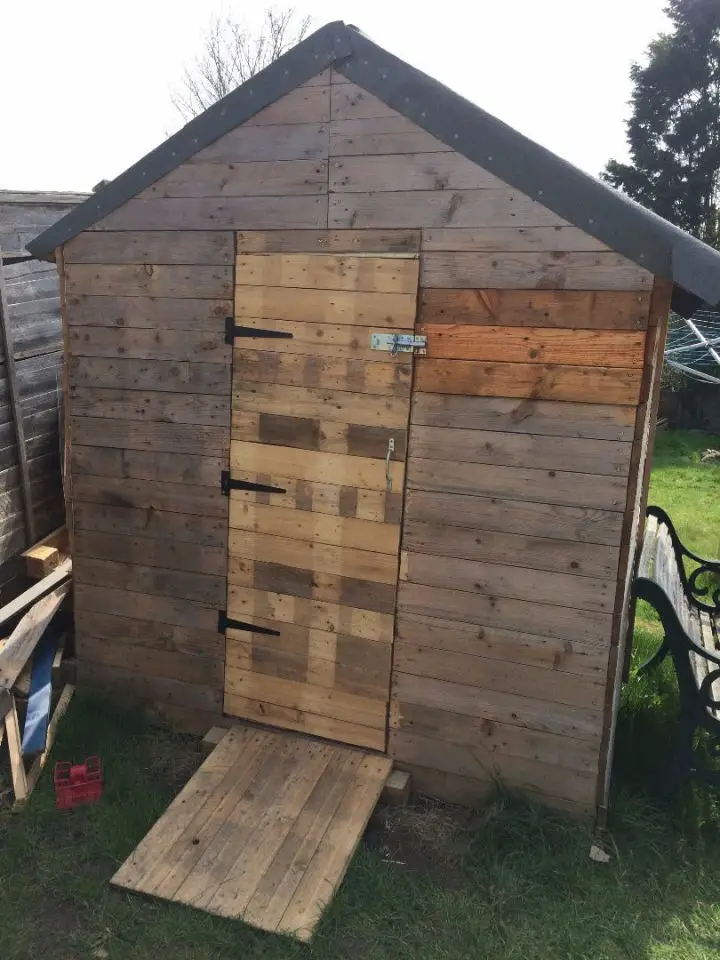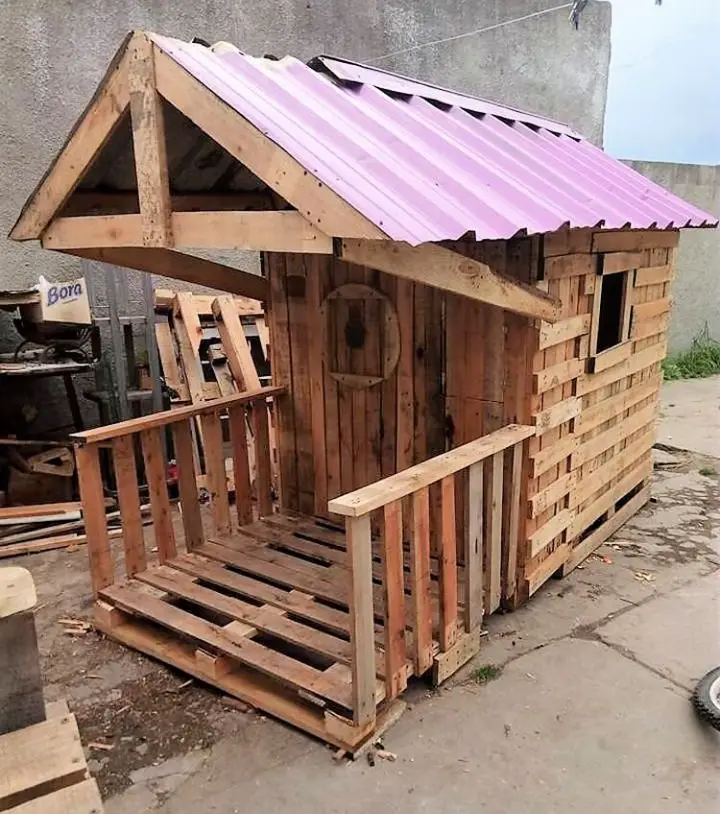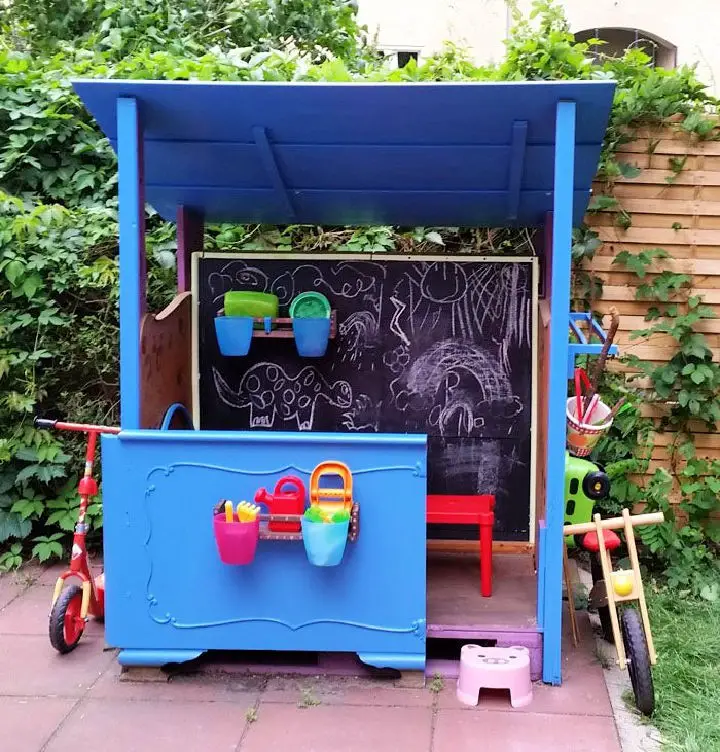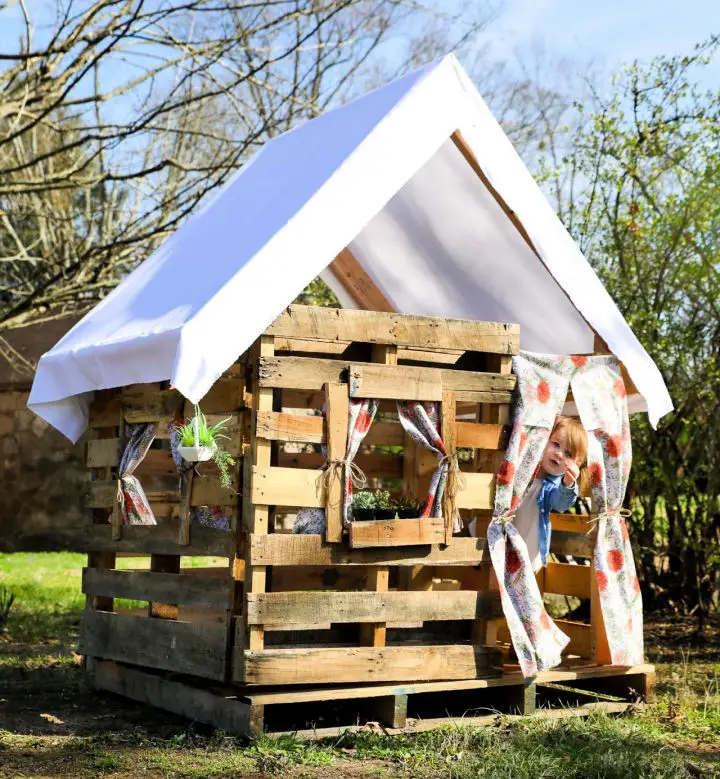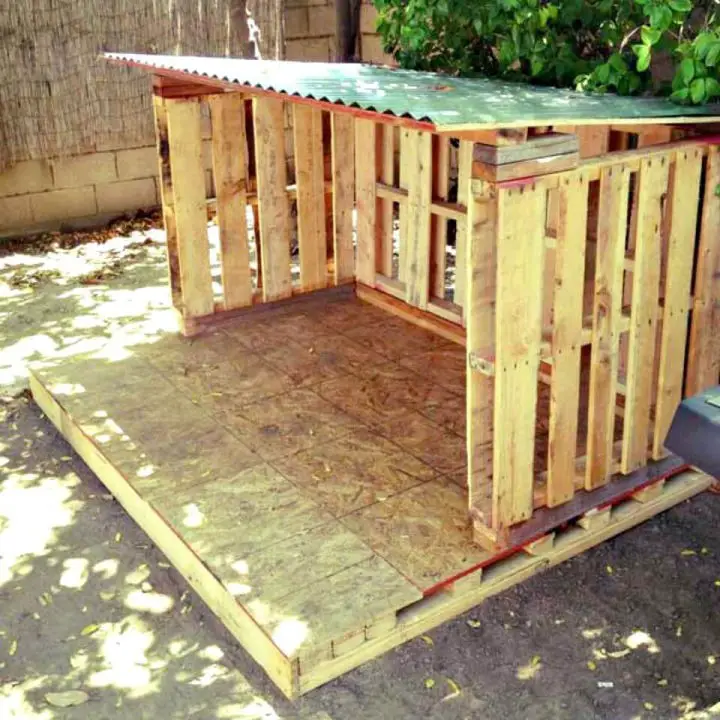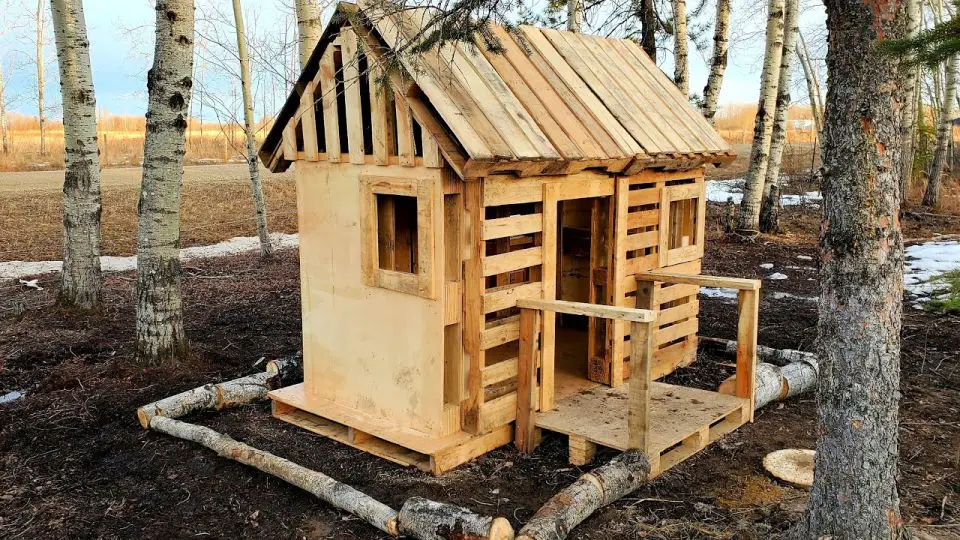
If you’re passionate about creating unique spaces for kids to play and imagine, building a DIY pallet playhouse can be an incredibly rewarding project. With 15 creative plans and ideas at your fingertips, you’ll not only be reducing waste by repurposing reclaimed pallets but also fostering family bonding through the process of transformation. By blending the thrill of DIY with the joy of gift-giving to your little ones, you’ll be creating a whimsical play area that will provide endless hours of imaginative fun. Whether you’re a seasoned crafter or a newcomer to DIY projects, our comprehensive guide will walk you through each step, from selecting the right materials and tools to constructing walls and adding personal touches, ensuring a seamless experience as you bring your vision to life. Let’s embark on this creative journey together, transforming your backyard into a charming pallet playhouse that promises to inspire countless hours of imaginative play.
Why Build a DIY Pallet Playhouse?
Upcycling pallets into DIY playhouses offers a trifecta of benefits for both kids and parents: environmental sustainability, cost-effectiveness, and creative freedom. This project not only reduces waste but also provides an opportunity to develop new skills, bond with your child, and nurture their imagination.By repurposing materials that might otherwise end up in landfills, you’re contributing to a more eco-friendly lifestyle. The cost of pallets is often zero or minimal, making this a budget-friendly venture. Plus, the DIY approach allows for total customization – from size to design – ensuring your playhouse meets your child’s unique needs and preferences.As you work on the project together, you’ll develop your own skills in carpentry and creative problem-solving. Your child will learn valuable lessons about building, recycling, and taking pride in their creations. This quality time spent making and playing together can be a powerful bonding experience, fostering memories that will last long after the playhouse is built.Beyond its physical presence, a pallet playhouse becomes a catalyst for imaginative play, encouraging kids to think creatively and explore the outdoors. In today’s digital age, it’s essential to prioritize outdoor activities that promote physical health and well-being. By building a pallet playhouse together, you’re not only creating a unique structure but also supporting your child’s overall development.
Safety Precautions for Building and Using a DIY Pallet Playhouse
As you begin crafting your own pallet playhouse, remember that safety must be the cornerstone of your endeavour. To ensure a successful and injury-free experience, take heed of these essential safeguards: First and foremost, always wear protective gear such as gloves and safety glasses when handling power tools or undertaking any task that may involve hazards like sharp objects or toxic substances. Make sure children are kept at a safe distance from the construction site to prevent accidental harm. Also, verify that all materials you’re using are free from any potential health risks, such as lead-based paints or asbestos-containing products.
Choosing the Right Pallets
When selecting pallets, it’s crucial to prioritize safety, especially when children will be using them. One key factor is the treatment process used to preserve the wood. Heat-treated pallets are generally considered safer than those that have been chemically treated. Additionally, inspect the pallet for any visible signs of damage or contamination, such as stains or spills, which could pose a risk to little ones.
Proper Handling of Pallets
When working with pallets, it’s essential to exercise caution to ensure a safe and enjoyable experience. To avoid potential hazards, always don protective gloves when handling these wooden structures. Furthermore, take the time to thoroughly sand down any rough edges or splinters to guarantee a smooth and splinter-free surface for your playhouse. This simple precaution can help prevent injuries and provide a worry-free environment for children to explore.
Stable Construction
When constructing a playhouse, it’s crucial to establish a solid foundation by ensuring the base is broad and the pallets are sturdy. A wide base not only prevents the structure from toppling over but also ensures stability. Additionally, placing the playhouse on a level surface is vital to prevent any potential sliding or shifting, guaranteeing a secure and comfortable playing experience for children.
Safe Play Practices
As the playhouse is completed, it’s crucial to instill safe play habits in children. Emphasize the importance of respecting the structure’s boundaries, avoiding climbing on the roof, as it may not be engineered to withstand their weight. Furthermore, perform regular inspections to identify and address any loose nails or splinters that could lead to injuries, ensuring a secure and enjoyable play environment.
Regular Maintenance
When it comes to ensuring the safety of your DIY pallet playhouse, regular maintenance is just as crucial as initial construction. Set aside time to inspect the playhouse periodically, looking out for any signs of wear and tear or damage that may have occurred since its last use. Promptly address any issues you find, whether it’s a loose board or a worn-out rope, to prevent accidents from happening. Remember, safety should always be your top priority when it comes to children’s play equipment. By staying on top of maintenance tasks, you can rest assured that your DIY pallet playhouse remains a safe and enjoyable space for your kids to explore and have fun.
Building a Pallet Playhouse: Guide for Beginners
Transforming pallets into a whimsical playhouse for your kids can be a rewarding project that not only breathes new life into old materials but also fosters creativity and imagination. By following this step-by-step guide, you’ll be able to recreate the magic of ThisDadGoesto11’s YouTube video and create a charming hideout for your little ones.
Gather Your Materials and Tools
To get started with building your own pallet coffee table, it’s essential to gather a substantial quantity of wooden pallets as the foundation material. In addition, you’ll likely require 2×4 lumber for added structural support, an assortment of screws suited for various applications, and a miter saw or circular saw for efficiently cutting the wood to fit your design needs. Moreover, a standard toolkit consisting of a drill, hammer, and measuring tape will be necessary to complete the project.
Stage 1: Foundation and Walls
When building your playhouse, start by selecting a flat area to lay the foundation. Begin with your base pallet, which can be a double-wide pallet for added space. For extra protection against tripping hazards, consider leaving some of the particle board intact. To create the back walls, lift one end of the base pallet and attach a vertical pallet using screws. Repeat this process on the other side if you’re aiming for a wider structure. To ensure stability, add additional support by attaching a 4-foot length of 2×4 lumber to the top edge of each back wall.
Stage 2: Side Walls and Front Entrance
To construct the side walls, place additional pallets perpendicular to the rear walls, ensuring they’re flush with the top of the 2×4 bracing you previously installed. Secure these pallets in place using screws, which will also help reinforce the structure as a whole.
The front walls and entrance are next, requiring you to measure and cut a single pallet in half to create a doorway that’s easily accessible for your kids. Once you’ve achieved this, attach the resulting pieces to the front of the structure, ensuring they’re securely fastened to prevent any shifting or movement.
Stage 3: Roof Construction
To establish a robust foundation for your playhouse’s roof, start by constructing a support frame using 2x4s. This framework should align with the top edges of your playhouse walls, providing a sturdy base for the roofing material to come. When selecting the roofing material, consider the desired style of the roof – whether it’s peaked or flat – and choose additional pallets or repurpose wood from existing pallets to cover the frame. A clever trick to aid in water runoff is to overlap the wooden pieces like shingles, ensuring a watertight seal.
Stage 4: Final Touches and Decoration
To construct a sturdy playhouse, it’s crucial to ensure the structure is stable from the outset. This may involve levelling the ground beneath it or adding additional screws for added rigidity. A stable foundation is vital to prevent any potential accidents or injuries.Once the basic framework is in place, you can focus on adding functional features like windows and a door. Cut out openings for natural light and ventilation, then frame them to give your playhouse a polished appearance. Additionally, make sure the door operates smoothly and safely, allowing children to easily enter and exit the structure.Finally, pay attention to the finer details to create a welcoming and safe environment. Sand down any rough edges to prevent splinters and injuries. You can also add a small porch or decorations like curtains, a painted sign, or even flower boxes to give your playhouse a personal touch.
Stage 5: Enjoy Your Creation
Involve your children in the decorating process by empowering them to transform the playhouse into a reflection of their unique personalities and interests. This not only fosters creativity and independence but also helps build a sense of ownership and pride in their new outdoor space.
Video Tutorial
While written guides can be incredibly helpful in walking you through the process of building a pallet playhouse, sometimes it’s nice to have a visual component to really bring the project to life. That’s where this YouTube video on building a pallet playhouse comes in – it offers a complementary approach that pairs nicely with the techniques discussed here. But let’s be real, building a playhouse is about more than just following instructions – it’s also about infusing your creation with love and making it a special space for your kids to enjoy. With that in mind, happy building!
Customization Ideas for Your DIY Pallet Playhouse
Transforming your DIY pallet playhouse into a one-of-a-kind haven for your kids is all about adding personal touches. To spark creativity, consider these innovative approaches: You could repurpose old wooden crates or fabric scraps to create distinct nooks and crannies within the structure. Alternatively, incorporate colorful tiles, glass bottles, or natural stones to add visual interest. For a more whimsical feel, hang twinkling lights or mobiles from the ceiling to create an enchanting ambiance. By infusing your DIY project with personality and flair, you’ll be creating a playhouse that’s truly tailored to your child’s unique style.
Paint and Decorations
Transforming a playhouse into a cozy haven for kids is an exciting project that can be achieved with a fresh coat of paint and some thoughtful decor choices. Why not involve your little ones in the process? Let them take charge of selecting bright, cheerful colors or even designing unique wall art. This collaborative effort will not only make the space more appealing but also instill a sense of pride and ownership among your children. To further enhance the ambiance, consider adding playful touches like curtains, rugs, or framed artwork that reflect their personalities.
Furniture and Accessories
Elevate your child’s imaginative play by incorporating functional and whimsical elements into the playhouse. A compact table and chair setup can foster creative storytelling, while shelves designed specifically for toys can keep playtime tidy and organized. For an added touch of coziness, consider a snug reading nook where children can curl up with their favorite books. To further encourage creative expression, add a chalkboard wall perfect for drawing masterpieces or a mailbox that sparks imaginative mail exchanges. Alternatively, introduce the concept of pretend cooking with a miniature kitchen set, complete with play utensils and dishes.
Outdoor Features
Expanding the play space with outdoor elements can unlock new avenues of entertainment for kids. Think about incorporating a sandbox, a slide, or a swing to create an immersive experience. Additionally, consider setting up a mini-garden where children can develop their understanding of botany and the natural world, fostering a sense of curiosity and connection with nature.
Themed Playhouse
Imaginative play is at its best when children have a space to call their own. One way to foster this creativity is by building a themed playhouse that speaks directly to your child’s passions. A castle, pirate ship, or fairy cottage can transport them to new worlds and spark hours of imaginative exploration.
The key to creating the perfect playhouse lies not in the design itself, but in involving your children in the customization process. Let their unique perspectives guide you as you decide on every detail, from the color scheme to the types of furniture and accessories. By doing so, you’ll create a space that’s truly their own, and one that they’ll cherish for years to come.
Maintenance Tips for Your DIY Pallet Playhouse
To keep your DIY pallet playhouse in top condition, guaranteeing its continued safety and entertainment value for your kids, consider these maintenance pointers:
Regular Inspections
Conducting routine inspections of your playhouse is crucial to ensure the structure remains safe and secure for years to come. Take the initiative to thoroughly examine every aspect of the playhouse, paying close attention to areas prone to wear and tear, such as loose nails, splinters, or any damaged components that may require repair or replacement.
Weatherproofing
For added longevity and protection against the forces of nature, consider implementing measures to shield your playhouse from the elements. A simple yet effective approach would be to apply a durable, weather-resistant coating – such as paint or varnish – to its exterior surfaces. Alternatively, you could take it a step further by installing a waterproof roofing system, ensuring your playhouse remains safe and secure through even the most inclement weather conditions.
Cleaning
To maintain a hygienic atmosphere within the playhouse, make it a habit to perform routine cleaning tasks. This involves clearing away any debris such as dirt, leaves, or other loose materials that may have accumulated on the floor. Additionally, regularly wiping down surfaces with a damp cloth can help prevent the buildup of germs and bacteria. By incorporating these simple yet effective habits into your daily routine, you’ll be creating a clean and healthy environment for your children to enjoy.
Repainting
As the playhouse ages, the paint may gradually chip or lose its vibrancy. This natural process presents an ideal moment to revive the structure’s appearance and potentially update its design or theme. In fact, regularly maintaining your playhouse can ensure countless hours of wholesome fun for your children in years to come. It is essential to allocate time and effort into preserving its condition, thereby warranting a lasting and cherished family experience.
FAQs On DIY Pallet Playhouse
In this section, we tackle the top concerns surrounding the construction of a DIY pallet playhouse, striving to ensure that your project unfolds with ease and satisfaction.
What materials do I need for a DIY pallet playhouse?
To construct a pallet playhouse, the essential toolkit includes wooden pallets, which will depend on the design’s complexity. Additionally, you’ll need screws in various sizes to provide structural support. Two-by-four lumber can also be utilized for added stability. To facilitate construction, a skill saw, drill, hammer, and measuring tape are necessary tools. While optional, having paint, decorative items, and basic safety gear like gloves and goggles can enhance the playhouse’s appearance and user experience.
How many pallets are required to build a playhouse?
When it comes to building a playhouse, the number of pallets required can fluctuate significantly depending on the structure’s size and design. On average, a straightforward playhouse might necessitate between 8 to 12 pallets. To accommodate potential customization or future repair needs, it’s recommended to gather a few extra pallets, allowing for a more flexible and adaptable building experience.
Is it safe to use pallets for a children’s playhouse?
When selecting pallets, proceed with caution. Give them a thorough inspection to ensure they’re free from chemical treatments, nails, and splinters. Opt for pallets marked ‘HT’ as these have been heat-treated instead of chemically treated. Before using the pallets, sand down the wood to create a smooth surface that’s safe for children to enjoy.
Can I customize the size of my pallet playhouse?
Customizing a DIY pallet playhouse offers unparalleled flexibility when it comes to its size and shape. By adjusting the number of pallets employed, cutting them to fit specific dimensions, or combining them in unique ways, you can create a structure that seamlessly integrates into your available space while catering to your child’s personal preferences.
How can I make my pallet playhouse weatherproof?
To ensure your pallet playhouse remains weather-tight, consider implementing the following measures: Firstly, apply a waterproof sealant or coat of paint to protect the wooden framework from the elements. This will not only safeguard against rain damage but also shield it from the harsh effects of direct sunlight. Secondly, design a sloped roof using materials such as shingles or a tarp that allow water to naturally flow away from the structure, thereby preventing accumulation around its perimeter. Lastly, guarantee proper drainage in the surrounding area to prevent puddles and other forms of standing water.
What tools are required for assembling a pallet playhouse?
To get started with upcycling, you’ll need to arm yourself with the right tools. First, a reliable saw is essential – whether it’s a skill saw or handsaw, this will allow you to cut your pallets into manageable pieces. A drill is also crucial for driving screws and securing any wooden components in place. Measuring tape ensures that your projects are accurate and precise, while a hammer comes in handy for any nail adjustments or final touches. And of course, no workshop is complete without some basic safety gear – gloves and goggles can help prevent accidents and keep you protected as you work.
How do I ensure the playhouse is stable?
To achieve a stable setup, begin by placing the playhouse on a flat and level surface. Reinforcing the foundation and walls with 2x4s can provide added structural support. When it comes to connections, prioritize screws over nails for enhanced durability. Additionally, consider anchoring the playhouse to the ground in areas prone to strong winds to prevent shifting or toppling. By taking these precautions, you’ll be able to create a secure and stable environment for your playhouse.
Can I add windows and doors to the playhouse?
When it comes to adding windows and doors to your DIY playhouse, you’ll be pleased to know that the process is relatively straightforward. To create a window opening, start by measuring and cutting out the required space within the pallet walls. Once the opening is created, sand down the edges to ensure they’re smooth and free of splinters for added safety.For the door, cut a pallet plank to your desired size and attach it to the playhouse frame using hinges. Make sure the openings are completely smooth and safe, as you wouldn’t want any accidents or injuries occurring while children are playing in their new hideaway.
What are some decoration ideas for a pallet playhouse?
When it comes to decorating your pallet playhouse, think beyond the structure itself and focus on creating an immersive environment that sparks your child’s imagination. To get started, consider painting the exterior in bright, kid-friendly colors that can’t help but put a smile on their face. Next, bring the inside to life with cozy elements like curtains, rugs, or plush cushions that invite exploration and play. For a truly magical touch, add some solar-powered lights that will make it seem like the playhouse is twinkling just for your little ones. And don’t forget to think outside the box – literally! A small porch or garden area around the playhouse can provide an extra layer of play space and encourage kids to get creative with their outdoor adventures.
How can I involve my child in the building process?
When it comes to building a DIY pallet playhouse, involving your child can be an excellent way to create lasting bonds and shared experiences. Depending on their age and abilities, they can participate in various aspects of the process, such as painting and decorating the structure, making design and feature decisions, or even handling simple tasks like holding materials or handing tools to you. It’s essential to prioritize safety above all else and maintain close supervision during construction activities to ensure a fun and enjoyable experience for everyone involved. By doing so, you’re not only creating a unique play space but also teaching your child valuable skills and making memories that will last a lifetime.
15 DIY Pallet Playhouse Plans and Ideas (How to Build)
Unleash creativity and bring imagination to life by transforming ordinary pallets into extraordinary DIY playhouses. Explore a curated selection of 15 innovative pallet-based designs, each one providing the blueprint for constructing a unique outdoor playground that sparks childhood wonder.
How to Make a Rustic Pallet Playhouse
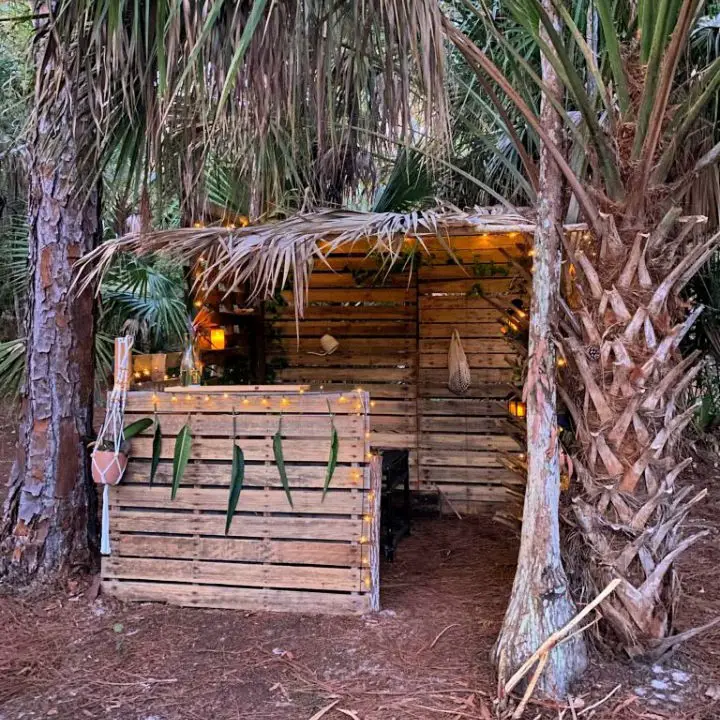
Transform your backyard into an enchanting playground for kids with a creative DIY rustic pallet playhouse inspired by House Mix’s project. By repurposing 8 pallets, some plastic roof panels, and a few screws, you can craft a unique, eco-friendly, and budget-friendly haven that your children will treasure.
As the sun sets, add solar twinkle lights and battery candles to bring the playhouse to life at night, creating a warm and inviting atmosphere that’s perfect for cozying up. This sturdy structure stands tall enough for older kids to enjoy, ensuring every family member can revel in your backyard paradise.
Making a Playhouse Out of Pallet
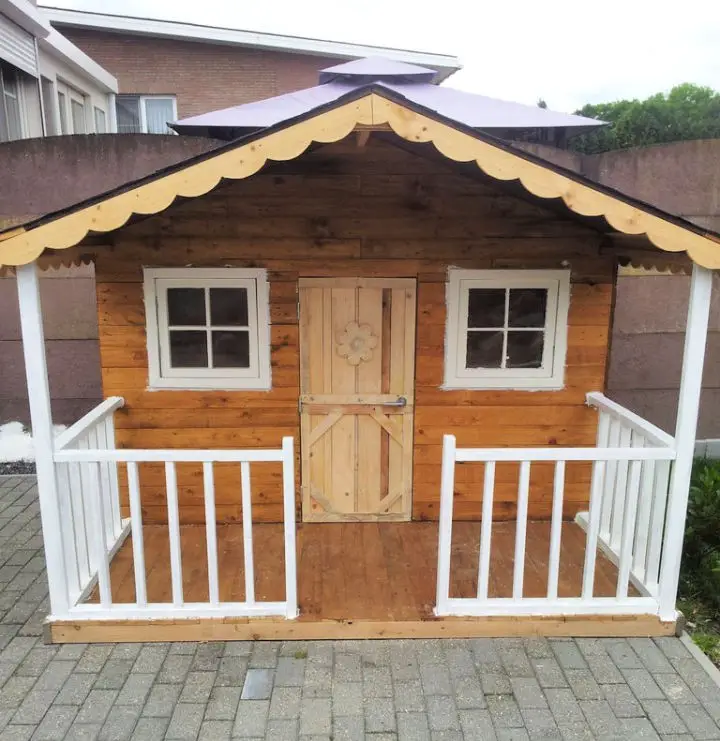
Transforming pallets into a charming playhouse is an exciting DIY project that showcases creativity in reusing materials. With a budget of approximately €150 for essentials like screws and paint, this Instructables guide takes you through each step, from planning to painting. By following the comprehensive guide, you’ll be able to create a safe and appealing play space for children in your backyard. This engaging project is perfect for igniting imagination and proving that with a little creativity, anyone can craft something special from ordinary materials.
DIY Three Wooden Pallet Play House
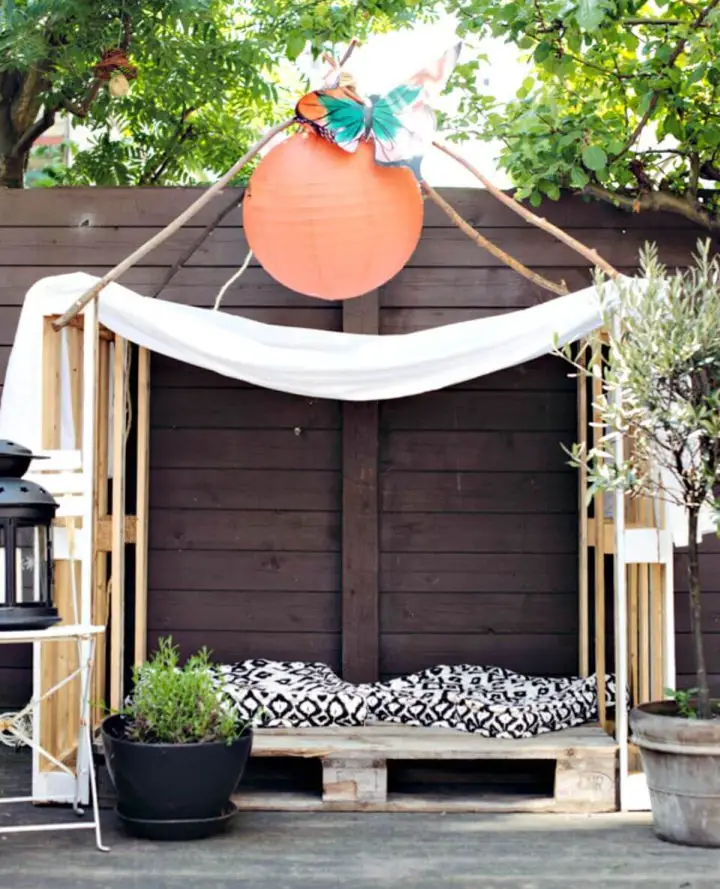
Transform your deck into a charming summer haven with a DIY three-pallet playhouse that’s both practical and affordable. To ensure stability, utilize L-brackets and sturdy branches to create the base structure. Elevate the space with soft fabrics and warm lanterns for a cozy ambiance. As you relax in this outdoor retreat, indulge in sweet treats like lemon pound cake and crisp Sparkling Orange Pellegrino. Drawing inspiration from Tina Fussell’s clever design on A Subtle Revelry, this project is perfect for kids and adults alike to enjoy. Embrace the simplicity of this wooden playhouse and create a fun and budget-friendly outdoor oasis that’s sure to delight.
Build Your Own Pallet Playhouse
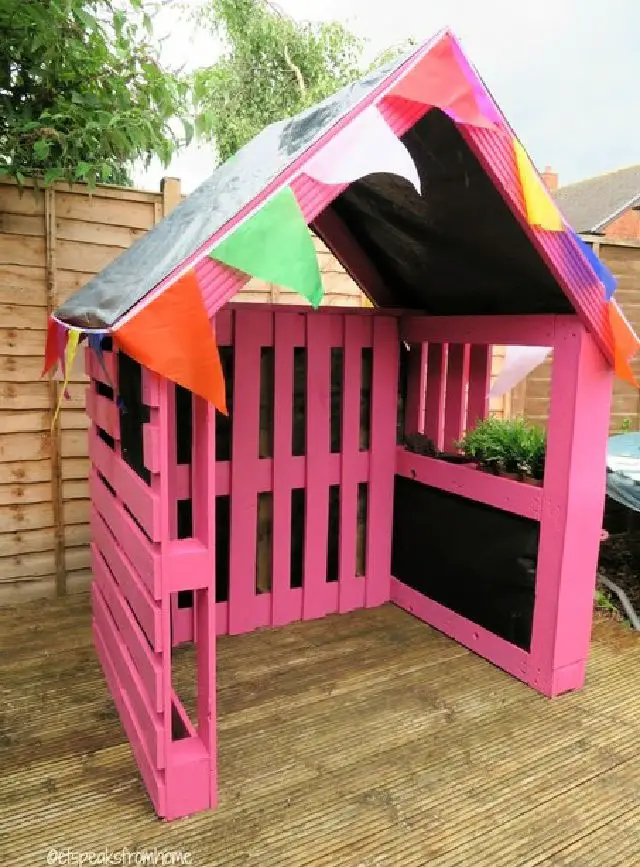
Transforming discarded pallets into a whimsical garden playhouse is an exciting DIY endeavor. This comprehensive guide, courtesy of ET Speaks From Home, demystifies the process of constructing a sturdy and charming playhouse using only a few pallets and decking planks. With a focus on accessible tools like Impact Drivers and Circular Saws, as well as practical roofing techniques, this project empowers you to build a personalized outdoor haven that fostills childhood fantasies with creativity and manual skill.
How to Build a Pallet Playhouse
Embark on an eco-friendly adventure to transform your backyard with a one-of-a-kind Pallet Playhouse project. For those eager to put their free time to good use and looking for a budget-friendly endeavor, this creative guide harnesses the power of shipping pallets and reclaimed wood. With a total cost of approximately $200, largely spent on paint, this project not only creates a whimsical retreat for your kids but can also serve as a practical shed. By embracing the spirit of recycling and following detailed step-by-step instructions available on Instructables, you’ll be well on your way to crafting a unique space that’s sure to provide endless hours of fun and entertainment.
DIY Pallet Playhouse With Detailed Instructions
Discover the joy of DIY by creating a charming pallet playhouse for your little ones! With a dash of creativity and some repurposed pallets, you can craft a space where countless adventures will unfold. Don’t worry about not having all the necessary tools – get creative with what you already have or borrow what’s needed. Assemble the structure using primarily pallet wood, including specialized supports known as ‘runners.’ Add a personal touch by creating your own fabric roof, making it a cozy retreat for your little ones to enjoy. For a detailed and easy-to-follow guide, check out GoodHomeDesign’s comprehensive walkthrough and bring this delightful playhouse to life.
How to Do You Make a Pallet Playhouse
Create a whimsical pallet playhouse that’s both an entertaining and budget-friendly endeavor! This step-by-step guide, available at Instructables, simplifies the process by breaking it down into manageable tasks. By utilizing readily available materials and tools, you can construct a secure, eco-conscious space where children can let their imagination run wild. Perfect for parents and DIY enthusiasts seeking a fulfilling project that combines creativity and sustainability, this playhouse is an ideal way to spark kids’ imaginations while promoting environmentally responsible design.
Building a Pallet Playhouse in 8 Easy Steps
Transform ordinary pallets into an extraordinary playhouse for your little ones with this step-by-step guide. By stacking planks in a creative hut style, you’ll create a cozy haven for imaginative play and activities. The tutorial covers adding sturdy features and a weatherproof roof to build a substantial, mid-sized playhouse that will withstand the test of time. Let your creativity shine as you bring a whimsical wonderland to life in your backyard, delighting your children with a magical space they’ll cherish.
Upcycled Scrap and Pallet Wood Playhouse
Join forces with nature and unleash the creativity of your little ones by transforming upcycled scrap and pallet wood into an enchanting playhouse. This eco-friendly endeavor is perfect for families committed to reducing waste and conserving resources. By repurposing discarded materials, you’ll not only create a safe haven for imaginative play but also instill valuable lessons about sustainability in your children. Follow our step-by-step guide, and watch as the ordinary becomes extraordinary, inspiring a sense of wonder while promoting environmentally responsible practices.
How to Make Your Own Pallet Playhouse
Imagine a whimsical playhouse that brings joy to your child’s outdoor adventures. You don’t need a big budget or expert DIY skills to make it happen. With our simple guide, you can turn ordinary pallets into an extraordinary playhouse that sparks creativity and teaches valuable hands-on skills. Not only will this project create lasting memories with your kiddo, but it’ll also be a great way to spend quality time together. And the best part? You can start building today!
DIY Pallet Playhouse at Home
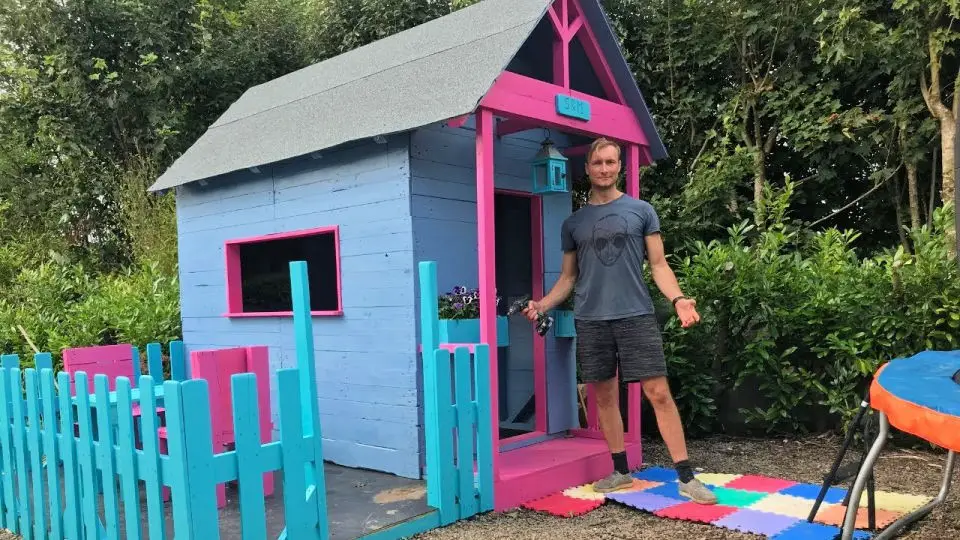
Transforming a backyard into a kid’s haven is a breeze with our step-by-step DIY pallet playhouse guide. By repurposing wooden pallets and injecting a dash of creativity, we’ve created a sustainable playground that’s both budget-friendly and visually appealing. From laying the groundwork to installing a modern roofline, every stage prioritizes safety through the use of 3M Tekk Protection gear. To complete the playhouse, add a touch of comfort with FLOR carpet tiles, ensuring a fun-filled space where kids can play without worrying about discomfort. Learn how to bring your next family project to life at Built by Kids.
DIY Pallet Playhouse – Step by Step Instructions
Embark on an exciting DIY adventure by following the step-by-step guide on building a pallet playhouse for kids, as creatively demonstrated by This Dad Goes to 11. The video tutorial takes you through the process of sourcing suitable pallets, constructing solid walls, and installing a durable roof that withstands various weather conditions, ultimately creating a safe haven for children. By leveraging simple materials and your own handiwork, you’ll have the opportunity to forge lasting memories with your little ones. This project is ideal for guardians seeking to craft a unique play area that ignites joy and imagination in their young ones.
Make a Playhouse From Pallets and Timber
Embark on a creative odyssey as we transform discarded pallets and timber into a whimsical kids’ playhouse, blending recycled materials with fresh wood. This lockdown-born project embodies the perfect blend of sustainability and affection, making it an ideal endeavor for those seeking to create a safe haven for their children. Through practical guidance and inspiration, even novice DIY enthusiasts can successfully bring this charming structure to life, filling your backyard with joy and laughter.
Recycled Pallet Wood Playhouse Ideas
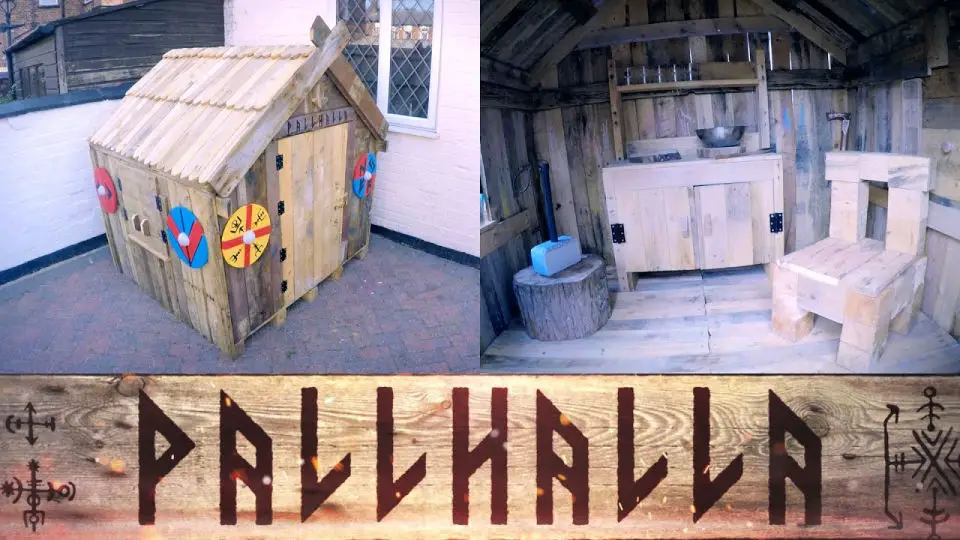
Bring the thrill of Viking exploration to your backyard with PALLHALLA, a one-of-a-kind playhouse fashioned from repurposed pallet wood. This whimsical creation not only sparks imagination but also celebrates sustainability and creativity. Despite being crafted during a lockdown, its rustic charm is a testament to the resourcefulness and dedication of its creators. Follow along as we guide you through a step-by-step process to build your own PALLHALLA, resulting in an unforgettable and eco-conscious addition to your outdoor space.
Handmade Pallet Playhouse Tutorial
Transform your backyard into an enchanting playground for kids by upcycling pallets into a whimsical DIY playhouse. This budget-friendly project is perfect for fostering creativity and outdoor fun, providing hours of imaginative playtime for the little ones. With step-by-step guidance, you can easily turn old pallets into a charming abode that will encourage kids to venture outdoors and explore their surroundings. For a detailed walkthrough of this engaging and sustainable project, check out our informative video guide. Start building memories today with this innovative and eco-friendly DIY endeavor.
Conclusion:
In the end, constructing a DIY pallet playhouse is not only a cost-effective and eco-friendly project, but also an opportunity to create lasting memories with your family. By following our comprehensive guide, which includes 15 DIY pallet playhouse plans and ideas, you’ll gain a solid understanding of how to bring this vision to life. From collecting materials to adding the finishing touches, every step is carefully outlined to ensure that your finished project is not only beautiful but also safe and durable enough to withstand the elements. Moreover, involving your child in the building process can be a valuable learning experience, fostering creativity, imagination, and bonding. As you transform simple pallets into a whimsical hideaway, you’ll be creating a treasured haven that will bring joy to children for years to come.

