Gather the supplies
As I navigated the chaos of ongoing renovations in my home, my trusty rolling pin remained elusive. Amidst the sea of boxes and cluttered shelves, it was nowhere to be found – a victim of the great stationery purge. In search of solace, my family and I decided to take advantage of the opportunity to stock up on essentials, including salt, all-purpose flour, and cold water. The impromptu shopping trip not only provided us with the necessary ingredients but also granted us a sweet reprieve in the form of a well-deserved ice cream treat.
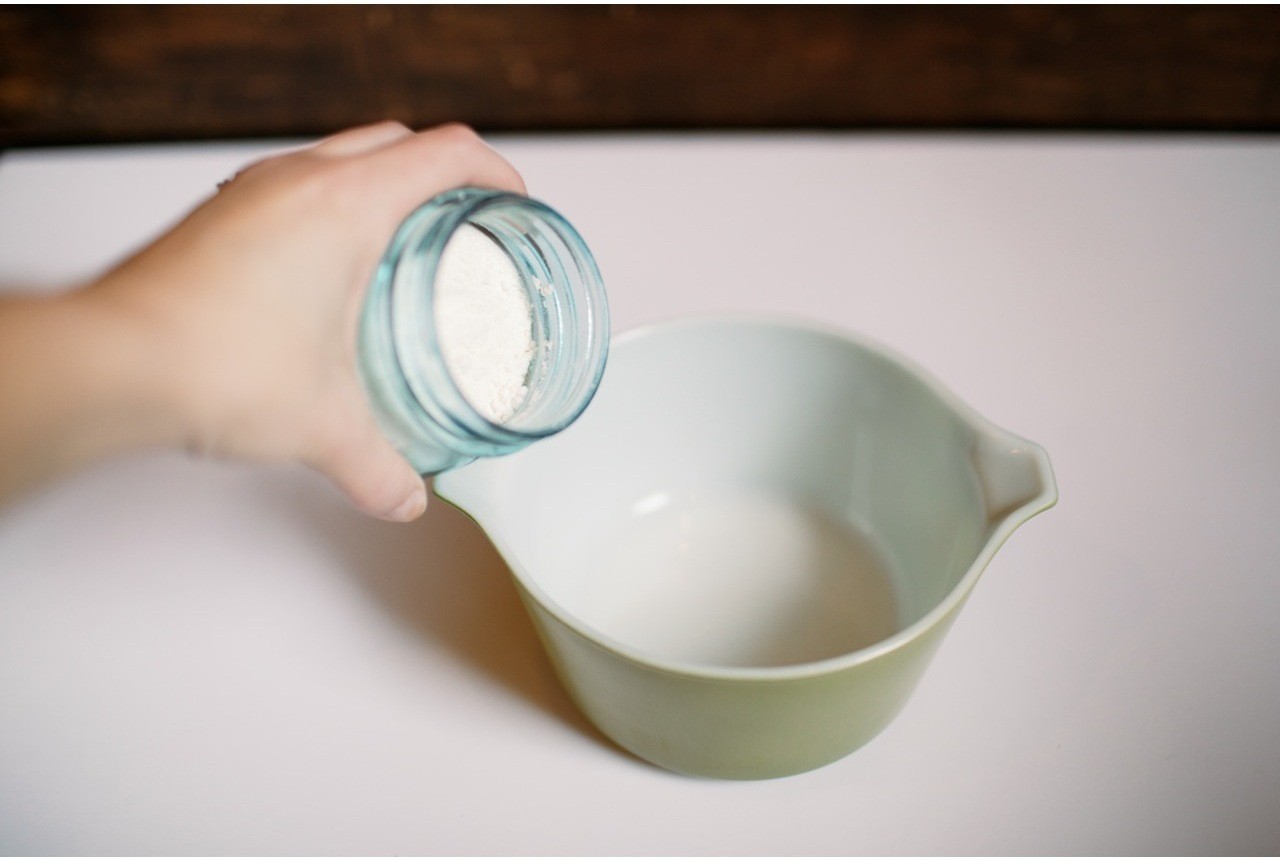
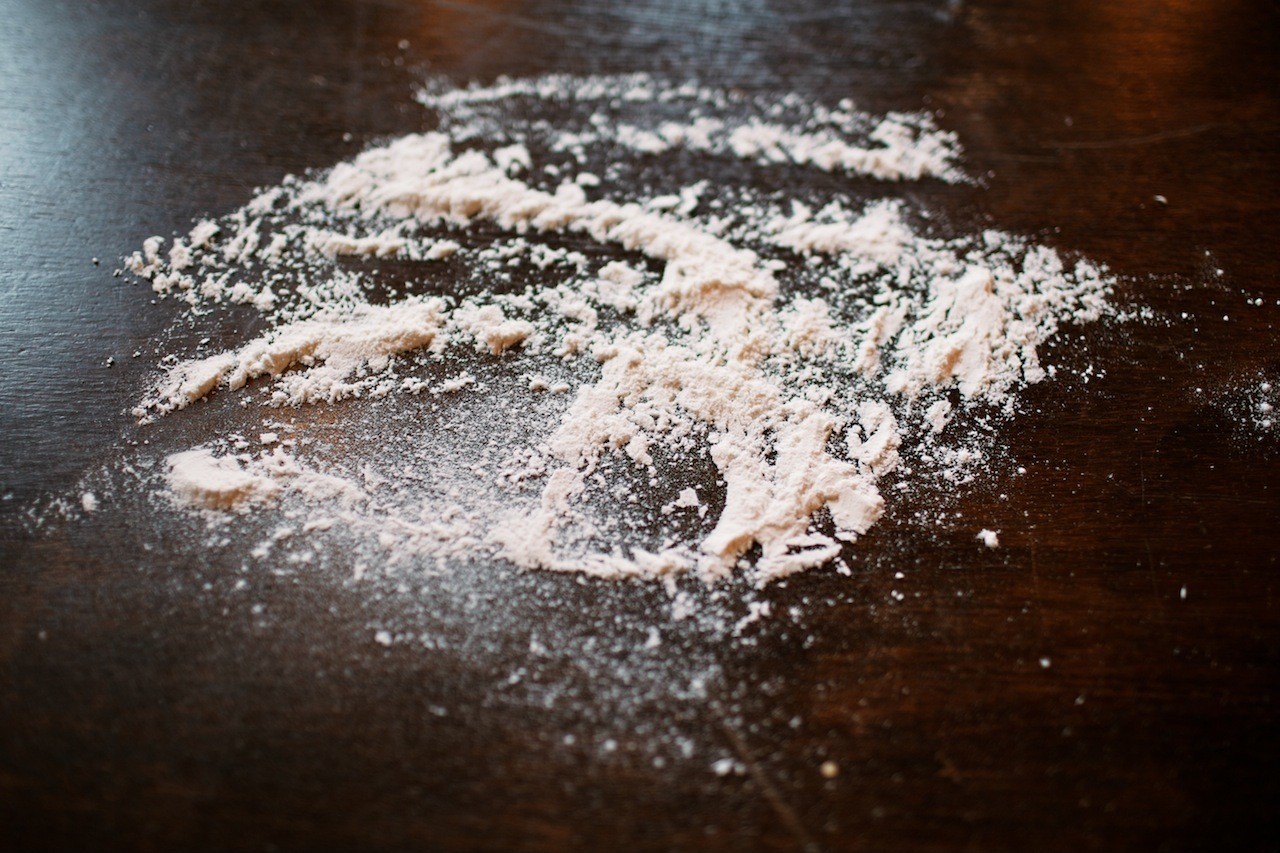
Mix the ingredients
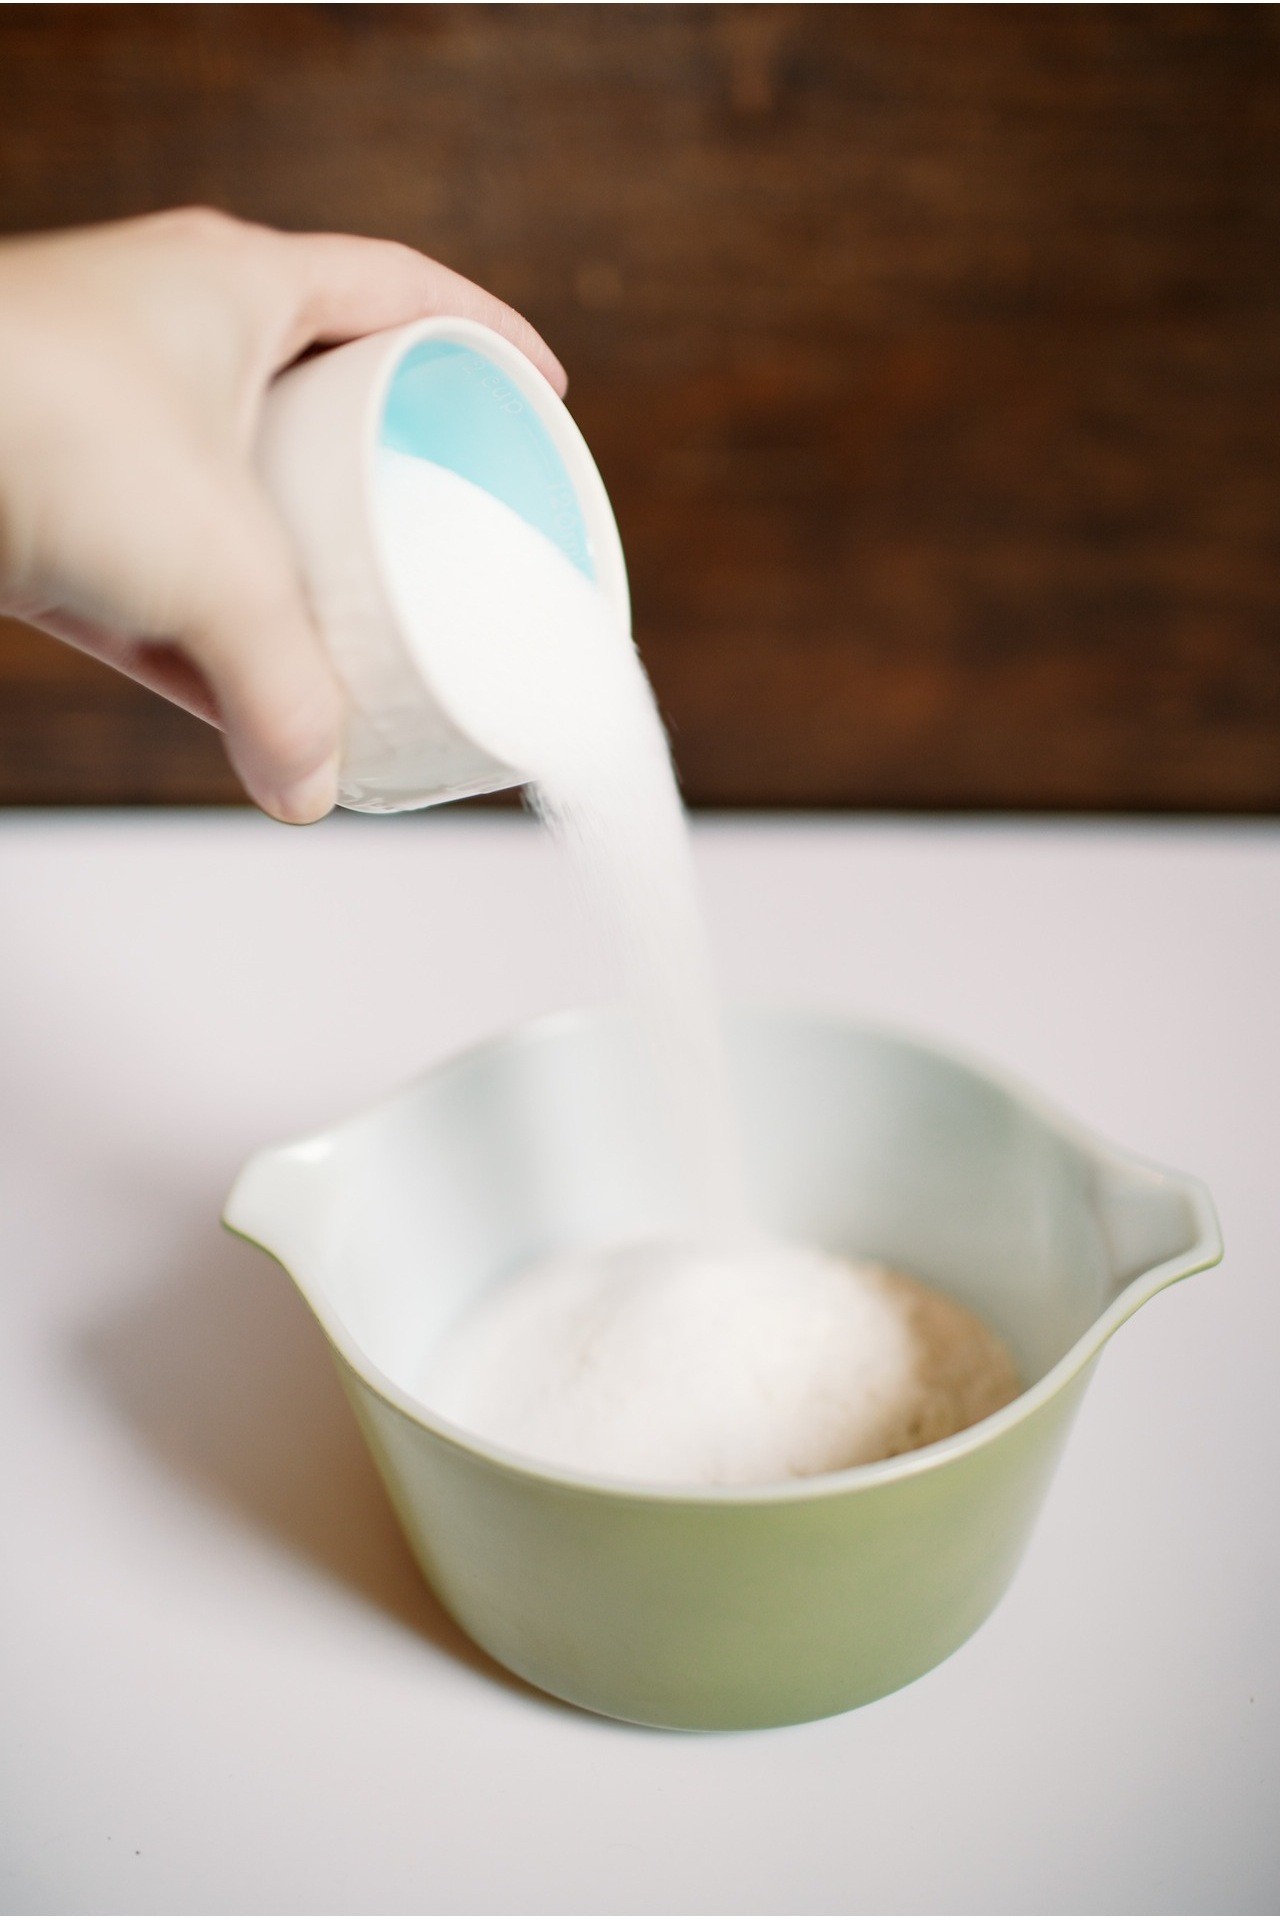
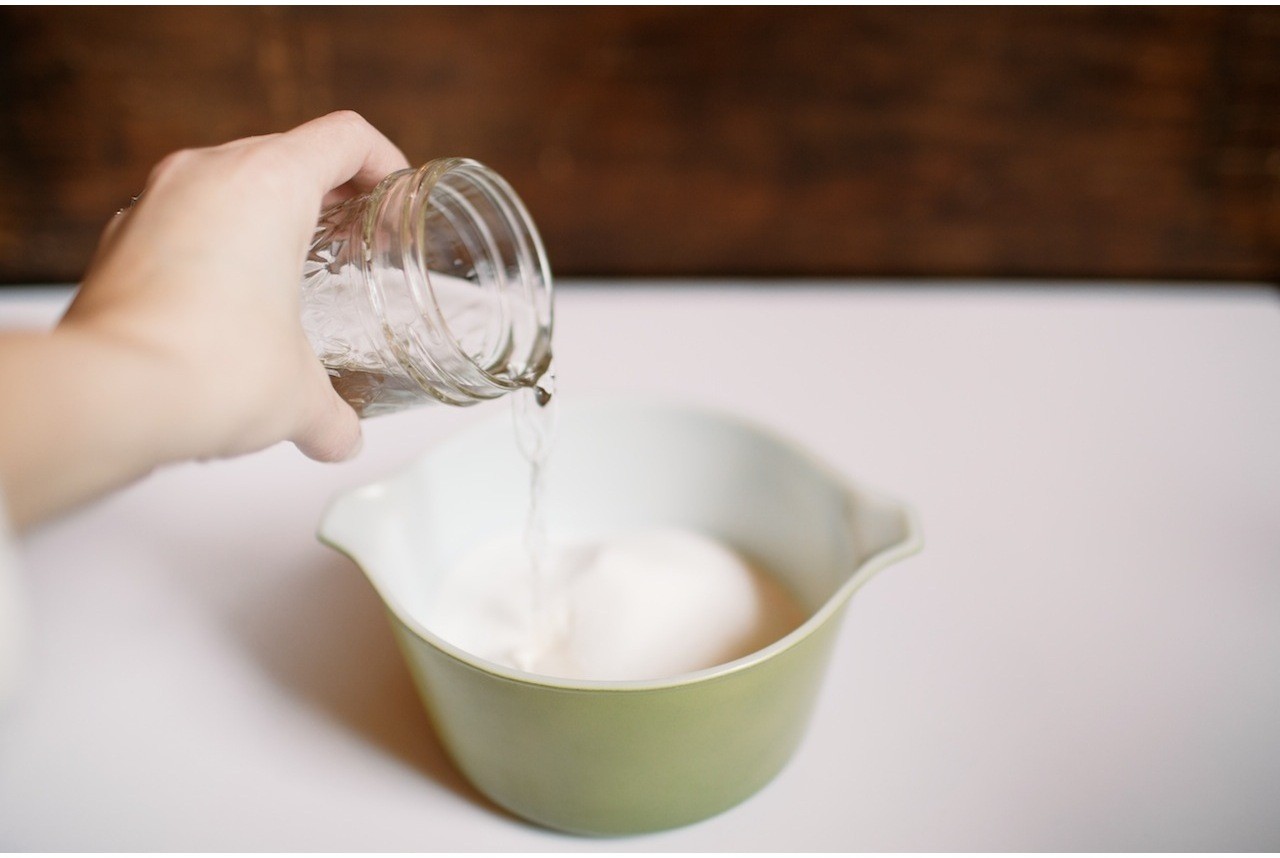
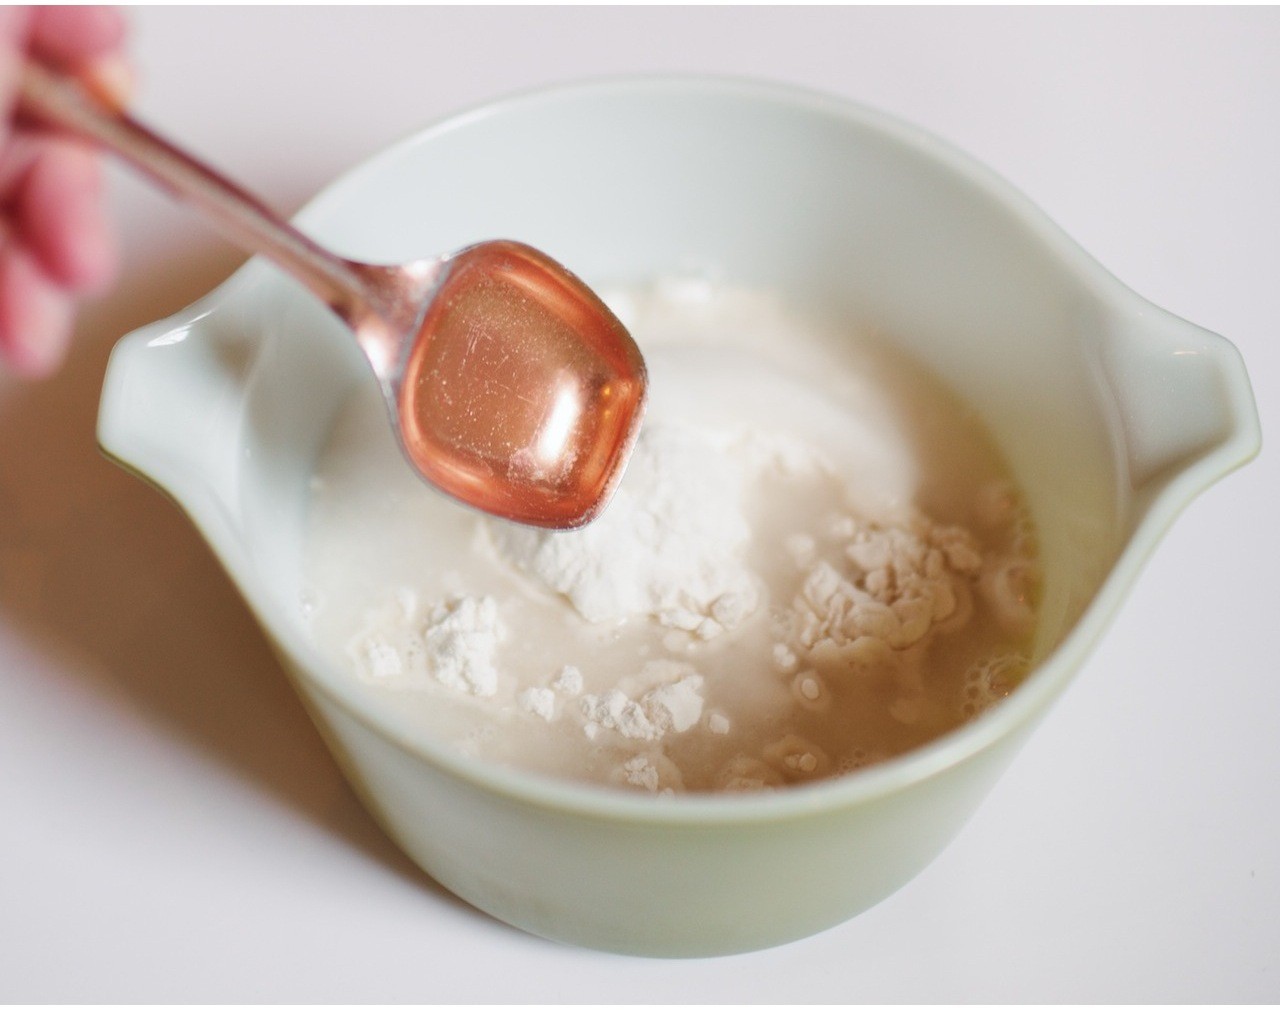

To begin, I combined three essential ingredients: salt, all-purpose flour, and cold water. The size of the container is crucial, so make sure you have one that can accommodate your hands if you plan to knead the dough by hand. In my case, I used a smaller container and opted for a spatula instead. When adding the water, it’s essential not to do it all at once, as this can result in a liquidy mixture rather than a workable dough. Instead, I started with a small amount of flour and salt in the container, then gradually added the water, mixing thoroughly after each addition until all the liquid was incorporated.
Knead the dough
Kneading the dough shouldn’t take too long, roughly 25 minutes. Find a comfortable countertop where you can easily extend your arms and get into a rhythm. Start by flouring the surface and gently scraping out the dough from its container. As you work the dough, push it down and outwards to develop that soft, pliable texture. If needed, add a small amount of flour to prevent the dough from sticking to the counter – it’s much easier to add a little more flour than it is to remove excess dough. With these simple steps, you’ll be well on your way to shaping your perfect loaf.
Roll the dough
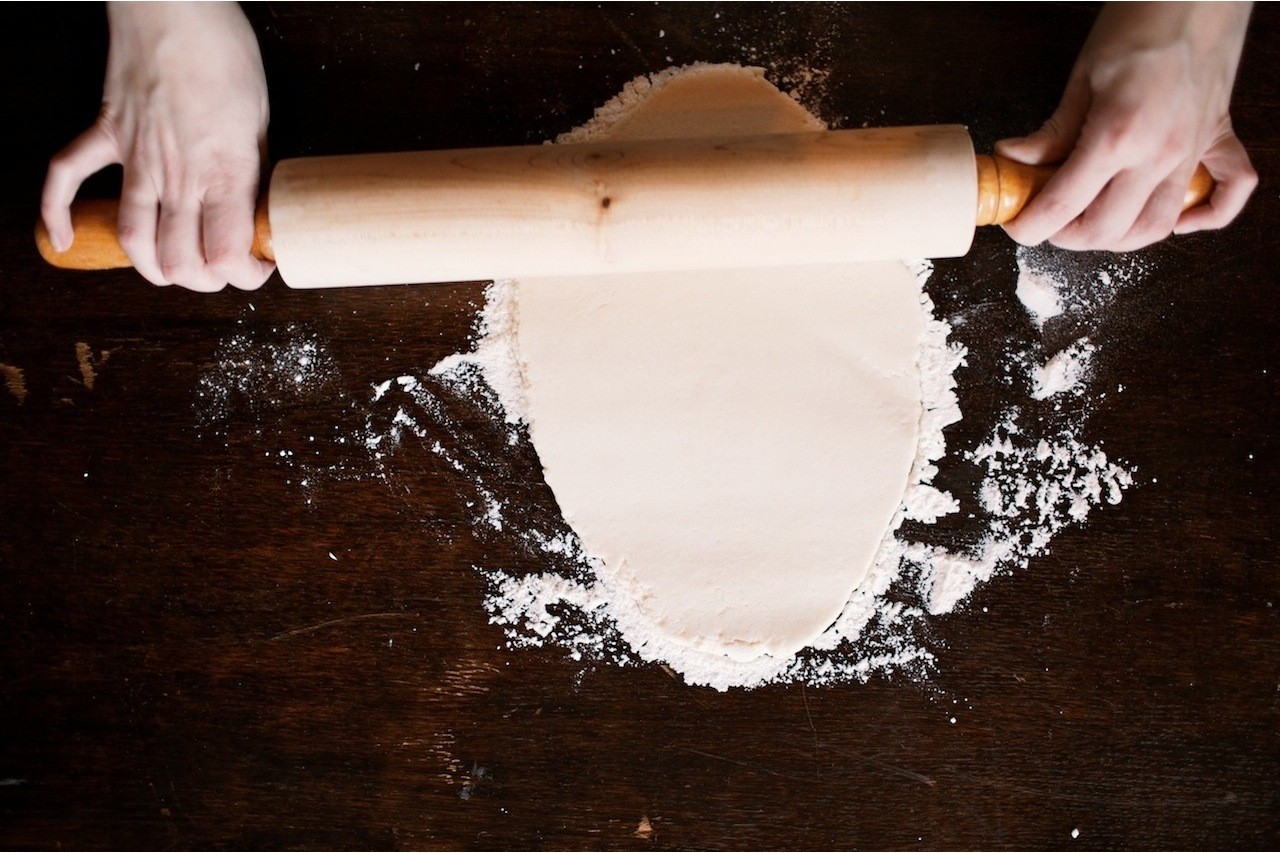
As I began shaping the dough into its final form, my trusty rolling pin proved to be an essential tool. By applying gentle yet consistent pressure, I was able to thin out the dough to a precise 1/8 inch thickness. While this process required me to add a generous amount of extra flour to prevent sticking, I found that it was well worth the effort. To ensure accuracy, I employed a scale to measure the thickness, but for those who prefer a more intuitive approach, simply eyeballing the dough can also produce satisfactory results.
Cut out the shape
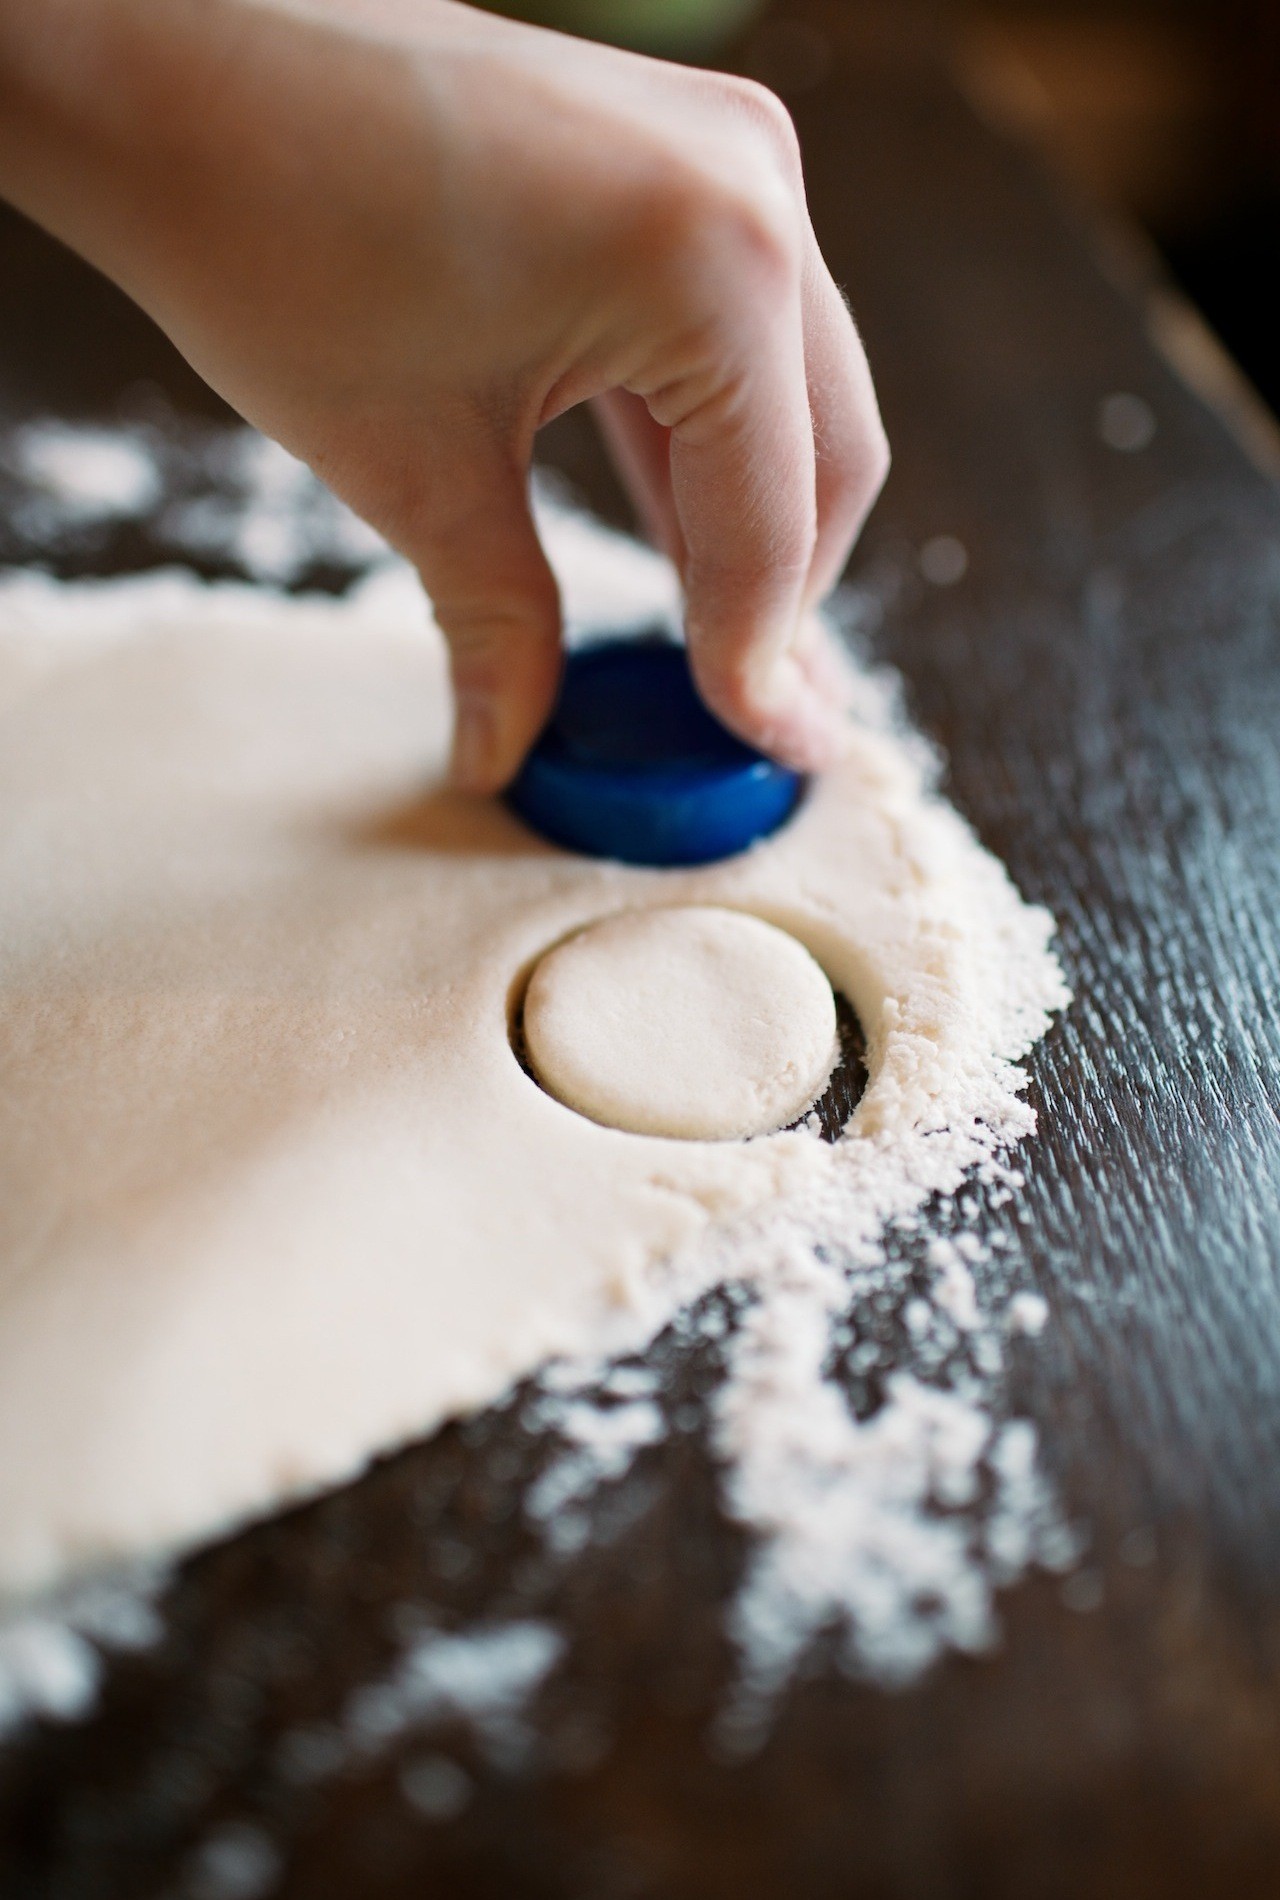
As we move forward from the initial fun, I’m excited to share the creative process that unfolded. While my little ones initially wanted to experiment with various shapes, our lack of a shape cutter wasn’t going to stop us. We got resourceful and used a spice lid as a makeshift cutter – feel free to use a water bottle cap or any other material that can help achieve the desired shape. I only wish we had an array of cutters on hand to further enhance the experience!
Stamp them
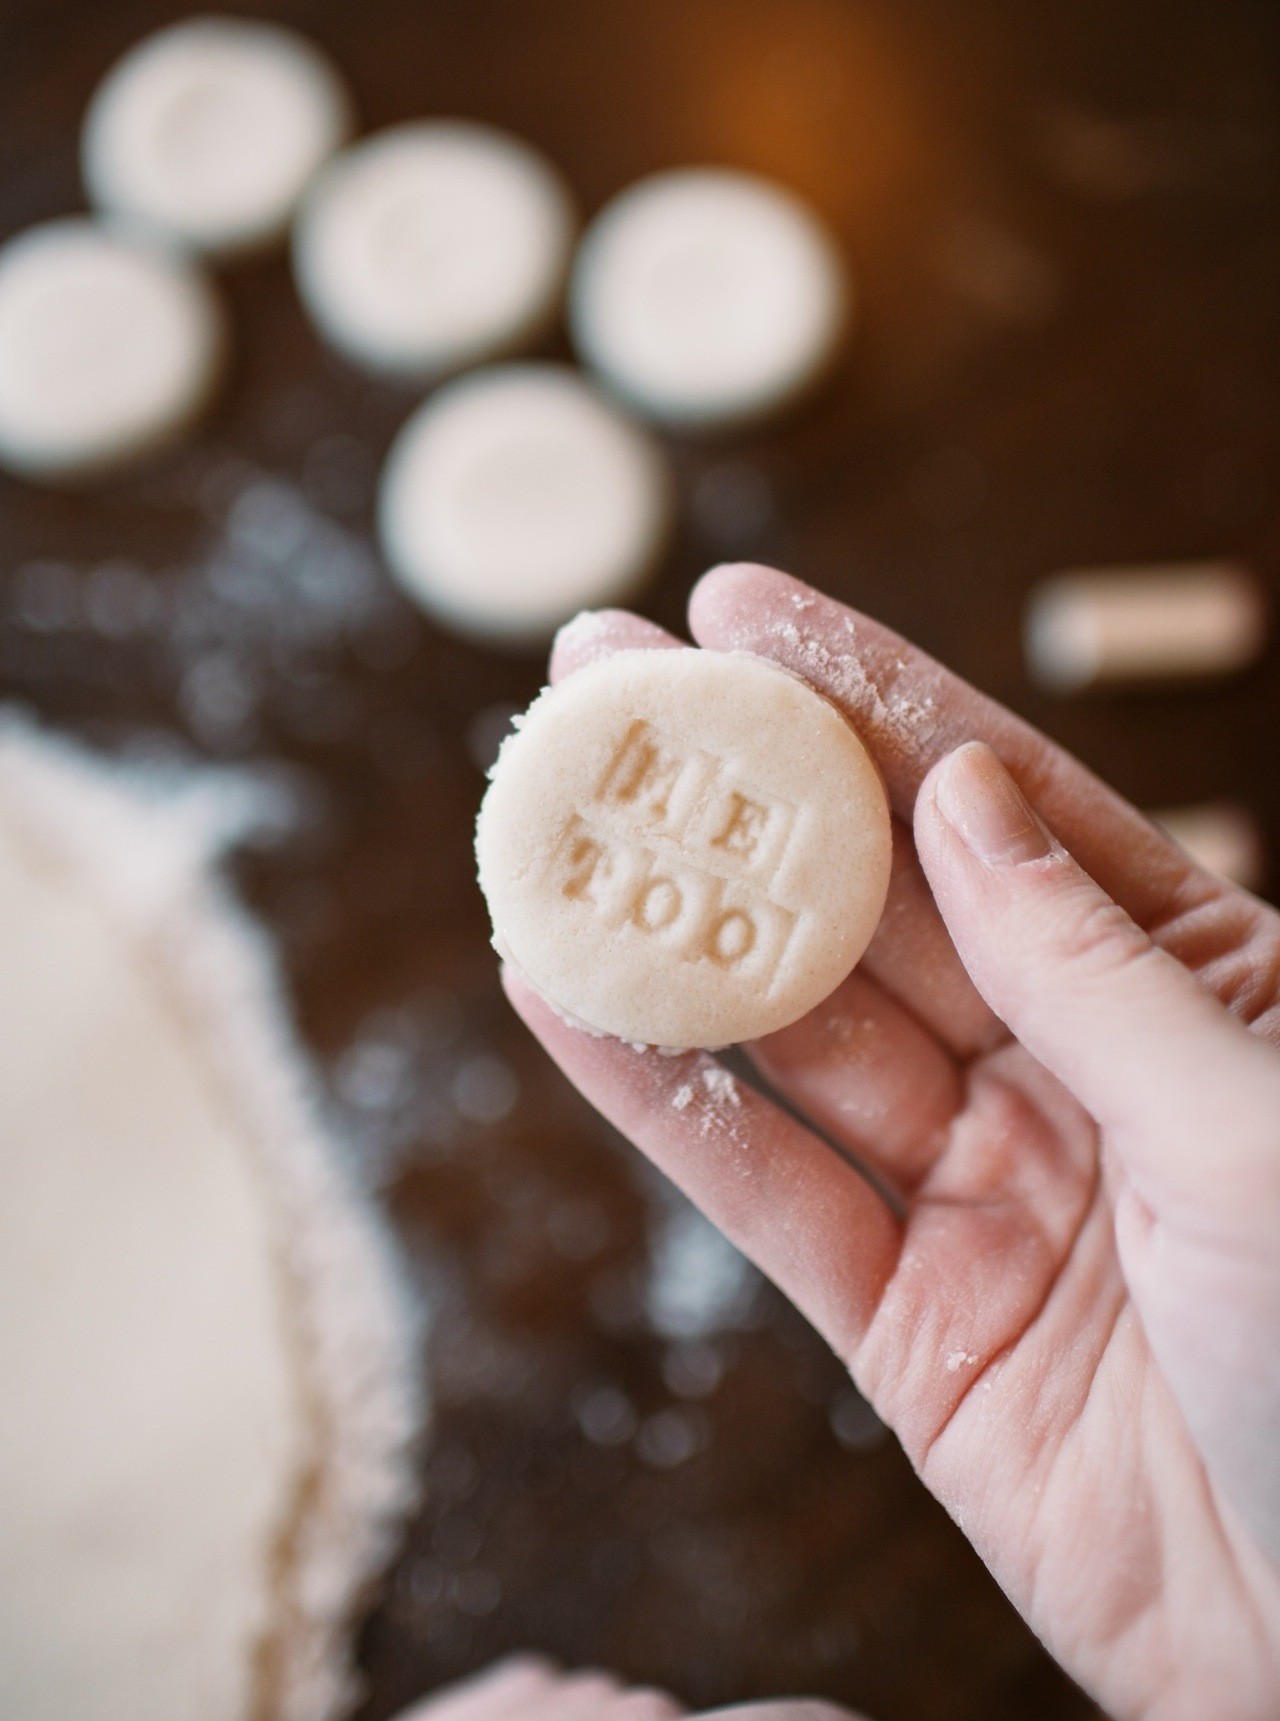
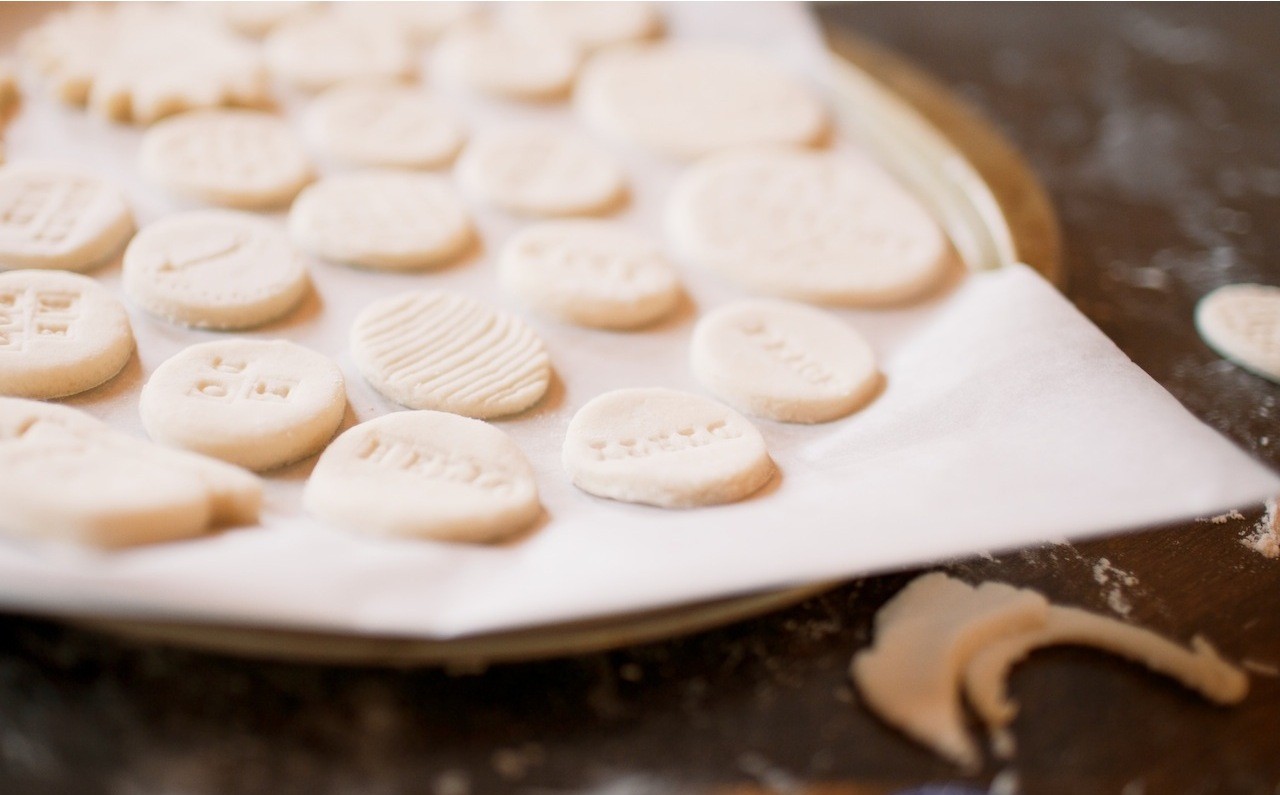
We utilized stamps that my kids had on hand, which proved to be an ideal match for this creative endeavor. To give them some extra flair, we chose to stamp magnets and then outline the designs with a marker afterwards. The alphabet-themed stamps provided us with endless possibilities for wordplay – ‘Love’, ‘Clean’, ‘I Do’ were just a few of the clever phrases my kids came up with. I was delighted to see their faces light up when their ideas were deemed good enough to be incorporated into the project, fostering a sense of pride and confidence in their creative abilities.
Bake your Magnets

Leave the baking to yourself and keep your little ones at arm’s length from the oven. To prevent the magnets from sticking to the pan, place them on a parchment-lined sheet beforehand. Next, pop the tray into the oven and set it to 200 degrees Fahrenheit for two hours. As we waited patiently for our magnets to bake, I encouraged my children to complete their homework and chores. This gave us ample time to work on the magnets once they emerged from the oven, and we were thrilled to dive in and get creative!
Attach the magnets
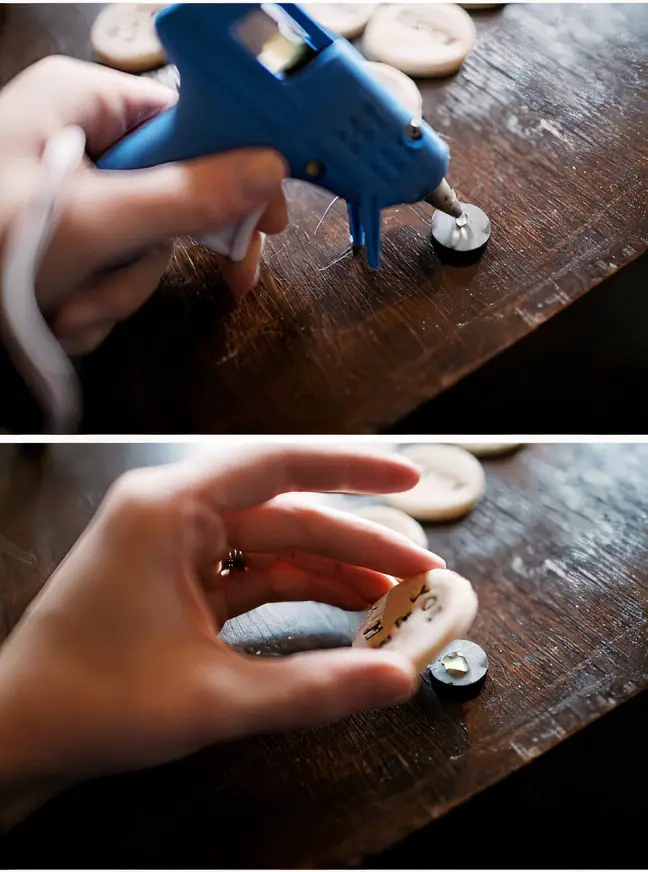
With ease, I discovered these magnets at my local stationery shop. Alternatively, online marketplaces offer a wide range of suppliers from which to choose. To ensure a sturdy attachment, I recommend using a hot glue gun to affix the magnets, as they will be firmly fixed on your fridge for an extended period. When attaching the magnets, it’s essential to exercise caution and keep children at bay during this process. This requires holding both pieces together briefly to guarantee a secure bond. Prior to magnetizing the dough, allow it to cool completely to prevent any premature detachment.
You’re done!
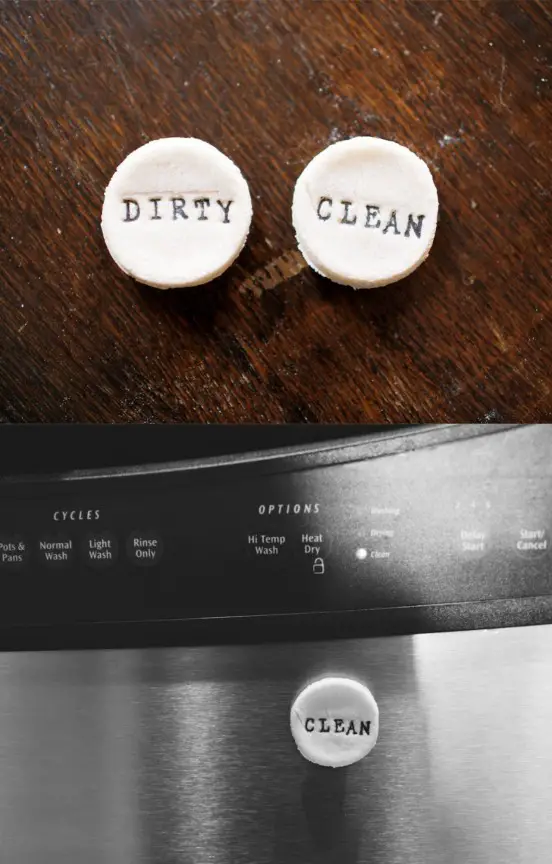
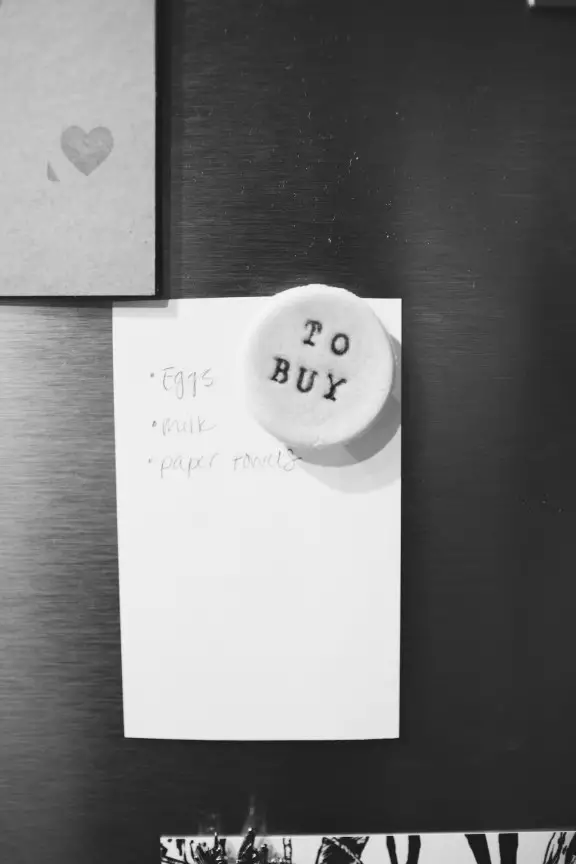

I was thrilled when I discovered that these magnetic surfaces could be used to organize my fridge, decluttering it from its previous messy state. The addition of magnets with labels like ‘dirty’ and ‘clean’ for our dishwasher has been a game-changer, as we no longer have to rely on memory to know if it’s clean or not. This system has streamlined our household chores significantly. Another label I’ve used is ‘to buy’, which comes in handy when my husband and I plan spontaneous trips to the market. A personal touch I’ve added is a magnet with a photo of us, labeled ‘for like ever’ – it brings a warm smile to my face every time I open the fridge door.
This DIY project has been a delightful way to add a touch of personality to our kitchen. It’s also encouraged my children to get creative and share their ideas for what we can display on the magnets. In fact, I’m already planning to make more of these magnetic wonders in the future, so that I can showcase all the cherished memories we create.
