Why DIY Concrete Walkways?
When embarking on a DIY concrete walkway project, homeowners can reap numerous benefits. Not only is it a cost-effective way to create a functional and aesthetically pleasing path, but it also allows for complete customization and creative freedom.
By taking control of the material choices and labor costs, DIY enthusiasts can save significant sums compared to hiring professionals. Furthermore, this type of project offers an excellent opportunity to develop valuable skills, such as mixing concrete, setting forms, and finishing techniques.
There’s a deep sense of satisfaction that comes from completing a project with your own hands, watching your vision come to life step by step. A well-designed walkway not only enhances the functionality of your property but also adds value and curb appeal to your home.
When done correctly, a concrete walkway can last for decades with minimal maintenance, making it a long-term investment in your property’s aesthetic and functionality. While starting such a project may seem daunting, careful planning, the right tools, and a step-by-step approach make it a feasible and rewarding endeavor for both seasoned DIYers and novices looking to enhance their outdoor space.
How to Make a Concrete Walkway
A DIY concrete sidewalk project can be a fulfilling experience that not only enhances your outdoor space but also improves foot traffic flow in your backyard. To achieve a durable and visually appealing outcome, it’s essential to follow a structured approach and pay attention to the finer details. This step-by-step guide is designed to equip you with the necessary knowledge to successfully complete this project.
Planning and Preparation
To initiate the process of building a sidewalk, it’s crucial to establish a clear reference point. This anchor can be the edge of your patio or any other fixed location from which your sidewalk will extend. Once you’ve identified this starting point, use stakes and string to create a precise outline for your walkway. Make sure the string is taut and straight, serving as a reliable guide for excavation and framing work. By doing so, you’ll ensure that your sidewalk’s foundation is laid correctly, setting the stage for a successful project.
Ensuring Proper Drainage
When building a sidewalk leading up to your home or patio, it’s crucial to incorporate a subtle slope using a line level. This deliberate design feature enables water to drain efficiently and avoids accumulation near structures, thereby preventing potential damage. By directing the flow of water away from your house or outdoor space, you’ll minimize the risk of erosion, flooding, or other issues that can compromise its integrity.
Preparing the Ground
To initiate the construction of your sidewalk, begin by clearing the designated area of any grass, roots, and debris. The excavation process involves digging to the required depth, taking into account the thickness of the concrete and gravel base if you’re opting for one. This will ensure a solid foundation for your new sidewalk. Once the groundwork is prepared, it’s crucial to compact the soil to prevent settling or shifting over time.
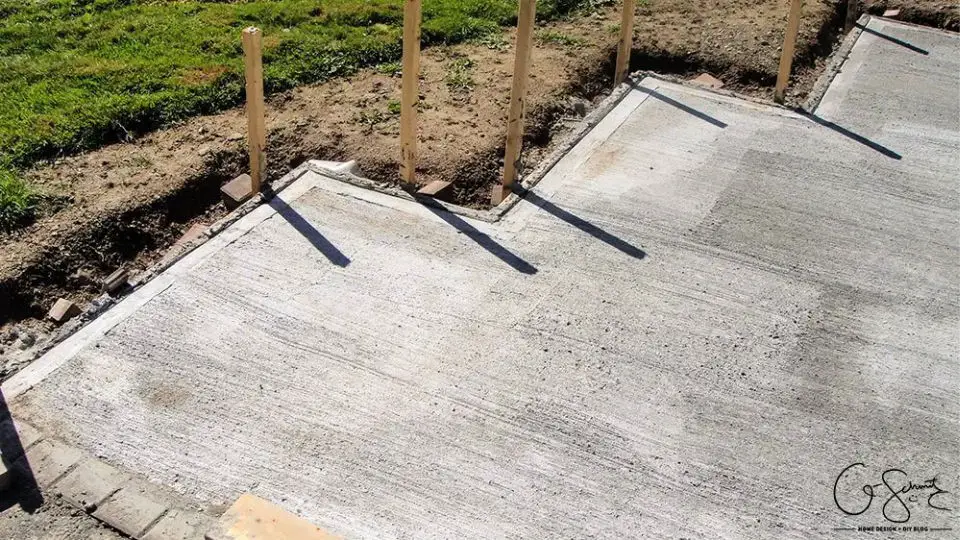
Building The Forms
When it comes to building a concrete sidewalk, constructing forms that are sturdy, level and properly elevated is crucial. Start by using wooden boards to create forms along both sides of your excavated path. Secure these forms with stakes to prevent any movement or settling during the construction process. It’s essential to ensure that the forms are perfectly level, as this will affect the final height and overall appearance of your sidewalk. To achieve this, frequently use a level to double-check the elevation of your forms, making sure they’re at the desired height from the beginning.
Adding Concrete
When it comes to mixing and pouring concrete, it’s crucial to follow the manufacturer’s guidelines to achieve the perfect consistency. The ideal mix should be easy to pour, but not so runny that it becomes difficult to work with. With the right consistency in place, you can proceed to carefully pour the concrete into the forms, filling them to the top. A shovel or rake is then used to spread the material evenly across the surface. Once the concrete is in place, use a 2×4 piece of lumber to screed the top, moving back and forth to create a level surface and eliminate any air pockets that may have formed during pouring.
Finishing Touches
As the concrete begins to set, it’s essential to smooth out its surface using a trowel. For added traction, you can introduce a non-slip texture by carefully dragging a broom across the still-wet concrete, creating small ridges in the process. Subsequent to this, allow the concrete to cure at its own pace, maintaining a consistent level of moisture for several days to prevent cracks from forming. While curing times may vary depending on the specific application – such as a sidewalk – it’s generally recommended that you allow the concrete to fully cure over the course of about a week.
Form Removal
Once the concrete has reached its full curing potential, proceed with meticulous care to disassemble the forms used in its construction. Employing a combination of a pry bar and hammer, skillfully coax the forms free from their grip on the freshly laid sidewalk, taking utmost care to avoid any damage or disruption to the newly installed surface.
Maintaining Your Sidewalk
When conducting routine maintenance, take the time to visually inspect your concrete surface for any cracks or signs of wear. This proactive approach will enable you to address any issues early on, preventing them from escalating into more significant problems. In addition to inspections, consider applying a sealant as recommended by manufacturers or industry experts to shield your concrete from environmental factors and prolong its lifespan.
Video Tutorial
To take your understanding to the next level, I recommend supplementing this written guide with our step-by-step video tutorial on YouTube, featuring a concrete sidewalk build from start to finish. This visual accompaniment will not only help solidify your comprehension of the process but also provide a valuable reference point as you work through each stage. While building a concrete sidewalk may initially seem like an intimidating endeavor, careful planning and attention to detail can turn it into a manageable and rewarding project that brings significant improvements to the functionality and curb appeal of your outdoor space. Whether you’re looking to bridge two areas of your garden or create a reliable path to your backyard, the sense of accomplishment that comes from completing this DIY task is unparalleled.
FAQs on DIY Concrete Walkway
While building a concrete walkway may appear daunting at the outset, it’s actually a manageable DIY endeavor when approached with the proper direction. To ensure a successful and stress-free experience, let’s tackle some frequently asked questions that will guide you every step of the way.
What materials do I need to make a DIY concrete walkway?
To embark on this project, you’ll require a solid foundation of materials. Begin by gathering: concrete mix, wooden boards for forming the structure, stakes to secure it in place, and screws or nails to hold everything together. If you’re looking to create a stable base, consider adding some gravel to the mix. For mixing and applying the concrete, bring along water, a shovel and rake, a wheelbarrow or mixing trough, and a trowel for smoothing out any imperfections. To add texture and visual interest to your finished project, don’t forget a broom. And, of course, no construction project is complete without a level to ensure everything is straight and on target, as well as a line level to help you achieve the perfect slope.
How thick should the concrete be for a walkway?
When designing a sturdy and long-lasting walkway, it’s essential to prioritize the thickness of the concrete used. A minimum thickness of 4 inches is generally recommended for most applications. However, if the walkway will be subjected to heavy loads, such as those generated by vehicles, consider increasing this thickness to at least 6 inches to ensure maximum durability and structural integrity.
How do I ensure proper drainage for my walkway?
When it comes to designing your walkway, it’s crucial to ensure that it has a subtle gradient away from any surrounding structures. A recommended threshold for this slope is a quarter inch per foot – anything steeper or shallower can compromise the functionality and longevity of your pathway. To achieve this precise angle during the planning and preparation stages, consider employing a line level as a reliable guide.
Can I add color to my concrete walkway?
When it comes to adding a pop of color to your concrete walkway, there are several options available. One popular method is to incorporate concrete dye or pigment into the mixture before pouring. However, it’s crucial to adhere to the manufacturer’s guidelines regarding the appropriate amount of dye or pigment to use. Failing to do so could result in an uneven or unsightly coloration.
How do I prevent my concrete walkway from cracking?
To effectively mitigate cracking in your concrete structures, it’s essential to establish a strong foundation. Start by compacting the ground and incorporating gravel to create a solid base. Furthermore, incorporate reinforcement materials like wire mesh or rebar into your concrete mix to provide added strength and resilience. Additionally, strategically place control joints every 4 to 6 feet to permit expansion and contraction, thereby reducing the likelihood of cracking. Finally, ensure you maintain the concrete at a consistent moisture level for at least a week following pouring, as this slower curing process can help prevent cracks from forming.
When can I remove the forms after pouring the concrete?
Before removing the forms, it’s essential to allow the concrete to gain sufficient strength to maintain its shape independently. A delay of at least 24 to 48 hours after pouring is crucial, as this allows the concrete to develop the necessary rigidity to withstand the loss of formwork support.
How long before I can walk on my new concrete walkway?
While it’s often suitable to start walking on newly poured concrete within 24 to 48 hours, it’s essential to wait at least a week before exposing it to intense traffic or heavy wear and tear. This allows the concrete to fully mature and develop its optimal strength, ensuring it can withstand daily demands without compromising its integrity.
Do I need to seal my concrete walkway?
While sealing a concrete walkway isn’t strictly necessary, it’s an essential step in preserving its integrity and aesthetic appeal. By applying a protective barrier, you safeguard the concrete against moisture penetration, staining, and weather-related damage, ultimately extending its lifespan and ensuring it remains visually appealing. Follow the manufacturer’s guidelines for application, typically every 2 to 3 years, to reap these benefits.
Can I make curved forms for a walkway?
To create curved forms for a walkway, you can use thin, flexible wood boards or hardboard siding. Begin by securing these forms to stakes, carefully shaping them to the desired curve. For added precision, take a moment to sketch out your path beforehand, allowing this plan to guide the placement of your stakes and forms. As you embark on your DIY concrete walkway project, remember that meticulous planning and preparation are crucial for achieving a successful and satisfying outcome.
15 DIY Concrete Walkway Ideas (Sidewalk Installation)
Transform your outdoor space with the versatility of DIY concrete walkways. Say goodbye to tedious installations and hello to 15 innovative, easy-to-create design options that will elevate your backyard or front yard. From modern twists to rustic charm, these creative ideas will spark inspiration for your next project.
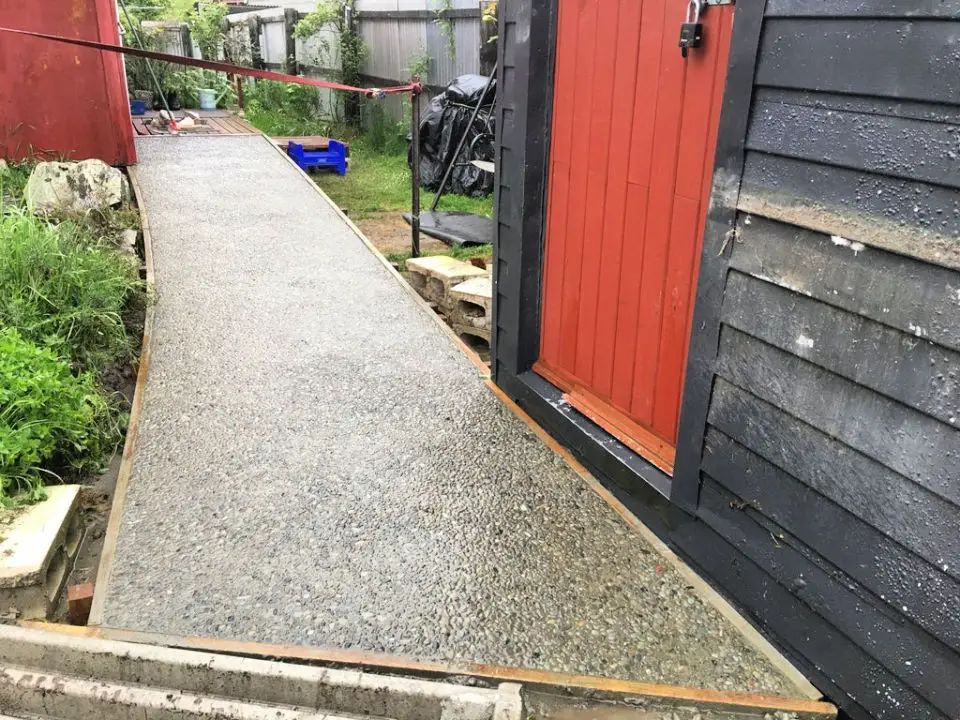
Make Your Own Concrete Walkway
Embark on a transformative journey by crafting a DIY concrete walkway that showcases your creative prowess! Our comprehensive guide takes you through every step, from framing to pouring, providing an unvarnished look at the advantages and disadvantages of tackling this project solo versus entrusting professionals. Through our real-life experience, including navigating unexpected setbacks and basking in the pride of completion, we’ll help you navigate the process with ease. This informative and engaging resource is designed specifically for those eager to take charge of their outdoor renovations, offering a wealth of inspiration and practical know-how to bring your concrete walkway vision to life.
Affordable DIY Concrete Pavers Walkway
Transform the exterior of your home with endless customization possibilities using cement walkway ideas. This DIY guide provides a straightforward, yet creative approach to building a durable and affordable path that harmonizes seamlessly with any garden or outdoor setting. With practical tips and a detailed cost breakdown, this resource simplifies the process of creating a personalized walkway that balances quality and affordability. Ideal for those seeking a budget-friendly solution without sacrificing style, this comprehensive guide is the perfect starting point to unlock your garden’s full potential.
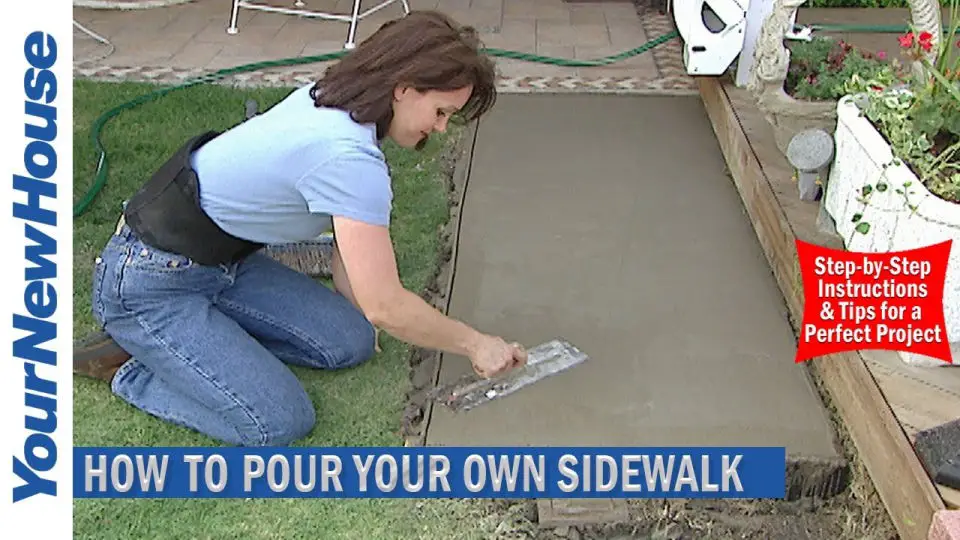
How to Pour a Concrete Sidewalk
Elevate your DIY project by following our step-by-step guide on how to pour a concrete sidewalk. Our comprehensive approach takes the guesswork out of preparing your space, applying the final sealer, and everything in between. Whether you’re new to DIY or a seasoned pro, our methodical process simplifies complex procedures, ensuring a durable and visually appealing pathway that will withstand the test of time. As you transform your outdoor space with newfound practical skills, you’ll be proud of the results and eager to take on more projects.
DIY Floating Concrete Steps
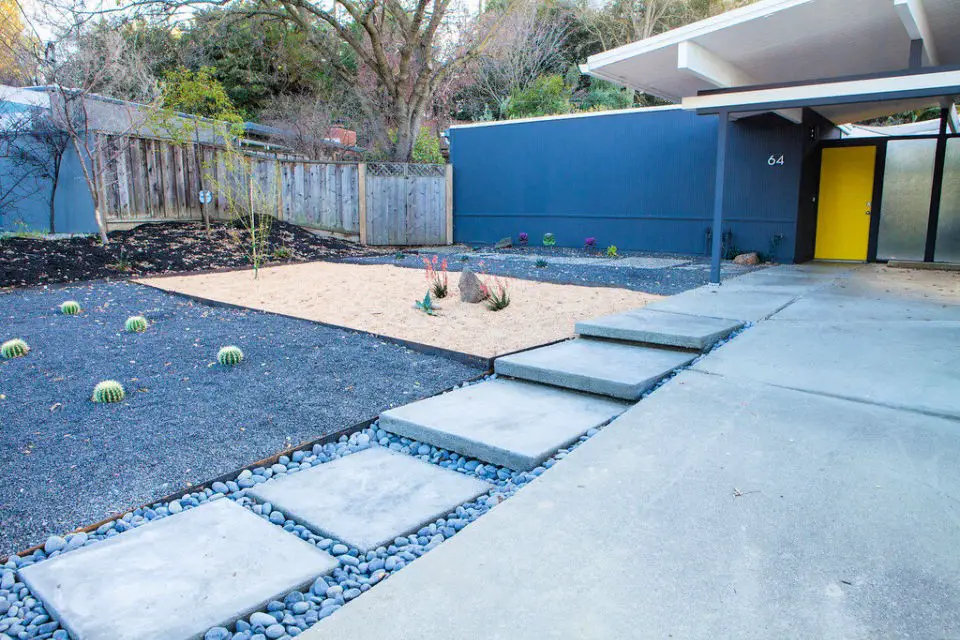
Transforming the exterior of your home just got a whole lot easier with the installation of modern and sleek floating concrete steps. As part of our Destination Eichler series, we’ll take you through the process of building these functional and stylish elements that can elevate your outdoor space to the next level. From selecting materials like brick or pavers that are easy on the DIY budget to mastering the pour-in-place method, we’ve got you covered. Our guide will walk you through every step, from excavation to troweling for a flawless finish. And let’s not forget the sense of accomplishment you’ll feel when it’s all said and done. The impact of floating steps on your walkway is nothing short of transformative – discover how today.
How to Make Concrete Sidewalk

Transforming your outdoor space just got a whole lot easier with concrete walkway ideas that offer a durable and stylish path. A DIY concrete sidewalk project can have a profound impact on your home’s exterior, significantly reducing the amount of dirt brought indoors and enhancing your landscaping. Plus, it’s a cost-effective solution for homeowners looking to save money – potentially shaving off around $300.00 in professional costs. With basic construction knowledge and a commitment to safety, building your own sidewalk can be a manageable and rewarding experience. For a comprehensive guide on pouring a concrete sidewalk yourself, check out Instructables. Remember, preparation and proper tools are the keys to a successful project – so get started and enjoy the benefits of a newly transformed outdoor space!
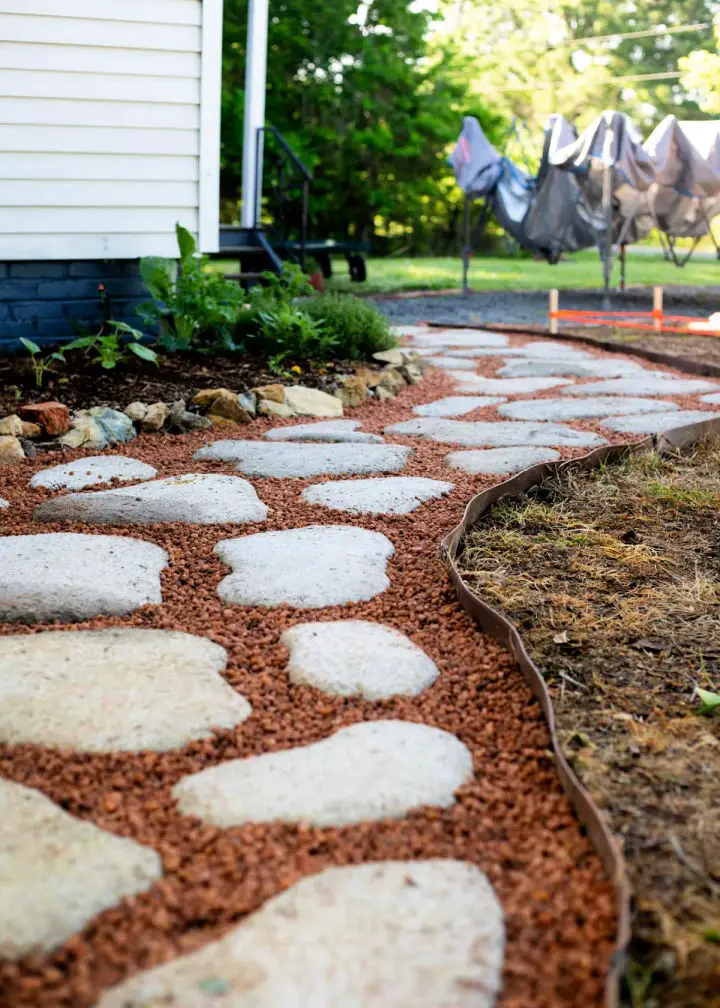
Homemade Slate Walkway
Transform your outdoor space without sacrificing style or budget with a DIY textured walkway that mimics the look of slate at a fraction of the cost. This straightforward guide will walk you through every step, from material selection to application techniques, helping you create an enchanting pathway that adds charm and character to your home. With detailed instructions and expert tips, you’ll be able to craft your own inviting, slip-resistant walkway while saving significantly and enhancing your outdoor aesthetic. For a complete walkthrough and more insightful advice, visit Budget101.com.
DIY Exposed Aggregate Concrete Path
Transform your outdoor space with the simplicity and durability of concrete walkways. By following this step-by-step guide from Instructables, you’ll be able to create a stunning exposed aggregate concrete path that adds elegance and sophistication to your garden or yard. This comprehensive tutorial will walk you through each stage of the process, ensuring a successful outcome for any level of DIY enthusiast. Whether you’re looking to enhance your outdoor space or add a touch of refinement to your home’s exterior, this guide is perfect for anyone seeking a beautiful and long-lasting result.
DIY Crack-Free Concrete Walkway

For a lasting and visually appealing concrete sidewalk, master the skills of expertly constructing forms, achieving perfect curves with hardboard, laying a solid foundation, and mastering the art of floating for a flawless finish. Additionally, understand the significance of control joints in preventing cracks and discover the best methods for achieving a non-slip surface with a broom finish. Furthermore, learn how to prolong the curing process for a stronger and more resilient sidewalk, allowing you to enhance your home’s curb appeal through a superior concrete pour.
To take your outdoor space to the next level, now is the perfect time to upgrade your garden. With our DIY garden projects, you can transform your yard into a lush green oasis for under $10. From there, explore the versatility of concrete by taking on one of our easy and surprisingly simple projects – from a bird bath to an outdoor kitchen, we’ve got you covered.
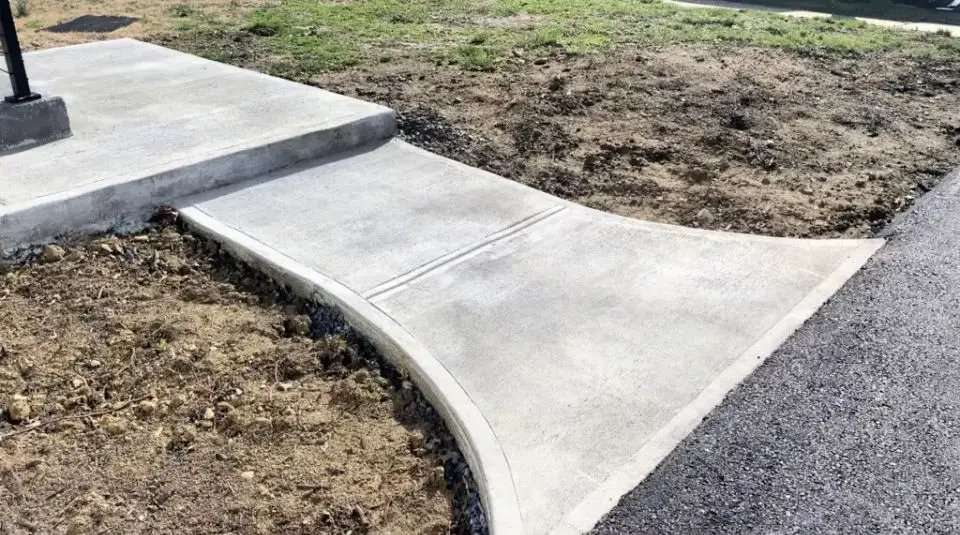
Making a Concrete Sidewalk
Transforming your home’s exterior with a sleek concrete front walkway is an effective way to boost curb appeal. If you’re considering a DIY project, this comprehensive guide will walk you through each step with confidence. By following our tutorial and helpful tips, you’ll be able to create a grand entrance that’s both functional and visually appealing. From taking initial measurements to pouring and finishing the concrete, we’ve got you covered. Our expert advice includes ensuring proper slope for drainage and utilizing brooming techniques to achieve a non-slip surface. Perfect for DIY enthusiasts looking to enhance their outdoor spaces without breaking the bank.
Pour a Concrete Side Walk for Beginners
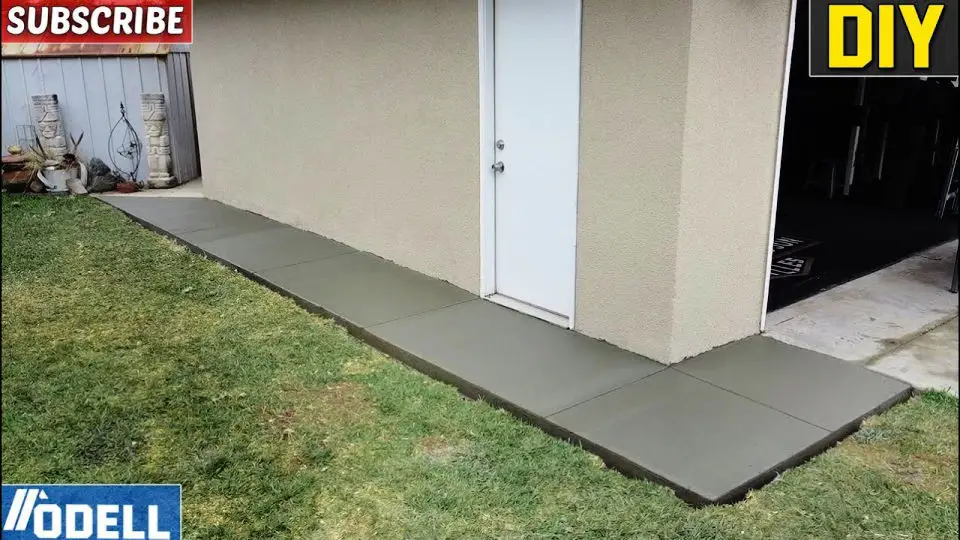
As you prepare to welcome guests with style at your front door, consider revamping your concrete sidewalk. While the task may seem overwhelming, follow this step-by-step guide and you’ll be well on your way to creating a beautiful and functional addition to your home’s exterior. For added guidance, Odell Complete Concrete offers an informative video tutorial that covers everything from site preparation to finishing touches. This comprehensive resource is ideal for DIY enthusiasts seeking a stress-free and rewarding experience.
Easy DIY Concrete Walkway
Transform your outdoor space with a unique and long-lasting DIY concrete walkway that seamlessly blends durability with personalized flair. By following our easy-to-follow and comprehensive tutorial on HomeMadeModern, you’ll be guided through every step of the process, from preparing the ground to mixing Quickrete 5000, ensuring a successful outcome for weekend warriors looking to add functional elegance to their yard.
Beginners Concrete Slab Walkway
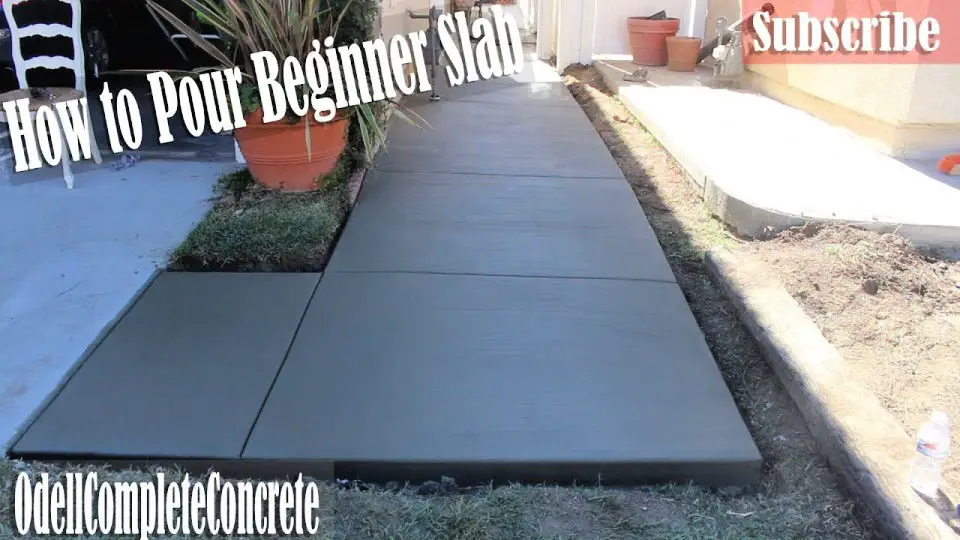
Transforming your outdoor living spaces just got a whole lot easier! By implementing versatile concrete pathway ideas, you can seamlessly connect your patios, gardens, or walkways to create a cohesive and inviting atmosphere. For those looking to take on a DIY concrete project, Odell Complete Concrete is here to guide you through the process with a step-by-step tutorial that’s perfect for beginners. With practical advice on measuring, mixing, and pouring concrete, you’ll be well-equipped to tackle any unexpected challenges that may arise. Plus, with a focus on ensuring a smooth finish, your new pathway will not only be durable but also visually appealing. By following these tips, you can elevate your home’s curb appeal in no time!
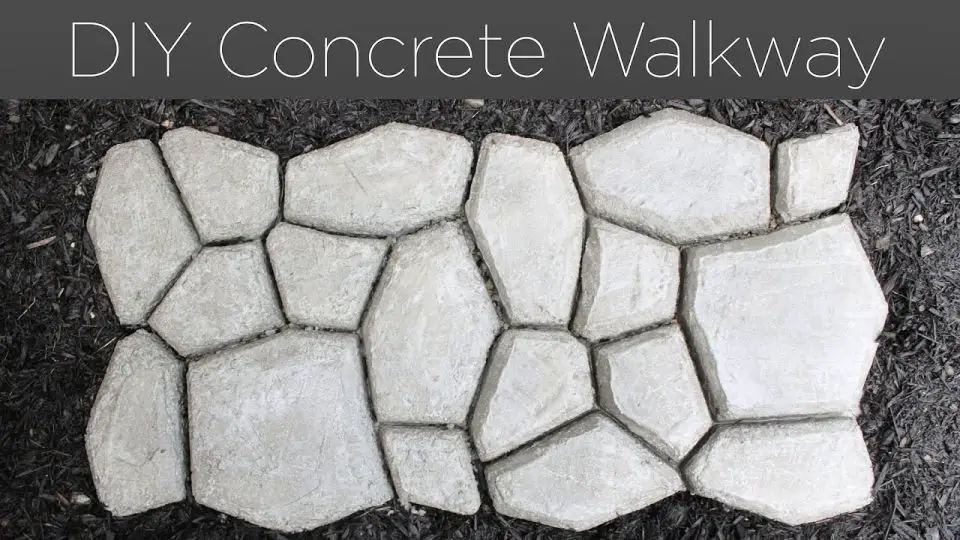
DIY Paver Walkway From Concrete
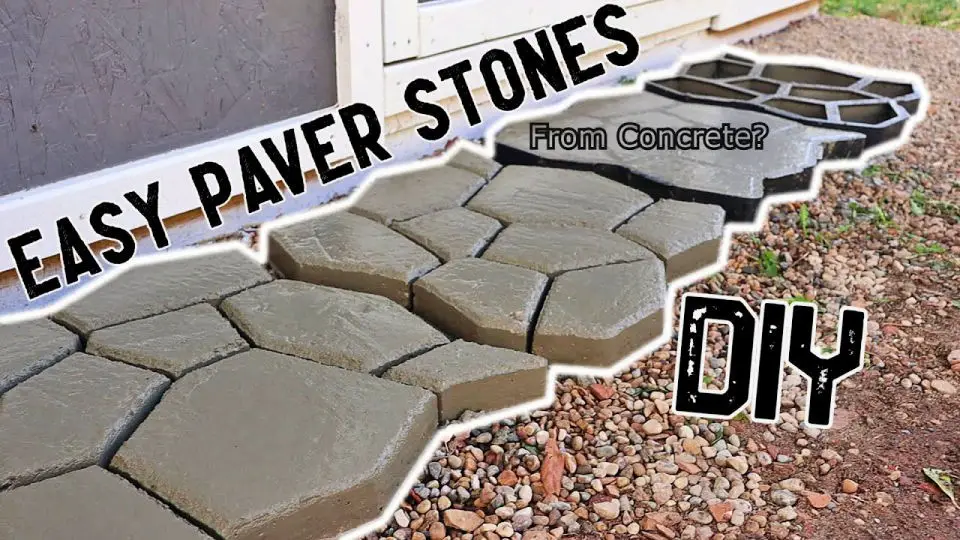
Unlock the simplicity of DIY landscaping by creating a paver walkway that’s sure to impress. By combining concrete and molds, you can effortlessly transform your outdoor space, perfect for adding a touch of elegance to your shed or garden entrance.
With JessedoesDIY’s comprehensive instructions, you’ll gain the confidence to tackle this project with ease. From preparing the area to mixing the perfect concrete blend, every step is carefully outlined to ensure a professional-looking finish.
Learn the secrets to achieving optimal drying time and the ideal concrete consistency, guaranteeing your walkway is both durable and visually stunning. Whether you’re a DIY novice or seasoned pro, this project empowers you to create a functional and beautiful paver walkway that’s sure to elevate your outdoor space.
How to Pour Concrete That Will Never Crack
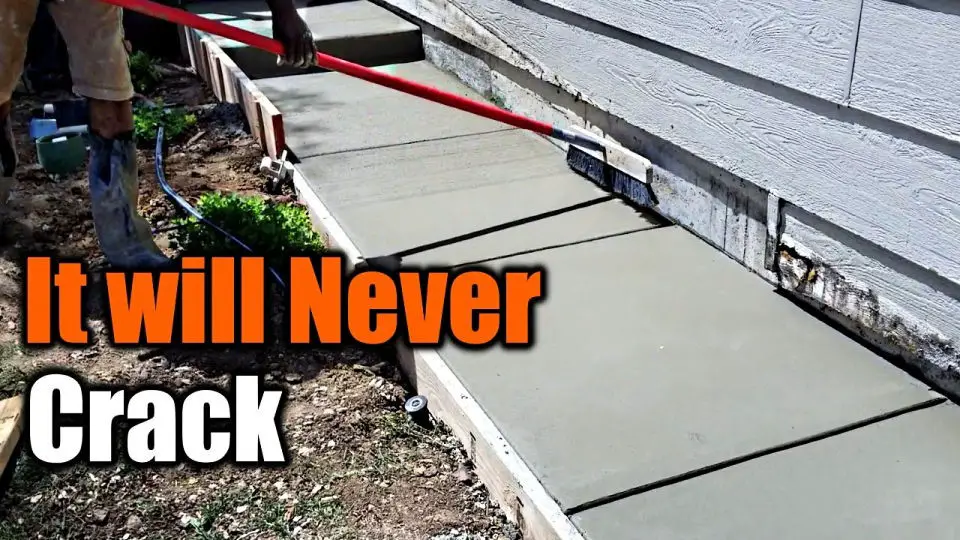
Enhance your outdoor landscape by incorporating functional yet stylish concrete sidewalks. For a long-lasting and crack-resistant finish, follow our step-by-step guide on how to lay concrete. This tutorial is perfect for homeowners and DIY enthusiasts seeking to upgrade their outdoor spaces. From rebar placement to mix consistency, we cover the essential tips and techniques for effective concrete pouring. Learn how to achieve the ideal texture and avoid common mistakes that can lead to a subpar finish.
DIY Concrete Slab Walkway
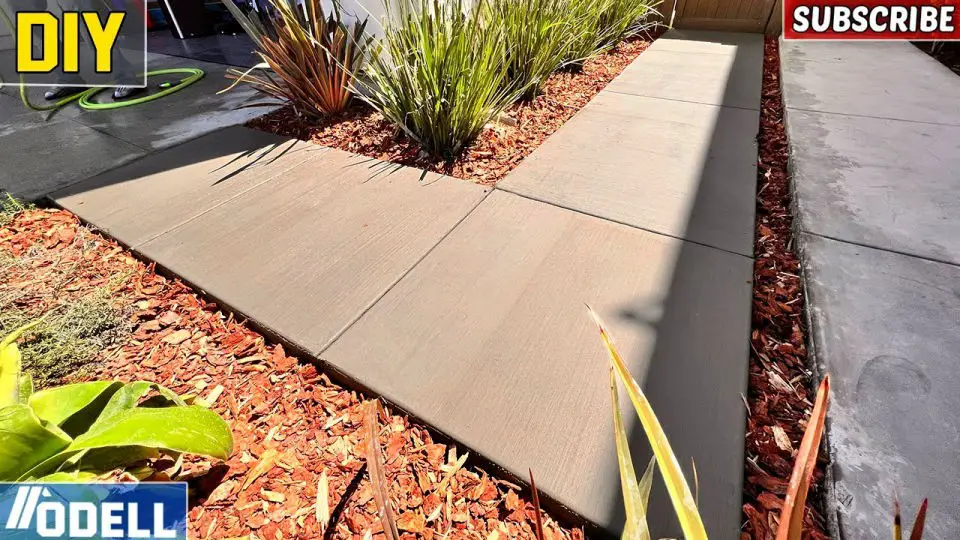
With the right guidance, tackling a DIY concrete slab walkway can be an empowering experience for those new to concrete work. One such resource is a comprehensive tutorial by Odell Complete Concrete, which provides a step-by-step guide on how to successfully complete this project. The video link offers a detailed walkthrough of the entire process, from preparing the site and navigating unexpected underground systems to mixing the concrete and applying finishing touches. This thorough guide ensures a smooth project flow, even for those with no prior experience. By following these essential tips, you can create a durable walkway that enhances your outdoor space with confidence.
Conclusion:
As we’ve navigated 15 unique DIY concrete walkway ideas, it’s clear that this type of project not only elevates the aesthetic appeal of your outdoor space but also increases its usability. By grasping the intricacies of planning, preparation, and customization, you now have the expertise to craft a sturdy and visually appealing concrete walkway that withstands the test of time with proper maintenance. Whether you’re aiming to revamp your garden, enhance curb appeal, or create a functional pathway, these insights will serve as a roadmap for guiding you through each phase of your DIY concrete walkway venture. With the right tools, techniques, and creative flair, you’ll be well on your way to transforming your landscape into a harmonious blend of beauty and practicality.
