
Crafting homemade playdough is an exciting hands-on experience that fosters imagination and learning opportunities. With a wealth of 40 simple recipes at your fingertips, you can create unique batches using common kitchen ingredients. These versatile formulas cater to every DIY enthusiast seeking easy-to-make and customizable playdough options. By following our straightforward recipe, you’ll master the art of mixing, kneading, and adding color to your creations, while also learning essential storage tips to keep your playdough fresh for longer. Whether used in educational settings or sensory play, this guide provides valuable insights on how making playdough at home can positively impact development and creativity in a safe and engaging manner. Once you’re equipped with the basics, get ready to dive into the world of homemade playdough and unlock endless possibilities.
How to Make Play Dough – Easy No-Cook Recipe!
Creating homemade playdough is a delightful and effortless pursuit that transcends age boundaries, appealing equally to children and adults. This no-fuss recipe, courtesy of Sea Lemon on YouTube, leverages common kitchen staples to conjure up a batch of pliable playdough in mere minutes. By following this uncomplicated guide, you’ll be well on your way to crafting your very own tactile treasure.
What You’ll Need:
To get started, gather the following essential ingredients: a cup of flour, half a cup of salt, and half a cup of water. For an added touch of creativity, consider incorporating food coloring or washable paint into your mixture, should you desire to infuse it with a splash of color.
Instructions:
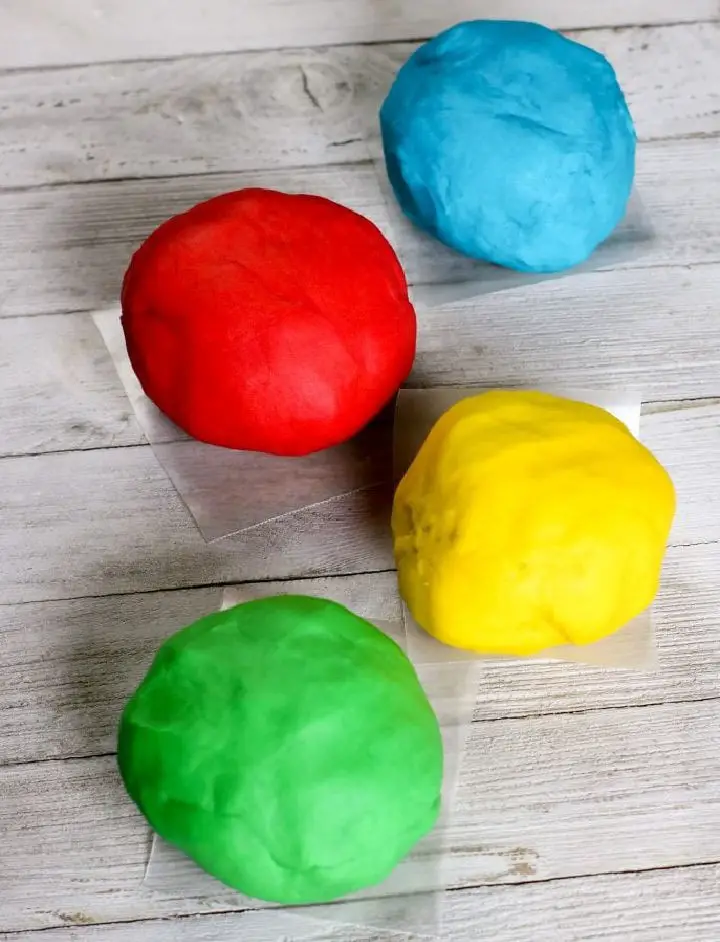
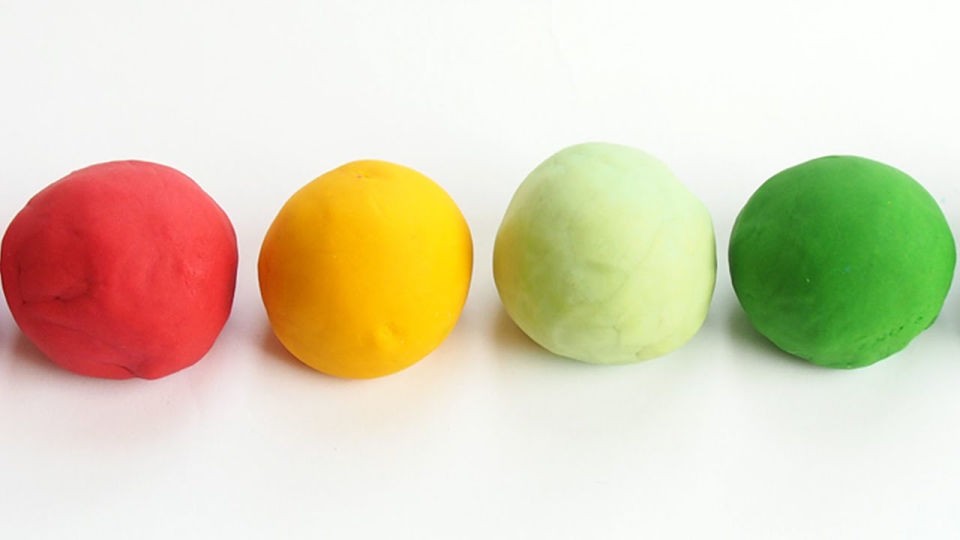
Combining Dry Ingredients is the First StepCombine 1 cup of flour and * ½ cup of salt in a large mixing bowl until they are well combined.Next, Gradually Add WaterSlowly mix in * ½ cup of water into the dry ingredients. Stir the mixture gradually to avoid forming lumps. If the mixture appears too dry, you can add a little more water until you achieve a consistent dough.Kneading is the Key to Smooth Play DoughOnce your mixture forms a dough-like consistency, place it on a flat surface and start kneading with your hands. Keep kneading until the dough is smooth and even. If the dough sticks to your hands, sprinkle some flour onto your hands and knead it in.Adding Color: A Fun Touch (Optional)If you want to add color to your play dough, divide it into sections and make a well in the center of each section. Add 5-10 drops of food coloring or a dab of washable paint and mix until the color is evenly distributed. This step can get messy, so consider wearing gloves to prevent staining your hands. Rinse your hands between colors to avoid mixing.Storing Your Play Dough: Keep it FreshTo keep your play dough fresh for longer, store it in an airtight bag or container. You can also store it in the refrigerator for up to four weeks.
Play and Preservation
Relish in the creative freedom of playing with your very own handmade play dough, just as you would with store-bought varieties. When you’re pleased with a creation, consider preserving it by baking. For a step-by-step guide on how to achieve this, refer to the video’s description for the necessary instructions.
Video Tutorial
To dive deeper into the world of no-cook play dough, I encourage you to check out Sea Lemon’s comprehensive YouTube video tutorial on making easy and accessible play dough at home. The visual guide perfectly complements the written instructions, breaking down each step in a clear and concise manner that’s easy to follow.As an added bonus, creating homemade play dough offers a unique blend of frugality and creativity. Not only will you save money by opting for a DIY approach, but you’ll also have the freedom to customize your play experience with endless color combinations and textures. Whether you’re looking to supplement a school project, fill a rainy day, or simply spark imagination, this no-cook play dough recipe is sure to provide hours of engaging entertainment.
Customization Ideas for Homemade Playdough
While making playdough at home offers a delightful way to spend quality time with children, it’s also an exceptional chance to foster creativity and imagination. To elevate this experience, consider personalizing your playdough recipe and experimenting with unique textures and colors that will captivate your little ones’ senses.
Natural Dyes for Colorful Creations
Add a splash of vibrancy to your playdough creations by infusing them with natural colours! You can achieve a stunning spectrum of hues using common kitchen staples and a dash of creativity. For instance, turmeric or curry powder can transform your dough into a bright yellow, while beet juice will give it a rich red or pink tone. Spinach juice is perfect for creating a lush green hue, and crushed blueberries (strained to remove excess pulp) will yield a beautiful blue colour. If you want to add some warmth and depth, try incorporating cocoa powder to create a gorgeous brown shade. Simply mix in a few drops or teaspoons of your chosen ingredient as you cook the dough, and watch it come alive with colour!
Scents That Make Sense
Transport children’s senses to a world of wonder by incorporating natural scents into playdough creations. The following aromatic options can transform ordinary playtime into an extraordinary adventure: With a mere squeeze of lemon or orange zest, the citrusy scent of sunshine fills the air, while lavender and rose petals evoke the sweet serenity of a floral meadow. For a sweet treat, add a dash of cinnamon or vanilla extract to transport young minds to a world of warm cookies and creamy delights. And for an invigorating twist, introduce peppermint oil to awaken the senses with its refreshing zing. Remember, a little goes a long way, so begin with a single drop or pinch and adjust to taste.
Textures for Tactile Fun
To elevate your homemade playdough to the next level, consider adding some tactile elements that will stimulate children’s senses. You can mix in a variety of textures to create a truly immersive experience. For instance, incorporating rice or sand gives the dough a gritty feel, while glitter adds a touch of sparkle (choose eco-friendly options for an environmentally friendly choice). Oats or coffee grounds can also be added to create a rougher texture that kids will love exploring with their fingertips. By incorporating these simple yet effective customization ideas, you’ll not only make the playdough-making process more enjoyable and interactive but also create a more memorable and enriching experience for children. Don’t forget to let them take part in the creative process – it’s all about experimentation and having fun!
Expert Insights on the Benefits of Sensory Play with Playdough
The humble art of playdough-making has far-reaching implications for young minds. As experts in child development stress the significance of sensory experiences, it’s clear that playdough is more than just a fun activity – it’s an essential tool for fostering cognitive and motor skills growth. By delving into the world of pliable materials, we’ll uncover the numerous benefits that await our little ones.
Sensory Play: A Pathway to Learning
Beyond its tactile appeal, sensory play with playdough offers a multifaceted learning experience that catalyzes cognitive growth. As children engage with the squishy, moldable material, they’re simultaneously developing fine motor skills and cultivating fundamental concepts that will serve as the foundation for future academic pursuits. The manipulation of playdough becomes an experiential gateway to understanding abstract ideas, fostering a deeper connection between sensory perception and intellectual comprehension.
Emotional and Social Development
When children engage in the creative process of playing with playdough, they form a strong emotional connection with others who join them. The collaborative nature of this activity creates a sense of safety and togetherness, laying the foundation for essential emotional and social development in young minds.
Language and Communication Skills
When kids enthusiastically share their playdough masterpieces, they’re simultaneously honing essential language skills. Through this creative outlet, they’re expanding their verbal repertoire and cultivating the ability to express complex ideas with clarity and precision.
Creativity and Problem-Solving
As children manipulate playdough, they embark on a creative journey that fosters innovative thinking and out-of-the-box problem-solving. By transforming a seemingly simple lump of dough into a unique piece of art, kids develop essential skills in critical thinking and imagination.
Fine Motor Skills and Coordination
The manipulation of playdough through kneading, rolling, and shaping has a profound impact on children’s hand development. The small muscles utilized in these activities are the same ones necessary for tasks such as writing, tying shoelaces, and other essential skills. By incorporating playdough into their playtime, we inadvertently provide children with a comprehensive foundation for lifelong learning. Notably, experts widely endorse this beneficial activity, emphasizing that when kids engage with playdough, they’re simultaneously learning and growing.
Safety Tips for Homemade Playdough
Creating homemade playdough can be a wonderful way to ignite imagination and creativity in children. Nevertheless, it is crucial to emphasize safety precautions to guarantee a enjoyable and risk-free experience. To achieve this, consider the following essential guidelines: when preparing the dough, ensure you’re working in a well-ventilated area, free from any potential choking hazards or fragile objects that may be easily damaged. Additionally, take necessary measures to prevent accidental ingestion by keeping the playdough out of reach from young children and ensuring proper supervision during the activity.
Choose Non-Toxic Ingredients
When crafting homemade playdough, it’s crucial to select only food-grade, non-toxic ingredients. This precaution becomes even more significant when involving young children, as they might be inclined to sample their artistic endeavors.
Cook the Flour
The notion of pre-cooking flour before using it in a recipe is a common practice that aims to ensure the playdough’s safety, particularly when children are involved. A key benefit of this approach is the elimination of any potential bacterial contaminants, thereby minimizing the risk of accidental ingestion by young ones.
Supervise the Cooking Process
When incorporating heat into a recipe, like boiling water, it’s crucial to maintain vigilant supervision. To ensure everyone’s safety, consider handling the hot elements personally until the ingredients have reached a safe temperature. Then, and only then, can children safely participate in the cooking process.
Allergy Awareness
When crafting with kids, it’s crucial to consider potential allergens. Certain ingredients, such as wheat or artificial colors, might trigger sensitivities in some children. To ensure inclusivity and safety, take the time to verify if any children have allergies before starting your playdough-making activity. Alternatively, opt for hypoallergenic alternatives that can provide a fun and worry-free experience for all participants.
Safe Coloring Choices
To introduce vibrancy into your homemade playdough, opt for safe and non-toxic food coloring options instead of risking exposure to potentially hazardous chemicals. A wide range of natural alternatives exist, offering a palette of stunning hues that are both environmentally friendly and free from harm.
Proper Storage
To maintain the freshness of your homemade playdough and prevent it from drying out, store it in airtight containers that are kept clean and free from contaminants. This simple yet vital step ensures a safe and enjoyable experience for everyone involved in making the playdough. By prioritizing safety above all else, you can focus on having fun while creating your creative masterpiece.
Educational Activities with Homemade Playdough
While homemade playdough is often associated with unstructured playtime for kids, it’s equally valuable as an educational tool. By incorporating various activities into the playdough experience, parents and educators can create a multifaceted learning environment that fosters creativity, problem-solving skills, and even introduces fundamental concepts like measurements and fractions. The tactile nature of playdough also provides a unique opportunity for children to develop their fine motor skills and hand-eye coordination.
Learning Letters and Numbers
Transform foundational learning experiences into engaging activities by incorporating hands-on fun with playdough. For instance, shape and sequence skills can be reinforced by molding letters and numbers, allowing children to develop a deeper understanding through tactile exploration.
To take it further, try the following ideas:
Alphabet Adventures: Use playdough to create each letter of the alphabet, then use them to spell out simple words, making learning the 26 characters a fun and interactive process.
Counting Creations: Roll small balls of playdough to represent the segments of a caterpillar, counting as you go to develop essential numeracy skills.
Exploring Science Concepts
By utilizing playdough models, you can breathe new life into complex scientific concepts, making them more accessible and engaging for students. One effective way to do this is by creating three-dimensional representations of scientific ideas. For instance, you can model the solar system, accurately depicting the relative positions and distances between planets from the sun. Similarly, you can shape playdough into various stages of a plant’s life cycle, from seed formation to blooming, providing students with a tactile understanding of the process.
Geography Made Easy
Geography learning just got a whole lot more tactile! By incorporating playdough into your educational endeavors, you can create an immersive experience that brings the world to life in a fun and engaging way.
Start by creating a map using flattened playdough, carefully shaping out the continents to get a feel for their relative sizes and positions. This hands-on approach will help you develop a deeper understanding of global geography.
But that’s not all! You can also use playdough to create three-dimensional models of different landforms – from towering mountains to winding valleys and flowing rivers. By manipulating the dough, you’ll gain insight into the unique characteristics and features of each type of landscape.
Artistic Expression
Transform ordinary moments into creative masterpieces by fusing art and playdough. The possibilities are endless as you sculpt and paint three-dimensional figures or objects, adding layers of detail and imagination. Take it a step further by creating self-portraits or family portraits with playdough, capturing the essence of your unique identities. By embracing these interactive activities, homemade playdough evolves into a dynamic tool that seamlessly integrates learning and fun. As you mold, learn, and laugh together, you’ll discover the true power of hands-on education, where creativity and curiosity know no bounds.
Preservation and Storage of Homemade Playdough
To prolong the shelf life of your homemade playdough, it’s crucial to maintain its freshness and usability. By following these storage tips, you can ensure your playdough remains a fun and educational tool for kids over time.
When storing homemade playdough, aim to keep it away from direct sunlight, moisture, and extreme temperatures. This will help prevent the dough from becoming brittle, cracking, or developing an unpleasant odor.
To store your playdough effectively, consider the following strategies:
* Keep the dough in airtight containers to prevent contamination and drying out.
* Store the containers in a cool, dry place, such as a cupboard or drawer.
* Avoid storing the playdough near heat sources like radiators or ovens.
By following these simple tips, you can keep your homemade playdough fresh for a longer period, ensuring hours of creative and educational fun with your kids.
Keeping Playdough Fresh
When it comes to preserving the freshness of homemade playdough, two crucial factors come into play: storage containers and environmental conditions. To keep your creations from drying out, invest in airtight plastic or glass containers with secure seals. This will effectively lock in moisture and prevent air from seeping in. Additionally, maintain a cool and dry environment for storing playdough, shielded from direct sunlight that could cause it to become too soft or discolored.
Reviving Playdough
When it comes to extending the life of your homemade playdough, there are a couple of simple yet effective tricks you can employ. Firstly, if your playdough has started to dry out and is no longer at its best, a few well-placed drops of water can be used to revive it, bringing it back to its original consistency. Additionally, if you’re looking to prevent mold growth from occurring in the first place, adding a small amount of lemon juice to the playdough before storing it away can be a game-changer.
Long-Term Storage
To get the most out of your homemade playdough, consider storing it in the refrigerator. This simple trick can help maintain its texture and extend its shelf life for months to come. By following these straightforward steps, you’ll be able to preserve the quality of your playdough, keeping it fresh and ready for whenever creativity strikes again.
Environmental Impact of Homemade Playdough
When it comes to making playdough at home, there’s more to it than just having fun and learning something new. In fact, this simple activity can have a profoundly positive impact on the environment. By opting for a DIY approach, you’re actively contributing to a more sustainable future. Here’s why:
Reducing Plastic Waste
When opting for store-bought playdough, it’s common to find the product packaged in plastic containers that ultimately end up contributing to the staggering issue of landfill waste. In contrast, creating your own homemade playdough provides an opportunity to repurpose containers, thereby minimizing the impact on our environment and reducing plastic pollution.
Non-Toxic Ingredients
While commercial playdough products may be convenient, they often harbour unwanted additives like chemicals and preservatives. In stark contrast, homemade playdough recipes rely on entirely natural ingredients that, once their lifespan has expired, will biodegrade harmlessly, posing no threat to the environment.
Energy Conservation
While the manufacturing and transportation of commercial playdough require energy and generate emissions, opting to create this creative material at home can have a significant environmental impact. By skipping the industrial process, you’re not only saving energy but also reducing your personal carbon footprint.
Encouraging Eco-Friendly Practices
As children learn to craft their own playdough, they’re not only developing a creative outlet but also instilling valuable lessons in sustainability and resourcefulness. This hands-on experience fosters an appreciation for the importance of caring for our planet and taking steps towards a greener future. By making playdough at home, families can reduce waste and minimize their environmental footprint, all while enjoying a fun and eco-friendly activity that’s grounded in reliable data and expert sources.
FAQs About Homemade Playdough
Unlock the world of homemade Playdough with our in-depth FAQ guide. Dive into the art of crafting, storing, and playing with your very own DIY creations, and get all your questions answered.
What are the benefits of making playdough at home?
Crafting homemade playdough not only saves you money but also grants you creative control over the ingredients you use. By opting for natural substances, you can customize your playdough to suit your preferences, making it a unique and educational experience for kids. Moreover, producing playdough at home significantly minimizes plastic waste and eliminates exposure to potentially harmful chemicals often present in commercial varieties.
Is homemade playdough safe to eat?
Despite being crafted from harmless substances, homemade playdough isn’t intended as a snack option for little ones. As such, it’s crucial for grown-ups to keep a watchful eye on children while they’re engaged in creative play to prevent any accidental ingestion.
How long does homemade playdough last?
Properly storing homemade playdough in an airtight container allows it to maintain its integrity and last for several months. By keeping it in a cool, dry environment, the quality of the dough is preserved, making it ideal for repeated use. This storage method ensures that the playdough remains pliable and easy to manipulate, allowing kids to continue enjoying their creative outlet without worrying about the dough’s shelf life.
Can I make playdough without cream of tartar?
While it is possible to create a homemade playdough without cream of tartar, there are alternative acidic ingredients that can be used in its place. Lemon juice and vinegar are two common substitutes that can help maintain the desired texture, providing an adequate level of acidity to ensure the dough holds its shape.
What does cream of tartar do for playdough?
The addition of cream of tartar to playdough has a significant impact on its overall performance, particularly in terms of its elasticity and storage lifespan. As a natural stabilizer, cream of tartar helps maintain the dough’s texture, ensuring it remains smooth and consistent. This property also contributes to improved shelf life, allowing you to enjoy your homemade playdough for a longer period without worrying about it becoming too stiff or breaking down prematurely.
How can I make my playdough more fun?
To elevate the playdough-making experience, consider incorporating a range of elements to tantalize your senses. This can be achieved through the strategic addition of colors, scents, and textures. By utilizing natural dyes, essential oils, and materials like rice or glitter, you can create a multisensory adventure that will captivate children’s imagination and sense of wonder.
How do you fix sticky playdough?
Achieving the perfect consistency for your sticky playdough requires a gentle yet effective approach. To transform it from its gooey state to a smooth and pliable texture, gradually incorporate small amounts of flour while kneading. As you continue to mix, carefully monitor the dough’s progression until it reaches the desired level of firmness.
How do you get playdough out of carpet or clothing?
When dealing with a stubborn Play-Doh situation on your carpet or clothing, patience is key. Allow the sticky substance to dry out completely before attempting to remove it. Once dry, you can simply scrape off the excess Play-Doh using a dull knife or credit card. For clothing, wash as usual in cold water to prevent further damage. If the stain persists, repeat the process until the desired result is achieved. Similarly, for carpet removal, vacuum up any remaining particles after drying and scraping.
Does homemade playdough require boiling water?
When it comes to making certain types of dough, the process of incorporating salt can be crucial. In some cases, boiling water is used to help dissolve the salt and create a smoother consistency. This method can be beneficial in producing a more refined texture. On the other hand, there are also recipes that don’t require cooking at all. These no-cook options offer an alternative approach to dough creation, one that eliminates the need for heat altogether.
How can I store homemade playdough to keep it soft?
When storing homemade playdough, ensure it’s kept in an airtight container or zip-top bag with minimal air remaining inside. To further preserve its softness, consider adding a few drops of oil or lemon juice. By adhering to these guidelines, you’ll be well-equipped to create and sustain a perfect batch of homemade playdough. As you embark on this creative journey, remember the joy it brings to both children and adults, fostering a sense of fulfillment that transcends age.
40 Easy Homemade Playdough Recipes You Can DIY
Indulge your little ones in a world of creativity with an array of 40 effortless homemade Playdough recipes, all tailored for DIY enthusiasts to craft within the comfort of their own homes. These remarkably easy-to-prepare and adaptable recipes guarantee hours of unadulterated fun for kids, fostering imagination and self-expression.
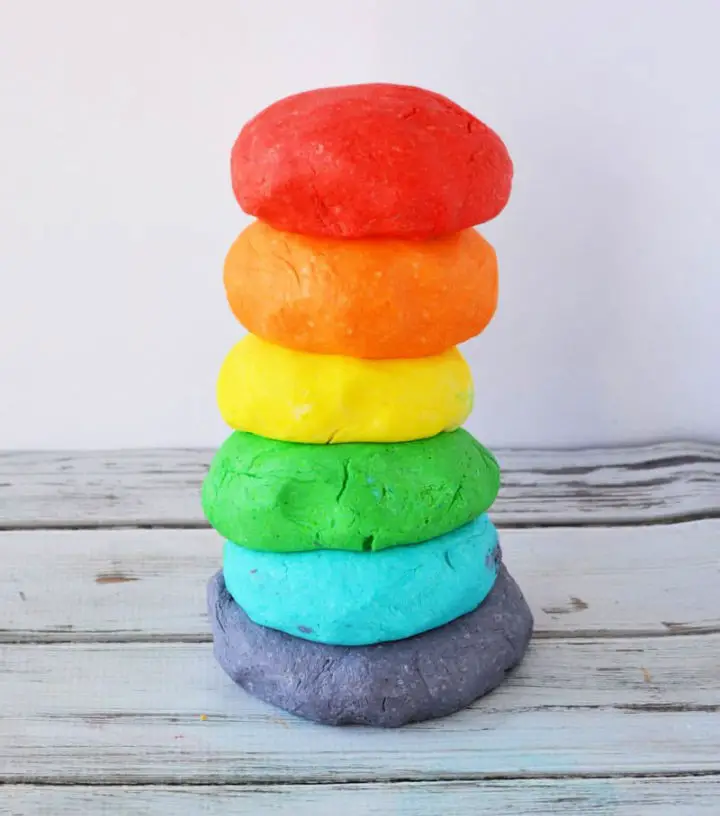
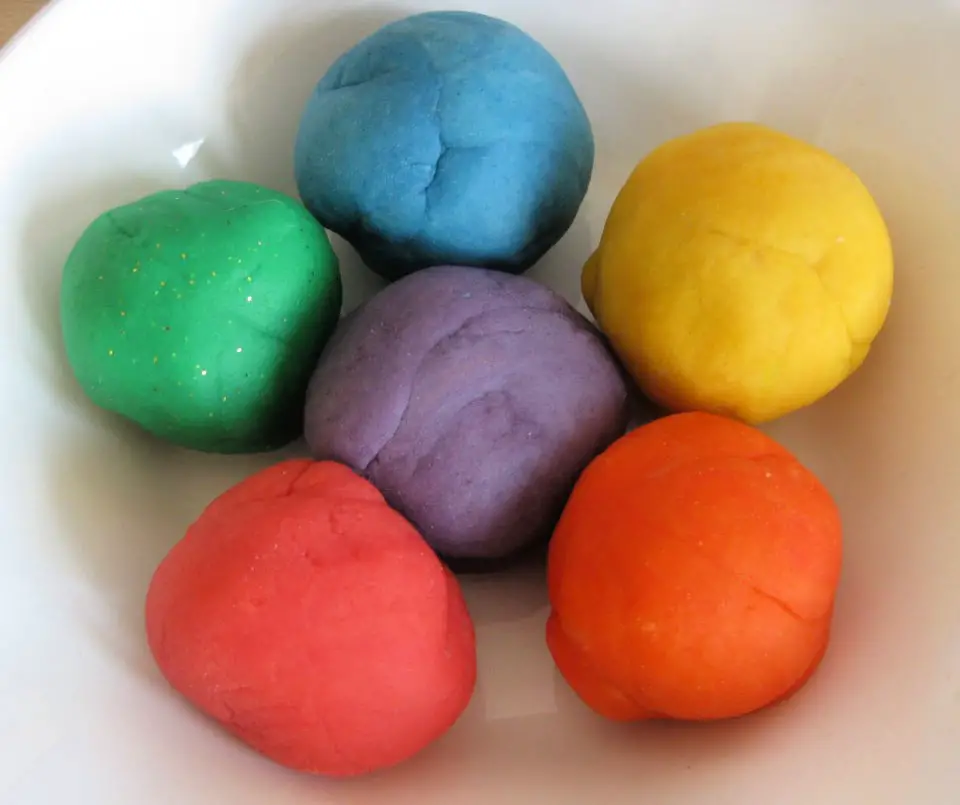
How to Make Playdough at Home
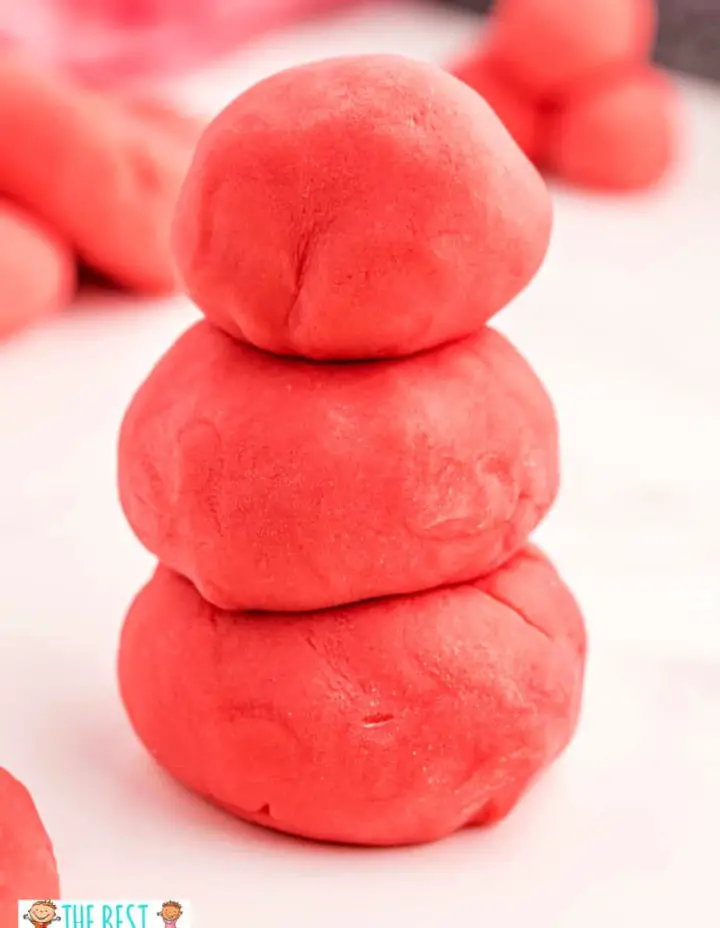
Indulge in the joy of creating vibrant, aromatic playdough at home with this simple DIY recipe. This sensory experience is sure to captivate both children and adults alike, making it a delightful alternative to store-bought options. With its smooth texture and irresistible fragrance, you’ll be tempted to bid farewell to commercial playdough forever.
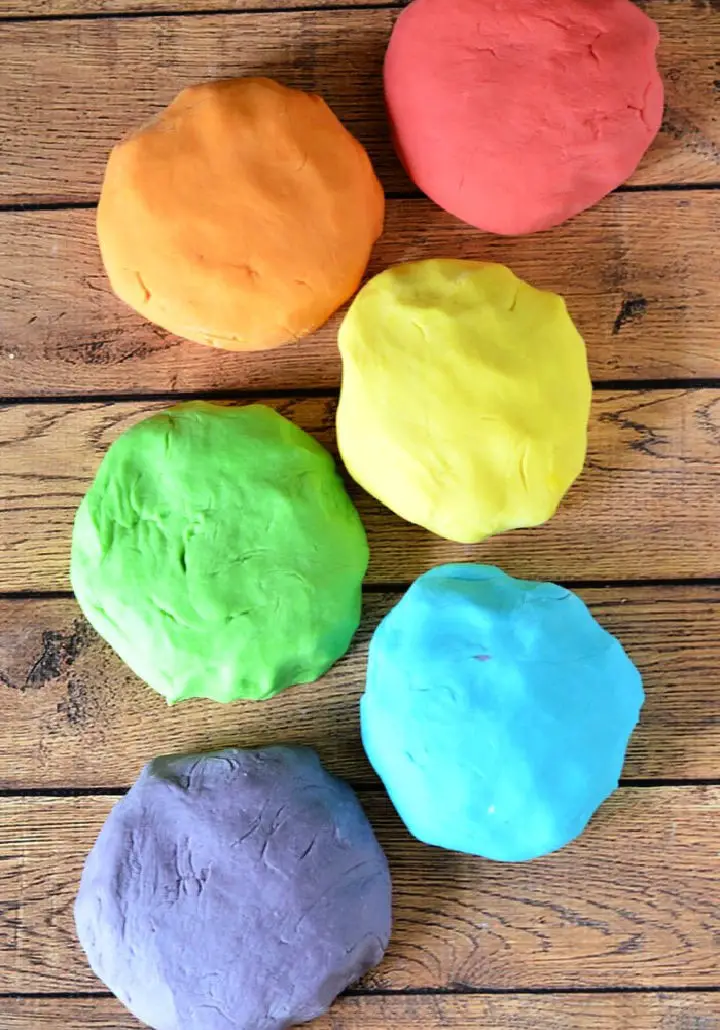
Made from common ingredients like flour, cream of tartar, salt, and warm water, this recipe offers endless possibilities for creativity. Each color variant – ranging from cherry and orange to lemonade and grape – boasts a fruity and delicious scent that’s sure to tantalize the senses. For an added pop of color, simply add a dash of food coloring.
This colorful and scented dough is perfect for engaging in fun and educational activities with your kids. Let them explore, learn, and be creative with this delightful homemade playdough – it’s an experience that’s sure to delight! easypeasyandfun
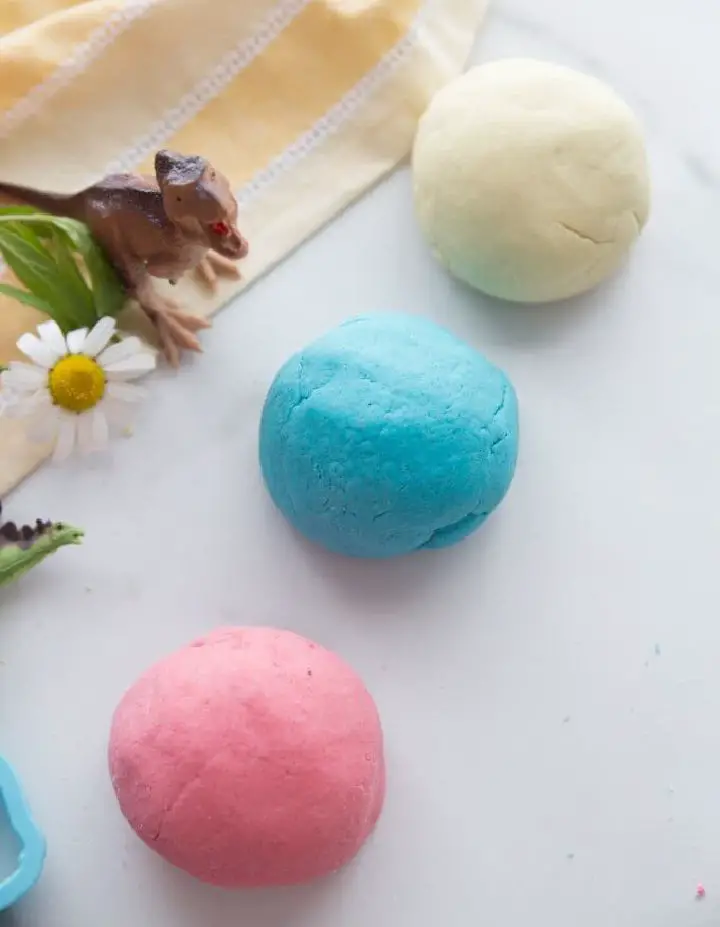
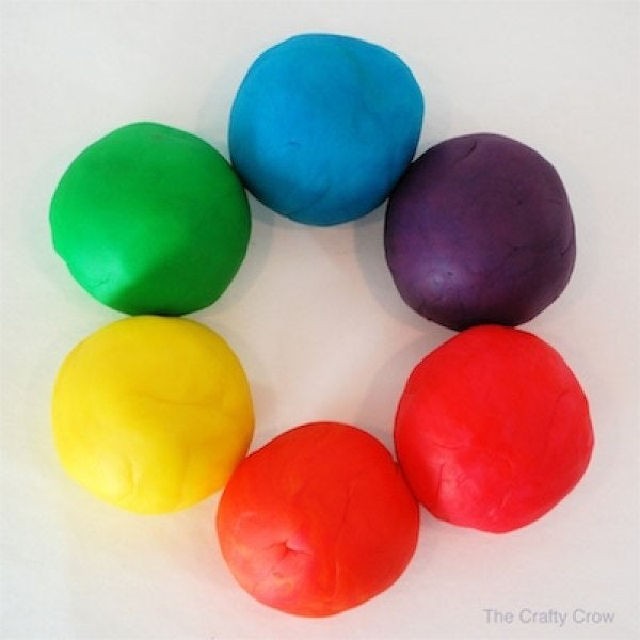
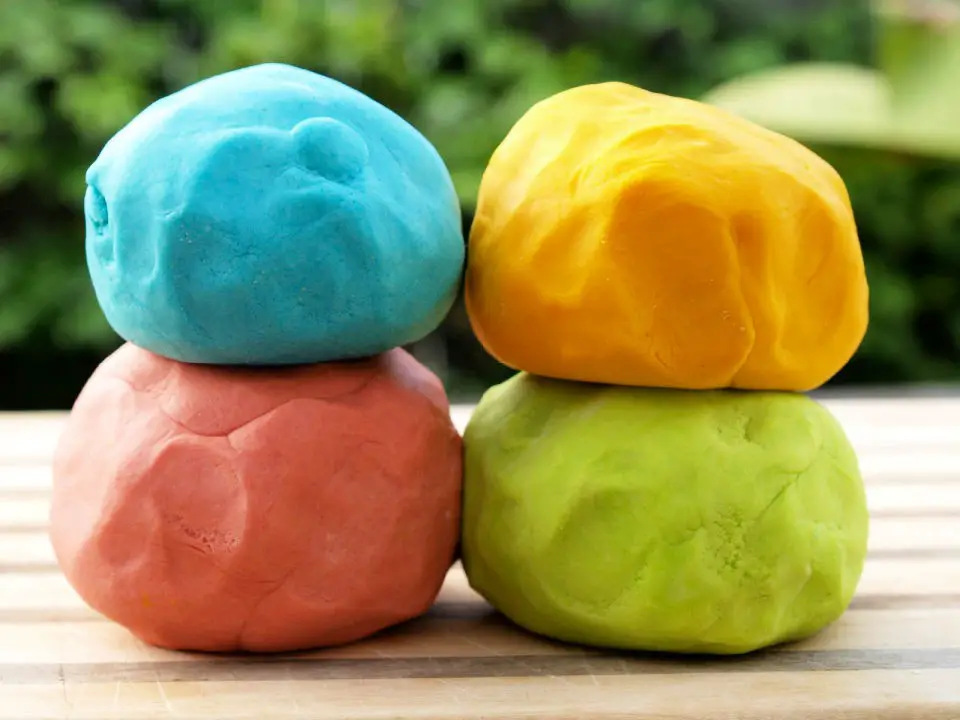
DIY Natural Play Dough
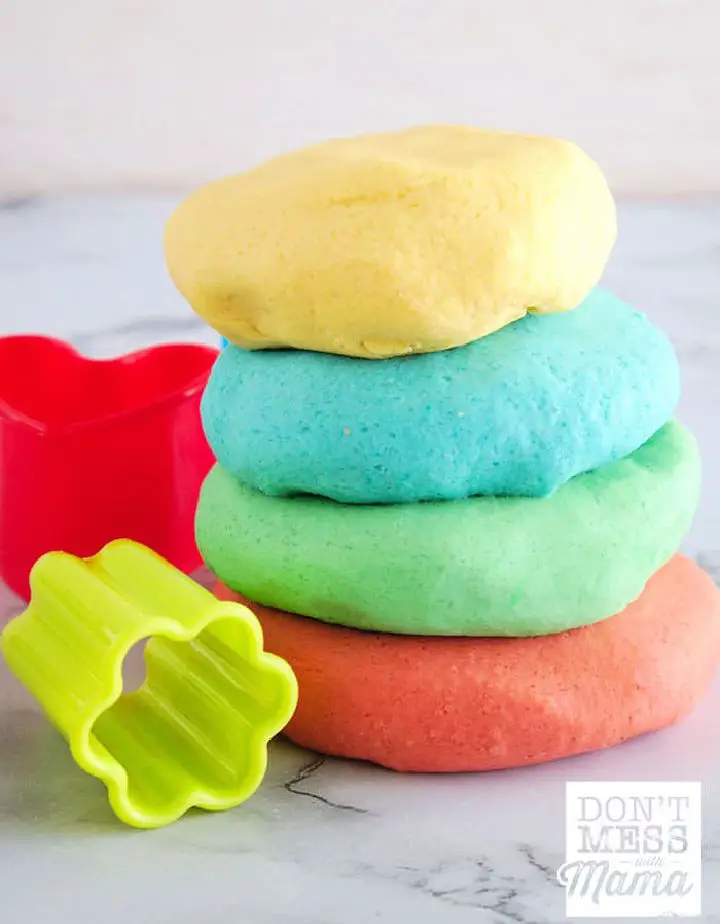
Create your own natural DIY play dough using everyday pantry ingredients and say goodbye to store-bought alternatives. This cost-effective and easily storable homemade option offers numerous benefits, including the ability to customize colors and scents. By following this step-by-step guide, you’ll learn how to make the play dough from scratch, incorporating a range of natural dyes and essential oils for an immersive aromatherapy experience.
Discover the versatility of paprika, red cabbage, raspberries, liquid chlorophyll, black coffee or tea, and curry powder or turmeric in achieving unique color variations. Shape and mold the dough to your heart’s content, then store it in an airtight container for up to a week.
To extend the play dough’s lifespan when it becomes stiff, simply work essential oil into the mixture. This fun and creative activity is perfect for engaging children and adults alike, promoting sensory exploration and imaginative play.
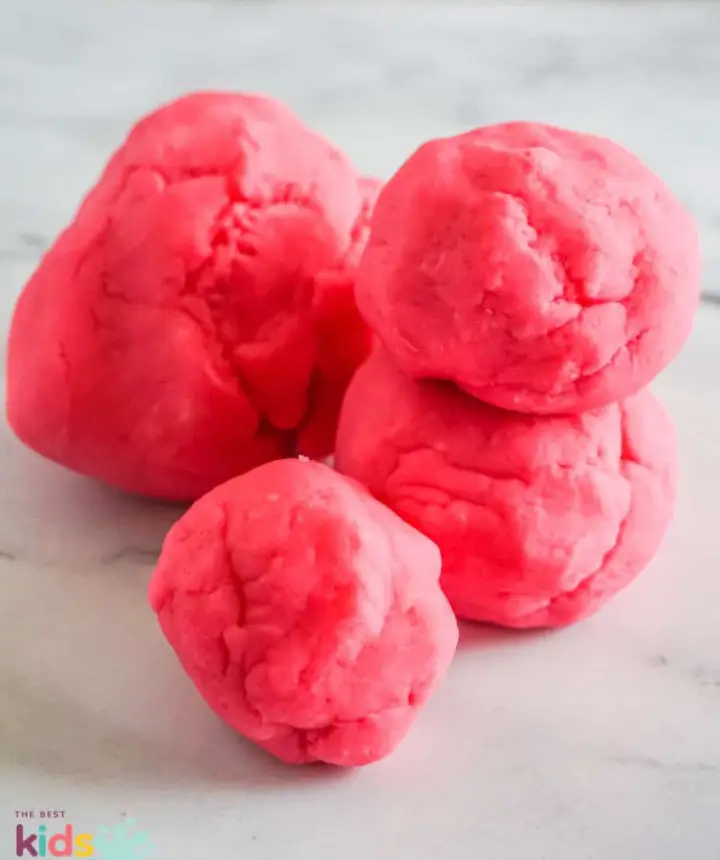
Colorful Scented Homemade Playdough for Kids
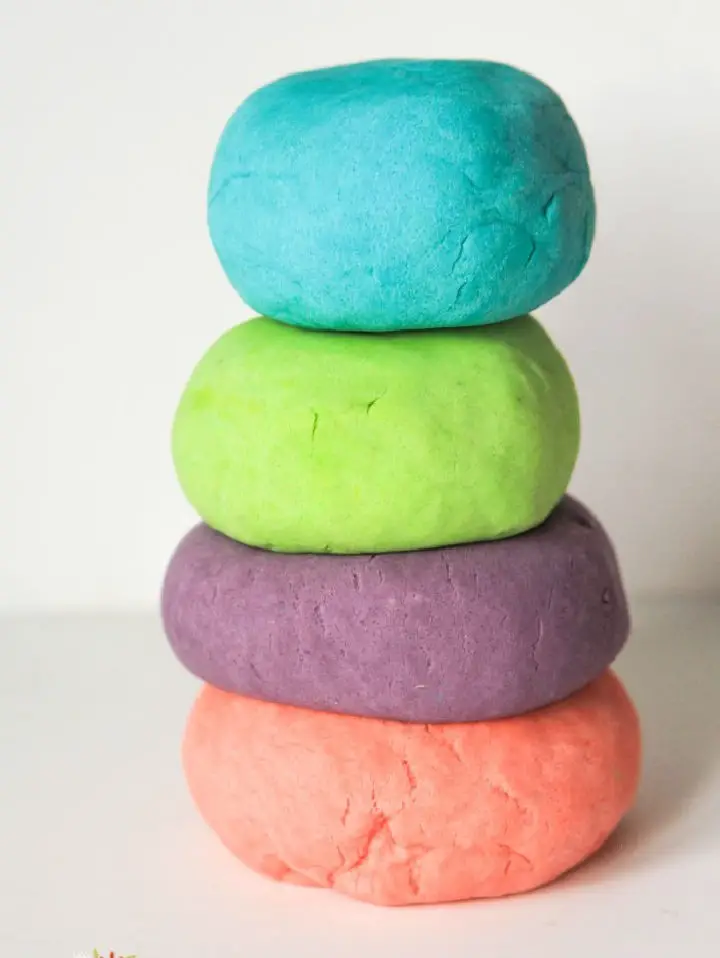
Transform your child’s playtime into an immersive experience with scented playdough, blending the benefits of aromatherapy with creative expression. This budget-friendly DIY project requires just a few household staples – flour, salt, water, and vegetable oil – to create a colorful and fragrant concoction. Simply add kid-safe essential oils like lavender for a calming effect or orange for an invigorating boost. By involving your little ones in the making process, you’ll unlock their imagination as they craft unique scents and textures. Scented playdough is the perfect solution for rainy days or on-the-go entertainment, offering a safe and natural alternative to store-bought options. Get ready for hours of aromatic fun!
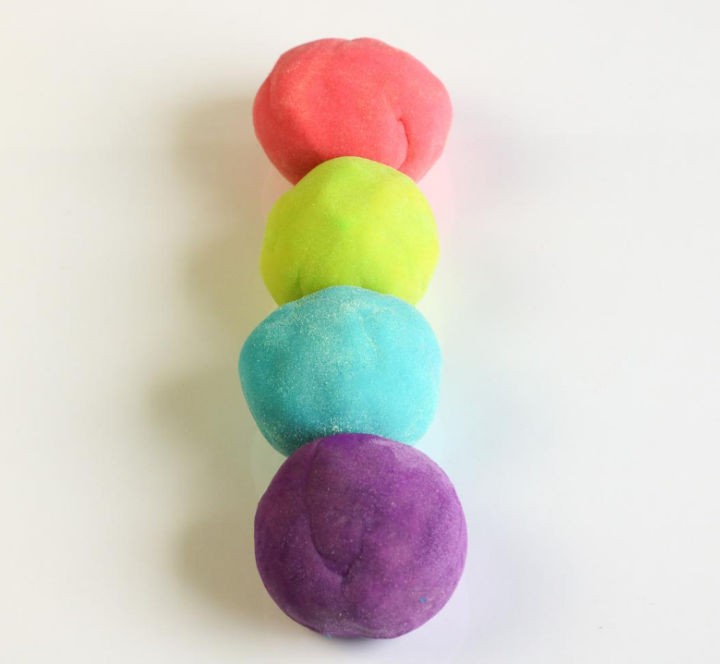
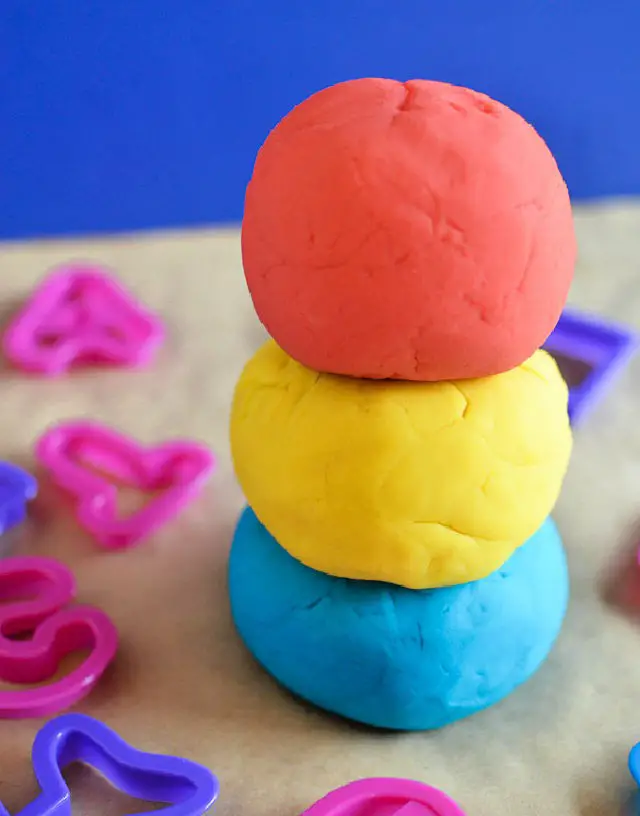
3 Ingredient Soft Playdough Recipe
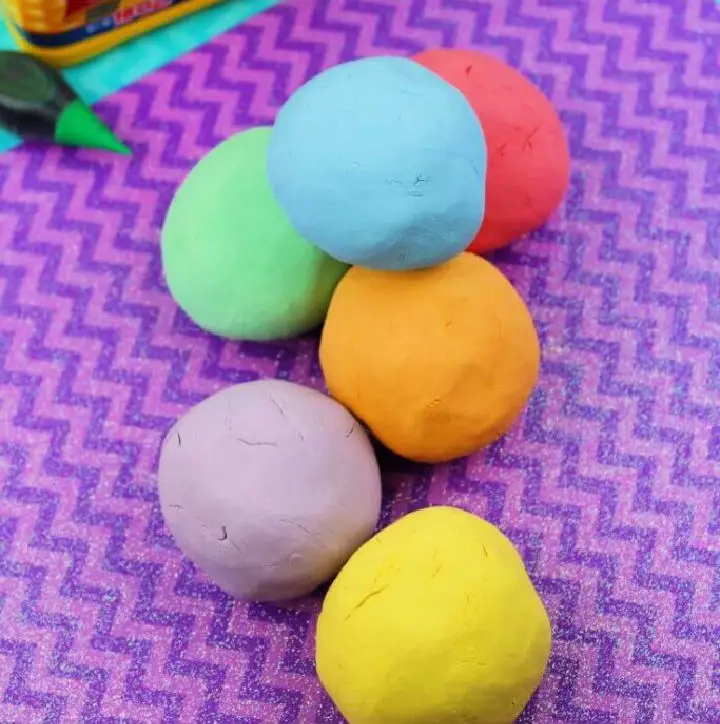
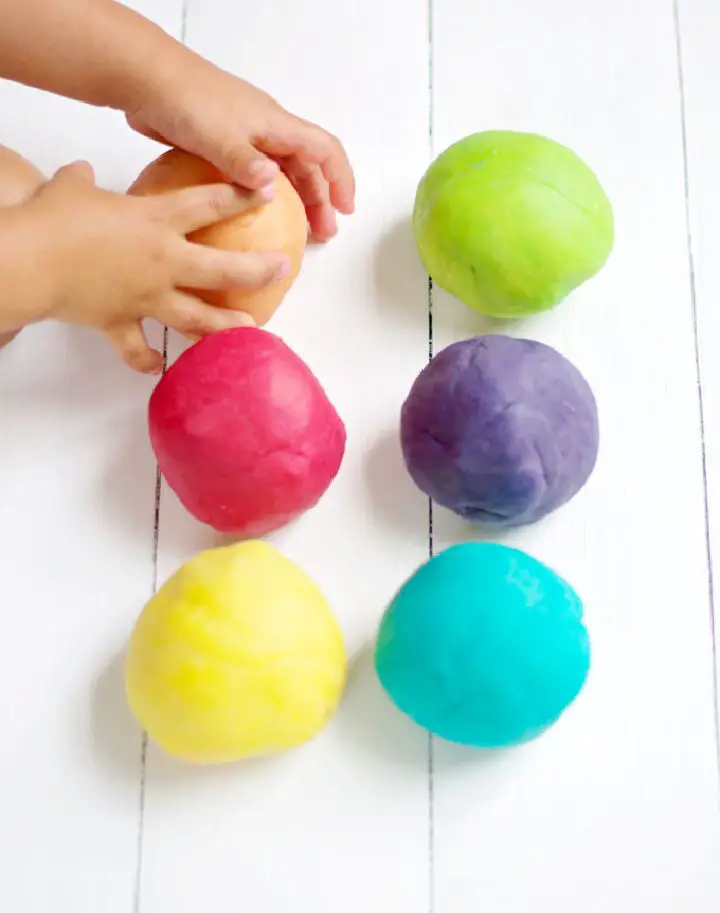
Discover the joy of sensory play with your little ones through this simple 3-ingredient soft playdough recipe that’s a treat for their fine motor skills and tactile experience. Begin by gathering just three essentials: food dye, cornstarch, and shaving cream. In a large mixing bowl, blend one cup of shaving cream with two cups of cornstarch until well combined. Next, knead the remaining cornstarch into the dough to achieve a smooth consistency. Make adjustments as needed to prevent stickiness or crumbling by adding more cornstarch or shaving cream respectively. Once you’ve achieved the perfect texture, divide the dough into six equal portions and mix in food dye in separate bowls using a fork, ensuring each portion is fully colored through kneading. Now your soft playdough is ready for hours of creative fun! Store it in an airtight container for future playdates and watch as their imagination runs wild with possibilities like playdough match-ups or insect counting mats.
DIY Valentine’s Day Play Dough
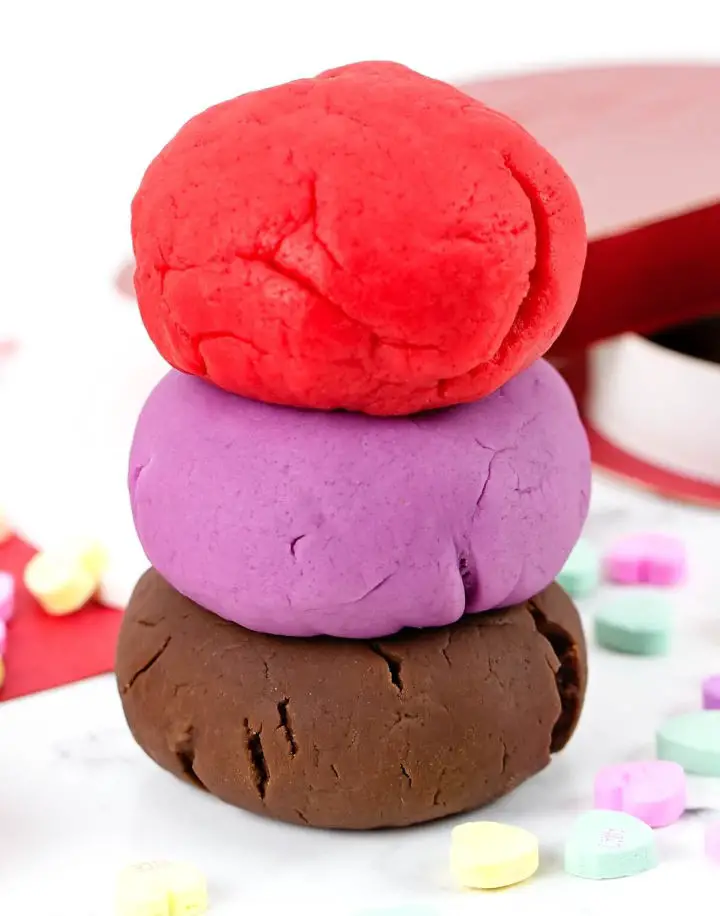
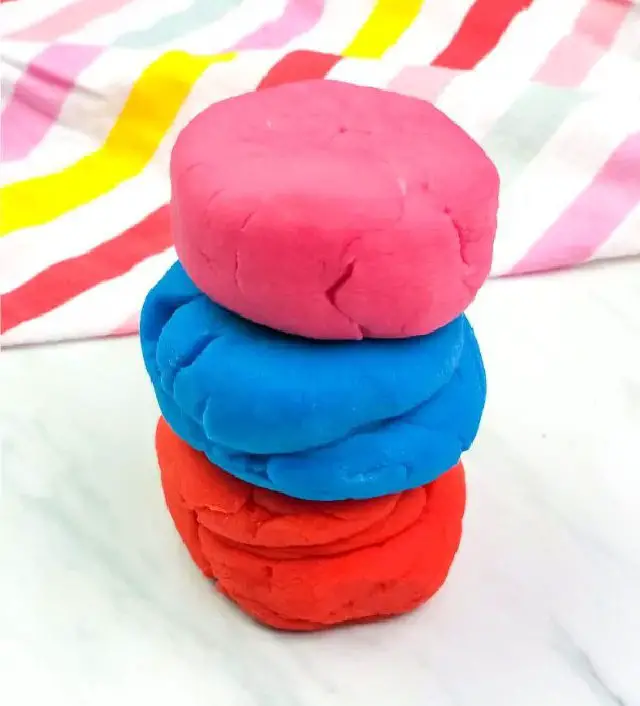
This Valentine’s Day, create an unforgettable experience for your kids with three tantalizing DIY play dough recipes that will leave them hooked! Each recipe combines unique scents with easy-to-find kitchen ingredients, making it perfect for preschoolers to teens. The first recipe features a rich chocolate scent, while the second is a calming lavender-inspired bouquet and the third is reminiscent of decadent cherry chocolates. With step-by-step instructions and customization tips, these homemade playdough creations are sure to provide hours of sensory fun and creative expression.
Handmade Playdough Using Cream of Tartar
Create an endless supply of soft, moldable playdough at home with this effortless DIY recipe. This engaging activity is the perfect antidote to boredom, ensuring kids stay entertained for hours on end. What’s more, our homemade playdough recipe surpasses store-bought options in terms of texture and affordability, making it a game-changer for families. To make your own, simply combine flour, vegetable oil, salt, cream of tartar, boiling water, and optional food coloring to create the perfect consistency. Once cooled, divide the dough into smaller balls, add color if desired, and knead until well combined. Store the finished product in airtight containers to preserve its freshness and get ready for non-stop creative fun with this beloved homemade playdough recipe that’s loved by both kids and adults alike!
Easiest No-Cook Playdough Recipe
Transform your child’s playtime into a world of endless discovery and imagination with this incredibly simple and effective DIY playdough recipe! With just a few basic ingredients like flour, salt, water, cooking oil, cream of tartar, and a splash of color from food dye, you can create a soft, moldable dough that will keep them engaged for weeks. To take it to the next level, add some aromatic oils or spices like cinnamon to awaken their senses. Let your child’s creativity shine by using cookie cutters, natural materials, or household items as molds, and watch as they use their imagination to create entire worlds with this cost-friendly and easy-to-make playdough recipe.
Quick and Easy DIY Playdough in 15 Minutes
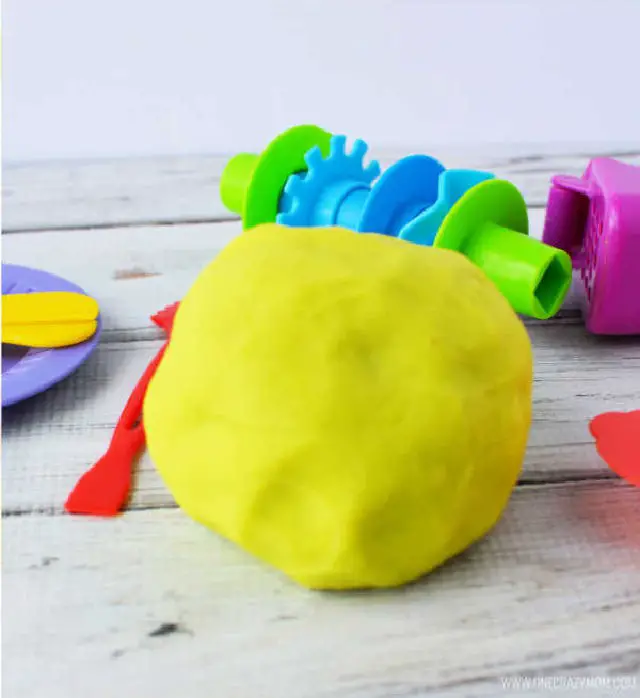
Make creative memories with your kids by whipping up a batch of homemade playdough in just 15 minutes. This easy DIY recipe is a game-changer for parents looking to engage their little ones in fun, hands-on activities that won’t break the bank. With a simple mix of flour, salt, cream of tartar, water, and vegetable oil, you can customize your playdough with your child’s favorite color, allowing them to witness the transformation from liquid to dough firsthand. The best part? Your kids will love shaping and molding their creations into all sorts of objects, unleashing their imaginations and creativity. And as a bonus, this homemade recipe makes for a thoughtful, budget-friendly gift option. Just add some printable labels and voila! You’ve got a special treat that’s sure to delight.
DIY Playdough Without Cream of Tartar
If cream of tartar isn’t on hand, don’t let that stop you from making homemade playdough! With just a few basic household ingredients like flour, salt, oil, lemon juice or vinegar, and boiling water, you can whip up a soft and pliable dough that’s perfect for kids. The key to a long-lasting and stable playdough lies in finding the right substitute for cream of tartar. Simply mix and match these common components to create a recipe that works for you. Once you’ve got your base formula down, feel free to get creative with food coloring, spices, or essential oils to give your playdough an extra sensory boost. This DIY project is as easy as it gets, and the best part? You can store any leftovers in an airtight container for future use. By making homemade playdough, you’re not only fostering creativity and fine motor skills in kids but also encouraging imaginative play that’s both fun and educational.
How to Make Play Dough From Flour
With just a few simple ingredients, you can create your own homemade playdough without cooking or using cream of tartar! This easy DIY recipe is perfect for kids who love crafting and exploring their imagination. Gather the following materials: 4 cups of flour, 1 1/2 cups of salt, 2 tablespoons of oil, 1 cup of water, and your chosen food coloring. Then, follow our step-by-step guide to mix the ingredients together and add vibrant colors to the dough. This cook-free playdough recipe is perfect for kids who enjoy sensory play and creative expression.
Glow in the Dark No Cook Playdough
Bring a touch of enchantment to playtime with this radiant no-cook DIY playdough recipe that combines sensory exploration and creative expression. This effortless concoction requires just one special ingredient to transform ordinary playdough into an otherworldly glowing masterpiece. As the dough comes to life in the dark, get ready for hours of immersive fun and imagination-fueled adventure.
With easy-to-follow instructions, you’ll quickly whip up this one-of-a-kind playdough using basic ingredients like flour, salt, cream of tartar, oil, boiling water, food coloring, and cosmetic-grade glow-in-the-dark pigments. Simply mix, knead, and color the dough to unleash a kaleidoscope of vibrant hues.
To amplify the experience, charge the dough under sunlight before unleashing its radiant glow. A black light isn’t necessary but can indeed enhance the effect. As your child’s imagination runs wild with this captivating activity, you’ll be delighted by their creative expressions and sensory explorations.
DIY Playdough With Cream of Tartar

Transform your playroom into a vibrant playground with this effortless, no-bake DIY playdough recipe! In just ten minutes, you can create a generous batch of pliable fun using everyday ingredients like flour, salt, oil, cream of tartar, hot water, and food coloring. The best part? Your little ones will be thrilled to join in on the creative process!
Simple DIY Edible Play Dough
Transform ordinary playtime into an extraordinary experience by creating DIY Kool-Aid play dough with your kids! This no-bake, edible playdough recipe combines the sweetness of frosting and powdered sugar, offering a delightful scent and tantalizing taste (though it’s not meant for actual consumption). The best part? It requires zero salt or cream of tartar, making it an inclusive sensory activity perfect for children. Simply mix and shape the dough with your little ones to create vibrant, colorful batches. Then, let their creativity shine by using cookie cutters and play utensils to craft imaginative designs. Store each color in a separate sealed bag for future play sessions and enjoy hours of interactive and edible fun together.
Cornstarch and Baking Soda Playdough Recipe
Making homemade playdough has never been easier than with this simple recipe that requires no flour at all! With just a handful of basic ingredients like baking soda, cornstarch, water, and optional color enhancers such as food dye or essential oils, you can whip up a batch of moldable fun in mere minutes. The process itself is a breeze, involving a quick mix of dry and wet components, followed by a short microwave session to bring it all together. Once cooled, this long-lasting playdough is ready for endless hours of creative play. Best of all, you won’t need any specialized preservatives like cream of tartar or salt – just keep it stored in a covered container when not in use and your homemade flourless playdough will remain pliable and fun to play with.
Cheap DIY Playdough in 5 minutes

Indulge your little ones in a world of creative freedom with this effortless DIY playdough recipe, requiring mere kitchen staples like plain flour, salt, water, cream of tartar or lemon juice, and cooking oil. With minimal effort, you can create endless hours of entertainment for your kids. Not only does this homemade playdough come together effortlessly, but it also keeps its shape remarkably well when stored in an airtight container, allowing for months of molding and squishing fun.
Customize the playdough’s appearance with vibrant colors courtesy of food coloring gels or pastes, and add a sensory dimension by incorporating scents like cinnamon or essential oils. To take it to the next level, set up a sensory play area equipped with wax paper, cookie cutters, and a rolling pin, or utilize playdough mats to enhance learning. This no-cook playdough recipe is an absolute must-have for parents seeking ways to keep their little ones engaged and entertained.
Soft and Smooth Playdough Recipe
Make colorful playdough at home with this simple DIY recipe, perfect for rainy days or sparking creativity and imagination in your child. With just a few common kitchen ingredients like flour, cream of tartar, salt, water, vegetable oil, and food coloring, you can create vibrant doughs in various colors. The straightforward instructions guide you through the process, from combining dry ingredients to kneading until smooth. Once made, store the playdough in an airtight container in the refrigerator for up to three months, ensuring hours of fun for your little one. As you work on the project together, enjoy the calming and stress-relieving benefits of playdough while bonding creatively with your child.
Classic Homemade Cooked Playdough
Indulge your little ones in the simplicity and delight of homemade playdough with this timeless cooked recipe. Unlike its commercial counterparts, this DIY version boasts a gentle, natural aroma that elevates the play experience. Cleanup is a cinch, as the dough dissolves effortlessly with water and soap, leaving surfaces and carpets residue-free. To add an extra layer of fun, customize the playdough by introducing food coloring, teaching kids about color mixing in the process. The best part? This recipe requires only basic kitchen staples and a straightforward cooking method, making it an affordable treat for imaginative play. While technically safe to eat, it’s best not to encourage snacking, as the lack of flavor may lead to discomfort if consumed excessively. Store your homemade playdough in an airtight container, where it will remain a delightful companion for weeks of creative exploration.
How to Make Play Dough

Unleash your child’s creativity with a simple DIY play dough recipe that uses common kitchen ingredients. This fun and easy activity is perfect for sparking imagination and providing a safe and healthy playtime experience. The best part? You’ll know exactly what your kids are playing with, as you’re using wholesome ingredients like flour, salt, cream of tartar, oil, and food coloring. With helpful tips like the importance of iodized salt and boiling water, you can ensure a successful outcome. Whether your little ones want to squish, shape, or get creative, this homemade play dough is sure to provide hours of entertainment. And when not in use, be sure to refrigerate it to prolong its lifespan. Get ready for endless hours of imaginative play with this tried-and-true DIY recipe!
DIY Coconut Oil Playdough
Transform a no-school day into a fun and educational experience by creating your own coconut oil DIY playdough at home! With just a few common kitchen ingredients, you can keep your little ones entertained while fostering their creativity and learning skills. Simply combine flour, salt, coconut oil, water, cream of tartar, and your preferred food coloring to create the perfect homemade playdough. Follow our easy-to-follow mixing, cooking, and kneading method to achieve a soft and pliable texture that’s sure to delight. And don’t worry if it seems dry – just add a bit more coconut oil to adjust the consistency. Store your creation in an airtight container or jar for up to four weeks and watch your kids’ imaginations run wild!
DIY Play Dough Step-by-Step Instructions
Create a delightful and luxurious homemade play dough recipe that’s surprisingly easy to make! With just a few simple ingredients like all-purpose flour, salt, cream of tartar, water, and vegetable oil, you can whip up a batch in no time. And the best part? This homemade play dough surpasses store-bought versions, offering a win-win situation for kids and parents alike. If you’re feeling adventurous, you can even add a dash of food coloring to create vibrant hues that will captivate young minds. As a bonus, this sensory-rich activity not only fosters creativity but also helps develop fine motor skills. Store your homemade play dough in an airtight container and enjoy endless hours of entertainment for 3-6 months. Simple every day moments can lead to lasting memories with this fun and engaging recipe.
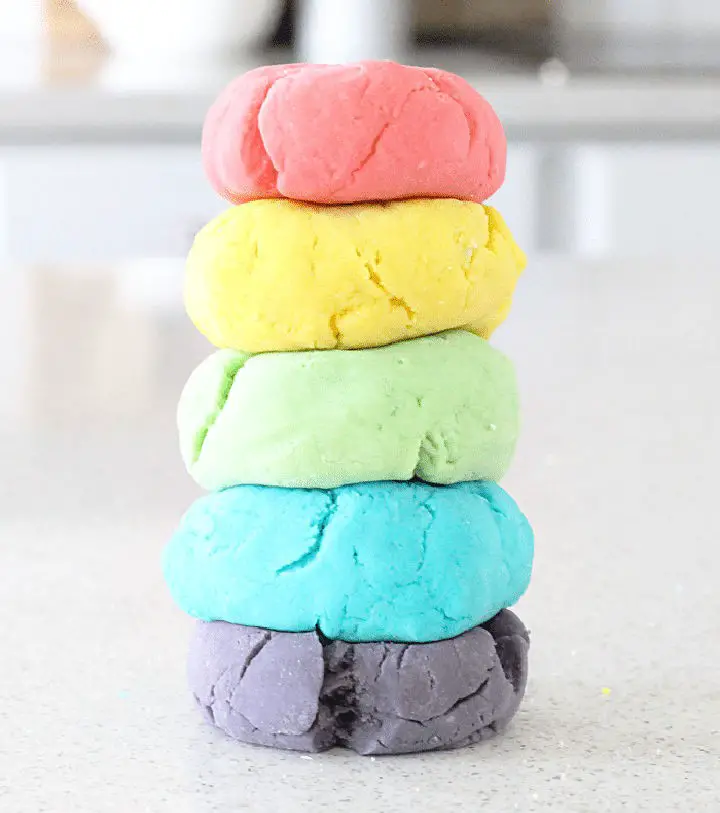
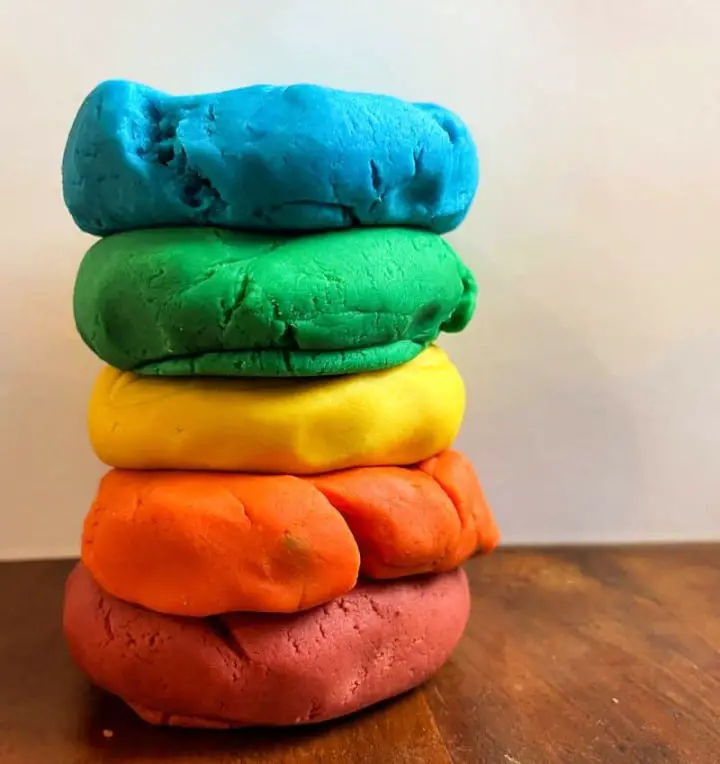
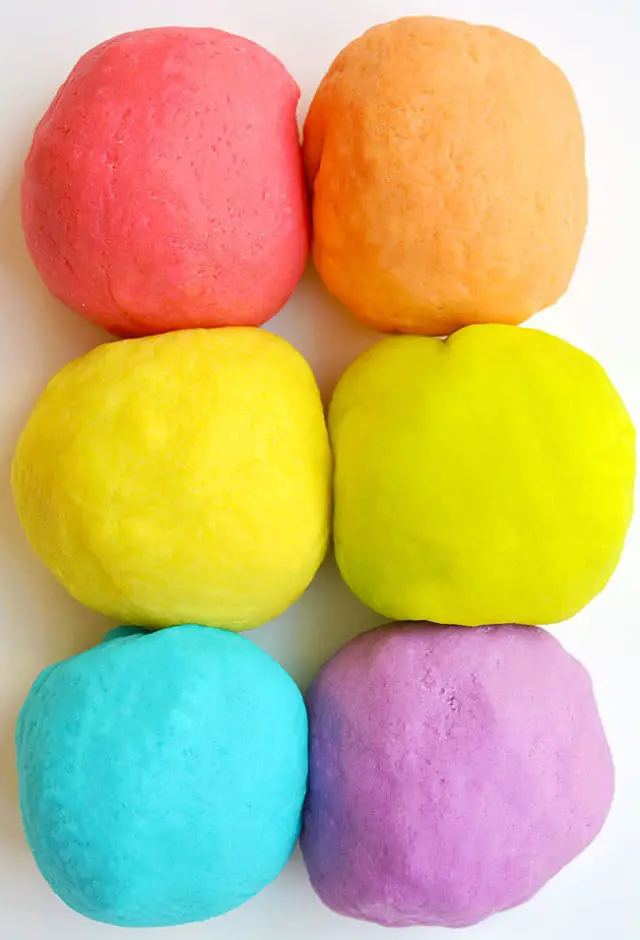
Homemade Playdough in Multiple Colours
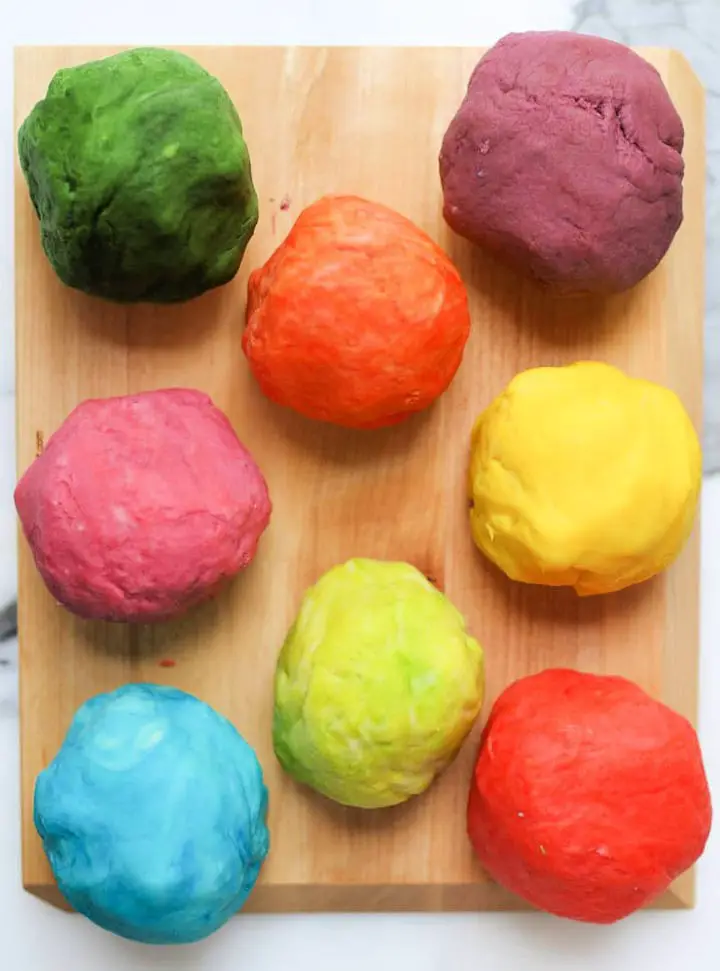
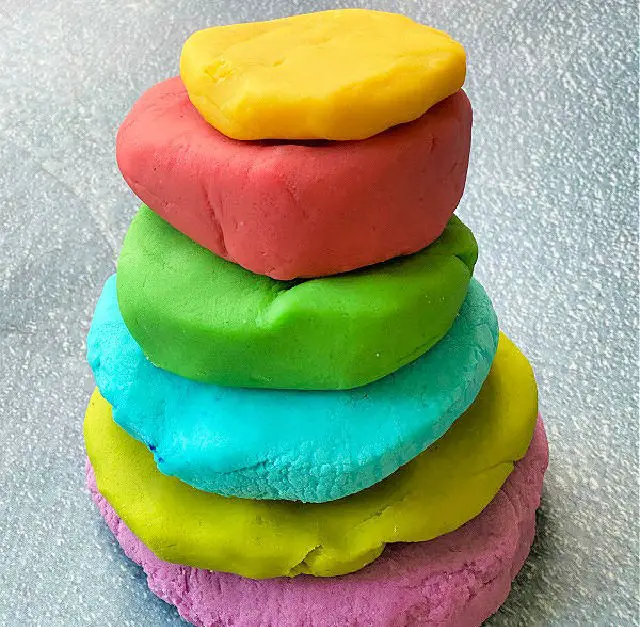
Looking for a fun and educational activity to do with your kids? Try making easy homemade playdough that stays gentle on their skin for longer than store-bought versions. This simple recipe uses common ingredients like all-purpose flour, salt, cream of tartar, oil, water, and food coloring. By starting with a colorless base and adding different hues to create a rainbow effect, you can create a rich sensory experience for your little ones. You’ll also have the opportunity to teach them about primary and secondary colors in a hands-on way.
The best part? This homemade playdough recipe is easy to store and revive if it dries out. Simply keep it in resealable bags in the fridge for a few months, or add water and knead it to bring it back to life. Get ready for hours of creative play and learning with your kids!
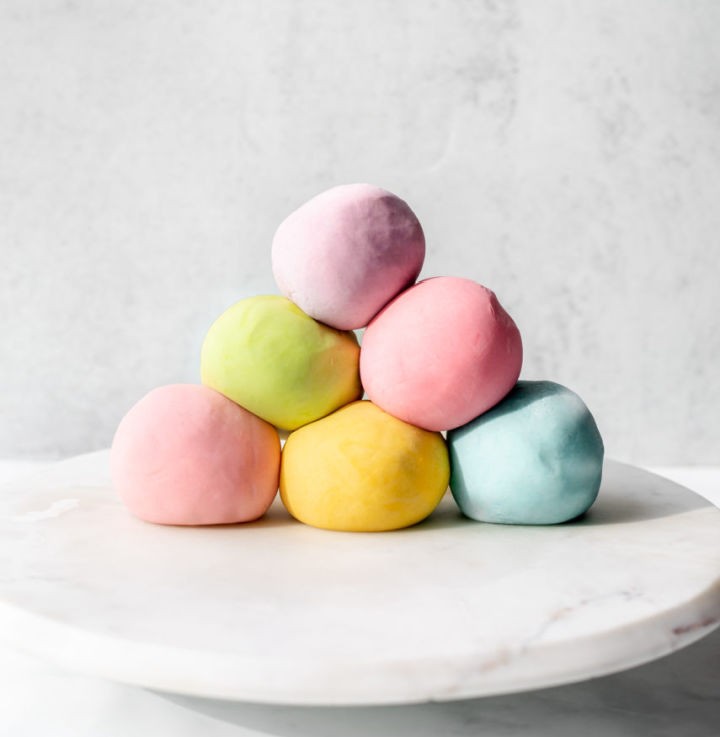
DIY Aromatherapy Playdough
Create a unique and budget-friendly playdough experience by whipping up your own DIY recipe. With just a few simple ingredients like flour, salt, water, oil, and cream of tartar, you’ll be molding and shaping like a pro in no time. This hands-on activity offers the ultimate creative freedom, making it an ideal option for kids with allergies or those who love experimenting with new textures and scents.
One of the best aspects of crafting your own playdough is having complete control over the ingredients. Want to add a calming touch? Infuse your dough with soothing essential oils like lavender or chamomile. Need an energy boost? Try invigorating citrus scents like lemon or orange. The possibilities are endless, and with homemade playdough, you’re only limited by your imagination.
This DIY project is perfect for parents looking to create a fun and engaging activity that’s not only budget-friendly but also allergy-friendly. So why not get creative, have some fun, and watch the smiles unfold as your little ones discover the joy of homemade playdough?
DIY Essential Oils Play Dough

Discover the magic of a no-cook DIY play dough recipe that’s sure to delight kids and adults alike. This sensory-friendly treat requires just a few simple ingredients, including all-purpose flour, boiling water, salt, vegetable oil, cream of tartar, essential oils, and food coloring. With these basic components, you’ll be whipping up a batch of homemade play dough in no time.The best part? The end result is a stress-relieving treat that not only smells amazing but also maintains its perfect texture for months when stored in airtight containers. Follow the simple mixing instructions, divide the dough into sections, and add your favorite scents and colors to create a unique play experience.This fantastic DIY activity is perfect for enhancing your summer fun and exploring other creative ideas on EverythingEtsy.com. And don’t miss the opportunity to learn more about essential oils and their incredible benefits.
How to Make Playdough Less Sticky
With just six simple ingredients, you can create the ultimate homemade playdough that’s soft, non-sticky, and squishy – perfect for endless hours of hands-on play with your little ones. The recipe is surprisingly budget-friendly and easy to make, requiring only all-purpose flour, salt, cream of tartar, vegetable oil, water, and food coloring. Customise the colours to let their creativity run wild! Whether you’re looking to engage them in sensory activities or spark their imagination, this homemade playdough is a must-have for every child’s playtime. Simply store it in airtight containers or ziplock bags and enjoy up to three months of fun.
St. Patrick’s Day Play Dough Recipe
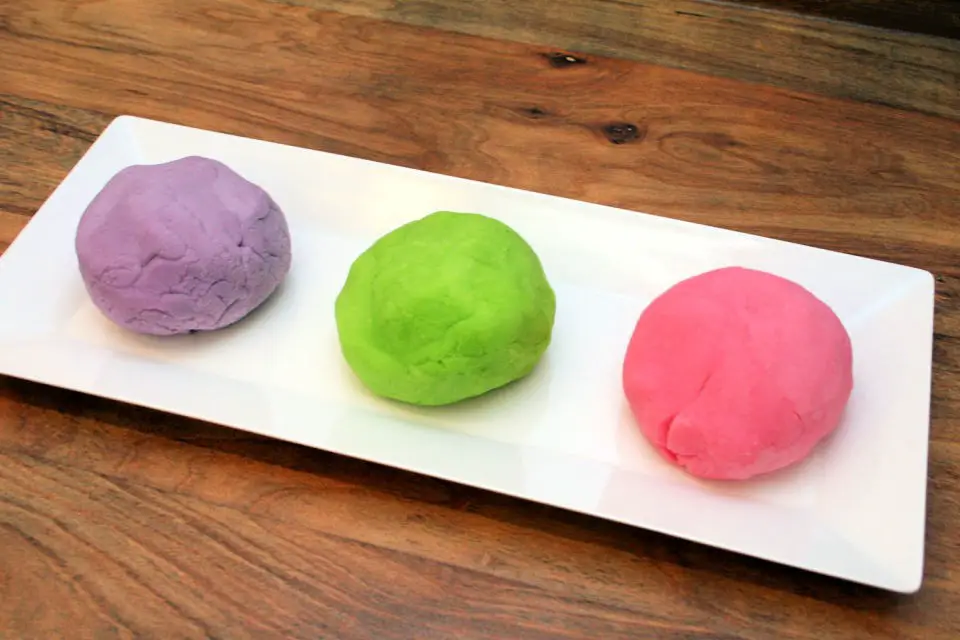
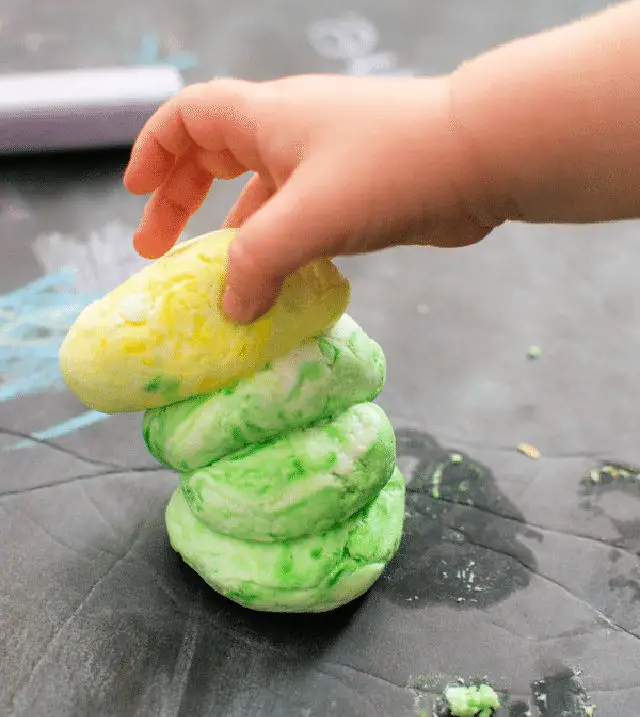
Get ready to celebrate St. Patrick’s Day with a pinch of creativity and these delightful DIY playdough recipes that fill the air with sweet scents! Kids will revel in crafting and playing with these vibrant doughs, which are effortlessly made using everyday kitchen staples. The dark green lime-scented, bright green sour apple-scented, and golden lemon-scented creations are perfect for sensory play and honing fine motor skills. Based on a quick and easy microwave method that takes mere minutes to prepare, these homemade treats ensure fun-filled crafting sessions. Add a dash of festive flair with shamrock sprinkles, plastic cauldrons, and chocolate gold coins to make the experience even more magical.
6 Ingredients Play Dough Recipe

To spark creative play in under 10 minutes, whip up a batch of DIY playdough with just six easy-to-source ingredients! Perfect for kids of any age, this fun and engaging activity is guaranteed to provide hours of entertainment. Simply combine flour, cream of tartar, salt, water, food coloring, and vegetable oil, then heat the mixture in a saucepan while stirring constantly until it thickens into a pliable mass. Once cooled, knead the dough until smooth and ready for creative manipulation.
The beauty of homemade playdough lies in its adaptability – adjust the intensity of your color scheme by adding more or less food coloring to suit your mood! As the dough cools and takes shape, let your kids’ imagination run wild as they roll, squash, and mold it into fantastical creations. This budget-friendly activity is a surefire way to bring smiles to children’s faces, regardless of their age.
Make Your Own Playdough
As you tackle Thanksgiving preparations, why not capture your children’s attention with a fun and creative activity that will keep them entertained for hours? Making DIY playdough is a fail-proof way to do just that! Simply combine flour, salt, cream of tartar, vegetable oil, boiling water, and a few drops of essential oil for a delightful scent. Let your little ones indulge in the sensory experience of playing with the flour before mixing it with the other ingredients. This homemade playdough offers a natural and wholesome alternative to store-bought varieties and provides endless opportunities for creative play. To take it to the next level, gather a variety of beans and dried pasta and let your kids’ imaginations run wild! Enjoy the precious moments and magic of play with your little ones this Thanksgiving season.
Homemade Playdough Using Vegetable Oil
Say hello to endless creative possibilities with this effortless DIY play dough recipe! By making your own playdough at home, you can tailor the colors to suit your preferences and indulge in a non-toxic, long-lasting alternative to store-bought versions that often leave a trail of crumbs and mess behind. With just six simple ingredients – water, vegetable oil, flour, salt, cream of tartar, and gel-based food coloring – you can whip up a soft, pliable dough that will captivate your little ones for hours on end. And the best part? The entire process takes mere 10 minutes from start to finish, leaving you plenty of time to get creative with your mini-me’s! Store the playdough in plastic zipper bags and let the imagination run wild – whether you’re a parent, grandparent, or simply looking for a fun activity to share with kids, this homemade playdough recipe is sure to be a treasured memory-maker.
Kool-Aid Playdough Recipe
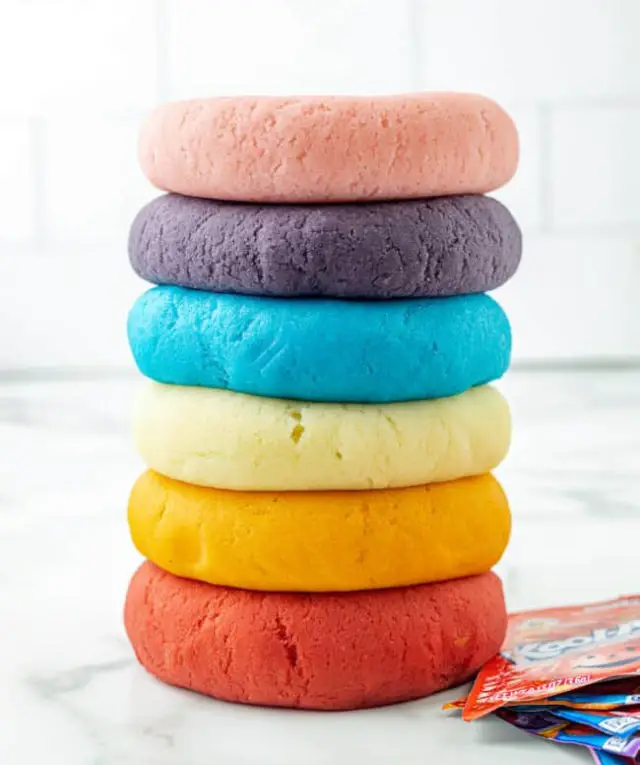
Transform ordinary playtime into an extraordinary adventure with this vibrant and delectable DIY Kool-Aid playdough recipe. This innovative project combines the classic fun of playdough with the excitement of edible art, offering a delightful experience for kids of all ages. By substituting traditional Play-Doth and coloring books with this homemade masterpiece, you’ll create a one-of-a-kind crafting journey that’s as tasty as it is entertaining.
To bring this creative endeavor to life, simply mix together Kool-Aid, flour, salt, cream of tartar, water, and oil. Engage in a fun-filled bonding experience with your little ones by following the straightforward instructions. Once complete, store the finished product in an airtight container, where it will remain fresh for up to two months.
Indulge in the world of DIY crafting and unlock a realm of endless possibilities with this captivating activity!
Best Play Dough Recipe
Unlock your child’s creative potential with this easy-to-make DIY playdough recipe. A simple mixture of flour, salt, cream of tartar, cooking oil, and water yields hours of engaging sensory play that fosters artistic expression. The process is straightforward: combine the dry ingredients, add the wet components, cook until a ball forms, knead to perfection, then customize with food coloring, glitter, or extracts. Store the finished product in the refrigerator to extend its lifespan and enjoy themed ideas for each month, encouraging imaginative play and exploration.
How to Make Play Dough Softer
Transform your little ones’ playtime with our easy-to-make homemade playdough recipe, leveraging the wonders of cream of tartar. This versatile dough fosters creativity and imagination, allowing kids to shape, mold, and craft their favorite creations. With a handful of basic ingredients like flour, salt, cream of tartar, water, oil, and food coloring, you can whip up a batch that’s perfect for sensory exploration and imaginative play. The magic of cream of tartar imbues the dough with an extraordinary softness, making it effortless to shape and manipulate. Whether they’re bringing characters to life or crafting unique masterpieces, your mini artists will revel in the endless possibilities this recipe has to offer.
DIY Playdough Using Canola Oil
Make a batch of soft and squishy homemade playdough using this quick and easy DIY microwave recipe. Unlike traditional stovetop recipes, this method allows for faster cooling and easier color mixing. With just a few simple ingredients – all-purpose flour, salt, food coloring, canola oil, and cream of tartar – you can create vibrant and long-lasting playdough in minutes. The cream of tartar helps to stabilize the dough, giving it a soft and pliable texture. If you don’t have cream of tartar on hand, you can substitute it with baking powder or lemon juice. Once your playdough is made, store it in an airtight container or Ziploc bag to keep it fresh for up to a week. With this homemade recipe, you’ll have hours of sensory play fun at your fingertips.
Easy DIY Playdough in 3 Minutes
Whip up a batch of DIY play dough in just 3 minutes using common kitchen ingredients that’ll keep your kids entertained for hours. This simple and enjoyable activity is perfect for kids of all ages, sparking creativity and imaginative play. To make it, simply combine flour, cream of tartar, salt, oil, and boiling water, then add a splash of food coloring to create a unique hue. Shape the dough into various forms using cookie cutters or your imagination, and watch as your little ones have a blast. Plus, this homemade play dough can be stored for up to 6 months, ensuring endless play sessions in the future and saying goodbye to boredom.
Salt Playdough Recipe
Transform your creative space into a haven of imagination without sacrificing tidiness! With this easy DIY playdough recipe, you can skip the cooking process and get straight to the fun part. Start by combining two cups of plain flour, one cup of salt, and two tablespoons of cream of tartar in a large bowl. Create a well in the center and add two tablespoons of olive oil, followed by 2 cups of boiling water. Quickly stir the mixture until everything is well combined. Allow it to cool before kneading into a smooth and pliable texture. To add some vibrancy to your creation, simply mix in food coloring while you’re combining the ingredients or create separate balls and add different colors to each one. This playdough recipe yields a perfect consistency that stays together nicely without leaving any residue on your hands. Let your child’s imagination run wild with this safe and fun homemade playdough!
Make Your Own Playdough
Create an endless supply of fun for your kids with this simple DIY playdough recipe. In just 10 minutes, you can craft a batch of soft, stretchy, and non-toxic playdough that will last for months. Unlike other messy methods, this recipe allows you to incorporate color directly into the dough, minimizing the mess and eliminating the need for extra bags. The key to the longevity and softness of this playdough lies in the addition of cream of tartar. By combining flour, salt, cream of tartar, vegetable oil, and water using the stovetop method, you’ll create a vibrant batch of playdough ready for shaping and molding. To keep the playdough fresh, store it in an airtight container or wrap it tightly in plastic wrap. If the playdough does dry out over time, simply knead it with oil or water to restore its texture. This homemade recipe is sure to encourage creativity and sensory play, providing hours of entertainment for your kids.
Best Play Dough Recipe Make at Home
Say goodbye to store-bought alternatives and treat yourself to the unique softness and durability of a DIY playdough creation. With just a few simple ingredients like flour, salt, cream of tartar, cooking oil, food coloring, and water, you can choose between stovetop or mixer methods to whip up a batch. Feel free to take it to the next level by adding optional elements such as glitter or scents, further enhancing the experience.This homemade playdough offers endless opportunities for creative expression and skill-building exercises like fine motor skills development, shape molding, and sensory exploration. Use printable mats, cutting exercises, and other tools to unleash your child’s imagination and let their creativity run wild.
DIY Play Dough for Toddlers
Indulge in the delightful experience of crafting your own play dough using this straightforward and entertaining tutorial. This easy-to-follow recipe combines body lotion and cornstarch to create a soft, pliable, and moldable dough that will captivate children of all ages. With just a few simple ingredients like body lotion, corn starch, and optional food coloring, you can whip up a batch of safe and engaging playdough for kids to enjoy. The step-by-step instructions guide you through the process with ease, guaranteeing a successful outcome. This homemade playdough is an excellent toddler activity that provides hours of creative fun, making it an ideal budget-friendly and engaging project.
Green Jello Playdough Recipe
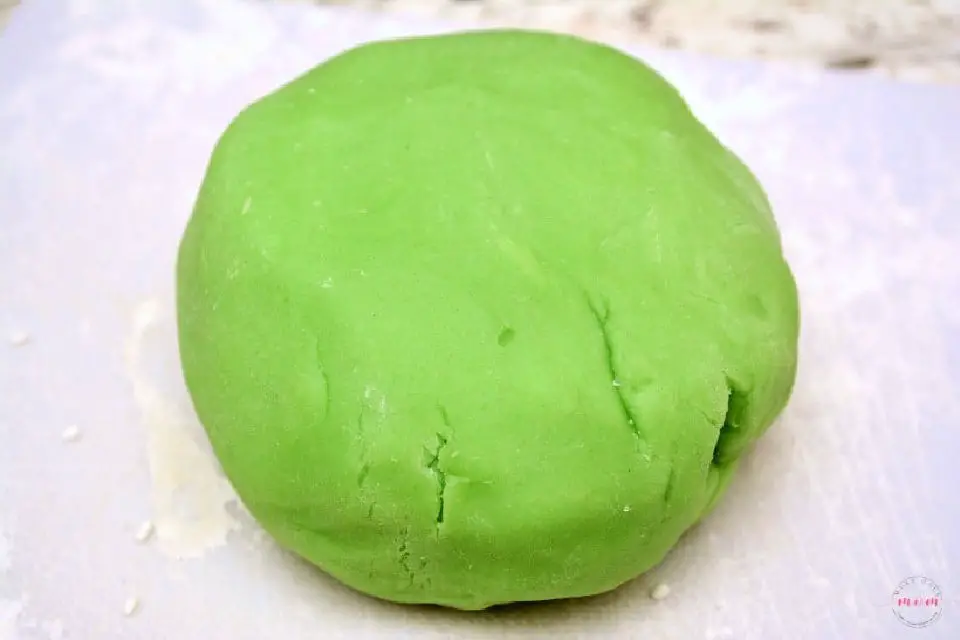
Transform St. Patrick’s Day into a fun-filled celebration with this innovative and edible DIY green jello playdough recipe, crafted from lime green Jello and everyday pantry essentials. Perfect for both kids’ craft activities and adult creative indulgence, this homemade playdough boasts a smooth, enjoyable texture that’s sure to delight. By simply substituting different Jello colors or adding themed sprinkles, you can easily customize it for any occasion. Follow the straightforward instructions to combine the ingredients, cook until thickened, cool, and knead in some additional flour before unleashing your inner child with this interactive and delectable playdough creation!
Playdough With Flour, Water and Salt
Spend quality time with your kids by creating homemade playdough that will provide endless hours of fun and imagination. This simple recipe requires just three common ingredients – flour, water, and salt – making it an accessible activity for the whole family to enjoy together. By following a straightforward step-by-step guide, you can bring joy and laughter into your home with this engaging and educational craft project. It’s a wonderful way to spend quality time with your little ones, fostering creativity and imagination as you create and play together.
Make Play Dough Out of Crayons
Transform a simple afternoon into a creative explosion by crafting colorful play dough using just three crayons, water, salt, and cream of tartar. This comprehensive guide will walk you through each step, from gathering essential ingredients to bringing the vibrant creation to life. As you follow along, you’ll discover how the combination of these humble components yields a soft, pliable dough that’s sure to captivate kids of all ages. With this unique DIY activity, unleash your inner artist and get ready to have fun!
Conclusion:
The versatility of 40 easy homemade playdough recipes offers a wealth of opportunities for creative expression, educational exploration, and sensory discovery. By making your own playdough at home, you can facilitate the development of fine motor skills, cognitive abilities, and emotional intelligence in children. The best part? These DIY recipes are safe, eco-friendly, and customizable, allowing for endless possibilities of play and learning. Whether you opt for simple no-cook or cooked recipe options, you’ll be creating high-quality playdough using trusted ingredients, ensuring a fun and engaging experience for kids. To ensure the longevity of your creations, proper storage is key, enabling repeated use and enjoyment. As you mix, knead, and customize, get ready to unlock a fantastic tactile adventure with homemade playdough!
