Why Opt for DIY Concrete Molds?
Crafting your own concrete molds for projects like walkways, patios, or stepping stones offers a multitude of advantages. By taking the DIY route, you’ll reap rewards in terms of cost-effectiveness, customization, skill-building, flexibility, eco-friendliness, and fun.Firstly, making your own molds allows you to control costs, often resulting in significant savings compared to purchasing pre-made pavers or hiring professionals. This freedom to set your own budget can be a major boon for those working on a tight budget or looking to maximize their returns.Next, DIY molds enable unparalleled customization. Unlike off-the-shelf options, homemade molds allow you to create unique designs and shapes that reflect your personal style. Whether you’re going for modern, rustic, or something entirely new, the possibilities are endless.As you work on your project, you’ll also be building new skills and gaining a sense of accomplishment. The process of making concrete molds and using them for various projects enhances your DIY abilities and can be a deeply rewarding experience.Furthermore, DIY projects offer unparalleled flexibility. You’re free to work on your own schedule, without having to wait for professional availability or accommodate someone else’s timeline. This adaptability makes DIY projects an ideal fit for busy lifestyles or specific deadlines.In addition to these practical benefits, working with concrete molds can also be a sustainable approach. By repurposing materials and mixing only the amount of concrete needed, you’ll minimize waste and promote eco-friendly practices in your outdoor enhancements.Finally, DIY projects offer a unique opportunity to bond and share experiences with friends or family. Whether it’s a solo project or a collaborative effort, crafting concrete molds can be a fun and engaging activity that adds an extra layer of enjoyment to the task at hand.Ultimately, embracing DIY concrete molds can transform your outdoor space while offering personal satisfaction and practical benefits. With a little effort, you can achieve professional-looking results that enhance the beauty and functionality of your home.
How to Make a Paver Walkway from Concrete and a Mold
Creating a paver walkway can elevate the visual appeal and resale value of your outdoor area. To help you achieve this, we’ll break down the steps to craft a stunning paver pathway using concrete and molds, even if you’re new to DIY projects. With a straightforward process and rewarding outcome, this weekend project is perfect for anyone looking to enhance their outdoor space.
Preparing the Area
Before installing your paver pathway, clear the area by removing any organic material such as grass or weeds. If you’re working in a grassy plot, take the top layer of turf down to a few inches deep to make room for the base and pavers themselves. Once the area is cleared, move on to laying the foundation. Start by spreading a layer of pea gravel, which will help with drainage and provide a stable base for your pavers. Make sure the base is level and then compact it firmly using a tool like a plate compactor or a hand tamper. By taking these steps, you’ll be creating a solid foundation that will support your pavers and ensure they stay in place over time.
Choosing the Right Concrete and Mold
When selecting a mold for your project, consider the various patterns available online and choose one that aligns with your personal aesthetic. Some molds offer the added benefit of being able to be rotated to create different designs, granting you creative flexibility. For optimal results, it’s crucial to pair your chosen mold with the right concrete. Opting for high-strength, quick-setting concrete designed specifically for mold use ensures a strong and durable final product. This type of concrete sets at a rate that allows for proper working into the mold without being too slow or too fast. A medium-setting concrete like Quikrete 6000 is an excellent choice as it strikes a balance between setting hard enough to be removed from the mold in 10-15 minutes and retaining its shape.
Mixing and Pouring Concrete
To create a strong and consistent concrete mixture, combine it with water in a large tub until the desired oatmeal-like consistency is reached. Be cautious not to add too much water, as this can lead to a liquid mixture that’s difficult to work with.
Before pouring the concrete into the mold, ensure both the mold and base are lightly dampened. This prevents the concrete from sticking to the mold and allows it to bond smoothly with the underlying gravel. A wet surface also helps the concrete flow evenly and avoid air pockets.
Fill the mold by scooping the concrete mixture in, slightly overfilling it. Use a trowel to move the mix into corners and eliminate any air pockets that may have formed. Once the concrete is level with the top of the mold, you’re ready to proceed.
When removing the mold from the set concrete, lift it vertically to avoid distorting the shape. If working with multiple molds, you can quickly move on to the next section without incurring significant downtime by reusing the mold.
Finishing Touches
Once the concrete has reached a set state, it’s essential to facilitate the curing process by lightly misting the pavers with water. Be cautious during this step as the pavers will still retain some softness. To achieve a seamless appearance, fill any gaps between the pavers with sand or topsoil, depending on the desired aesthetic and location. For patios, polymeric sand is an excellent choice as it hardens and prevents paver shifting, ensuring a stable and visually appealing finish.
Tips for Success
To optimize the outcome of your paver project, it’s crucial to maintain a spotless mold and tool set. This will facilitate a seamless release and prevent any pesky sticking issues. If you’re not achieving the desired results, take a step back and assess the viscosity of your mix and the condition of your mold. By doing so, you’ll be able to identify any potential flaws and make the necessary adjustments. Additionally, don’t forget to fine-tune the gaps between pavers to align with your design vision.
Potential Challenges
When laying the final paver, attention to detail is crucial to ensure a successful outcome. Before placing the last piece, make sure the mold is spotless and free from any residual concrete that may cause it to stick or compromise its integrity. This simple step can have a significant impact on the overall appearance and stability of your walkway. To further enhance these aspects, maintain regular hydration levels and fill in any gaps that may arise as the pavers settle into their final positions. With time, this process will help the pavers interlock seamlessly, resulting in a beautiful and durable finish.
Video Tutorial
JessedoesDIY’s YouTube video tutorial offers a step-by-step visual guide to crafting a concrete paver walkway using a mold, providing a valuable complement to the written techniques discussed here. This combination of visuals and written instructions allows for a deeper understanding of the process, making it accessible to both seasoned DIY enthusiasts and newcomers alike. The project, which can be completed with ease, has the potential to greatly enhance one’s outdoor living space.
DIY Concrete Mold FAQs
Embracing the creative spirit, crafting DIY concrete molds for your home or garden projects can be an incredibly rewarding experience. To set you off on the right foot, here’s a comprehensive overview of what to expect, addressing common concerns and providing a solid foundation for your project.
What materials do I need to make a concrete mold?
To create a concrete mold, you’ll typically need four primary components: a model or shape to serve as the basis for your mold, a molding material such as silicone, latex, or a DIY mix of sand and plaster, a release agent to prevent the concrete from adhering to the mold, and finally, a concrete mix. In addition to these core elements, you’ll also require water to facilitate mixing, a suitable mixing tool like a bucket and stir stick, and some basic protective gear including gloves and a mask.
How do I choose the right concrete mix for my project?
When choosing a concrete mix for your DIY project, consider the specific requirements of your mold or paver. For most applications, a high-strength, quick-setting mix is suitable. This type of mix sets rapidly enough to enable prompt demolding but not so quickly that you’re restricted in your ability to work with it. Ensure the chosen mix is labeled for outdoor use and durability, such as Quikrete 5000 or a comparable product.
Can I reuse a DIY concrete mold?
Properly caring for DIY concrete molds made of durable materials like silicone or thick plastic is crucial to extend their lifespan. These molds can be reused multiple times if cleaned and stored correctly. After removing the concrete, thoroughly clean the mold with soapy water, followed by a rinse and complete drying before storing it in a cool, shaded area away from direct sunlight.
How long does it take for concrete in a DIY mold to dry?
When it comes to drying times, several factors come into play, including the type of concrete used, the thickness of the mold, and environmental conditions. As a general rule of thumb, it’s recommended to wait at least 24 hours before demolding to ensure the concrete has properly set. However, for complete curing, the process can take up to 28 days or more. Always consult the instructions provided with your specific concrete mix for guidance on optimal drying times and procedures.
What are some creative ideas for DIY concrete molds?
With DIY concrete molds, the possibilities are endless for creating one-of-a-kind items that can elevate your outdoor space, home decor, and functionality. From personalized pavers and stepping stones to garden ornaments like statues or decorative edging, you can craft unique pieces that reflect your personal style. But why stop there? You can also create functional items like benches, tabletops, sinks, candle holders, coasters, and planters that not only serve a purpose but also add visual interest. The beauty of DIY concrete molds lies in their versatility, allowing you to bring your imagination to life and make truly special pieces that are all yours.
How can I prevent air bubbles in my concrete mold?
To effectively eliminate air bubbles from your concrete mixture, start by tapping the sides of the mold with gentle pressure after pouring the concrete. This allows any trapped air to rise to the surface and escape. For added assistance, use a tool to carefully poke or swirl into the concrete within the mold, releasing any stubborn air pockets that may form. When dealing with larger projects, consider investing in a concrete vibrator, which not only helps to distribute the mixture evenly but also efficiently releases air bubbles, ensuring a smoother finish.
What safety precautions should I take when working with concrete?
When tackling a DIY concrete project, it’s essential to prioritize your safety above all else. To achieve this, incorporate the following fundamental precautions into your workflow:
Don protective gear every time you mix concrete, consisting of gloves, eye protection, and a dust mask. This trifecta will shield you from skin irritation and respiratory issues.
Ensure you’re working in a well-ventilated area, particularly when handling dry concrete mixes to prevent the accumulation of harmful particles in the air.
Keep a first aid kit readily available to treat any minor mishaps that may occur during the process. After all, it’s always better to be prepared.
Lastly, thoroughly read and heed the instructions and safety guidelines provided with your concrete mix and molding materials. By doing so, you’ll minimize potential hazards and enjoy a more enjoyable, stress-free experience.
How to Make Concrete Molds (DIY Concrete Paver Mold Ideas)
Discover the art of crafting one-of-a-kind concrete creations with these innovative DIY concrete paver mold ideas. Elevate your home and garden projects with customized designs that reflect your personal style.
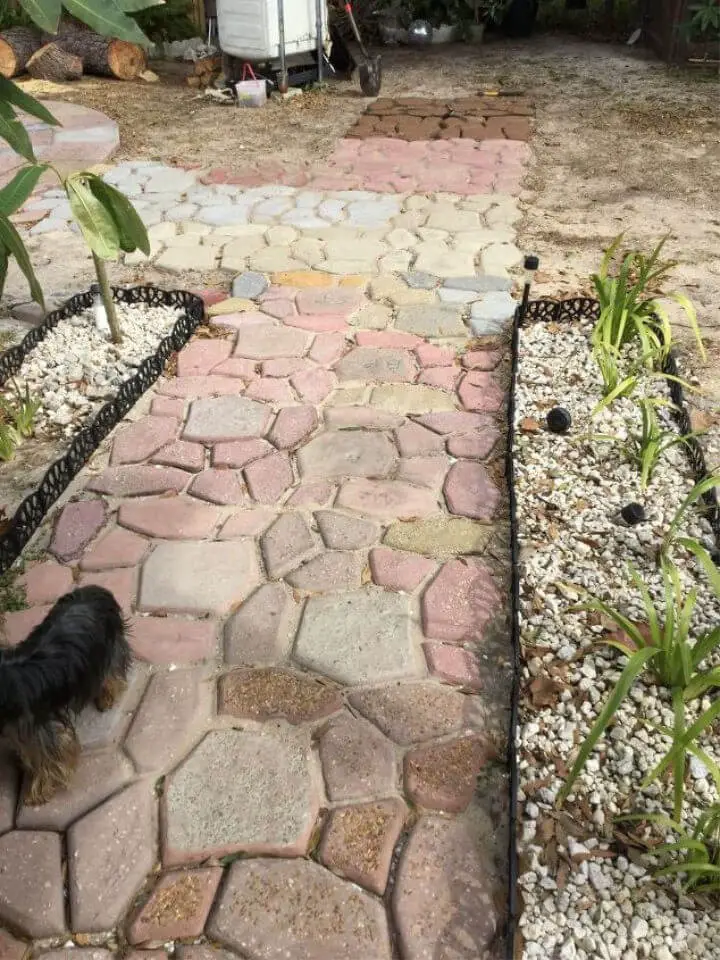
DIY Walkway with a Concrete Mold
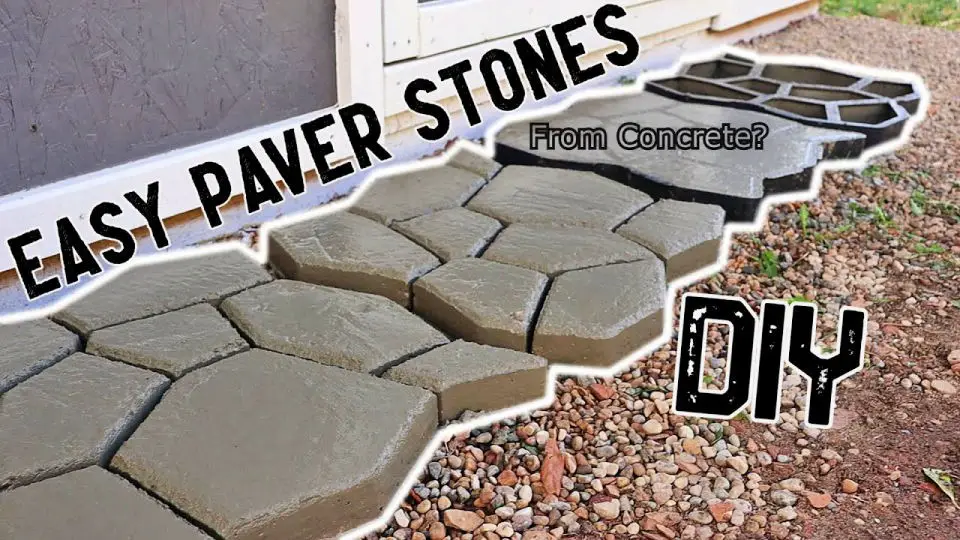
Unlock the potential of DIY concrete paver walkways by leveraging simple molds to create an efficient and cost-effective path to enhancing your outdoor space. This guide takes you on a journey from selecting the ideal mold with diverse patterns, to preparing your site and mixing the perfect concrete consistency for a durable and attractive result.
With practical tips on achieving the right mix, mastering mold usage, and adding finishing touches such as sand filling for stability, you’ll be able to craft a custom look that elevates your landscape. This approach is perfect for any homeowner eager to add charm and functionality to their yard with minimal downtime and expense.
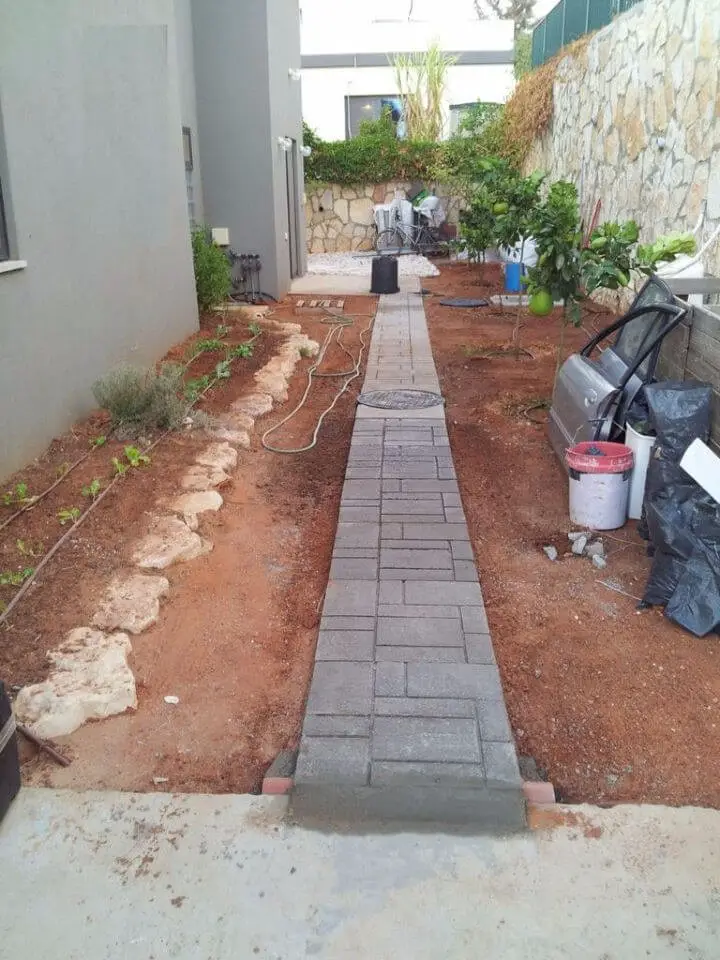
Concrete Walkway Molds for Patio
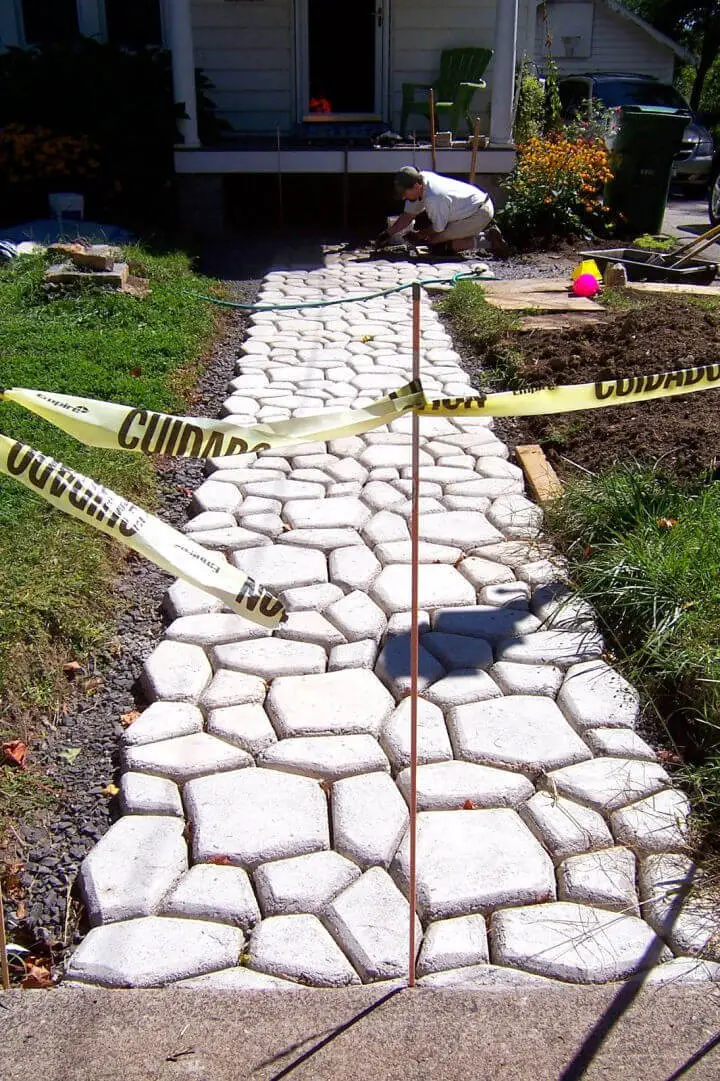
Discover the joy of crafting your own concrete walkway with this straightforward guide. By combining a walk maker form and Quikrete 5000, you’ll be able to create a professional-grade pathway with ease. Start by preparing the area, then lay down a foundation of 3/4 inch gravel for a solid base. The innovative design of the walk-creator mold allows for a distinctively natural stone appearance at every turn, resulting in a one-of-a-kind finish each time you use it. To bring your vision to life, mix and pour the concrete, ensuring thorough coverage within the mold. Once the concrete has set, you can add a finishing touch by smoothing or texturing the surface as desired. To prevent cracks from forming during the curing process, regularly mist the concrete with water. This DIY project not only elevates the ambiance of your outdoor spaces but also provides a long-lasting and budget-friendly solution for walkways, patios, and more.
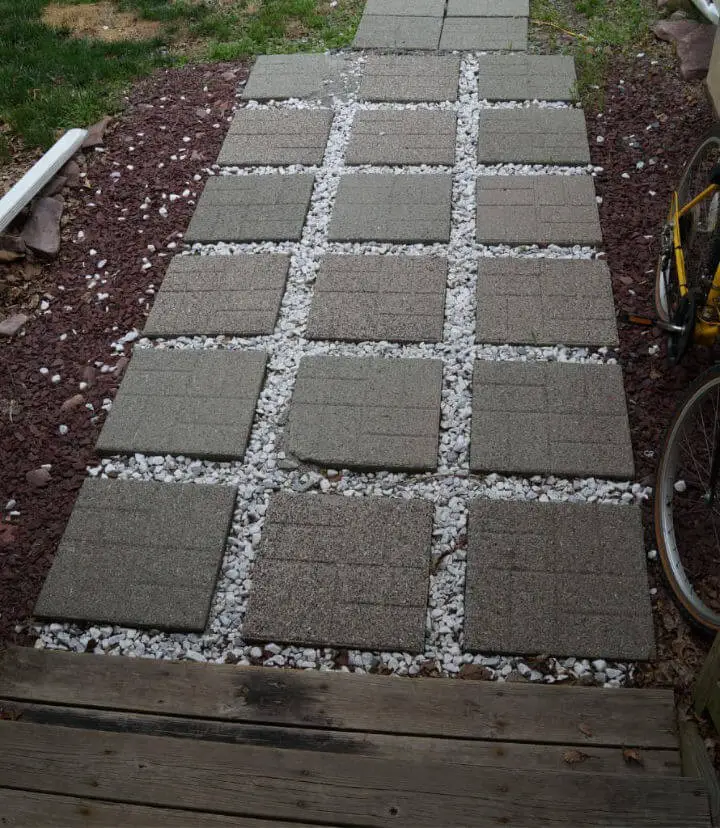
DIY Concrete Stepping Stone Mold

Crafting your own concrete stepping stones is a fulfilling DIY endeavor that not only enhances your garden’s aesthetic but also saves you money in the long run. To help you get started, HomeSteady offers an exhaustive guide on creating durable molds using everyday household items, taking you through every step from selecting the ideal shape to mixing the perfect blend of concrete. This comprehensive resource ensures that your handmade pavers turn out both beautiful and one-of-a-kind, with expert tips on curing and adding personal touches to make them truly unique. With HomeSteady’s instructions, anyone can add a custom touch to their outdoor space without breaking the bank.
Make CNC Concrete Walkway Mold
With Ben Uyeda’s guidance from HomeMade Modern, crafting a custom concrete walkway is now achievable as a weekend project. The tutorial showcases an innovative approach using an X-carve CNC machine to create reusable plywood forms for precise paver casting. By breaking down the process into manageable steps, from designing and cutting mold pieces to mixing, pouring, and finishing the concrete, this cost-effective method empowers DIY enthusiasts to produce durable and stylish walkways that add a personal touch to any outdoor space. The required basic supplies include Quikrete 5000, melamine, and silicone caulk, making it an accessible project for those looking to create professional-looking results in their own backyard.
Homemade Concrete Stepping Stone Walkway
Creating custom concrete stepping stones with unique designs and patterns can be achieved by constructing a rubber mold using a straightforward process. By following the Polytek Development Corp.’s tutorial, you’ll learn how to select a model, seal it properly, calculate the amount of rubber needed, and mix and pour the liquid polyurethane rubber to form the mold. This durable and reusable mold is perfect for casting concrete and adding a personalized touch to your outdoor space. With these step-by-step instructions, you can easily and precisely create your own one-of-a-kind stepping stones that will elevate your garden walkway.
Rhubarb Leaf Stepping Stone Concrete Mold
Transform your garden into an enchanting retreat by crafting charming rhubarb leaf stepping stones with a DIY touch! Using a simple concrete mold, you can create a natural, leaf-patterned pathway that harmoniously blends with your outdoor space, adding a whimsical charm that elevates the overall ambiance. This budget-friendly and imaginative project allows you to infuse your garden with a personalized element, making it a truly unique and captivating outdoor sanctuary.
DIY Concrete Stepping Stone Paver Mold
Elevate your garden path into a captivating feature with a creative DIY ice cream bucket stepping stone walkway. By repurposing empty buckets as molds for cement, homeowners can craft a one-of-a-kind addition to their outdoor space. To start, cut the bottoms off the buckets and fill them with a small amount of oil to ease the release process. Next, mix in some cement and shape the mixture into desired patterns or designs. As the stones cure, the anticipation builds until you’re finally ready to lay them out and add decorative touches like shells, glass, or other embellishments. This step-by-step guide will walk you through the process of creating a unique and personalized garden path that’s sure to spark conversation and pride among friends and family.
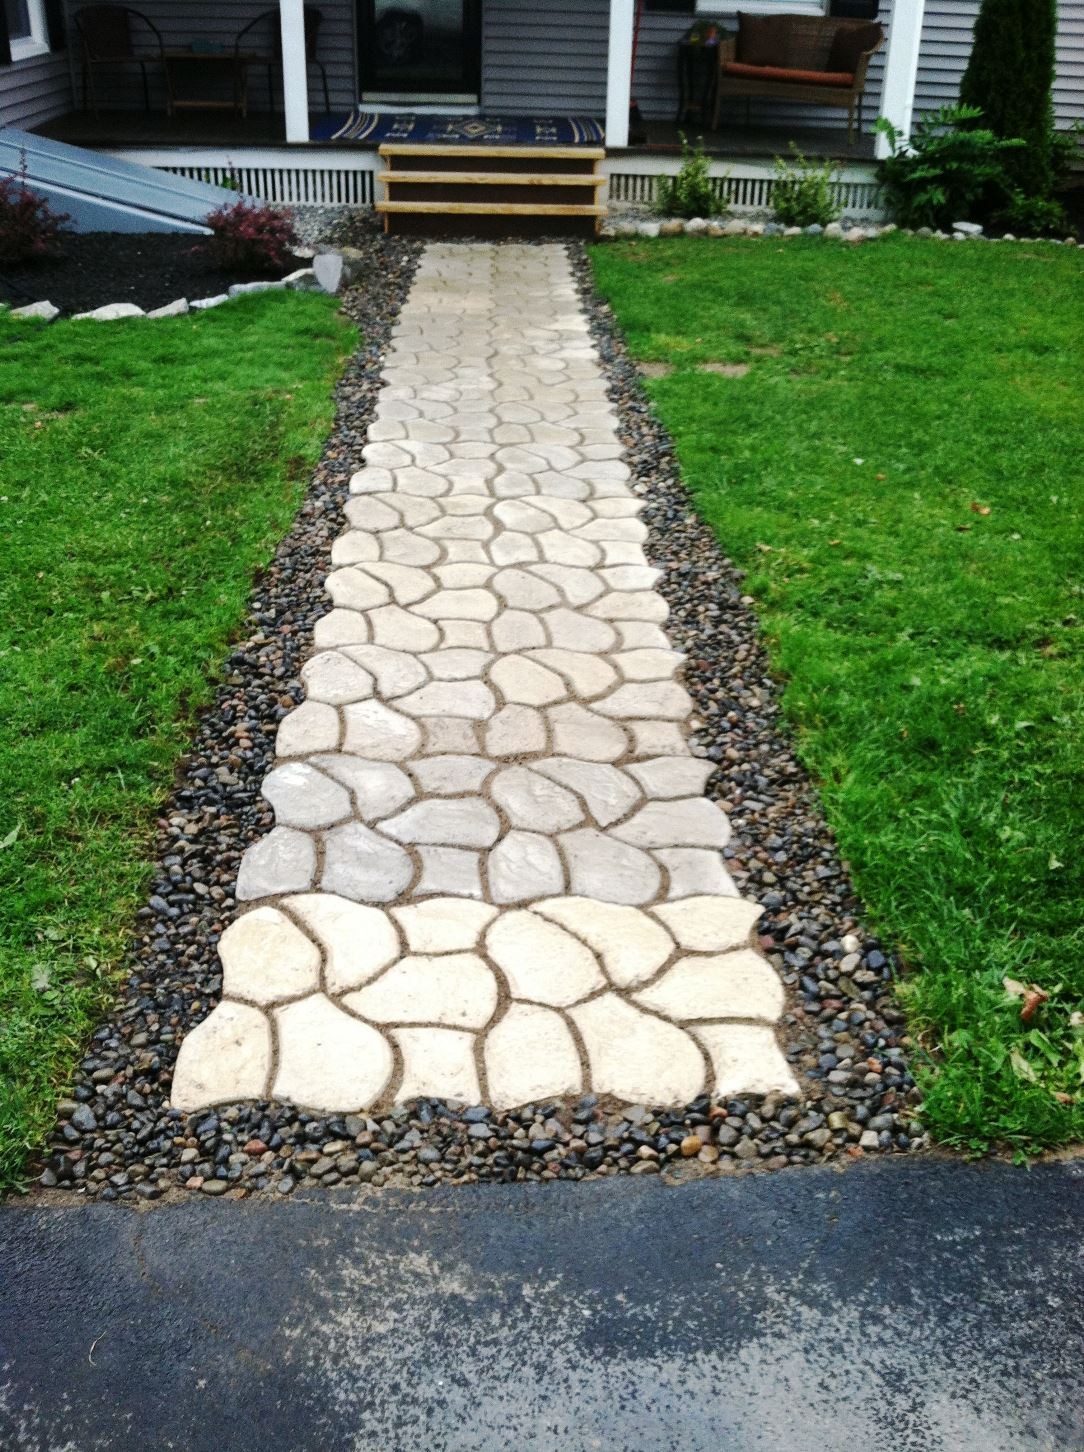
How to Make Concrete Walkway Mold
Transforming your backyard into an organized and visually appealing outdoor space is as simple as constructing a concrete pathway. With the right guidance, you can create a durable and long-lasting walkway that complements your landscape. Instructables provides a comprehensive tutorial on building a concrete path mold, equipping you with the skills to design and construct a path that withstands the elements. By following the step-by-step instructions, you’ll learn how to prepare the ground, mix concrete with precision, and allow it to cure for optimal hardness. This hands-on project is perfect for individuals seeking a fulfilling DIY experience, resulting in a professionally laid pathway that enhances your garden’s beauty.
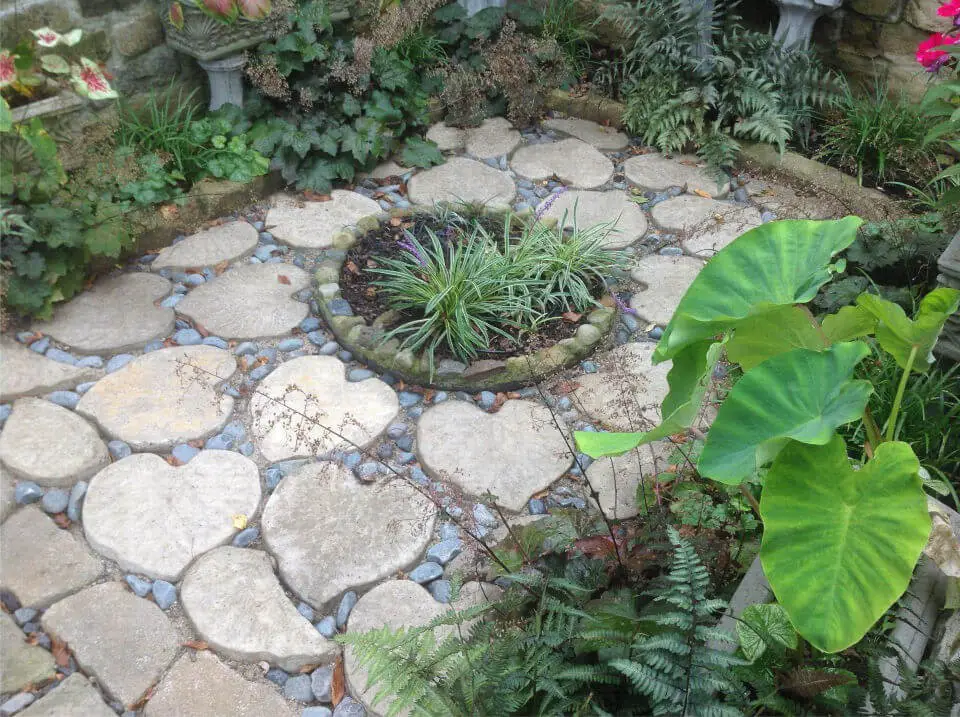
Cobblestone-Look Walkway Mold
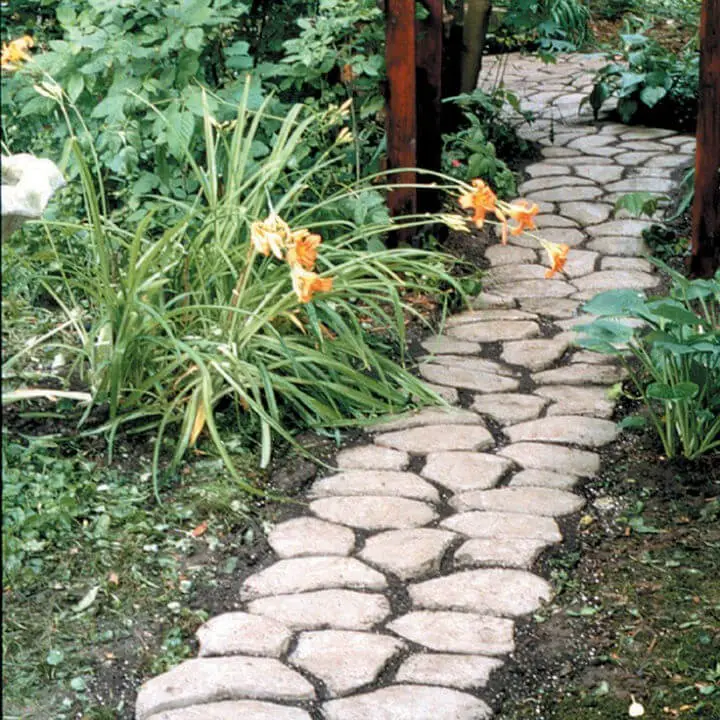
Transform your garden into an enchanting oasis with the stunning cobblestone-look walkway. To create this natural-looking masterpiece, craft a mold using steel strips or similar materials and fill it solidly with white concrete. This durable and functional pathway will not only elevate the aesthetic appeal of your outdoor space but also provide a long-lasting route for exploring your garden. Take it to the next level by incorporating vibrant pebbles or small plants along the walkway, which will add an extra layer of visual interest and create a warm atmosphere. As you stroll along this charming pathway, you’ll not only enjoy the beauty of your surroundings but also find yourself drawn to its focal point – a perfect blend of form and function that adds character to your garden landscape.
Easy Concrete Walkway Molds
Transform your outdoor space with a stunning and durable garden walkway using our innovative DIY molds. To get started, access a pre-designed template to streamline the process and then unleash your creativity by selecting high-quality materials such as robust steel bars, flexible plastic, or natural wood that aligns with your distinctive style. By taking a meticulous approach, you’ll not only create a visually appealing walkway but also one that is both functional and long-lasting.
Conclusion:
With the skills learned from creating concrete molds for DIY projects like concrete paver mold ideas, you’ll be able to take your outdoor space to the next level. From preparing the area and selecting materials, to applying the finishing touches, each step plays a crucial role in achieving exceptional results. It’s not just about visual appeal, but also about crafting durable and long-lasting additions that can withstand the elements and enhance the overall ambiance of your garden or walkway. By putting the tips, ideas, and techniques outlined in this guide into practice, you’ll be empowered to embark on a rewarding DIY adventure that allows you to transform ordinary materials into extraordinary pathways, limited only by your imagination.
