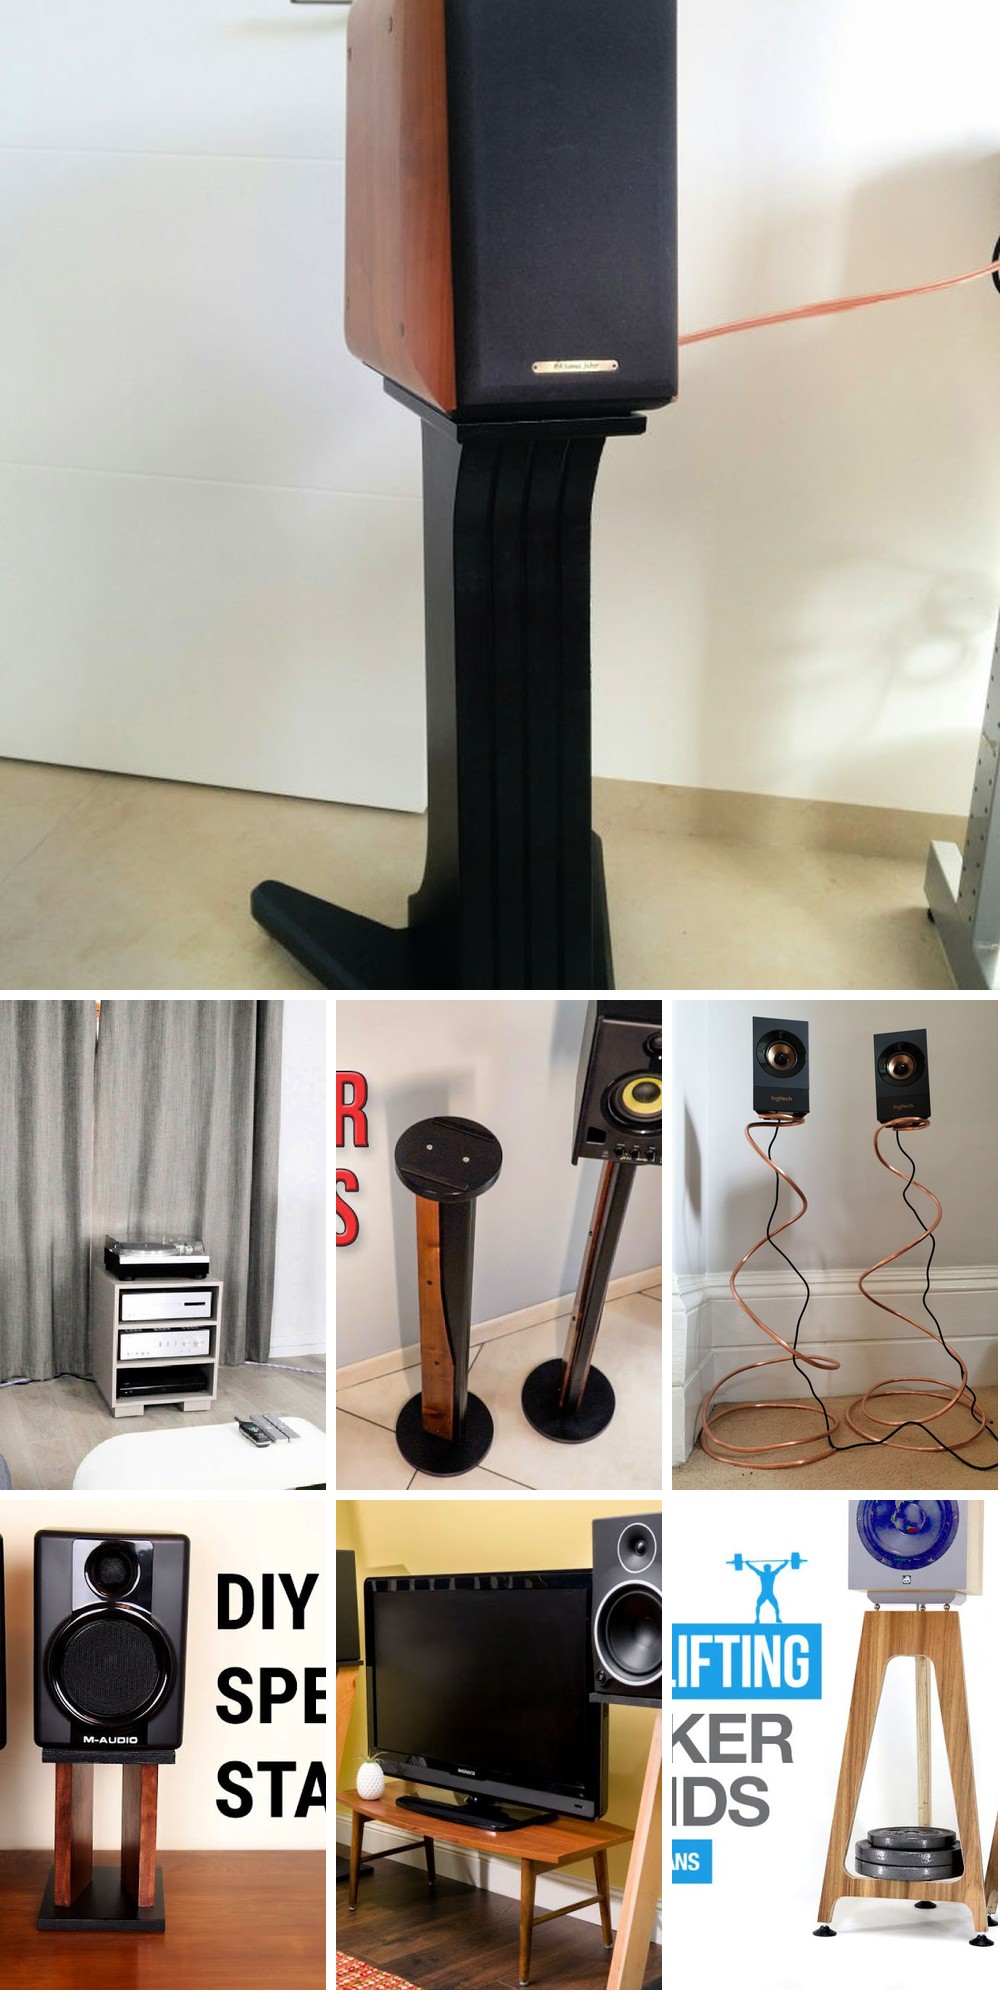
Looking for innovative ways to upgrade your home sound system? Building DIY speaker stands can be a fun and rewarding project. With 25 creative plans at your disposal, this guide offers a unique blend of style, functionality, and hands-on creativity. Designed to cater to various tastes and spaces, these DIY speaker stand ideas will not only elevate your speakers but also add a personal touch to your living area.
Emphasizing the importance of stability and aesthetics, this section provides a step-by-step guide on how to build DIY speaker stands from scratch. By simplifying each process, from selecting the right materials and tools to the final assembly and testing, you’ll be able to manage your project with ease and satisfaction.
Whether you’re seeking to improve acoustic performance or simply want custom stands that blend seamlessly with your decor, the following steps will guide you towards achieving your goal. Ready to get started? The next section is packed with valuable insights and instructions to kick off your DIY speaker stand project.
Why Build DIY Speaker Stands?
Building DIY speaker stands can be a fulfilling project that not only enhances your audio experience but also satisfies your creative and practical needs. Here’s why you should consider taking on this challenge: You’ll gain the flexibility to tailor dimensions, materials, and aesthetics to your unique requirements, ensuring a perfect fit for your space and speakers. This customization option allows you to select materials that suit your budget without compromising quality, making it a cost-effective solution compared to purchasing commercial stands. Furthermore, proper speaker stands elevate your speakers to ear level, providing a stable platform that reduces unwanted vibrations and results in clearer, more precise sound, especially in the bass frequencies. Additionally, there’s a sense of accomplishment that comes with creating something functional and beautiful with your own hands. Your DIY speaker stand project can be a rewarding experience, giving you not just a set of stands but also a story to tell. You’ll also have the opportunity to incorporate your DIY stands into your home’s decor, serving as an attractive piece of furniture that complements your room’s style. And finally, engaging in this project provides a great learning experience, allowing you to develop new skills or improve existing ones, from basic woodworking and painting to more advanced techniques. By building your own speaker stands, you’re investing in a project that offers practical benefits, enriches your listening experience, and brings a personal touch to your home.
Introduction to Speaker Stand Ergonomics
Setting up a home audio system requires careful consideration of speaker placement, as it can greatly impact the overall listening experience. Speaker stands are not just a means to elevate speakers; they play a vital role in optimizing sound quality. By prioritizing ergonomic factors, such as height, stability, material choices, and room acoustics, you can create an immersive soundstage that accurately reproduces the artist’s original intent.In terms of height, it is essential to position speaker stands at ear level when seated, typically ranging between 24 to 28 inches for most listeners. This ensures that sound waves reach the listener’s ears directly, minimizing reflections from the floor or ceiling.Stability is also crucial, as vibrations can distort sound and negatively impact the listening experience. Look for stands with a solid base and an option to fill them with sand or other damping materials to improve stability and reduce vibration.Material choices can also significantly affect audio quality. Wood absorbs some sound, offering a warmer tone, while metal stands are more rigid, providing a crisper sound. Glass stands are less common due to their resonance, but they can be aesthetically pleasing.To prevent vibrations from transferring to the floor, speaker stands should have isolation spikes or pads. These minimize contact with the ground, reducing the transmission of vibrations and improving sound quality.Finally, consider the room’s acoustics when placing speaker stands. Avoid corners where bass can become boomy, and if possible, position the stands away from walls to prevent sound reflection and ensure a clear path from the speaker to your ears.By taking these ergonomic principles into account, you can significantly improve the performance of your audio system and create a listening environment that is as the artist intended—clear and true to the original recording.
How to Build DIY Speaker Stands
Crafting robust speaker stands from birch plywood can significantly elevate the sonic performance of your speakers, thanks to their sturdy foundation, minimized vibrations, and amplified bass response. This comprehensive guide walks you through the process, as expertly demonstrated by SoundBlab, utilizing straightforward language and concise steps that even newcomers can easily follow. By constructing these heavy-duty speaker stands, you’ll be able to enjoy a more immersive listening experience.
Materials and Tools Checklist
To create custom speaker stands that meet your unique specifications, having the right materials and tools is crucial. Here’s an updated rundown of what you’ll need:Materials-wise, you’ll want to consider birch plywood or thicker for a sturdy and aesthetically pleasing stand. MDF comes into play when creating precise templates that will guide your cuts and ensure uniformity. You’ll also need PVA wood glue to bond your wooden components securely.For added structural integrity, 8mm dowels with dowel joints are essential. Metal ball standoffs provide a floating effect for the speaker platform, adding a modern touch. Speaker spikes or flat swivel feet isolate the stand from the floor and reduce vibration transmission. And, if you want to add some extra stability, gym weights in 2.5kg and 5kg plates can be used as a base.Optional, but worth considering, is veneer for a premium finish that you can apply to the plywood.When it comes to tools, a jigsaw is perfect for cutting out the initial shape of your stands from the plywood. A router table helps create clean, precise edges and profiles on your stands. For drilling clean, flat-bottomed holes for the dowels, a Forstner drill bit is ideal. A track saw ensures straight, precise cuts, especially for larger pieces of wood. Sanding paper smooths out all surfaces and edges, preparing them for finishing. And, double-sided tape comes in handy for securing your paper template to the MDF or plywood during cutting, while glue for the paper template adheres it firmly to the material, ensuring accuracy.With this comprehensive list, you’re well-equipped to start crafting your speaker stands.
Step 1: Build Templates
To begin, start by designing or downloading a template for your speaker stand legs. Then, print this design on A4 paper and cut it out. Assemble the pieces together by taping them securely. Next, transfer these designs onto medium-density fiberboard (MDF) to create sturdy templates. This process involves using a jigsaw or saw to roughly cut out the shape, followed by precise shaping using a router table.
Step 2: Cut and Shape Plywood
To start crafting your birch plywood legs, first utilize the MDF templates to outline the shape of each leg on the wood. Employ a jigsaw to make an initial rough cut along these lines, leaving a slight margin for subsequent refinement. Secure the template to the plywood piece with double-sided tape. Then, use a flush trim router bit on a router table to precision-trim the legs to their final dimensions. If you’re aiming for added weight and stability, consider laminating two layers of ply together using your favorite adhesive.
Step 3: Assembly
To construct the stand’s legs, start by joining the plywood pieces together. Begin by drilling 8mm holes for the dowels that will serve as a secure fastening method. Prior to final assembly, consider applying veneer to the designated surfaces if you’ve opted for this finishing touch.
Step 4: Add Support and Finish
When it comes to preventing unwanted vibrations from affecting the sound quality, consider using metal ball standoffs to create a buffer between the speaker platform and the stand itself. Additionally, ensure stability and protect your flooring by equipping the base of the stand with flat swivel feet or spikes that are tailored to your specific floor type.
Step 5: Weigh Down Your Stand
To elevate performance, it’s essential to augment your stand with weights. Specifically, place gym weights that fit a 25 mm diameter bar within the stand structure. A recommended configuration involves pairing two 5 kg weights with one 2.5 kg weight per stand. This strategic addition of mass has a profound impact on stability and sound quality, ultimately leading to a more robust and polished performance.
Step 6: Finishing Touches
For a flawless finishing touch, take the time to sand down any imperfections and consider adding an extra layer of protection with veneer or a coat of paint that complements your desired room aesthetic.
Step 7: Assembly and Testing
With the stand assembled and speakers securely attached, take a moment to test the sound system’s performance. Notably, you may observe a substantial enhancement in stability, as well as an enriched bass response and overall sonic clarity.
Video Tutorial
To elevate the performance of your speakers, building heavy speaker stands yourself is an excellent approach, offering a perfect blend of customization and functionality. A video tutorial by SoundBlab provides a step-by-step visual guide to complementing this written instruction, making it easier to grasp the techniques discussed. By taking on this DIY project, you’ll not only save money but also gain control over the design, allowing your speakers to thrive in their ideal environment.
Customization Tips
Transforming your DIY speaker stands into unique and functional pieces is an exciting experience that lets you infuse your personality into your home decor. To achieve this, consider these suggestions:
Select a Finish That Reflects You: Choose from a wide range of finishes, including natural wood tones, vibrant colors, or sleek metallic hues. If using wood, enhance its beauty with stain to highlight the grain’s natural pattern. For a modern look, paint can be used to match any color scheme.
Add Decorative Accents: Elevate your stands’ design by incorporating decorative trims, inlays, metal accents, or vinyl wraps. These elements can add a touch of sophistication and personality to your creation.
Experiment with Unconventional Shapes: Why should speaker stands be rectangular? Feel free to explore different shapes and designs that cater to your taste. Just ensure the top plate is the right size for your speakers.
Personalize with Accessories: Add functionality and style by incorporating small shelves for audio accessories or cable management systems. These features can make your stands both practical and visually appealing.
Consider Environmental Factors: If your stands will be placed in a room with direct sunlight, choose materials that are UV-resistant to prevent fading. In humid environments, select materials that won’t warp or degrade over time.
Prioritize Safety: While customizing, remember safety is paramount. Avoid sharp edges and heavy decorations that could compromise the stand’s stability.
Safety Precautions
As you embark on a DIY project like building speaker stands, prioritizing safety is crucial to ensure a successful and accident-free experience. To achieve this, it’s essential to implement the following critical safety measures:Firstly, don’t neglect personal protective gear. Wear safety glasses to shield your eyes from flying debris, gloves to prevent splinters and cuts, and consider ear protection when using loud power tools.Next, make sure your workspace is well-ventilated to minimize exposure to harmful dust particles generated by sawing and sanding. A dust mask can also be a valuable addition to your safety gear.Keep your workspace tidy and organized to avoid accidents caused by clutter. Ensure that cords from power tools are kept out of the way to prevent tripping hazards.It’s equally important to use each tool correctly, following the manufacturer’s guidelines and using it for its intended purpose only. Familiarize yourself with the proper operation of each tool before starting your project.When cutting or drilling, ensure that materials are securely clamped or held in place to prevent movement that could lead to inaccuracies or injury.Before using any equipment, inspect it for damage or wear. Damaged tools can be dangerous and should be repaired or replaced promptly.Be mindful of fire hazards by keeping flammable materials away from power tools and other heat sources. Having a fire extinguisher accessible in case of emergency is also crucial.Finally, have a first aid kit on hand to treat minor injuries. For more serious injuries, seek professional medical assistance immediately.
Troubleshooting Common Issues
When building your own speaker stands, you may encounter some common challenges. To troubleshoot these issues, let’s start by identifying the root cause of the problem.
Unstable Stands: If your stands are wobbling or unstable, it’s likely due to an uneven surface or improperly adjusted feet or spikes. Make sure the base is level and that all joints are securely glued. You can also try adjusting the feet or spikes to get a better grip on the floor.
Weak Joints: If your dowel joints are loose, it may be due to insufficient glue or oversized holes. To fix this, you can add more dowels or use metal brackets to reinforce the joints and prevent further weakening.
Finish Imperfections: If your paint or stain job didn’t turn out as expected, don’t worry! Simply sand down the area and reapply the finish. Always test a small patch first to ensure the desired result and avoid any further issues.
Resonance Issues: Unwanted resonance can be a major issue with DIY speaker stands. To address this, try adding more damping material inside the stand or adjusting the isolation feet or spikes. This should help reduce any unwanted vibrations and improve overall sound quality.
Alignment Problems: If your top plate isn’t aligning with your speakers, it’s likely due to incorrect dimensions or off-center placement. Double-check that your stand is built to the correct specifications and that your speakers are placed centrally on the plate.
Maintenance and Care
To prolong the life of your DIY speaker stands, it’s crucial to adopt a routine of regular upkeep. Start by giving them a gentle cleaning using a soft cloth and a mild wood-safe cleaner or detergent, depending on their material. This will help prevent dust buildup and dirt accumulation. Additionally, perform periodic checks for signs of wear, such as loose joints or scratches, and address any issues promptly by tightening screws or touching up finishes. To avoid damage from moisture, keep your stands away from water sources and use coasters or pads if placing drinks nearby. Furthermore, consider relocating your stands to a less exposed area if they’re subject to direct sunlight, which can cause fading or warping. Finally, reapply the finish as needed to maintain their appearance and provide continued protection. By following these straightforward maintenance tips, you’ll be able to enjoy your custom speaker stands for many years to come.
FAQs on DIY Speaker Stand
When embarking on a DIY speaker stand project, it’s essential to address common queries that can impact the overall outcome. By exploring these frequently asked questions and concerns, you’ll be better equipped to navigate any challenges and achieve a high-quality result that maximizes the potential of your speakers.
What materials do I need to build DIY speaker stands?
When it comes to building a custom speaker enclosure, you’ll need a combination of materials and tools. The foundation of your project will be the birch plywood or MDF base plate, which provides a sturdy surface for your design. To ensure a strong bond between components, PVA wood glue is essential for bonding joints together. For added support and structural integrity, dowels and dowl joints can be used to reinforce critical connections. Metal ball standoffs offer flexibility in positioning speakers while keeping them level, and flat swivel feet or speaker spikes provide stability on various surfaces. To add an extra layer of stability, gym weights can be strategically placed within the enclosure. A set of reliable tools, including a jigsaw, router table, Forstner drill bit, and track saw, will be necessary for cutting, shaping, and assembling your design. Sanding paper is crucial for smoothing out surfaces and preparing them for finishing coats. Veneer, an optional component, can enhance the aesthetic appeal of your speaker enclosure. Finally, double-sided tape provides a convenient way to attach components together without compromising their integrity.
Can I make speaker stands without woodworking experience?
For those new to DIY speaker stands, many available projects cater specifically to beginners. These designs typically utilize uncomplicated materials and clear, step-by-step construction methods, making them perfect for novices looking to build their skills and confidence. By starting with a simple project and gradually progressing to more intricate designs as experience grows, DIY enthusiasts can develop a solid foundation in speaker stand creation.
How can I ensure my DIY speaker stands are stable?
To enhance stability, consider incorporating dense materials such as birch plywood into your speaker stand’s design or add weights internally to increase its overall mass. Additionally, ensure that the base of the stand is substantial enough to prevent it from tipping over, providing a wide and sturdy foundation for your speaker. Furthermore, incorporate features like flat swivel feet or spikes to guarantee a secure grip on the floor, preventing any unwanted movement or sliding.
What is the ideal height for speaker stands?
When it comes to setting up optimal speaker stands, a key consideration is ensuring that the tweeters are at ear level when you’re seated in your listening area. While this height may not be exact for everyone, a common range is between 24 and 28 inches, although this can be influenced by factors such as the specific seating arrangement and personal preference.
How can I improve the acoustic performance of my DIY speaker stands?
To effectively dampen resonant energy and reduce unwanted vibrations, consider incorporating mass-damping materials like sand within the stands themselves. This strategic addition can significantly diminish resonance issues. Additionally, it’s crucial to ensure a secure seal where the speaker meets the stand, preventing any excessive vibration transmission. Furthermore, employ floor-specific solutions such as carpet spikes or rubber feet to proactively minimize unwanted vibrations and prevent them from being transferred to surrounding surfaces.
Can I customize my DIY speaker stands to match my décor?
One of the most significant benefits of creating DIY speaker stands is the flexibility to tailor the design, dimensions, and finish to harmoniously blend with your room’s aesthetic. With a DIY approach, you have the freedom to customize the appearance of your stands through painting, staining, or veneering, as well as incorporating distinctive design elements that reflect your personal style and complement your surroundings.
Are there any cost-effective materials I can use for DIY speaker stands?
For those looking to create a unique and budget-friendly display stand, several options are available. One such alternative is the use of PVC pipes and flanges, which provide an affordable and lightweight solution. A more eco-conscious approach can be achieved by repurposing reclaimed wood or pallets, offering a cost-effective choice that also reduces waste. In addition to these materials, DIY enthusiasts may find value in utilizing IKEA furniture parts to craft one-of-a-kind stands. For those seeking a modern and industrial aesthetic, concrete forms can be employed to create a striking display stand.
How can I hide cables in my DIY speaker stands?
When it comes to crafting a functional yet visually appealing DIY project, clever cable management is key. One effective approach is to route cables through strategic components or employ clips and ties to keep them tidy and hidden from view. A crucial step in this process is planning your cable management strategy beforehand, which can significantly streamline the assembly process.
DIY Speaker Stands (25 DIY Speaker Stand Plans and Ideas)
Elevate your audio experience with the perfect blend of form and function by creating customized speaker stands using innovative DIY techniques. With a plethora of creative approaches, you can transform your space into an immersive sonic hub.
How to Build a Vika Curry Speaker Stand

Elevate your audio experience with a unique DIY project that combines style and affordability. Inspired by the creative community on IKEA Hackers, Finnish designer Max has cleverly repurposed Vika Curry legs and Ekby Statlig shelves to craft speaker stands that not only enhance sound quality but also boast hidden cable routing and stability features. Perfect for optimizing your home office or entertainment setup, this ingenious hack boasts a sleek, minimalist aesthetic that will seamlessly integrate into any room. For a detailed, step-by-step guide on how to recreate Max’s design, visit IKEA Hackers.
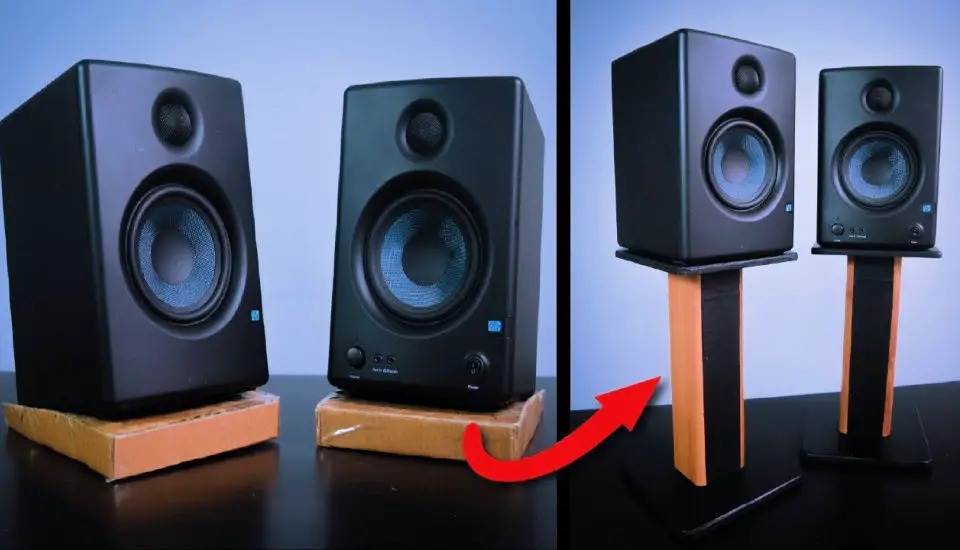
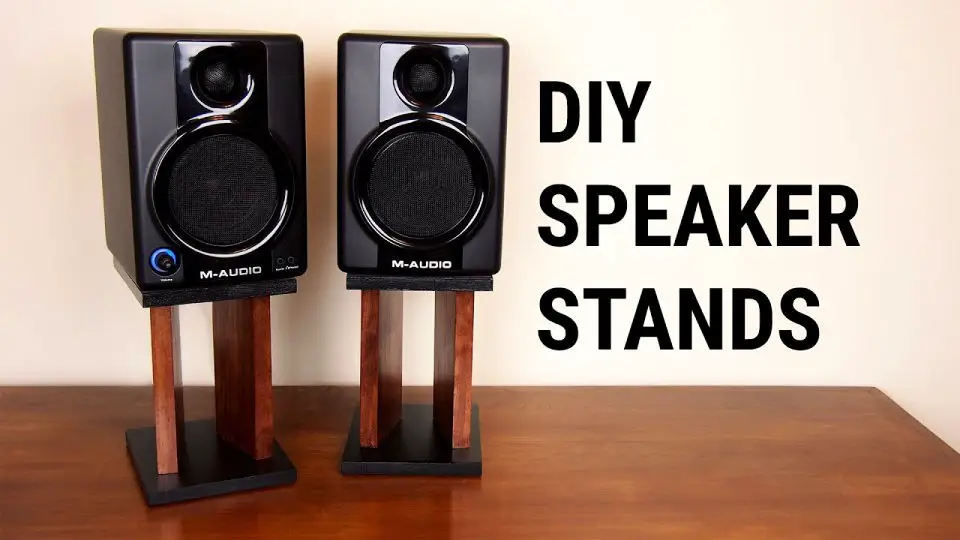
Easy DIY Bookshelf Speaker Stands
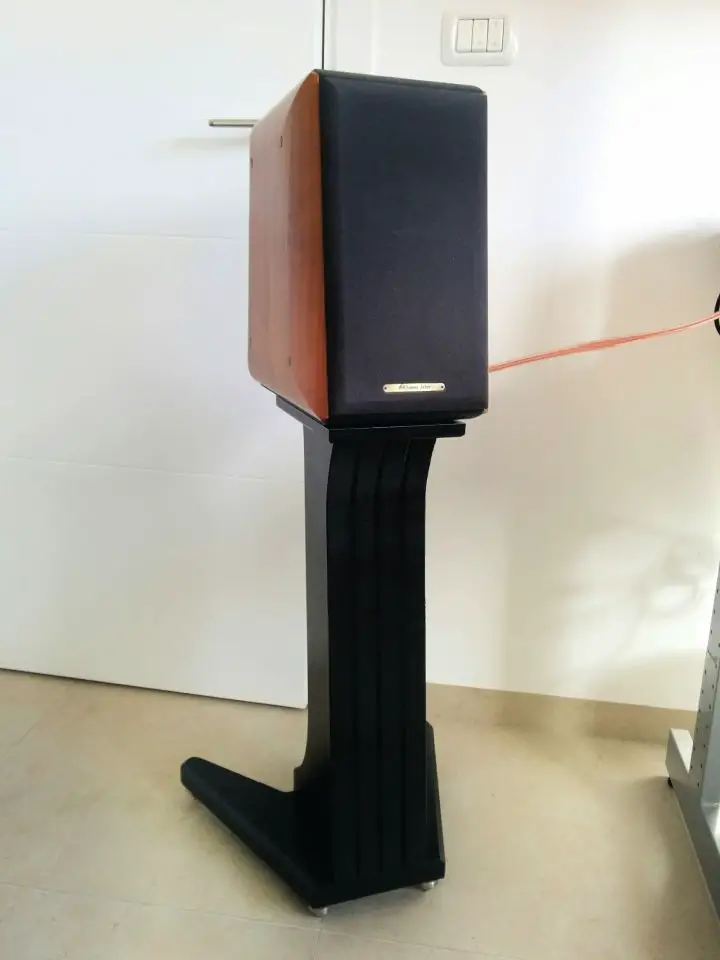
Transform your home audio setup by crafting custom bookshelf speaker stands inspired by Sonus-Faber designs using MDF. This DIY guide is perfect for those who want to create a sturdy and visually appealing stand without the need for large speakers, making it ideal for spaces with limited space. With straightforward steps from design to completion, including techniques like using stencils for precise shapes and preventing paint absorption with PVA glue, anyone can achieve professional-looking results even without extensive experience. For a comprehensive walkthrough, visit Toli’s DIY page and learn how to elevate your audio setup with this engaging and helpful project.
Make a Pvc and Plywood Speaker Stand
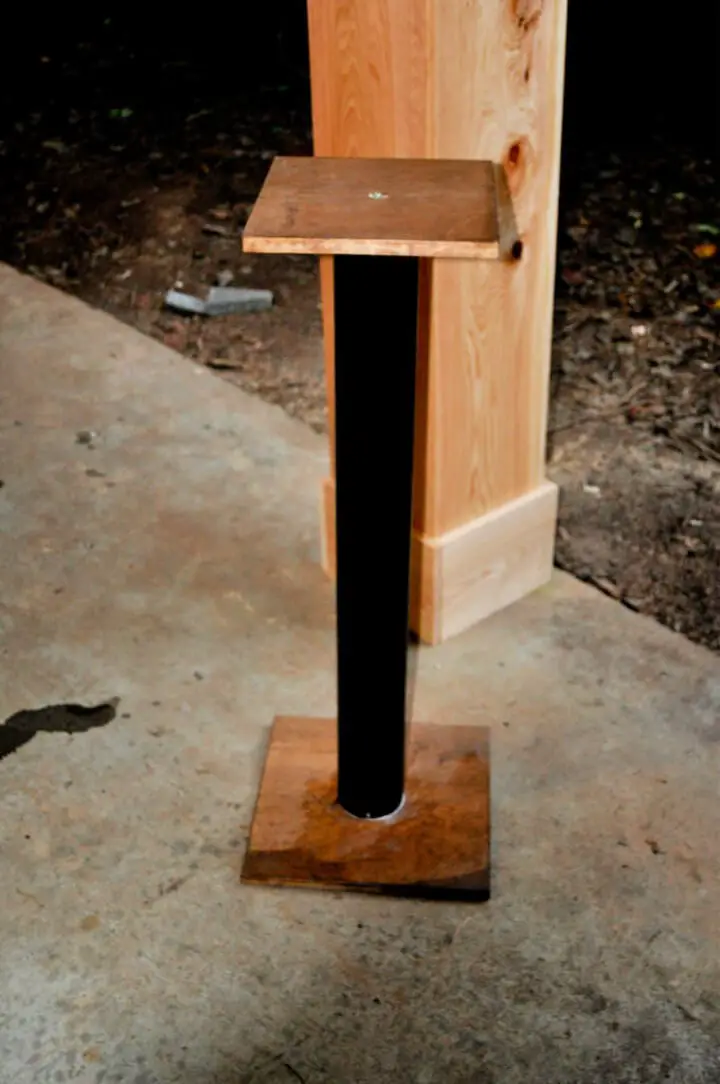
Elevate your home studio or entertainment space with a budget-friendly DIY project that’s surprisingly effective. By combining simple materials from a hardware store and basic tools like a drill and saw, you can create durable speaker stands capable of holding hefty bookshelf speakers or studio monitors. With this straightforward guide from Instructables, you’ll be able to craft stands that align perfectly with ear level for optimal sound quality.
This DIY project is designed to be accessible to anyone, regardless of their crafting experience. Simply follow the tutorial and customize the finish to match your desired aesthetic, adding a touch of stability by filling the stands with sand. The result is a unique and functional piece that enhances your audio experience without breaking the bank.
DIY Wooden Speaker Stands on a Budget
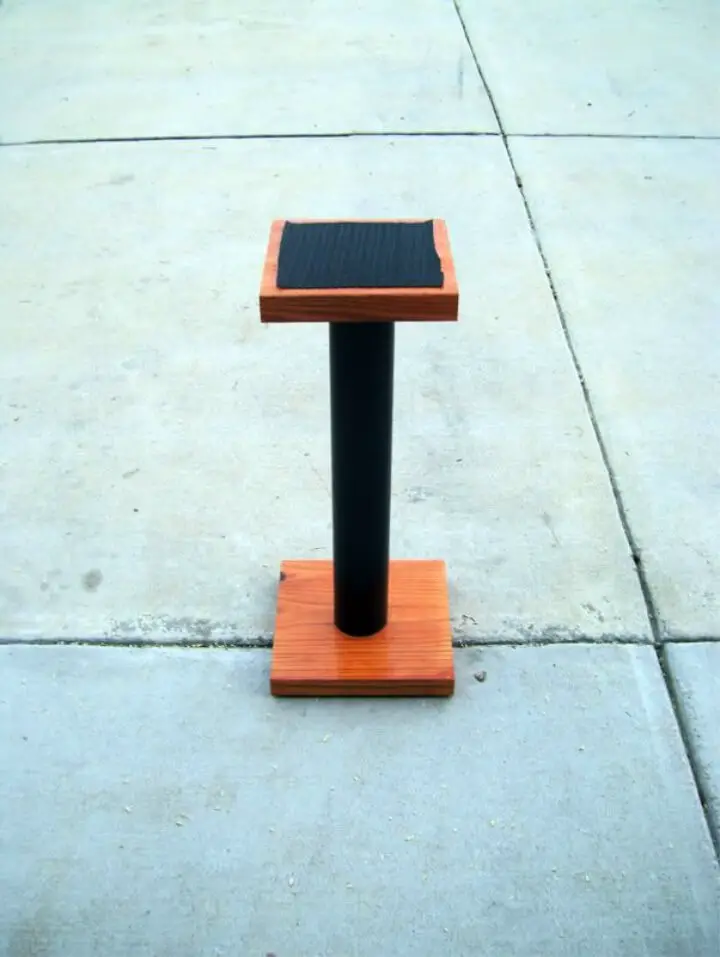
Want to elevate your audio experience without sacrificing your wallet? Take on a DIY project that combines affordability with creativity by crafting your own budget-friendly speaker stands. By following a straightforward guide available online, you can transform readily available materials from your local hardware store into elegant, functional supports for your bookshelf speakers. This project is perfect for DIY enthusiasts of all skill levels, providing a step-by-step approach that covers every aspect, from selecting the right wood planks and PVC pipes to assembling the final product. With this project, you’ll not only create something useful but also add a personal touch to your home audio setup.
Build an Adjustable Height Speaker Stands
Improve your home audio setup with a simple yet effective DIY project – adjustable height speaker stands. By following this easy-to-follow guide from Instructables, you’ll be able to optimize the position of your speakers for optimal sound quality. Whether you’re an audiophile or just a fan of DIY projects, this endeavor is both enjoyable and straightforward. Take control of your listening experience and craft your own customized speaker stands today!
Homemade Harbeth Speaker Stands
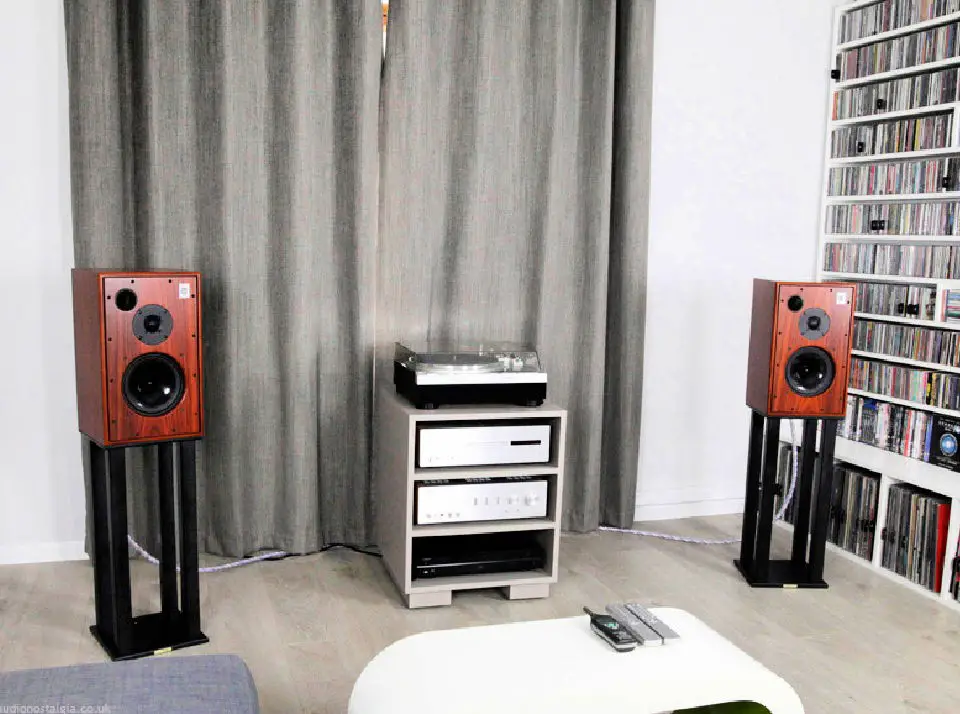
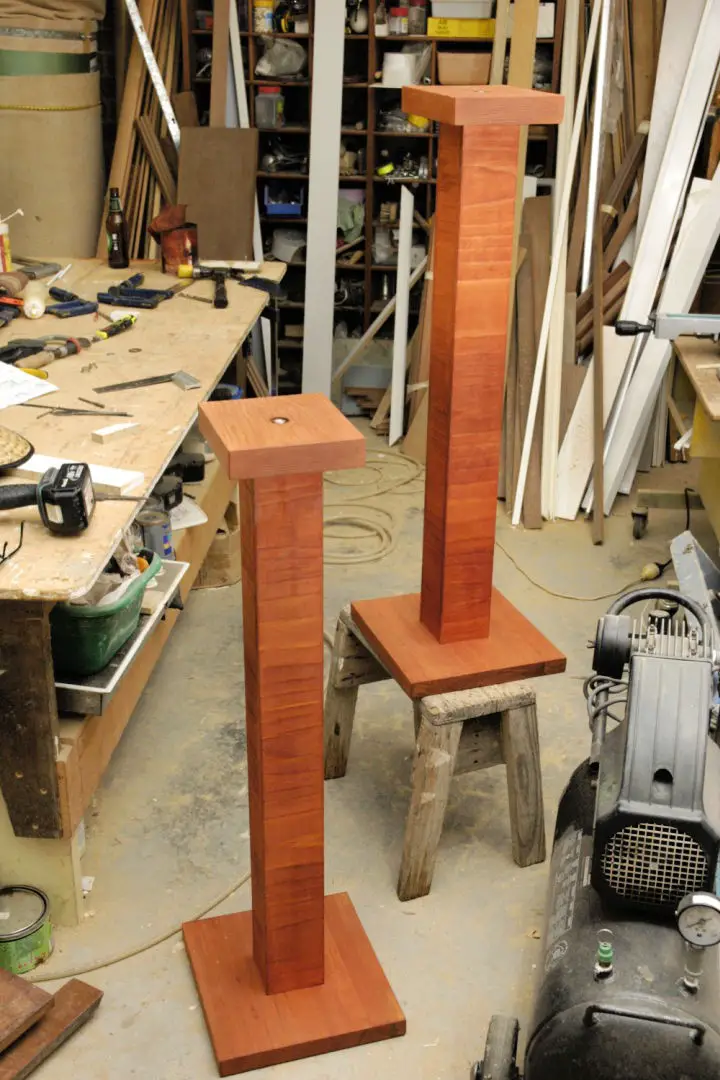
Elevate your audio setup and create a harmonious blend of form and function by crafting bespoke Harbeth speaker stands. This detailed guide empowers you to craft custom solutions that optimize sound quality and visual appeal in your home. You’ll learn how to choose the ideal materials, master construction techniques, and tailor your stands to various Harbeth models. The end result is not only a superior listening experience but also a beautifully harmonized living space.
How to Make Wooden Speaker Stands
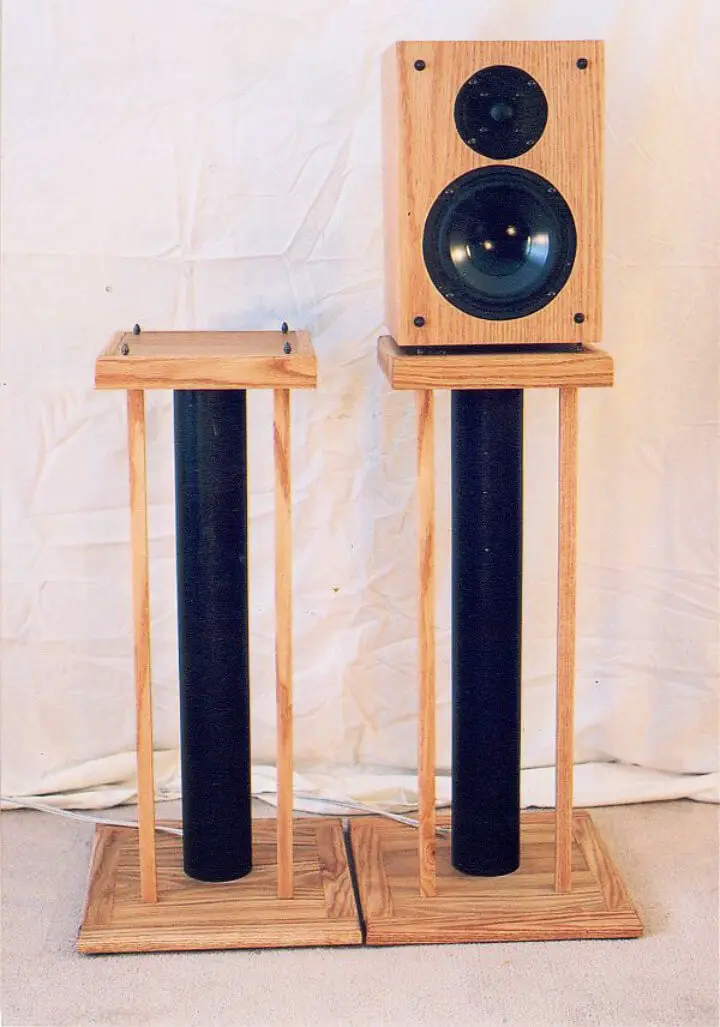
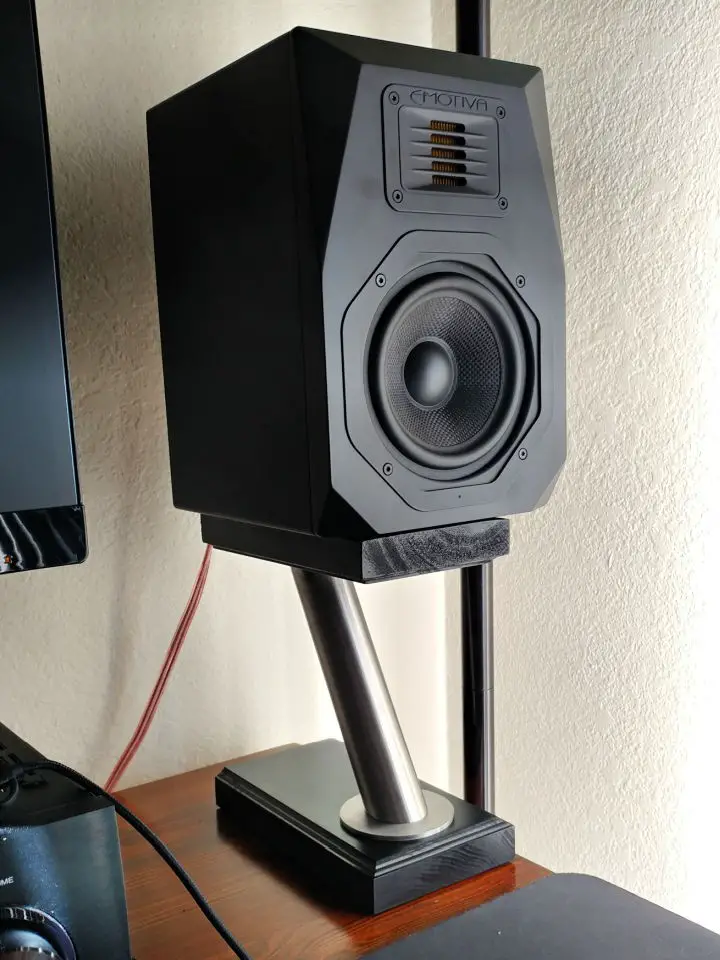
Immerse yourself in the world of high-fidelity DIY with Philip Jackson’s innovative speaker stand project. By elevating your listening experience, you’ll be able to appreciate the nuances of your favorite music like never before. This project takes a thoughtful approach to combining both aesthetic and audio enhancement for your living room. A crucial aspect is minimizing speaker vibration, which highlights the importance of a solid, acoustically dead platform for optimal sound quality. To achieve this, Jackson employs a unique blend of woodworking, PVC, and meticulous craftsmanship, resulting in a DIY alternative that’s both practical and sophisticated to commercial stands. With this project, you’ll learn how to build your own custom stands that not only look great but significantly improve your audio experience. For those eager to enhance their setup without breaking the bank, this DIY solution is perfect.
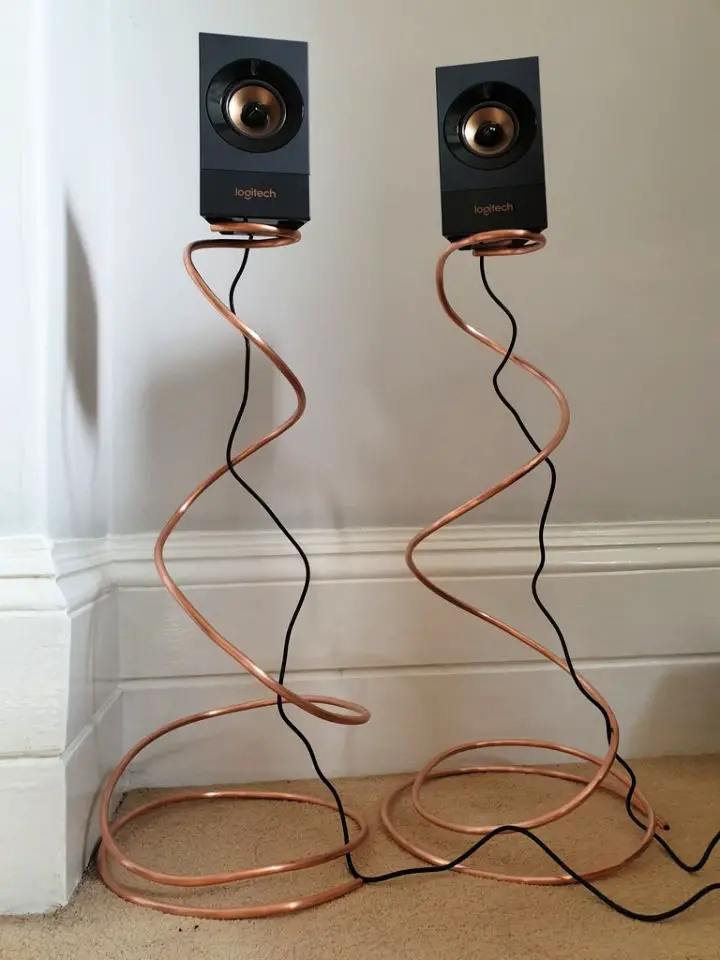
IKEA Chopping Board Floor Speaker Stands
Take your home audio experience to the next level by transforming your living space into a haven of sound and style. With an innovative DIY project using IKEA chopping boards, you can create one-of-a-kind floor speaker stands that not only secure your speakers but also add a touch of sophistication to your room’s decor.The best part? This creative solution won’t break the bank. Pair the stands with the sleek design of IKEA’s FASCINERA chopping boards and sturdy ADILS table legs, and you’ll have a unique audio setup that’s both functional and visually appealing. And the cost? A mere $50 or less. With this DIY project, you can add a personalized flair to your space without sacrificing quality or style.
Beautiful DIY Wooden Speaker Stand
Transform the look and functionality of your speakers by crafting custom wooden stands that marry form with function. By ditching traditional PVC columns, Ambient Fridge’s guide shows you how to create sturdy plywood designs infused with sound-dampening sand and sleek finishes. This unique DIY project not only enhances your audio setup but also adds a touch of elegance to your living space, making it perfect for enthusiasts seeking a one-of-a-kind addition to their home.
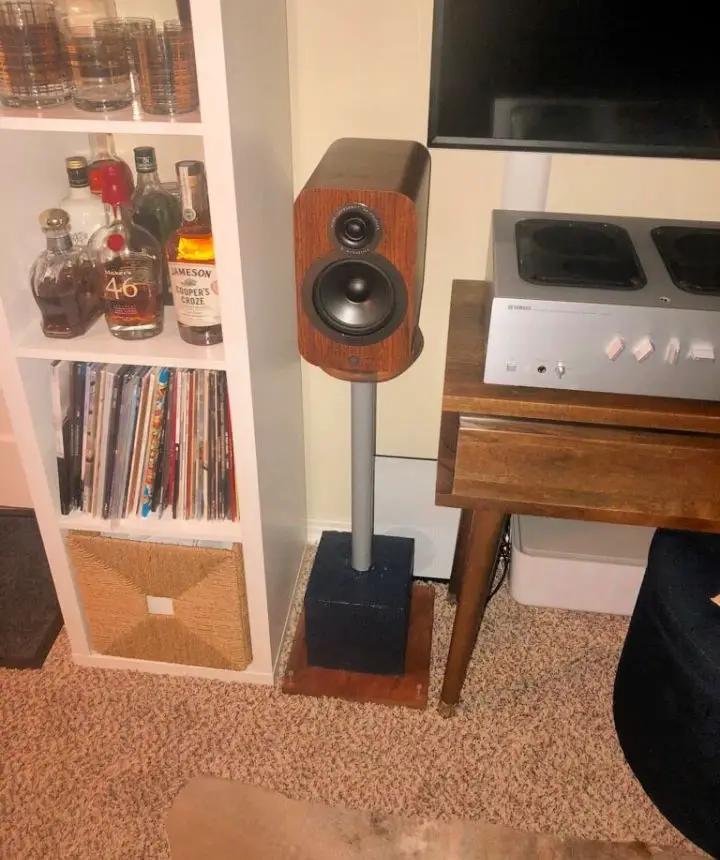
Making an IKEA Capita Speaker Stand
Transform your speaker setup with a unique and budget-friendly solution using IKEA Capita legs as the foundation for a stylish and stable DIY project. Our comprehensive guide takes you through every step of the process, from precise measurement to adding a personal touch with paint and sand for effective vibration dampening. This accessible DIY endeavor is perfect for audiophiles seeking to elevate their listening experience without sacrificing style or breaking the bank. At Average Joe Audiophile, we’ll show you how to create your own custom IKEA Capita Speaker Stands and bring an air of elegance to your audio space.
Stunning DIY Wooden Speaker Stand
Transform your audio experience by crafting a custom DIY Speaker Stand that not only enhances sound quality but also adds a touch of sophistication to your space. By following this step-by-step guide, you’ll learn how to measure, cut, sand, and assemble MDF boards with precision. This comprehensive project will also show you how to add unique finishes using paint, leather, and wood pattern stickers, making it easy to create high-quality speaker stands without breaking the bank. Whether you’re an audio enthusiast looking to customize your listening area or simply seeking a creative DIY project, this guide has everything you need to get started.
How to Build Speaker Stands at Home
Immerse yourself in an unparalleled home audio experience by crafting bespoke speaker stands that perfectly harmonize with your living space. This comprehensive guide, inspired by the Saturday morning workshop featured on Family Handyman, empowers you to hone your DIY skills and elevate your stereo setup with precision and finesse. Whether you’re a music aficionado seeking to add a touch of personality to your listening area or simply looking to enhance your home entertainment experience, this expertly crafted tutorial is designed to help you achieve unparalleled audio quality and visual appeal.
Make Woden Speaker Stands – Free Plans
Transform your listening experience by creating custom DIY speaker stands, as showcased in Makify1’s engaging video tutorial. Designed specifically for audiophiles seeking to optimize their speaker placement, this step-by-step guide empowers you to craft tailored stands that elevate sound quality and complement your surroundings. With a downloadable template and basic materials at hand, you’ll be able to build sturdy, visually appealing stands that can be customized to fit your unique space. Whether you’re looking to add a personal touch with various finishes or simply improve the overall audio setup, this project offers a functional and stylish solution.
Affordable DIY Heavy Speaker Stands
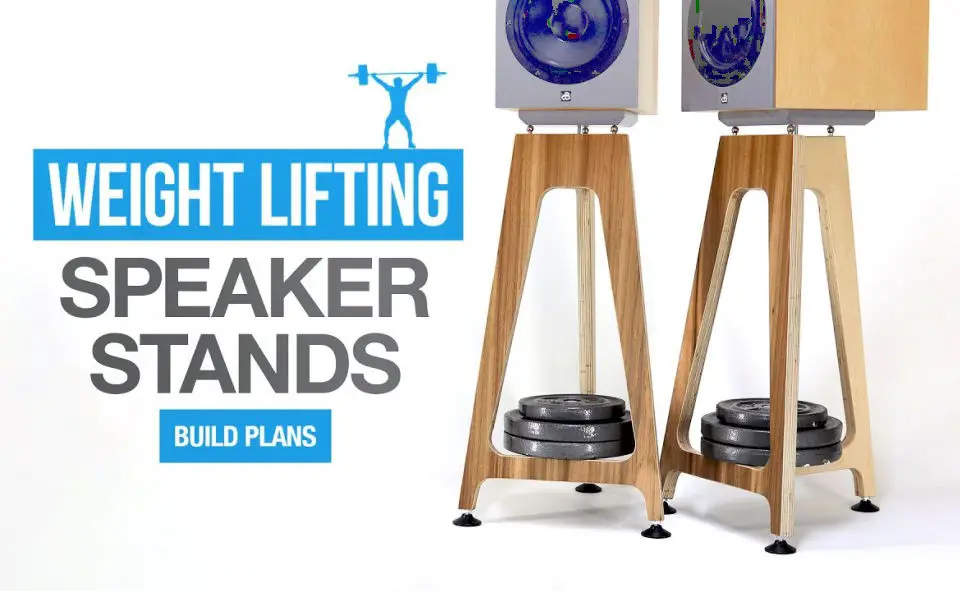
Transform your audio setup with a rugged DIY speaker stand that boosts performance and stability. Our step-by-step guide reveals how to create a sturdy foundation using birch plywood, minimizing vibrations and maximizing bass response. With a customizable template and expert advice, you’ll craft a unique speaker stand that not only enhances sound quality but also complements your surroundings. Ideal for audio aficionados seeking to curate the perfect listening environment.
Free Speaker Stand Woodworking Plan
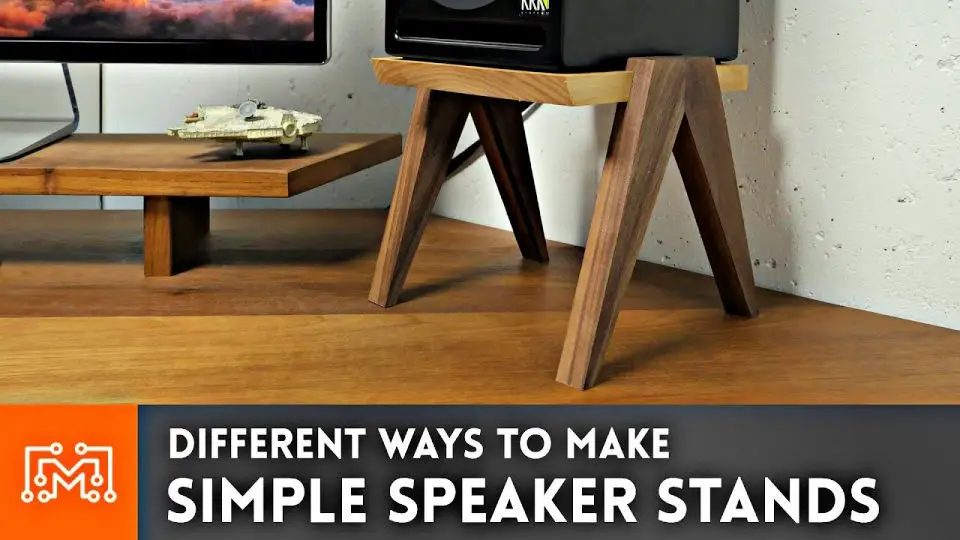
Transform your speaker experience without breaking the bank! For audiophiles seeking to optimize their listening pleasure, I Like To Make Stuff shares a comprehensive DIY guide on crafting custom speaker stands using fundamental woodworking skills. Whether you’re an experienced woodworker or just starting out, this tutorial caters to all skill levels, providing a straightforward approach to building sturdy stands that strike the perfect balance between functionality and rustic charm.
Build Your Own Speaker Stands

Transform the sound quality of your Yamaha NS-690 speakers by crafting bespoke stands that elevate their performance. By following a detailed DIY tutorial, you’ll learn how to select the ideal materials, precision-cut sharp edges for a sleek appearance, and choose a stain that harmonizes with your speakers. This step-by-step guide streamlines the process, offering valuable insights on both construction and finishing techniques. The result is a functional and stylish listening space that combines form and function.
DIY Heavy Desktop Speaker Stands
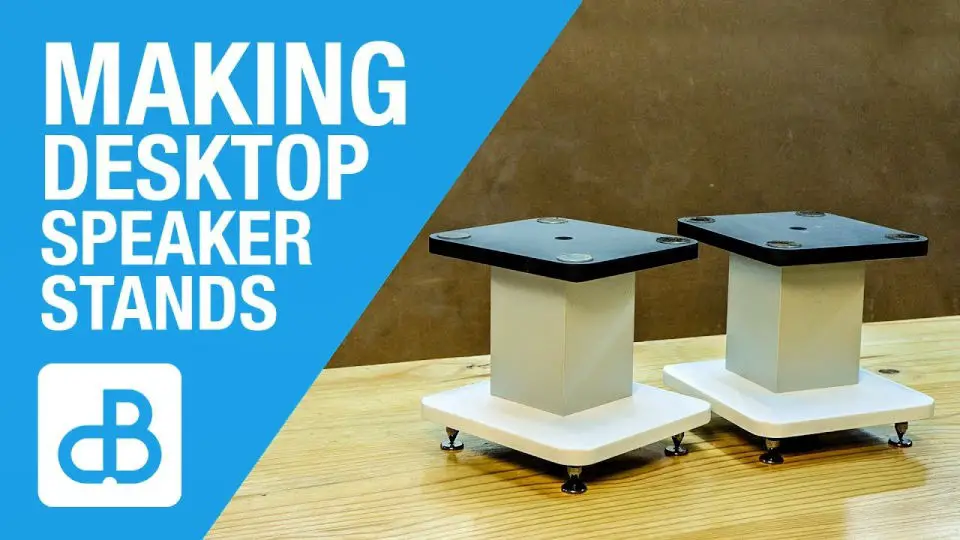
Immerse yourself in a DIY adventure as SoundBlab takes you on a journey to build sturdy desktop speaker stands that will revolutionize your home listening experience. This comprehensive guide, presented through an engaging instructional video, is ideal for anyone seeking to amplify their audio quality and elevate the aesthetic of their workspace. By following our clear, step-by-step instructions, you’ll be able to construct robust stands that not only optimize sound delivery but also add a touch of professionalism to your home setup.
How to Make Speaker Stands – Step by Step

Transform your sound system with DIY speaker stands that blend form and function. This comprehensive video guide takes you by the hand through the process of creating custom speaker stands that not only elevate the visual appeal of your space but also enhance audio performance. By following a simple yet detailed approach to measuring, cutting, and assembling wood, you’ll gain a personalized touch for your audio setup. The journey begins with precise measurements, followed by sanding, staining, and adding a protective layer – every step carefully crafted to ensure sturdy and visually appealing speaker stands that will revolutionize your listening experience.
Beginner-Friendly DIY Sand Filled Speaker Stands
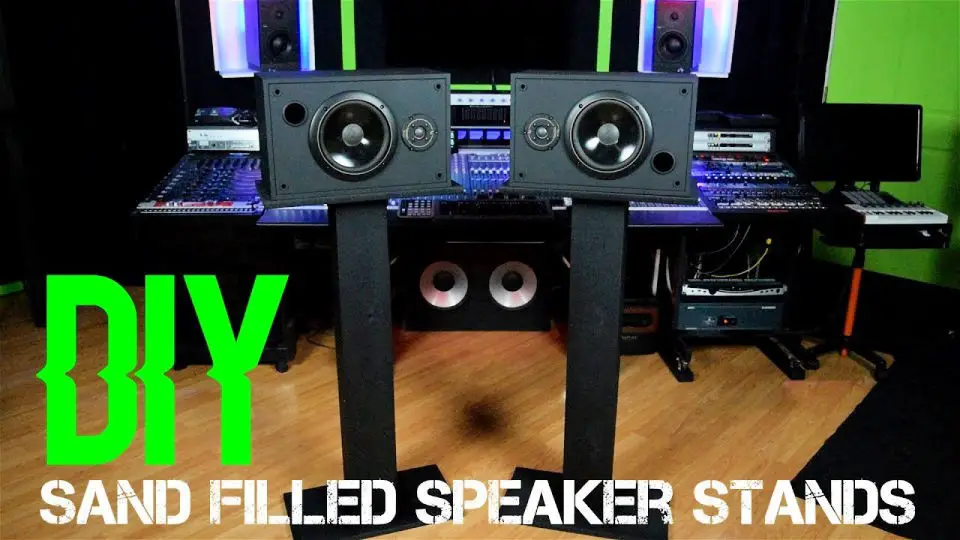
Transform your audio experience with a DIY project that combines functionality and personalization. By crafting custom sand-filled speaker stands, you can not only enhance sound quality but also add a unique touch to your surroundings. The secret to this DIY triumph lies in the role of sand as a decoupler, effectively eliminating unwanted vibrations and revealing the clarity of your speakers. Whether you’re setting up a home theater or recording studio, these robust stands – each weighing around 55 pounds for stability – are sure to impress. If you’re eager to embark on this creative journey, discover a comprehensive guide and more valuable insights by clicking here.
Classic and Modern Speaker Stands
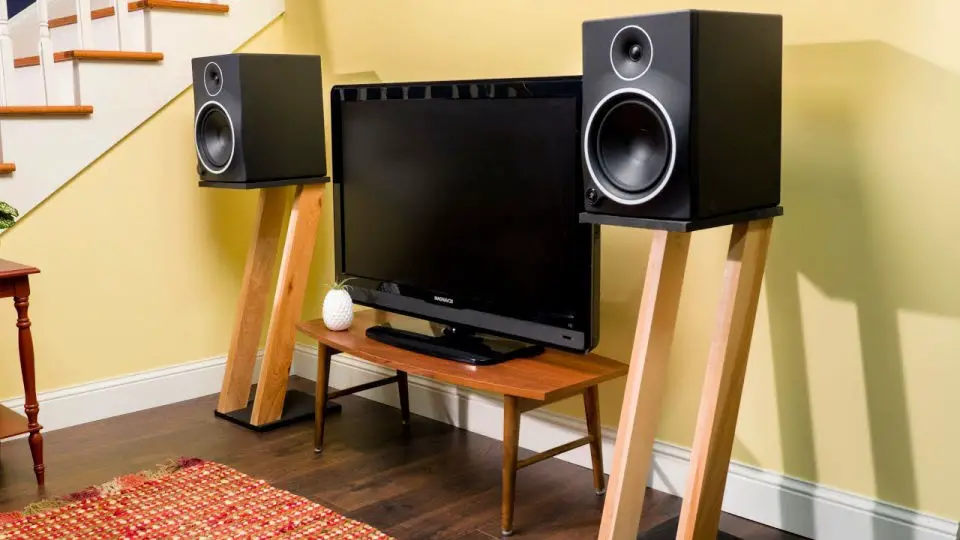
Transform your living space by combining timeless charm with contemporary flair through a DIY project that harmoniously blends fir wood and MDF scraps. Create stylish speaker stands tailored to elevate your studio monitors or bookshelf speakers, fostering an effortless integration with your furniture. Beyond the visual appeal, this project also presents an opportunity for creative expression and home improvement. For a step-by-step guide on crafting these unique stands and exploring further creative ventures, visit Learning to Make Stuff.
Conclusion:
In reality, designing your own DIY speaker stands transcends mere project status, becoming an immersive creative journey that harmoniously blends functionality and aesthetics with the sonic landscape of your home. The 25 DIY speaker stand plans and ideas presented offer a diverse array of possibilities, catering to distinct styles, budgetary constraints, and skill levels. This creative process not only permits customization to match your décor, but also grants the satisfaction of crafting something both practical and visually appealing with your own hands. By meticulously following the outlined steps, from material selection to assembly and testing, you can confidently guarantee that your speaker stands are stable, acoustically optimized, and a perfect fit for your living space. With this newfound expertise, seize the opportunity to transform how you experience sound in your home, embarking on a DIY adventure that will leave a lasting impact.
