For many, creating homemade slime is an entertaining and creative activity that transcends age boundaries. With a diverse range of 25 recipes at your disposal, this comprehensive guide is designed to help you embark on a fun-filled journey of slime making. By providing clear, step-by-step instructions, these DIY slime recipes guarantee a rewarding experience for both kids and adults. You’ll gain valuable insights into the essential materials, techniques, and tips necessary for achieving that perfect slime consistency. Whether you’re new to the world of slime creation or looking to expand your existing repertoire, this guide has everything you need to know to get started. Furthermore, our recipes cater to a variety of preferences, including options without Borax for safer play. So, let’s dive into the fascinating realm of DIY slime making and stir up some excitement together!
Why Make Homemade Slime?
While many may view making homemade slime as simply a fun and entertaining activity, it offers a multitude of benefits for individuals of all ages. For starters, crafting slime allows for unparalleled creativity, as you mix and match ingredients to create unique textures, colors, and effects. This hands-on approach encourages imagination, self-expression, and problem-solving skills. Additionally, the process of making slime serves as a valuable educational experience, introducing basic chemistry concepts in a engaging and accessible manner. Children learn about the properties of various substances and how they interact to form new ones, fostering an appreciation for scientific inquiry. Furthermore, the tactile nature of slime provides a distinctive sensory experience, offering a calming and soothing effect that can aid in focus and fine motor skill development. Moreover, making homemade slime presents a fantastic opportunity for family bonding, allowing parents and children to collaborate, share ideas, and enjoy quality time together in a relaxed setting. The best part? Most recipes require simple, inexpensive ingredients you may already have at home, making it an affordable way to provide hours of entertainment. Lastly, by using safer alternatives to harsh chemicals like Borax, you can ensure a safe and enjoyable experience for everyone involved. In reality, homemade slime is far more than just a playful substance; it’s a creative, educational, bonding, and budget-friendly activity that’s hard to beat.
How to Make Slime
Embarking on the adventure of homemade slime making can be a thrilling and educational experience for both novices and enthusiasts alike. Not only does it offer an entertaining outlet for creativity, but it also provides a unique opportunity to introduce fundamental scientific concepts in a practical and engaging manner. This guide is specifically tailored to assist first-time slime makers in crafting their inaugural batch of this delightful substance using a straightforward, foolproof recipe.
Ingredients and Tools You’ll Need:
To create your homemade glue mixture, you’ll need a few simple ingredients and some basic supplies. Start by gathering 1 cup of warm water, 1/2 teaspoon of Borax, which can typically be found in the cleaning aisle of most supermarkets. Additionally, you’ll require PVA School Glue, such as Elmer’s School Glue, for mixing with the Borax. If you’d like to add some color to your glue, you can use acrylic paint or food dye. You’ll also need a bowl, spoon for mixing, and measuring spoons for accurate measurements. For convenience, consider using a squeezy bottle for easy dispensing of the glue. Finally, make sure to store any leftover glue in an airtight container to keep it fresh.
Step 1: Make Your Slime Activator
To prepare the activator solution, combine 1 cup of warm water with 1/2 teaspoon of Borax in a jug or bowl. Stir the mixture thoroughly until the Borax is fully dissolved, effectively transforming the glue into slime. If desired for easier application, consider transferring the solution to a squeezy bottle and be sure to label it clearly as ‘activator’.
Step 2: Mix the Base for Your Slime
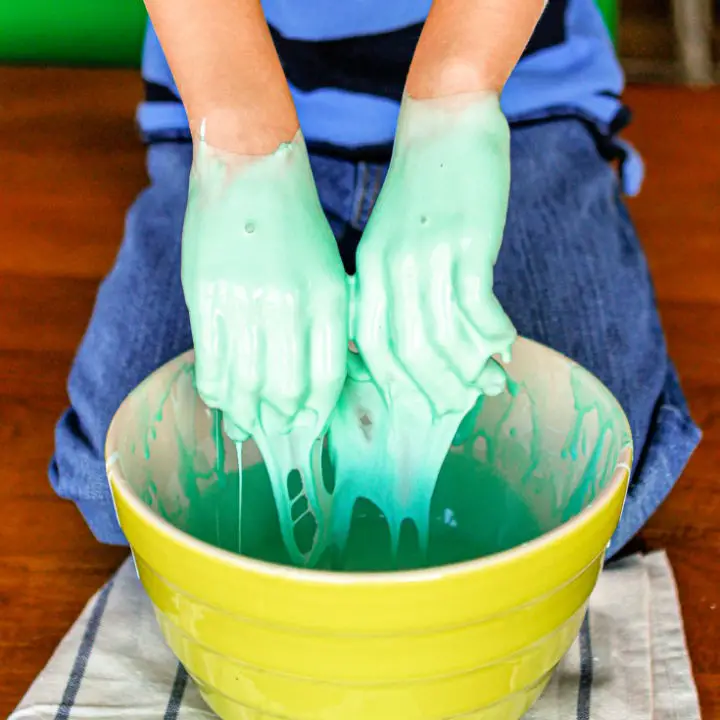
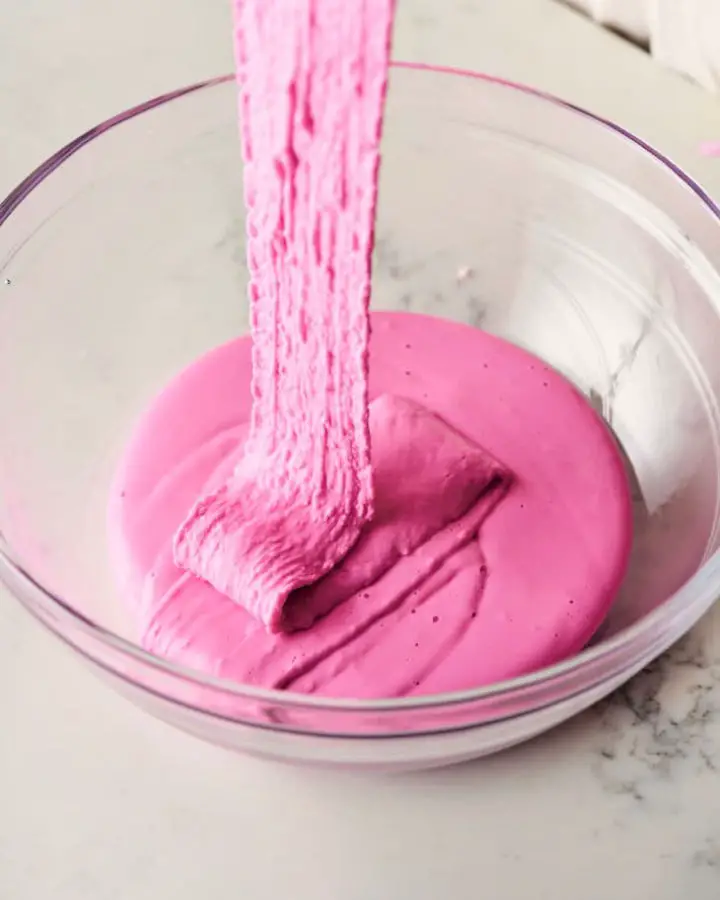
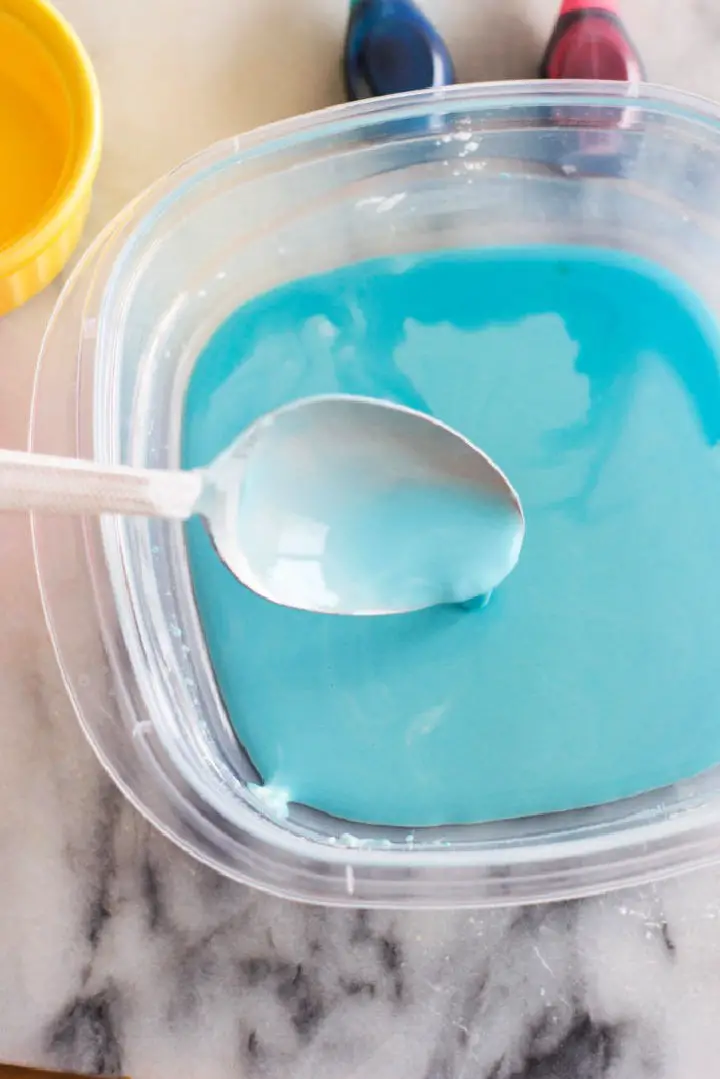
To create the slime, start by pouring the entire bottle of PVA school glue into a separate bowl, allowing for easy mixing with the other ingredients. If you desire a colored slime, this is the perfect opportunity to add a few drops of food dye or a small amount of acrylic paint to the glue. Simply mix the colorant in thoroughly until it’s fully incorporated and evenly distributed.
Step 3: Transform the Glue into Slime
As you prepare to transform the glue mixture into slime, introduce the activator gradually, stirring continuously as you go. Start with small increments of the activator and monitor the consistency of the mixture. You’ll notice it start to thicken and take on a slimy texture. Add the activator in small amounts to avoid over-activating the slime and creating an unpleasantly rubbery consistency.
As the slime starts to come together, it’s time to get hands-on! Knead the mixture with your fingers until it forms a cohesive mass, bringing all the ingredients together in harmony.
Step 4: Storing Your Slime
When you’re not actively playing with your slime, storing it in an airtight container is crucial to maintaining its freshness and playability. This simple step can help extend the life of your slime, keeping it in top condition for future enjoyment.
Slime Making Tips:
When introducing activator to your slime mixture, start by adding a small amount and gradually increase the quantity as needed. Monitor the consistency closely, making adjustments accordingly. If the slime becomes too sticky, a slight addition of activator should correct this issue. Conversely, if the slime turns rubbery, you’ve likely added too much. Don’t be afraid to get creative with your slime-making process – try experimenting with various colors and incorporating add-ins like glitter or small beads to create unique textures and visual effects.
Video Tutorial
The journey of creating homemade slime is now easier than ever, thanks to a step-by-step video tutorial that complements our written guide. The visual demonstration brings each step to life, making it effortless for beginners to follow along. In fact, with this straightforward recipe, you’ll be well-equipped to craft your own slime at home without feeling overwhelmed or daunted. As you embark on this fun and creative process, feel free to experiment with various twists and turns – the possibilities are endless!
Understanding the Science of Slime
Embracing the thrill of exploration, many find joy in playing with slime. However, what may seem like mere entertainment holds a fascinating realm where science and creativity converge. In this unique setting, complex scientific principles come alive, allowing us to experience the wonders of chemistry and physics firsthand. As we delve into the world of slime, even the most abstract concepts become tangible, making science an accessible adventure for all.
Polymers: The Building Blocks of Slime
At its essence, slime revolves around polymers – long sequences of molecules akin to a strand of pearls. These chain-like structures are ubiquitous in everyday materials, from plastic containers to the DNA that defines our biological blueprint. When crafting slime, you’re essentially synthesizing a polymer by combining specific ingredients.
Cross-linking: Connecting the Chains
The transformative power of slime lies in its ability to undergo cross-linking, a process that can be likened to constructing a bridge between two long strings. When an activator, such as borax or liquid starch, is introduced into the mixture, it serves as the foundation upon which polymer chains connect. As this process unfolds, the liquid mixture is transformed into the iconic, stretchy slime we adore.
Viscosity: The Flow of Slime
The fascinating world of slime is characterized by its ability to exhibit both fluid-like and solid-like properties. This paradoxical behavior can be attributed to its viscosity, a measure of a liquid’s resistance to flow. Specifically, the high viscosity of slime means it resists flowing freely like water, yet retains some degree of elasticity akin to a solid. Interestingly, the viscosity of slime can be manipulated by adjusting the amount or type of activator and glue used in its formulation, allowing for the creation of thicker, more gelatinous textures or runnier, more liquid-like consistencies.
The Educational Adventure of Slime-Making
By engaging in slime-making activities, students can develop a deeper understanding of fundamental scientific concepts such as polymers, cross-linking, and viscosity. The process of creating slime provides an interactive way to explore these ideas, allowing learners of all ages to experience the wonders of science firsthand.
As you experiment with different recipes, adjusting ingredients and observing the effects on the slime’s properties, each batch becomes a unique opportunity for discovery and learning. This hands-on approach not only fosters curiosity but also demonstrates the incredible world of polymers that surrounds us, shaping our daily lives in subtle yet profound ways.
The next time you’re manipulating your homemade slime, remember that you’re not just having fun – you’re taking on the role of a scientist, delving into the building blocks of the material world. With every stretch and shape, you’re uncovering the fascinating science that underlies our very existence.
Safety Precautions and Tips for Making Homemade Slime
When crafting homemade slime, prioritizing safety is crucial, particularly when involving children. To guarantee a fun and enjoyable experience for kids and adults alike, it’s vital to follow essential safety guidelines. These precautions are designed to minimize the risk of accidents and ensure a successful slime-making adventure.
Adult Supervision
When it comes to creating slime, having a trusted adult nearby is crucial – especially when involving children. Not only can they ensure the correct measurements are taken and guidelines are followed, but they can also tackle any potentially tricky or hazardous aspects of the process, leaving kids to focus on their creative fun.
Use Non-Toxic Ingredients
When crafting homemade slime, prioritize the use of safe and non-toxic ingredients that are suitable for children. Many recipes rely on common household items like baking soda, glue, and contact lens solution, which can be safely used when followed correctly. To ensure the well-being of your little ones, take a closer look at the ingredient labels and avoid any products containing harsh chemicals or warnings about skin irritation. By being mindful of these factors, you’ll create a fun and safe slime-making experience for kids.
Proper Ventilation
When engaging in slime-making activities, it’s crucial to work in a well-ventilated area to minimize potential health risks. The chemical reactions involved can release fumes, particularly when using ingredients like borax, which may irritate your respiratory system. To mitigate this risk, ensure the room is adequately ventilated or, if possible, consider conducting the experiment outdoors.
Handling Slime
When it comes to engaging with slime, proper hygiene practices are crucial for maintaining a clean and healthy experience. To start, make sure to wash your hands thoroughly before and after handling the slime to prevent the transfer of dirt, germs, and other unwanted contaminants. Additionally, emphasize the importance of avoiding contact between the slime and sensitive areas like the eyes and mouth, as this can lead to irritation or even accidental ingestion. Furthermore, for individuals with skin sensitivity, consider taking extra precautions by wearing disposable gloves while creating and playing with slime to minimize any potential discomfort or allergic reactions.
Cleaning Up
When dealing with slime, it’s essential to address any accidents promptly to maintain safety and avoid unsightly stains. For most surfaces and fabrics, employ the use of warm soapy water for effective cleanup. Furthermore, when storing slime, utilize an airtight container to ensure its preservation from drying out and to safeguard it from younger children and pets who may accidentally ingest or disturb it.
In Case of Accidents
When it comes to handling homemade slime, it’s crucial to prioritize safety and take necessary precautions to avoid any potential harm. In the event that slime gets into your eyes, immediate action is required. Flush the affected area thoroughly with plenty of water, and if irritation persists or worsens over time, seek medical guidance without delay. Similarly, if you accidentally ingest some slime, don’t attempt to induce vomiting. Instead, offer yourself small sips of water to help dilute the substance, and then seek professional medical attention. By taking these simple yet vital steps, you can ensure a fun and safe experience when creating homemade slime with family or friends.
DIY Slime Storage and Longevity
To maintain the optimal texture and longevity of your homemade slime, proper storage is crucial. Regardless of whether you’re a seasoned pro or just starting your slime-making journey, these guidelines will help you keep your creations fresh, stretchy, and enjoyable for as long as possible. By storing your slime correctly, you’ll prevent it from drying out or becoming too sticky, allowing you to revive old batches that may have hardened over time.
Choosing the Right Container
When it comes to storing slime, utilizing an airtight container is the most effective method. This could be a plastic container with a snap-on lid or any other container that provides a secure seal. The hermetically sealed environment safeguards the slime from drying out and prevents air from degrading your perfect slime into a hard, unplayable consistency.
In cases where space is limited or you need to store smaller quantities of slime, airtight bags can be an excellent alternative. It’s crucial to remove as much air as possible before sealing to maintain the slime’s moisture and ensure it remains ready for play whenever you desire.
Labeling Your Slime
To ensure organized slime-making, it’s crucial to label each container or bag with essential details. For households where slime creation is a regular occurrence, this step becomes even more vital. Start by including the date you made the slime, as well as its type. This simple habit will greatly aid in tracking the longevity of your slimes and help you recall your favorite recipes for future reference.
Tips for Storing Slime
When it comes to storing your slime, temperature plays a crucial role. Extreme heat can cause the slime to become sticky and unmanageable, while direct sunlight can alter its color and texture, rendering it less appealing. Therefore, it’s essential to store your slime in a cool, dry environment away from the sun’s rays. Additionally, if you have multiple colors of slime, make sure to keep them separate to prevent any potential color bleeding or muddling. Similarly, different types of slime with varying textures or ingredients should be stored separately to avoid any unpleasant interactions that might result in a sticky, unusable mess.
Reviving Old or Hardened Slime
When the time comes to revive old or hardened slime, don’t toss it just yet. Instead, try a few tricks to breathe new life into it. For sticky slime that’s lost its glide, incorporate a little activator or baby oil through kneading until you reach your desired consistency. If it’s too far gone, try the same approach for hardened slime, but add warm water to the mix and repeat the process until it softens. Remember, proper storage and care are key to maintaining that perfect slimy texture. By following these tips, you can enjoy your homemade creations for weeks or even months after they’re made.
Color Mixing and Customization
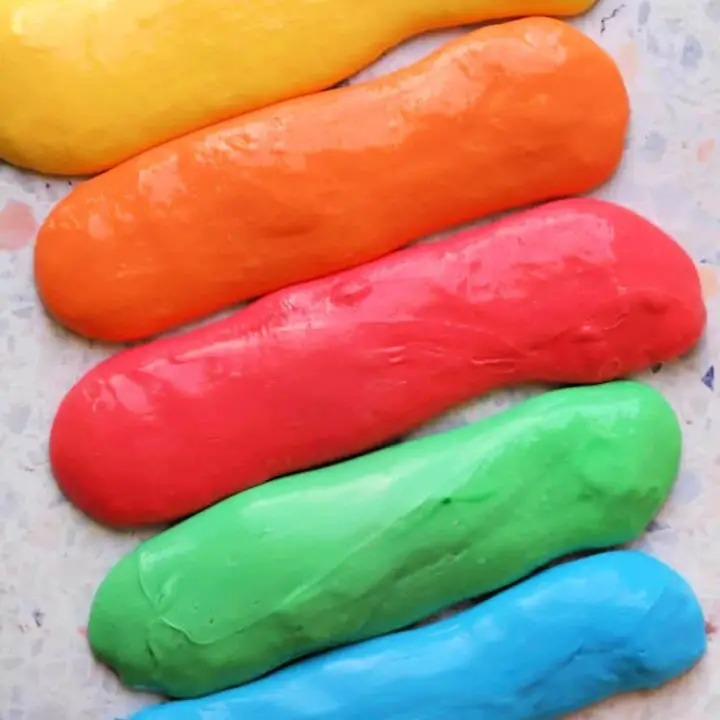
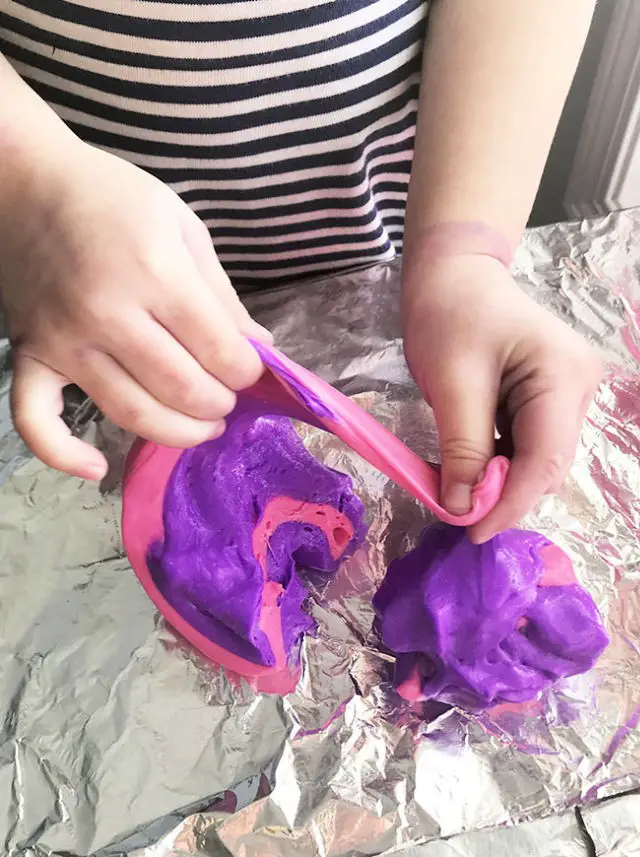
Creating a rainbow of colors in your slime is an art form that allows you to express your creativity and bring your imagination to life. Whether you’re a fan of using food coloring or acrylic paint, both options offer a wide range of possibilities for mixing and matching different hues. In this section, we’ll explore the basics of color theory and provide tips on how to mix colors effectively, as well as a simple guide to get you started on achieving specific shades.To begin with, let’s talk about the two main options for adding color to your slime: food coloring and acrylic paint. Food coloring is a popular choice because it’s safe, easy to use, and provides a vibrant, translucent effect. You can start by mixing different colors together to create a range of hues. On the other hand, acrylic paint offers a thicker consistency that allows you to achieve more opaque, vibrant colors.To get started with adding color to your slime, follow these basic steps: First, make sure your slime is mixed and ready to go. It should be clear or white in order for the colors to blend evenly. Next, begin by adding a few drops of food coloring or a small dab of acrylic paint. It’s generally easier to darken a light color than it is to lighten a dark one.Once you’ve added your initial dose of color, use a gentle folding motion to distribute it throughout the slime. As you continue to mix and fold, you can gradually add more color until you achieve the desired shade. If the color isn’t quite right, don’t worry – simply adjust by adding more of the original colors or introducing another color to shift the hue.To help guide your creative process, we’ve included a basic color chart that outlines how to mix different colors together to achieve specific shades. For example, if you want to create pink slime, start with red and add white to lighten it up. Orange slime can be achieved by mixing red and yellow together, while purple is simply blue and red combined.The beauty of coloring your slime lies in the endless possibilities for experimentation and creativity. By combining different colors and techniques, you can create one-of-a-kind shades that reflect your unique personality. So don’t be afraid to get creative, try new things, and see what happens when you mix and match different hues together!
Eco-Friendly Slime Options
While making slime at home can be a fun and engaging activity for people of all ages, it also presents an opportunity to promote environmental awareness. By opting for eco-friendly alternatives to traditional slime ingredients, individuals can enjoy this creative pastime while minimizing their ecological footprint. To achieve this, consider substituting biodegradable glues for conventional ones, incorporating natural colorants instead of artificial dyes, and choosing sustainable packaging options that reduce waste and minimize the environmental impact of your slime-making endeavors.
Biodegradable Glues
When crafting homemade slime recipes, the foundation lies in selecting the right adhesive – typically glue. To mitigate environmental strain and ensure a safe experience for kids, opting for biodegradable glues derived from natural materials is crucial. Fortunately, many brands now offer eco-friendly alternatives that can be seamlessly integrated into slime-making processes. This shift towards environmentally responsible options not only benefits the planet but also yields a more sustainable approach to creative play.For those who relish hands-on engagement, creating glue from scratch can become an integral and rewarding aspect of the slime-creation process. By combining simple ingredients like flour, water, sugar, and vinegar, it’s possible to concoct a natural, biodegradable adhesive that aligns with eco-friendly principles. This DIY approach not only adds a personal touch but also fosters a sense of accomplishment as you embark on your eco-conscious slime-making adventure.
Natural Colorants
When it comes to adding colors to your slime, synthetic dyes might seem like the easiest option. However, they can have negative environmental impacts. Fortunately, nature provides a vast array of natural colorants that not only add vibrancy but also make the process safer and more eco-friendly. Beetroot powder, for instance, can create a beautiful red hue, while spirulina yields a stunning green. Turmeric even offers a bright yellow shade. Not only do these ingredients add color to your slime, but they also open up new possibilities for creative experimentation. By using natural colorants, you can introduce an element of science and magic into your slime-making. For example, butterfly pea flower tea can produce a mesmerizing blue slime that changes color to purple when acidic ingredients like lemon juice are added.
Sustainable Packaging
When creating eco-friendly slime, it’s essential to consider storage options that align with your values. Plastic containers are a common choice, but they undermine the effort to make slime more sustainable. Instead, opt for glass jars or beeswax wraps, which not only benefit the environment but also add an aesthetic touch to your homemade slime. Glass jars can be reused and easily cleaned, while beeswax wraps provide a biodegradable solution that keeps slime fresh. By reusing containers or repurposing old food jars, you’re promoting a culture of recycling and reusability, which is crucial for fostering eco-friendly practices. As you make your slime at home, remember to choose biodegradable materials and sustainable packaging to ensure a safe and enjoyable experience that also benefits the planet.
Understanding Slime Science
Slime’s unique properties make it an intriguing subject for scientists to study. At its essence, slime embodies fundamental scientific principles such as viscosity, non-Newtonian fluid dynamics, and elasticity. As we delve into these concepts, we can uncover the underlying mechanisms that govern slime’s behavior under various conditions.
Exploring Viscosity and Non-Newtonian Fluids
Viscosity is the measure of a fluid’s reluctance to flow. A prime example of this concept is honey, which exhibits higher viscosity than water. Slime, however, presents an intriguing anomaly in that it doesn’t conform to the typical characteristics of liquids or solids. This non-Newtonian fluid displays altered viscosity when subjected to stress or force, allowing it to exhibit both solid and liquid-like properties.
To illustrate this phenomenon, let’s conduct an experiment.
Experiment: Exploring Slime’s Viscosity Dynamics
Objective: To observe how slime’s viscosity enables it to exhibit both solid and liquid attributes.
Materials:
– Homemade slime
– A bowl
– A spoon or your hands
Procedure:
1. Place the slime in a bowl and observe its initial shape, showcasing its liquid-like nature.
2. Pick up the slime and allow it to flow through your fingers back into the bowl, demonstrating its ability to stretch and flow like a thick liquid.
3. Quickly punch the slime with your fist, revealing its solid-like properties under sudden force.
Observations:
– When left unaltered, slime spreads slowly, exhibiting its liquid-like property.
– When allowed to flow through your fingers, it stretches and flows like a thick liquid.
– Upon punching, it feels solid, demonstrating its solid-like properties under sudden force.
Exploring Elasticity
Slime’s ability to regain its original shape after being stretched or compressed is a testament to its elasticity. This property allows it to be manipulated and then return to its natural state. In this experiment, we’ll delve into the extent of slime’s elasticity by testing its limits. To do so, you’ll need some homemade slime and a willingness to get hands-on.
The process is simple:
1. Take a small portion of slime and slowly stretch it outwards to see how far it can be pulled before it breaks. Observe the point at which it begins to resist further stretching.
2. Once you’ve reached the limit, mold the slime into a ball and drop it from a height. Pay attention to its behavior as it bounces back up, demonstrating its elasticity once more.
What did we learn? The slime’s elasticity allows it to stretch and then regain its original shape, showcasing its ability to deform and then return to its natural state.
The Science Behind Slime’s Behavior Under Different Conditions
When experimenting with slime, it’s fascinating to observe how its unique properties are influenced by various environmental conditions. Temperature, in particular, has a profound impact on the slime’s consistency. In this experiment, we’ll explore how heat and cold affect the viscosity of our homemade slime.
FAQs on Making Homemade Slime
We’ve curated a list of commonly asked questions related to creating slime at home. This comprehensive guide is designed to cater to both newcomers and seasoned slime enthusiasts, providing valuable insights and expertise to help you embark on your slime-making journey or further develop your skills.
What ingredients do I need to make basic slime?
For the simplest batch of homemade slime, you’ll typically require a combination of PVA school glue, a slime activator – which can be Borax solution, contact lens solution mixed with baking soda, or liquid starch – and warm water. If you’re feeling creative, you may also want to add some optional flair in the form of food coloring or acrylic paint to give your slime a pop of color.
Can I make slime without Borax?
If you’re looking for ways to create slime without relying on Borax, there are actually some great alternatives you can explore. One option is to use contact lens solution that contains boric acid and sodium borate. This can serve as a safe activator to help transform glue into slime. Another approach is to utilize liquid laundry starch, which can also be used to get the desired slimy consistency.
Is homemade slime safe for kids?
When it comes to making homemade slime, safety is paramount, especially when involving young children. To ensure a fun and worry-free experience, opt for gentle ingredients that won’t harm your little ones if they accidentally ingest some. It’s also crucial to maintain a watchful eye over the entire process – from mixing to playtime – to prevent any potential hazards. By taking these precautions, you can rest assured that your child will enjoy their homemade slime creations without compromising their well-being.
How do I prevent my slime from being too sticky or too rubbery?
When crafting your perfect slime concoction, be mindful of the activator solution’s impact on consistency. To achieve the ideal stickiness, gradually add small increments of activator until you reach the desired texture. However, beware of over-activating – if your slime becomes too rubbery and loses its flexibility, it may be a sign that you’ve added too much solution. In this case, a tiny amount of warm water can work wonders in softening the mixture, allowing you to regain control and produce the perfect slime.
How should I store my slime, and how long will it last?
To prolong the lifespan of your homemade slime, it’s essential to store it in an airtight container. This simple step helps maintain its consistency and prevents it from drying out, ensuring it remains fresh for several weeks. As you monitor your slime’s condition, be mindful of any changes in texture or aroma, as this may indicate it’s time to create a new batch.
Can I add extras to my slime?
To take your slime game to the next level, consider incorporating unique elements that reflect your personality or interests. Some ideas to get you started include adding: glitter for a touch of sparkle, food coloring to create a personalized hue, beads for an added tactile experience, foam balls for a fun texture contrast, and scented oils in small amounts to give off a pleasant aroma. By experimenting with these mix-ins, you can craft slime that truly reflects your style and personality.
My slime is too hard. How can I fix it?
When dealing with hardened slime, a gentle warming process can help restore its pliable state. Try kneading the slime with your hands, gradually introducing small amounts of warm water as you mix. Continue this slow and deliberate process until the desired softness is achieved. If this approach fails to yield the desired results, it may be time to consider starting anew, armed with a fresh batch of ingredients.
Can slime be eco-friendly?
When it comes to making eco-friendly slime, there are several key considerations to keep in mind. One of the most important steps you can take is to opt for biodegradable glitter and natural colorings that won’t harm the environment. This simple swap can make a big difference in terms of reducing your ecological footprint. Additionally, be sure to select PVA glue that carries a non-toxic and environmentally safe label, ensuring a safer and more sustainable slime-making experience.
Is it possible to make slime without glue?
When it comes to creating glue-free slime, there are alternative recipes that utilize ingredients like cornstarch and shampoo or conditioner mixed with water. While the texture may differ from traditional slime recipes, these options can still offer a unique and engaging sensory experience. By exploring these alternatives, you’ll be well-equipped to embark on your own slime-creating adventure, filled with excitement and creativity.
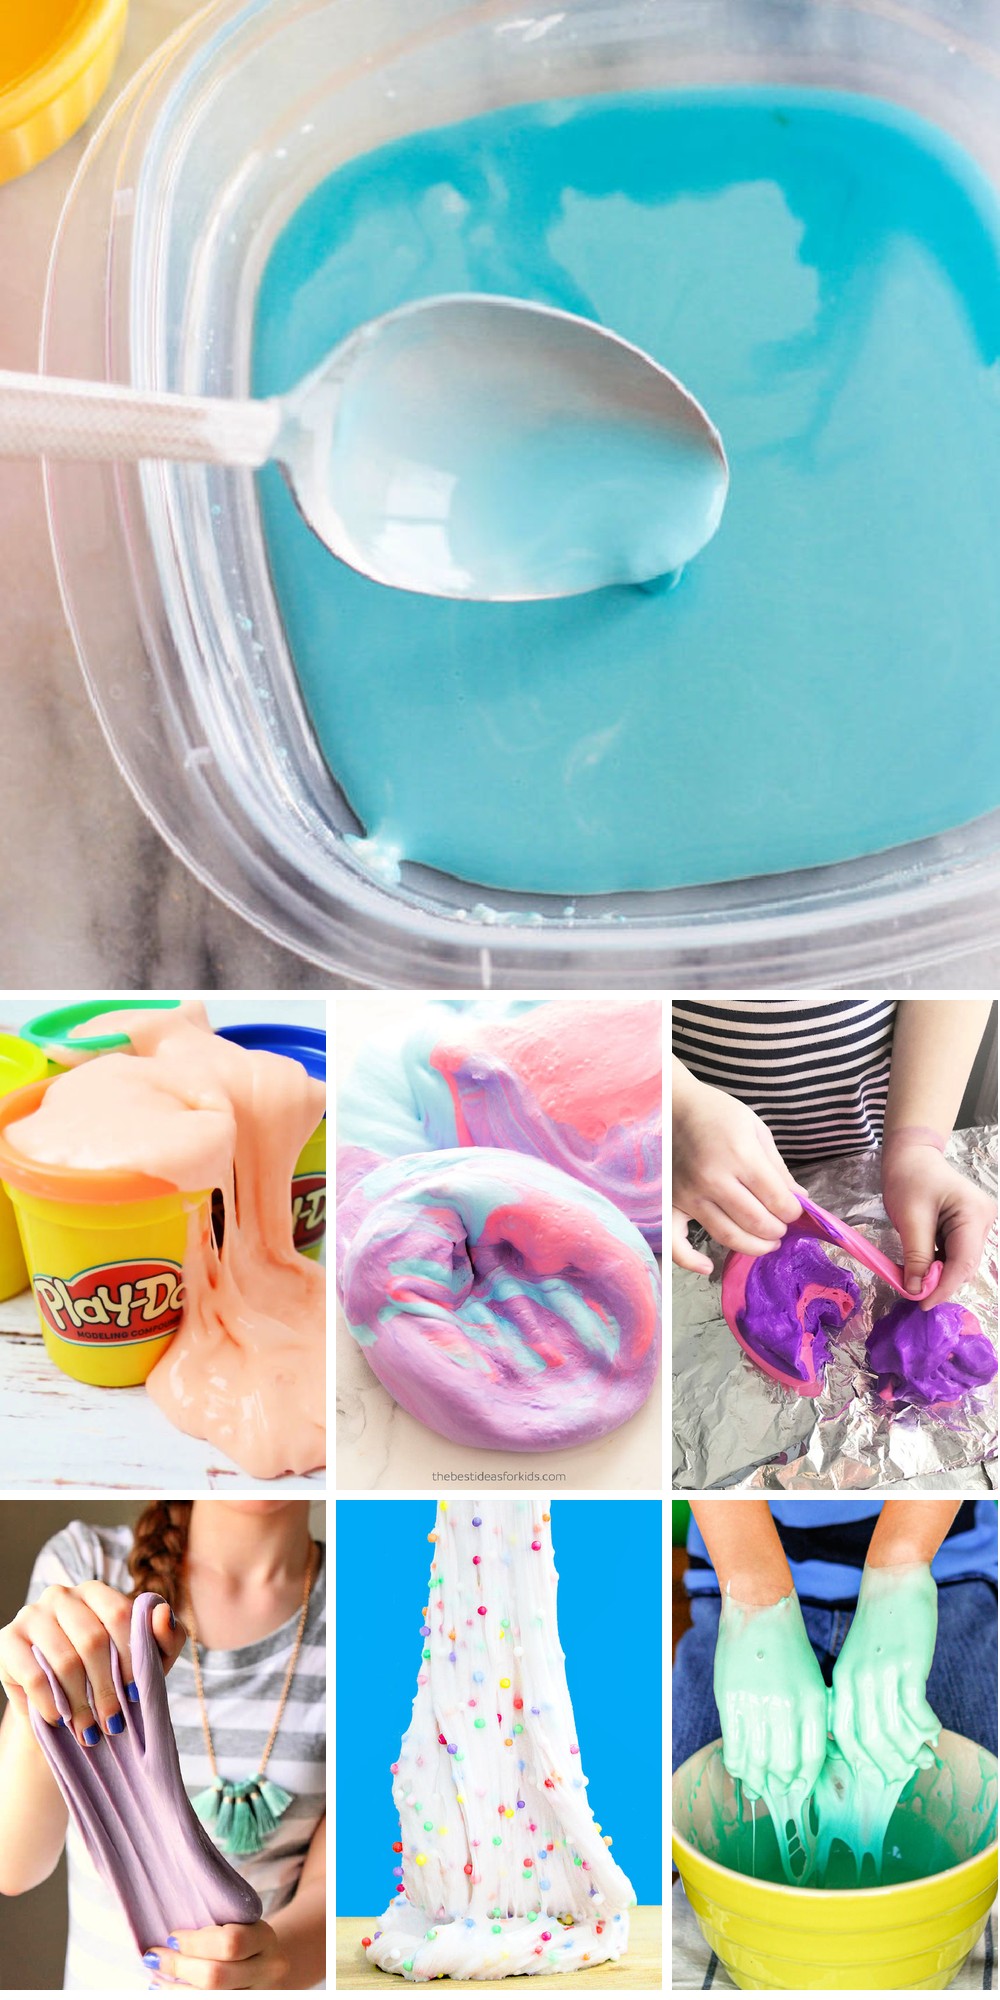
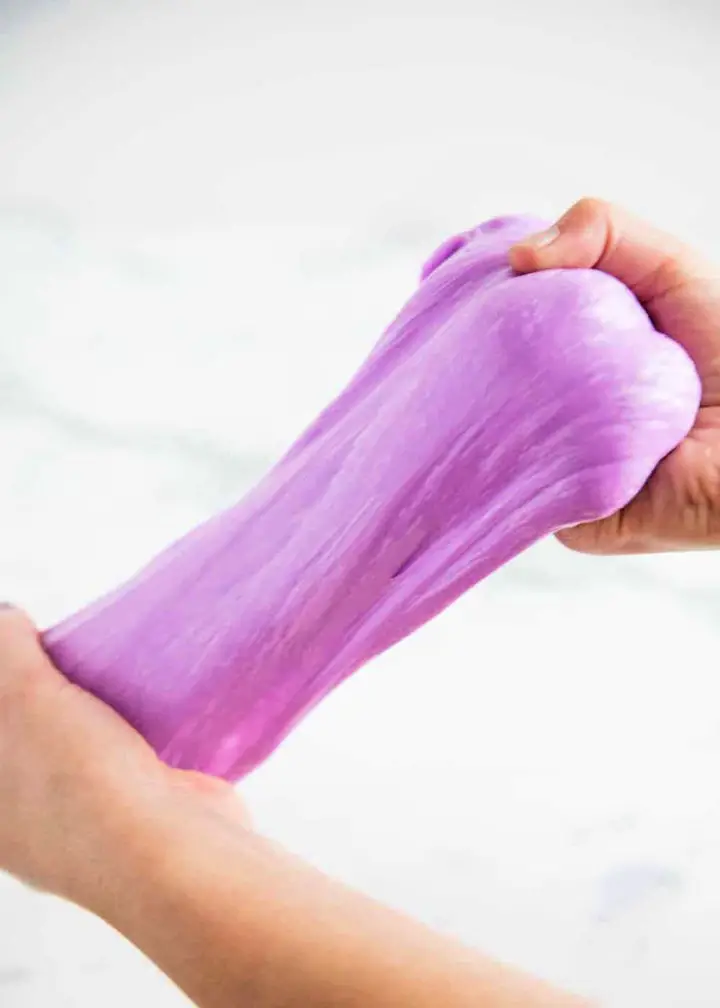
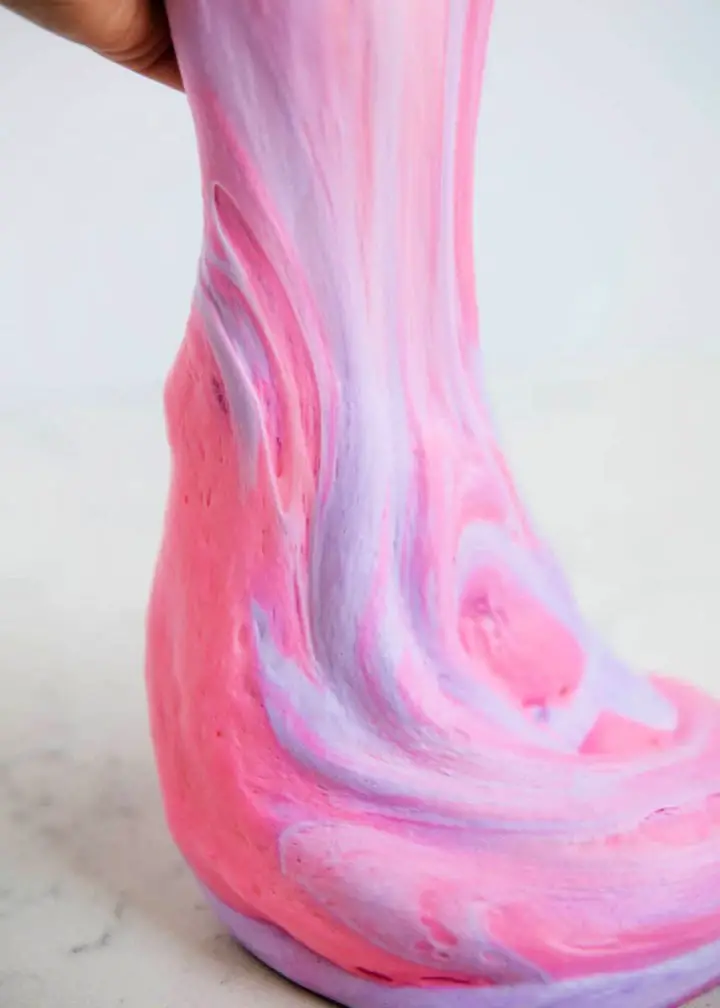
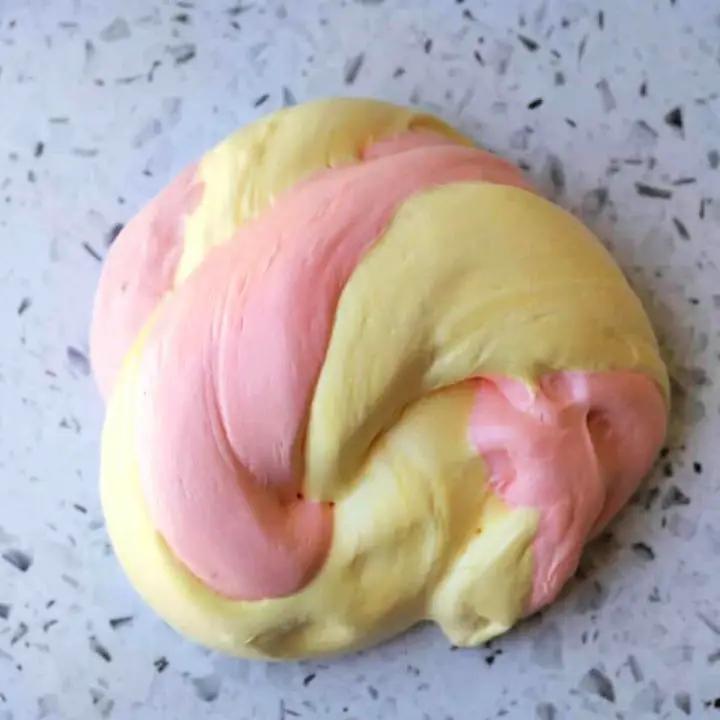
25 Homemade Slime Recipes to Try (How to Make Slime)
Explore a world of creativity by trying out 25 unique and exciting homemade slime recipes. This comprehensive guide provides the perfect starting point for making slime from the comfort of your own home, offering endless possibilities to unleash your artistic side through these fun and easy DIY projects.
Easy DIY Fluffy Slime

Get ready for a tactile adventure with this easy-to-follow DIY Fluffy Slime tutorial from Ten at the Table. Say goodbye to messy crafting sessions and hello to a sensory experience that’s both enjoyable for kids and mesmerizing for adults. With just a few common household items, you’ll be creating your own colorful, fluffy slime in no time. Follow our simple, step-by-step guide to unleash a stretchy, shiny fun that will last for days.
Homemade Fluffy Slime

Want to keep your kids entertained and engaged on a rainy day or anytime they need a fun indoor activity? I Heart Naptime has got you covered! With just three simple ingredients, you can create super soft and stretchy fluffy slime that will provide hours of creative play. This recipe is not only easy to make – it takes less than 5 minutes to whip up a batch – but also safe for little hands, as it’s made without borax. Simply follow this straightforward tutorial to unleash your child’s inner artist and enjoy an afternoon of squishy, colorful fun! The best part? This activity is perfect for kids of all ages and skill levels, making it an excellent way to spend quality time together.
How to Make a Fluffy Slime
Discover the wonder of crafting Fluffy Slime at home without the need for Borax. Hoosier Homemade is excited to share a simple and enjoyable guide that’s perfect for kids’ playtime. With just a few household ingredients like shaving cream, glue, and contact solution, you can create a delightful treat that’s sure to bring endless smiles. Whether it’s an art class, playdate, or unique party activity, this recipe makes it easy to get creative and have fun. By following the simple steps of mixing and kneading, you’ll achieve the perfect fluffy consistency that’s sure to impress. Most importantly, rest assured that this activity is safe and enjoyable for everyone involved.
Make a Slime With Bubble Bath

Indulge in the fun and creativity of crafting your own DIY slime using bubble bath, minus the glue! This easy-to-follow, glue-free recipe is perfect for a safe and enjoyable experience. By mastering the art of combining cornstarch with water, you’ll achieve a non-sticky, malleable dough that can be transformed into gooey slime with just a splash of added moisture. Whether you’re looking to create unique gifts or engage in some personal creative playtime, this recipe promises hours of imaginative fun. For step-by-step instructions and additional tips, visit The Makeup Dummy for inspiration.
Best DIY Fluffy Slime
Step into the whimsical realm of slime crafting with our detailed Fluffy Slime Recipe, designed to bring hands-on excitement and creative expression to any setting. By harnessing the power of shaving foam and saline solution, this simplified guide unlocks the secrets of making fluffy slime at home. As you embark on this engaging and educational adventure, uncover the fascinating science behind slime’s unique properties and discover how to maintain its signature texture. With our easy-to-follow steps, you’ll be well on your way to creating a stretchy, squishy masterpiece that’s sure to delight kids and adults alike. And as you explore the limitless possibilities of slime-making, get ready to dive into themed recipes for seasonal celebrations and year-round creative pursuits.
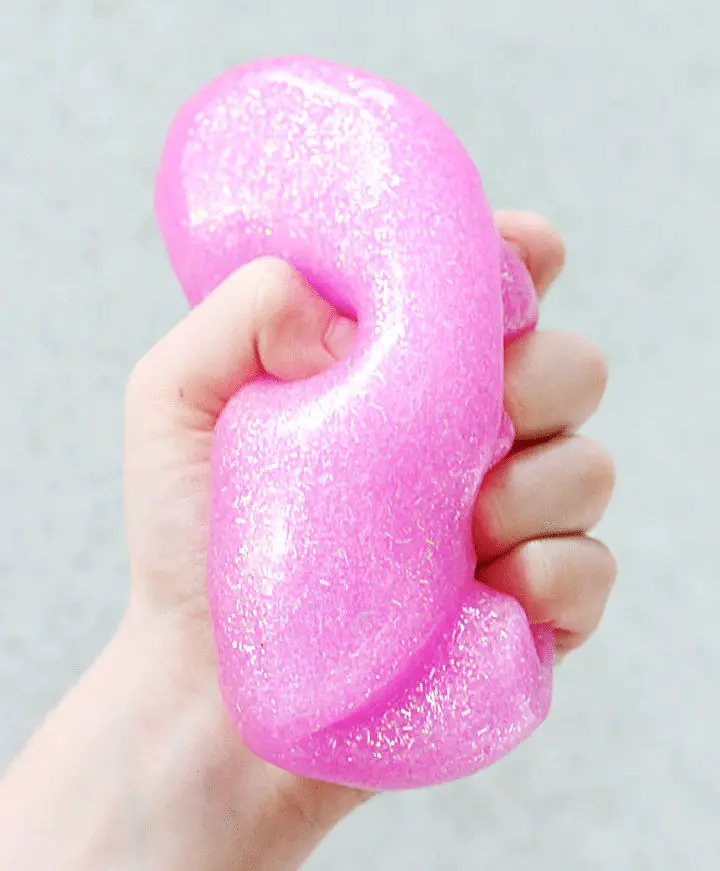
Glitter Slime Recipe Safe for Kids
Discover the enchantment of mess-free, glittery fun for kids with a simple and safe slime recipe. This easy-to-follow guide guarantees a fantastic playtime experience without the hassle of sticky fingers or overwhelming cleanup. By making this project, children learn the joy of hands-on creation while minimizing the mess. With its unique blend of creativity, safety, and education, this delightful activity is perfect for little ones to explore and enjoy.
Homemade Scented Rainbow Floam Slime
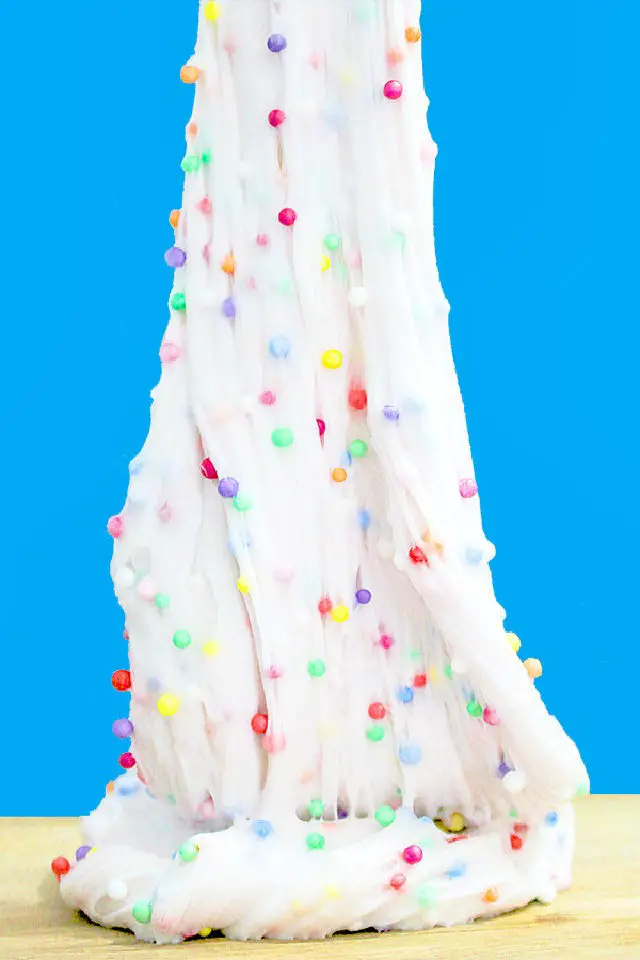
Indulge in a mesmerizing crafting adventure by creating scented rainbow floam slime! This visually stunning and tactilely engaging activity not only delights the eyes but also tantalizes the senses with its distinct texture and invigorating vanilla aroma, making it an ideal choice for sensory exploration. Perfect for sparking imagination and creativity, this crunchy slime variant guarantees hours of entertainment. For those new to the world of slime crafting, our step-by-step instructions provide a smooth and stress-free experience. Before embarking on your creative journey, remember to prioritize safety: ensure adult supervision is present throughout both the creation and play processes.
Make Your Own Slime
Make homemade slime with ease by combining just a few simple ingredients: glue, baking soda, and contact solution. This engaging project is perfect for a science experiment or indoor creative activity that will keep you enthralled for hours. Simply follow the instructions carefully to avoid any issues related to the type of contact solution used. To take your slime game to the next level, add vibrant food coloring to create one-of-a-kind hues. For more inspiration and detailed guidance on making slime, visit ChildhoodMagic.com.
2 Ingredients Oobleck Recipe
Indulge in the whimsical world of homemade oobleck with Unsophisticook’s effortless 2-ingredient recipe. This versatile mixture of cornstarch and water yields a captivating non-Newtonian fluid that defies gravity, transforming from a solid under pressure to a liquid at rest. Perfect for an entertaining science experiment or creative Dr. Seuss-themed activity, this budget-friendly concoction utilizes common pantry staples. Engage kids of all ages in a delightfully messy adventure with easy cleanup, as you explore the wonders of oobleck’s unique properties and experience the thrill of discovery.
Making a Slime With Contact Solution
Create your own DIY slime with ease! This fun and easy project requires just a few household ingredients and no borax, making it a safer and more accessible option for crafters of all ages. By following The Best Ideas for Kids’ step-by-step guide, you can mix together Elmer’s glue, baking soda, and contact solution to create hours of stretchy, glittery fun. Remember to have an adult nearby to ensure a safe and mess-free crafting experience.
Easy to Make Slime
Indulge your little ones in a world of creative fun with our 3-ingredient slime recipe that’s as easy to make as it is enjoyable! By combining baking soda, contact solution, and a dash of glitter, you’ll create a sparkling masterpiece that sparks hours of imaginative play. The best part? This safe and kid-friendly recipe eliminates the mess and hazards often associated with traditional slime-making methods. At Somewhat Simple, we’re excited to share our quick guide with you, showing you how household items can be transformed into stretchy, shimmery goodness. Perfect for siblings or families of any size, this DIY slime recipe is adjustable and ready in minutes, promising endless entertainment and creativity for all!
Simple DIY Slime Without Glue
Explore a remarkably straightforward approach to crafting slime sans glue. Instead, combine shampoo, water, and cornstarch for a three-ingredient recipe that’s perfect for bathtub playtime or messy-free creative sessions. With this simple formula, you’ll enjoy an effortless clean-up and hours of slime-filled fun without the sticky aftermath.
DIY Galaxy Slime on Budget
Transform your kitchen into an intergalactic playground with Spirited and Then Some’s Galaxy Slime recipe! This sensory-rich DIY project offers endless entertainment for kids, fostering creativity and fine motor skills as they explore the cosmos. With its simplicity, versatility, and foolproof instructions, you can count on hours of out-of-this-world fun – whether it’s a rainy day or a weekend adventure. Let the magic of crafting Galaxy Slime transport your family to a realm of shimmering, stretchy fun!
Make Your Own Fluffy Slime

Transform leisure time into a creative outlet by crafting fluffy slime! This fun and easy activity is perfect for all ages, with clear instructions at Instructables guiding you through each step. Discover the secrets to making the fluffiest slime that not only brings joy but sparks creativity. A delightful project ideal for craft enthusiasts seeking a unique experience.
How to Make a Play-Doh Slime
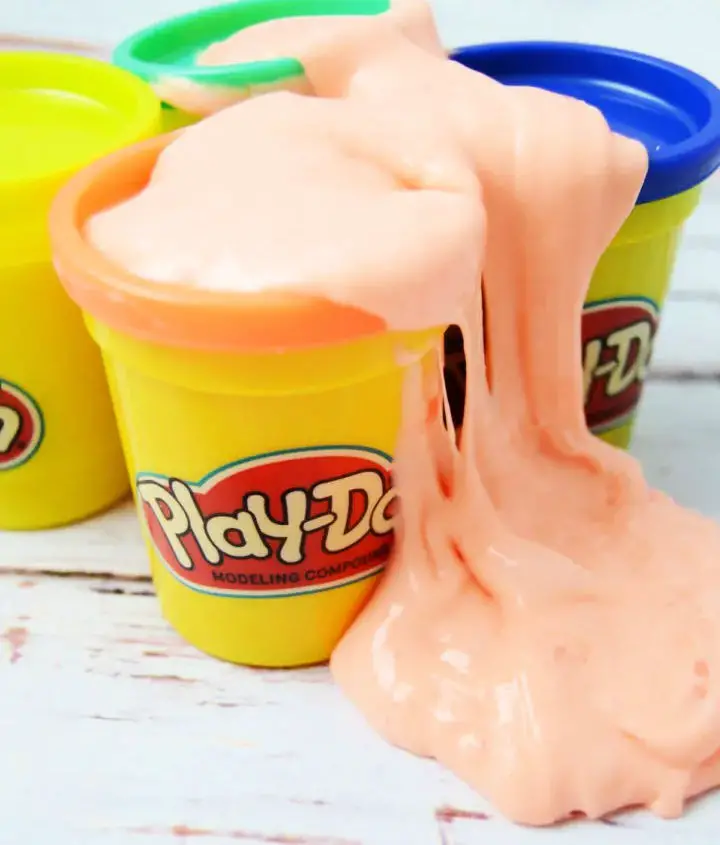
Get ready for a fun-filled experience with an easy-to-make Play-Doh slime recipe that doesn’t require Borax! This engaging activity is perfect for keeping kids entertained, promoting creativity, and fostering imagination. With just a few common ingredients and no prior crafting expertise needed, you can create hours of mesmerizing playtime. Our step-by-step guide makes it effortless to mix up a batch of tactile, satisfying slime that’s sure to delight both kids and adults alike. So why wait? Dive into this delightful crafting adventure today and keep those tiny hands busy!
Best Oobleck Slime Recipe
Indulge in a whimsical adventure that transcends age boundaries! Making Oobleck slime is an enchanting experience that will transport you back to a childhood filled with wonder. This extraordinary substance boasts the unique ability to be both liquid and solid, making it an ideal science experiment or spontaneous playtime activity for kids of all ages. And the best part? You can create this mesmerizing slime without compromising on safety or using questionable ingredients. With just a few simple ingredients like cornstarch, water, and an optional splash of food coloring, you’ll be well on your way to conjuring up a batch of Oobleck in no time. As an added bonus, this borax-free alternative ensures loads of tactile fun for the whole family. For a comprehensive guide on how to make your Oobleck experience truly unforgettable, click here.
How to Make 3 Ingredients Slime
Indulge in a creative afternoon with our 3-Ingredient Slime DIY that’s as easy as it is enjoyable! This fuss-free recipe requires only white school glue, baking soda, and contact solution – no Borax needed! These readily available ingredients can be found at stores like Target or Walmart, making it an accessible activity for kids. To add a touch of whimsy, consider combining this project with our Galaxy in a Jar idea. With these easy-to-make crafts, you can worry less about mess and more about making memories that will last. Simply mix, play, and store your creations without breaking a sweat. Start crafting today and create moments to treasure!
Make Your Own Color-Changing Slime
Embark on an enchanting journey with color-changing slime, where science meets playfulness! This captivating activity not only sparks imagination but also introduces kids to the wonders of Thermochromism through a hands-on experiment. By combining Thermochromic Pigment with temperature fluctuations, the slime seamlessly transitions between colors, mesmerizing young minds. A perfect blend of fun and education, this process effortlessly teaches about temperature effects in an engaging manner. For a comprehensive guide on crafting this remarkable slime, visit [www.thebestkidscraftsandactivities.com](http://www.thebestkidscraftsandactivities.com). As you manipulate the slime, watch as it transforms before your eyes, bringing science to life in an unforgettable way!
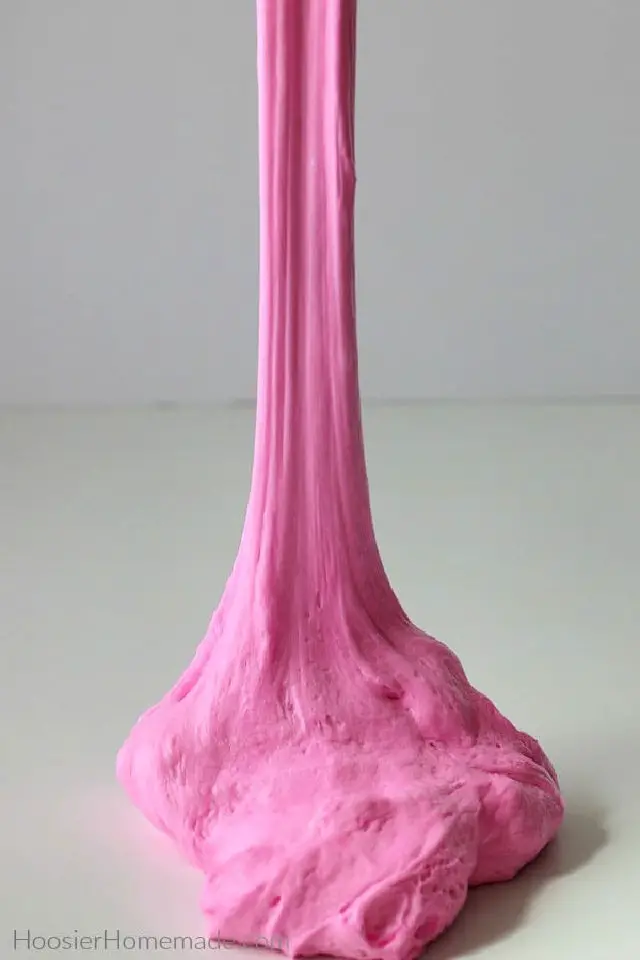
Easy DIY Slime Without Borax
Ready to create a delightful and stretchable butter slime without borax? Our ultimate recipe is here to guide you through a fun and successful slime-making experience. Perfect for kids and adults alike, this tutorial provides step-by-step instructions to ensure a stress-free session. With our tried-and-true formula, say goodbye to sticky messes or dried-out disappointments. For added hands-on guidance, explore our video tutorial and discover the joy of crafting your own butter slime today.
DIY Slime With a Real Pumpkin
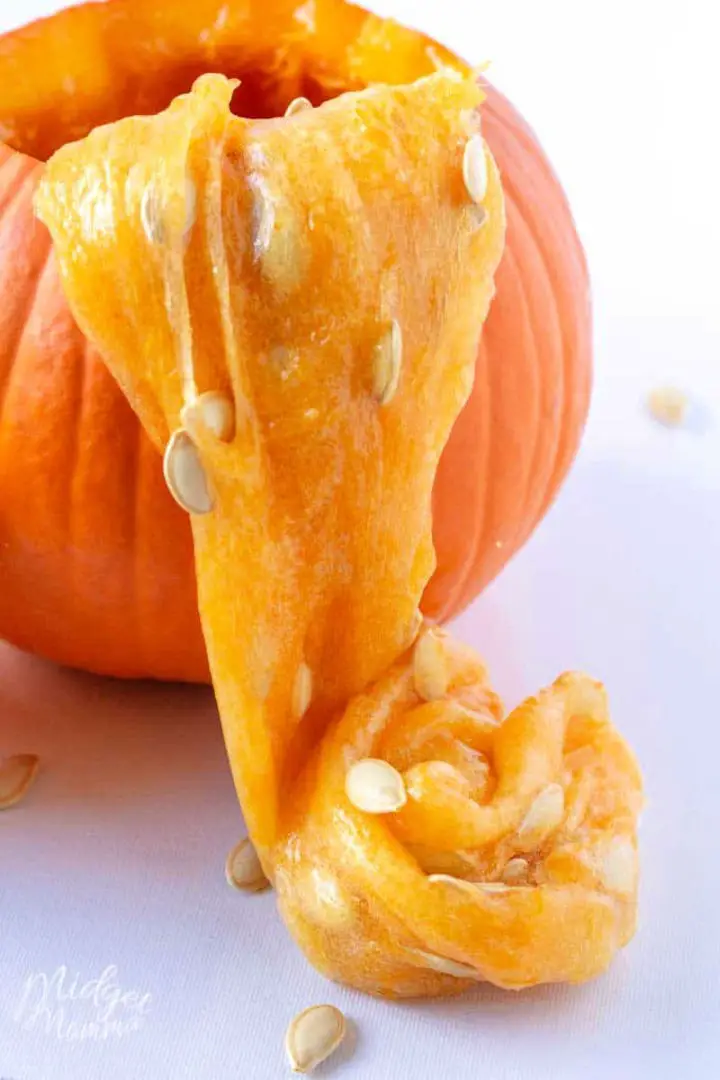
As the festive season approaches, why not create a unique pumpkin slime with your kids? This fun and creative activity is a great way to turn what would otherwise be discarded pumpkin guts into an unforgettable experience. By combining simple crafting techniques with seasonal traditions, you can provide hours of entertainment for your little ones while fostering creativity and learning. For a step-by-step guide on how to make this gooey delight, head over to MidgetMomma’s website for a recipe that’s easy to follow and perfect for a cozy day in.
Homemade Fluffy Slime
Wanting to create a Borax-free slime adventure for your little ones? Look no further than My Frugal Adventures’ comprehensive guide on making fluffy slime without the use of Borax. This simple and engaging tutorial requires only four essential ingredients, including the unique properties of shaving cream, to produce a softer, lighter variation of everyone’s beloved gooey craft. Accompanied by helpful tips and a step-by-step video, this recipe guarantees a fun-filled and successful slime-making experience for you and your kids. Dive in and start crafting this delightful, fluffy slime with your little ones today – they’re sure to be thrilled!
How to Make a Slime
Introduce your kids to an exciting world of DIY fun with a simple homemade slime recipe from I Heart Naptime. This effortless craft requires just three primary ingredients and is not only budget-friendly but also promises hours of entertainment. Perfect for indoor days, this recipe has become a hit among kids, evoking memories of the classic Gak. The best part? It’s easy to customize with various mix-ins, allowing your little ones to express their creativity and take pride in their colorful creations. Whether you’re a parent looking for a fun and affordable activity or simply seeking a way to spend quality time with your family, this slime recipe is sure to bring joy and delight to all involved.
Easy Fluffy Slime Recipe
If you’re looking for a fun and engaging indoor activity that’s perfect for kids on rainy days or anytime they need something to do, I’ve got just the thing. With only three ingredients, you can create super soft and stretchy fluffy slime in under 5 minutes! Not only is this recipe easy to follow, but it’s also borax-free, making it a safer option for little hands. This squishy substance is sure to provide hours of creative play and entertainment for kids. So why not give it a try? With a few simple steps, you can create your own magical slime and spend the afternoon engaged in fun and imaginative play.
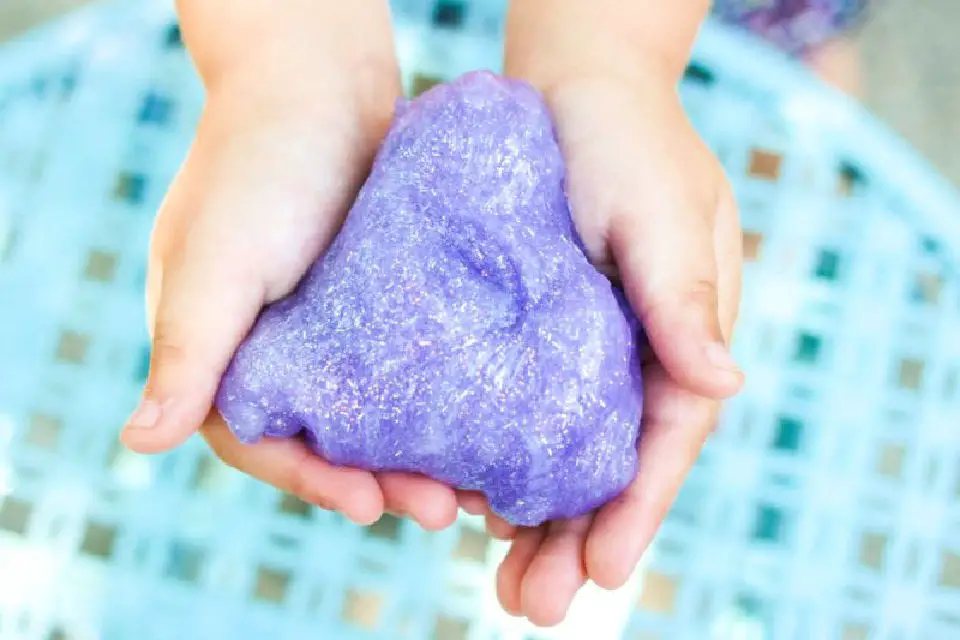
Handmade Fluffy Cloud Slime
Discover the enchanting world of crafting Fluffy Cloud Slime, a sensory experience that transcends age boundaries. This delightful concoction boasts a puffy texture and marshmallow-like consistency, making it an extraordinary craft perfect for kids and adults to enjoy together. The secret ingredient? A pinch of shaving cream, which transforms ordinary slime into an unparalleled playful adventure. For a comprehensive guide and a medley of other mesmerizing slime recipes, visit ChildhoodMagic.com. To ensure your fluffy slime stays fresh and vibrant, learn the secrets of proper storage and get ready to dive into a world of creative expression. Let the slime-making magic begin!
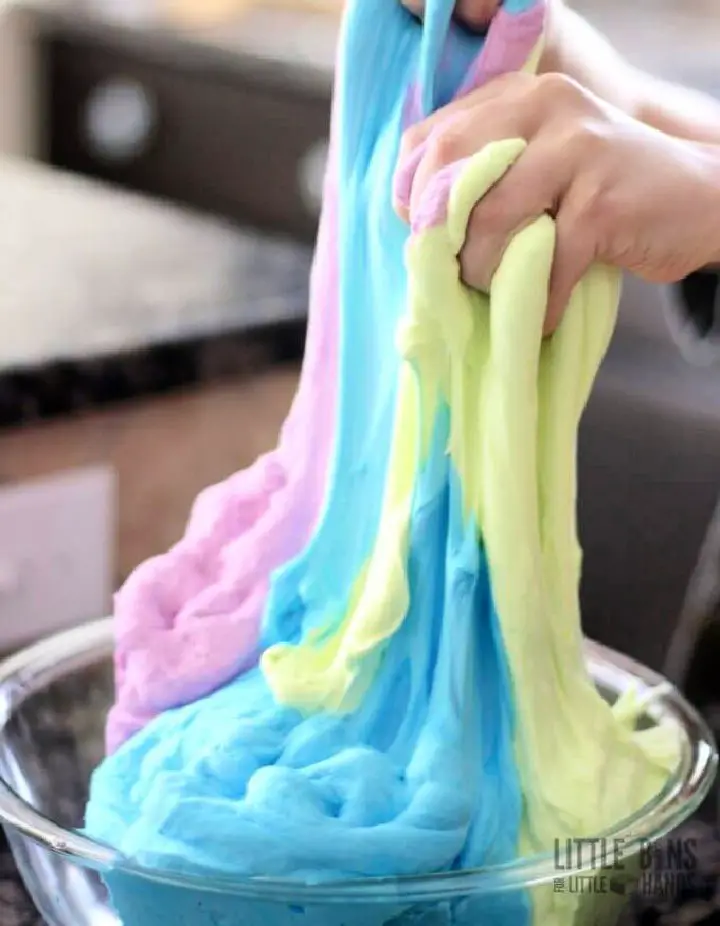
Fluffy Slime Recipe With Unicorn Colors
Indulge in the tactile delight of creating a fluffy and colorful slime with ease, perfect for a family bonding activity or a stress-relieving hobby. With adult supervision, this recipe guarantees a stretchy and squishy masterpiece that kids will love playing with. For an added layer of whimsy, transform your slime into vibrant hues reminiscent of unicorns, adding an extra touch of magic to the experience. This sensory play phenomenon is best enjoyed fresh, so be sure to get creative and enjoy it while it’s at its most tactilely tantalizing!
Conclusion:
Discovering the thrill of creating homemade slime recipes can be a delightful experience for anyone interested in science and experimentation. By exploring 25 DIY slime formulas, you’ll have the opportunity to mix and match ingredients to create one-of-a-kind textures and colors. This hands-on activity allows individuals to engage with science from the comfort of their own home, experimenting with different combinations that yield fascinating results. As you follow the steps for making slime, from concocting the perfect activator to storing your final product properly, you’ll be well on your way to creating a truly unique and captivating slime. So, gather your ingredients and embark on an adventure into the tactile world of homemade slime, where creativity knows no bounds.
