Why DIY Baby Closet Dividers?
Discover the joy of creating your own baby closet dividers, transforming your nursery into a clutter-free haven! The beauty of DIY projects lies not only in their functionality but also in the personal touch they bring to the space.One of the greatest advantages of making your own dividers is the ability to tailor them to match the unique theme and aesthetic of the nursery. With simple materials like cardstock, scissors, and printable templates, you can create custom dividers that not only keep your baby’s clothes organized but also reflect your personal style. This thoughtful touch ensures the closet stays organized and visually appealing.Moreover, DIY baby closet dividers are a cost-effective way to get the job done. Unlike pre-made dividers, which can be expensive, making your own is a budget-friendly option that allows you to save money while still achieving the desired result. For parents looking to pinch pennies, this project is an ideal choice.But perhaps the most significant benefit of DIY baby closet dividers lies in their functional organization. By helping you sort baby clothes by size, type, or season, these dividers make it easy to find what you need quickly and efficiently. This organization is particularly crucial for parents with babies who outgrow sizes rapidly, making it easier to keep track of what fits and what doesn’t.In addition to being a practical gift idea, handmade baby closet dividers also make for a thoughtful and unique present for expectant parents. The personal touch they bring adds an extra layer of love and thoughtfulness, making them truly special.Lastly, making DIY baby closet dividers can be a fun and creative activity that brings you closer to your family. Involve older siblings in the process, and turn it into a bonding experience that’s both enjoyable and practical.
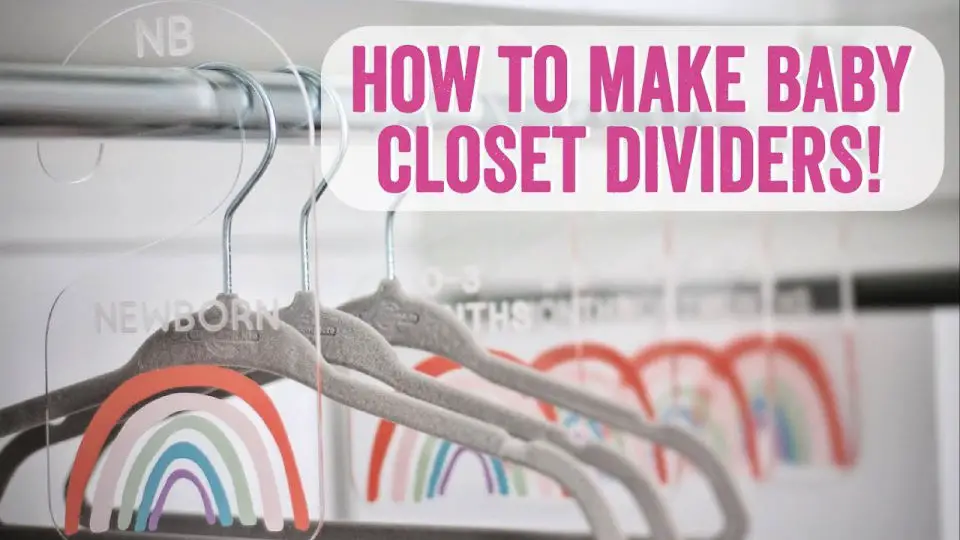
How to Make Baby Closet Dividers
Crafting bespoke baby closet dividers with your Cricut machine is a delightful project that injects personality into the nursery. This step-by-step guide empowers beginners and seasoned crafters alike to create stunning, functional storage solutions for baby’s clothing. With clear instructions and a gentle learning curve, this project is an excellent way to explore the creative possibilities of your Cricut.
Supplies Needed:
To create stunning and organized notebooks, you’ll need a few essential materials. At the top of your list should be a Cricut machine, which will enable you to precision-cut intricate designs and patterns for your dividers. Next, you’ll want a reliable printer that can handle printing out your custom designs. In addition to these machines, you’ll also need some quality cardstock – we recommend using 5 sheets of heavy cardstock with a weight of at least 100 pounds. This will provide the necessary sturdiness for your dividers without sacrificing flexibility or ease of manipulation. Of course, no crafting project is complete without the right adhesive. Whether you prefer glue or another type of adhesive, make sure you have it on hand to secure your designs in place. Finally, don’t forget to gather the images and designs you’ll be using for your dividers. These will be provided in the tutorial that follows, so make sure you’re prepared to put them into action.
Step 1: Preparing Your Images
To start creating your personalized dividers, begin by uploading your chosen designs to your Cricut machine. When selecting designs, keep in mind that they come in two formats: front-facing and reverse. You can choose between double-sided dividers or single-sided ones, depending on your desired level of customization. To upload the designs, navigate to your Cricut’s main interface, select ‘Upload Image’, and then choose each individual image. For optimal results, set each design type as ‘Complex’ and ensure the ‘Print then Cut’ option is selected before uploading.
Step 2: Adjusting the Image Size
When importing images with Cricut, you may notice that they often come in larger-than-necessary sizes. To ensure accurate printing and cutting, follow this simple adjustment: select all imported images, then align them to ‘Center Vertically’ while keeping the aspect ratio locked. From there, adjust the height to 5 inches, which will effectively resize your images for optimal use.
Step 3: Organizing and Attaching Images
To streamline the cutting process, group your images in sets of three. Next, rotate four of your dividers by 90 degrees to accommodate the Cricut’s print and cut area. Place two dividers upright and one at an angle, securing them using the ‘Attach’ function. Continue this process until all images are organized and attached, ensuring a smooth and efficient cutting experience.
Step 4: Printing and Cutting
To begin the process of creating dividers with your Cricut, select the ‘Make It’ option. This will automatically generate the necessary mats based on the number of dividers you’re making. Before sending the design to print, ensure that the ‘Add Bleed’ option is turned off to preserve the clarity and definition of your designs. For a sturdy finish, opt for heavy cardstock as your base material. Once printed, adhere the paper to your Cricut mat and follow the prompts for cutting.
Step 5: Assembly
Carefully extract the dividers from the mat after cutting. Next, apply a thin layer of adhesive to one half of each divider, then carefully place its matching counterpart on top, ensuring precise alignment. As you complete this process, you’ll be left with sturdy, double-sided baby closet dividers that provide ample storage for tiny outfits and essentials.
Tips for Success:
Before assembling your design, verify that all alignment settings are accurate. To prevent unexpected margin issues, make sure the ‘Add Bleed’ function is deactivated. When attaching the two components together, apply consistent and deliberate pressure to achieve a smooth, gapless finish.
Video Tutorial
Combining a step-by-step video tutorial with this written guide provides a comprehensive learning experience. The visual representation of each step, as shown in the video, helps to clarify the process even further, making it easier for you to achieve professional-looking results. By following these instructions and watching the accompanying video, you’ll be able to create unique and personalized baby closet dividers that not only add organization but also a touch of style to your nursery.
DIY Baby Closet Dividers FAQs
When embarking on a DIY project to create custom baby closet dividers, you likely have several pressing questions. To alleviate any uncertainty and ensure a successful endeavor, we’ll address some of the most frequently asked queries related to this undertaking.
What materials do I need to make baby closet dividers?
To initiate your creative project, you’ll typically require: A sturdy material such as cardstock or heavy paper, allowing you to craft robust structures. Additionally, access to a printer is essential for printing out templates or designs that serve as the foundation of your work. For more intricate cuts and precise shapes, scissors or a craft knife are necessary tools in your arsenal. Furthermore, embellishments like markers, paint, or stickers can be used to add a touch of personality and flair to your project. Finally, if you’re planning to create circular dividers, a hole punch or cutting machine – such as the popular Cricut – will help you achieve the desired shape with ease.
Can I make baby closet dividers without a Cricut machine?
While it’s possible to create baby closet dividers using a Cricut machine, there are also alternative methods that don’t require this specialized tool. A simple and cost-effective approach is to print out a template on heavy cardstock, cut it out with scissors, and then customize the design using markers, stickers, or paint. This DIY-friendly method allows for endless creative possibilities without breaking the bank or requiring a specific cutting machine.
How do I size baby closet dividers?
When it comes to selecting baby closet dividers, sizing can vary depending on clothing categories (Newborn, 0-3 months, 3-6 months, etc.). While choosing the right divider size is crucial, it’s equally important to consider the physical dimensions of the product. Ideally, you want a divider that’s large enough to be easily visible yet small enough to fit comfortably on your closet rod. A common size for round dividers is approximately 3.5 to 4 inches in diameter, providing a neat and organized solution for your baby’s clothing storage needs.
Can baby closet dividers be reused for another child?
When it comes to baby closet dividers, durability is key. Made from heavy cardstock or laminated paper, these dividers can withstand repeated use. To make them truly versatile, consider opting for a design that suits both boys and girls. By avoiding direct writing on the dividers, you’re also ensuring they’ll remain usable for future children. This thoughtful approach will not only save you time but also reduce waste, making it a practical choice for parents who plan to have multiple kids.
What are some creative ideas for decorating baby closet dividers?
To elevate the nursery’s aesthetic, consider incorporating elements that resonate with the chosen theme. This can be achieved by utilizing analogous colors or character designs that harmoniously complement the overall atmosphere.
Add a playful touch with stickers or stamps, which provide an effortless way to inject personality into the space. For an added layer of customization, incorporate the baby’s name or initials in a design that reflects their unique identity.
To introduce visual interest and versatility, design reversible dividers featuring distinct designs on each side. This clever solution allows you to effortlessly switch up the look, depending on your mood or the changing seasons.
How can I make eco-friendly baby closet dividers?
When it comes to crafting an eco-friendly gift box, there are several creative options you can consider. One idea is to opt for sustainable packaging by using recycled cardstock or paper as the base material. This not only reduces waste but also gives your gift a unique and earthy charm. For added flair, think about incorporating natural elements like leaves or pressed flowers into your design – just be sure to seal them with an eco-friendly adhesive to ensure they remain intact. Another innovative approach is to upcycle materials you already have lying around the house. Old cardboard tubes, fabric scraps, or even vintage maps can all be repurposed to create a one-of-a-kind gift box that’s not only environmentally friendly but also tells a story.
Are there free templates available for baby closet dividers?
A quick online search will yield numerous free resources offering customizable baby closet divider templates. Crafty blogs, Pinterest boards, and DIY websites provide a treasure trove of printable options. With just a few clicks, you can access a wide range of styles and designs to suit your unique taste. From simple to elaborate, the possibilities are endless. Simply type in ‘free baby closet divider template’ and get started on creating a personalized organizational system for your little one’s closet.
Can baby closet dividers be a good baby shower gift?
When it comes to finding a meaningful and one-of-a-kind gift for a baby shower, consider creating personalized DIY baby closet dividers that reflect the nursery’s unique theme. This thoughtful gesture is not only practical but also showcases your attention to detail, making it a gift that expectant parents will truly cherish.
20 Easy DIY Baby Closet Dividers To Organize Baby Clothes
Achieve a sense of serenity in your nursery by implementing simple yet effective DIY solutions to keep your baby’s clothing tidy. By installing easy-to-create dividers, you can effortlessly sort and categorize your child’s wardrobe, making it easier to find what you need when you need it.
DIY Hanging Closet Dividers Using a Cricut Maker
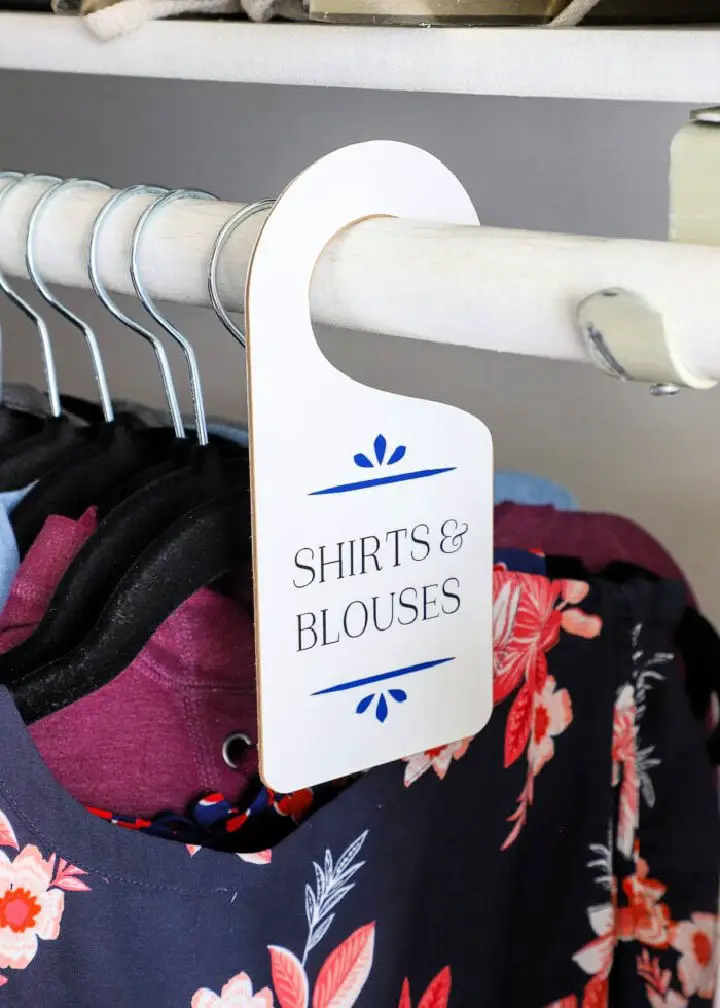
Transforming your closet into an oasis of organization is now within reach with The Homes I Have Made’s comprehensive DIY Hanging Closet Dividers tutorial. Led by Megan’s expert guidance, you’ll learn to create custom dividers using a Cricut Maker that perfectly complement your personal style. This innovative solution allows for effortless categorization of clothing by season, size, or family member, while the sturdy chipboard and sleek vinyl labels provide a durable and visually appealing finish.
By following this engaging, step-by-step guide, even novice crafters can achieve professional-looking results and enjoy a more organized, accessible wardrobe. With precise instructions and helpful tips, you’ll be empowered to enhance your closet’s functionality while infusing it with style.
How to Make Baby Closet Dividers
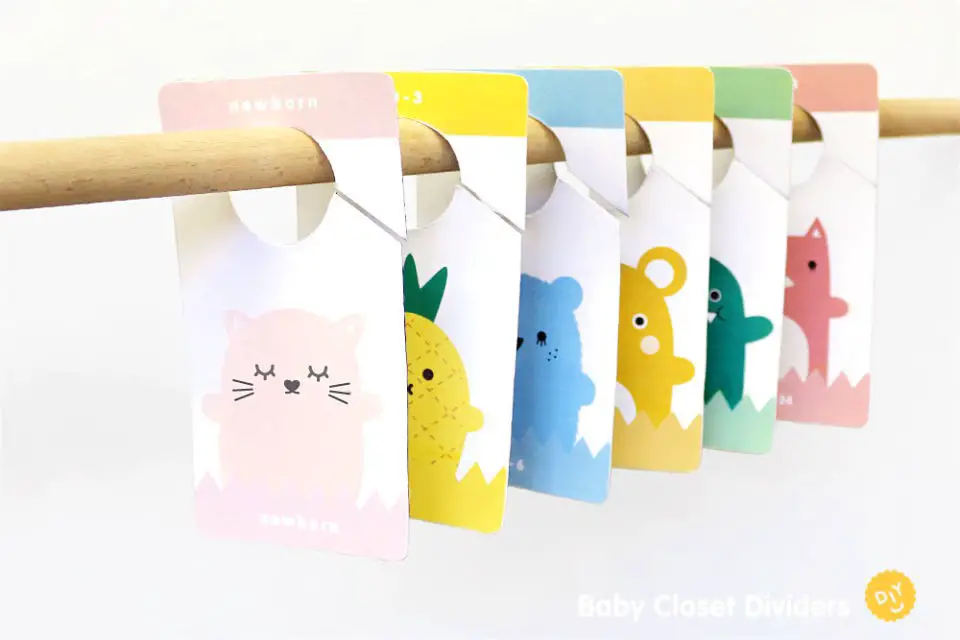
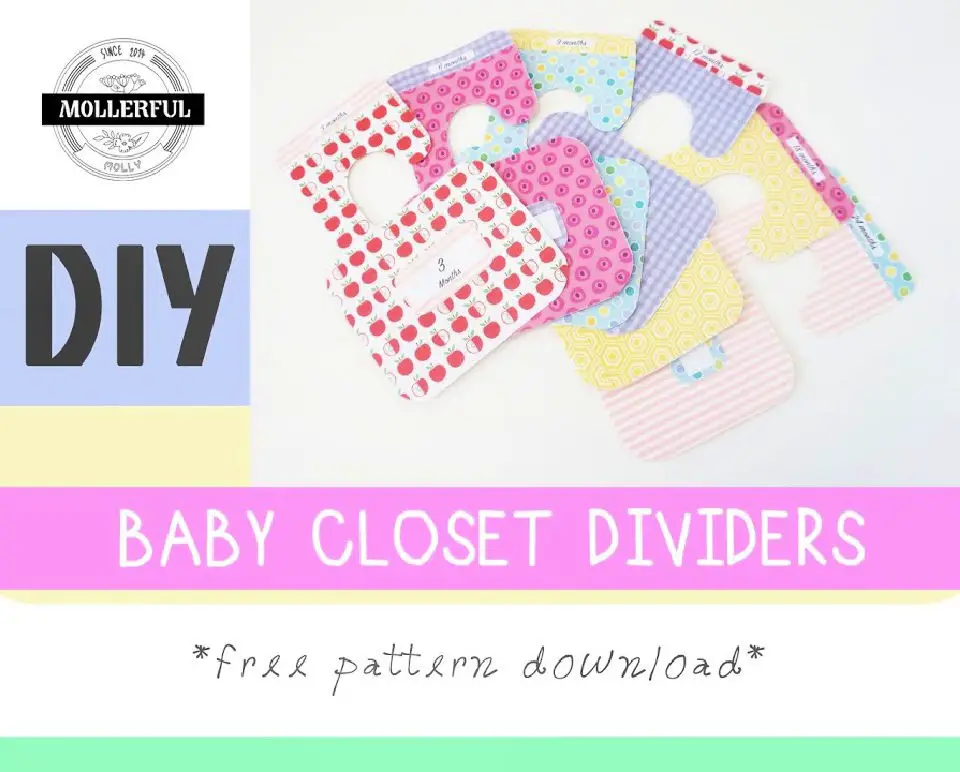
Transforming your baby’s closet into a tidy and efficient space is achievable with the help of DIY Baby Closet Dividers from Noodoll. This clever solution eliminates clutter, allowing you to categorize clothing by size or type. The best part? You can customize these dividers to suit your personal style using readily available materials like colorful paper, scissors, and glue.
The process is surprisingly straightforward: start by downloading the free template provided by Noodoll, then follow their step-by-step instructions to create sturdy yet adorable closet organizers. With these handy dividers in place, finding the perfect outfit for your little one becomes a breeze. This project not only keeps your baby’s wardrobe in order but also adds a personal touch to their room.
For anyone seeking a fun and practical weekend project that combines crafting with home organization, this DIY endeavor is an ideal choice.
DIY Closet Dividers Using Your Cricut Machine
Using a Cricut machine with the Print Then Cut function, you can create charming and functional DIY baby closet dividers that not only add a personal touch to your little one’s nursery but also make organizing a breeze. With a step-by-step guide from Slay At Home Mother, even beginners can confidently design and produce custom dividers that separate clothing by size, making it easy to keep track of outfits and prepare for growth spurts. The tutorial provides a detailed walkthrough, including material lists and design tips, ensuring you have everything you need to transform your nursery into a stylish and organized space.
Free Printable Closet Divider Set
Transform your nursery’s most intimate space into a haven of tranquility by embracing the expertise from Bless’er House. The blog showcases a stunning nursery closet makeover that seamlessly blends style with functionality, allowing you to effortlessly store all your baby necessities in one convenient location. This comprehensive guide takes you through every step of the transformation process, from the removal of outdated wire shelving to the installation of sleek, solid storage solutions. To achieve a fresh and modern aesthetic, Lauren incorporates peel-and-stick wallpaper, while maximizing space efficiency with a ClosetMaid Tower Kit. For added convenience, she offers a complimentary printable set for baby clothes organization. By following this step-by-step walkthrough, you’ll be able to create a serene and organized nursery closet that keeps everything within easy reach, ensuring a peaceful and harmonious environment for your little one.
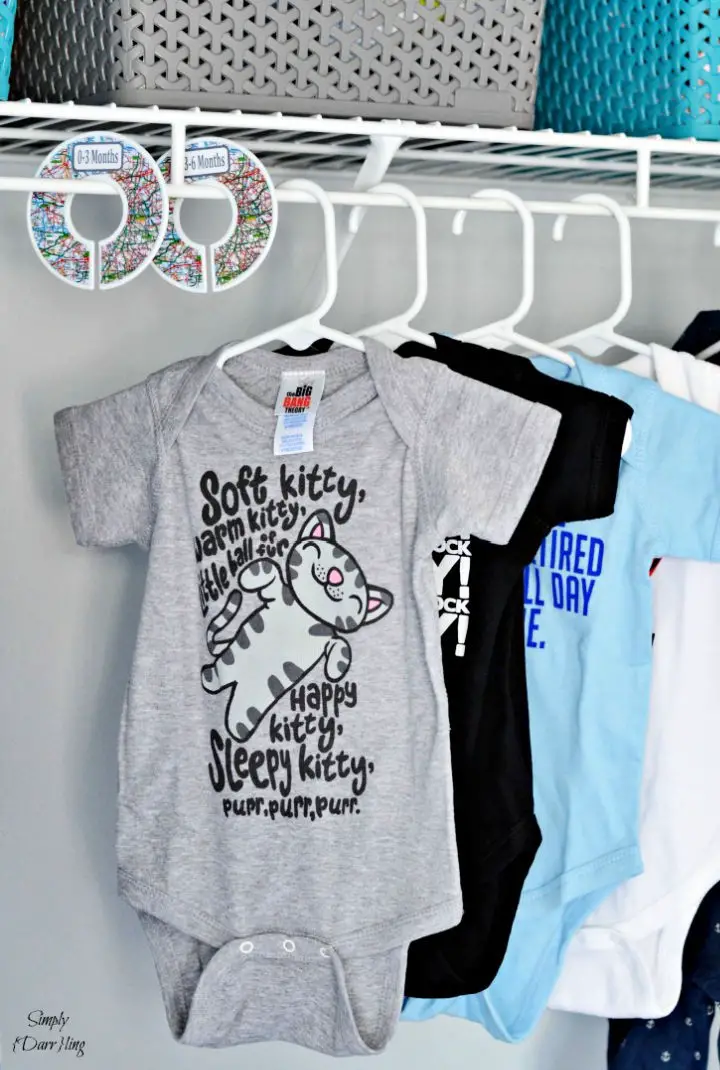
Making Nursery Closet Dividers
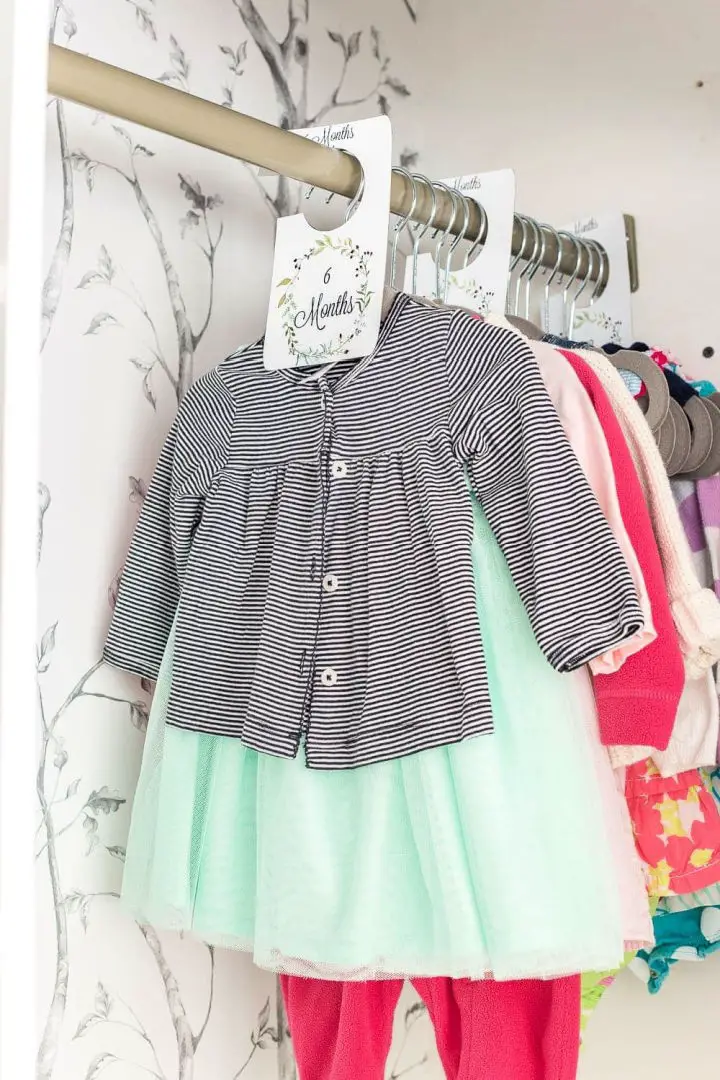
With the help of free printable closet dividers from A Beautiful Mess, organizing your nursery can become a seamless process. The colorful and practical design allows parents to categorize baby clothes by size with ease, making it simple to find the perfect outfit when you need it most. To bring these dividers to life, simply download the template, print them on thick card stock using a reliable printer like the Canon PIXMA TS8120, and cut them out. This fuss-free approach will keep your little one’s closet tidy and efficient, making it an essential tool for anyone preparing for a new arrival or reorganizing their child’s space.
Make Your Own Nursery Closet Dividers
Transform your nursery closet into a haven of organization and personality with this delightful DIY project! If you’ve been accumulating adorable baby clothes and struggling to keep them in order, creating custom closet dividers is an ingenious solution. By combining simple materials like blank rack dividers, Mod Podge, a foam brush, and your favorite printed design, you can craft unique dividers that not only keep baby outfits tidy but also inject a touch of whimsy into the nursery. The process is surprisingly straightforward, making it an ideal activity for a relaxing afternoon project. Let your imagination run wild and design dividers that perfectly complement your nursery’s theme, blending functionality with style.
How to Make Closet Dividers
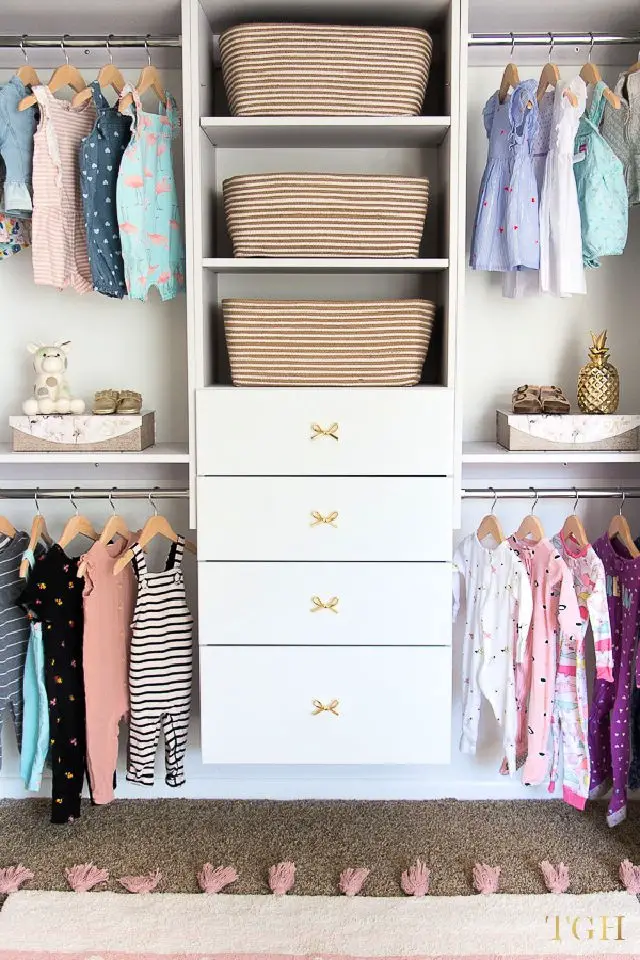
Get ready to transform a standard nursery closet into a delightful and functional haven for your little one’s wardrobe! The process begins with selecting a versatile organizer system that suits your design preferences. This DIY project guide takes you through the entire transformation, from preparing the walls to adding custom features that maximize every inch of the closet. With clear instructions on design considerations, wall preparation, and final touches like carefully chosen hardware and hangers, you’ll create a space that not only stores but also showcases adorable baby clothes. Whether you’re looking to revamp the entire closet or simply add some organization, this tutorial offers valuable insights to help you make the most of your nursery closet.
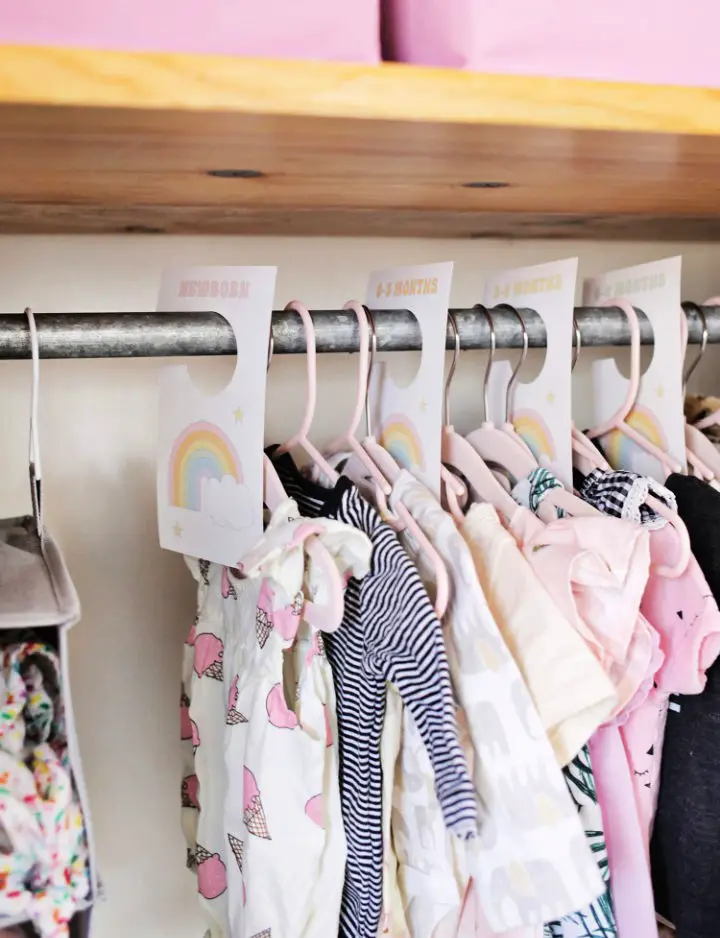
DIY Nursery Closet Dividers

Transforming a nursery into a cozy haven for your little one can be an exciting adventure, especially when you bring in creative elements like DIY dividers. With the guidance of Something Turquoise, you can craft personalized clothing organizers using a Cricut machine, printable sticker paper, and size-based separators. This straightforward tutorial takes you through the process of creating customized dividers that reflect your nursery’s unique theme by choosing your preferred colors and patterns. By utilizing your printer, you’ll achieve results reminiscent of professional designs, keeping baby’s outfits neatly categorized by size. This project not only provides a practical solution but also adds an endearing touch to your nursery decor. Get ready to infuse your baby’s closet with a dash of creativity and love!
DIY Baby Clothing Dividers
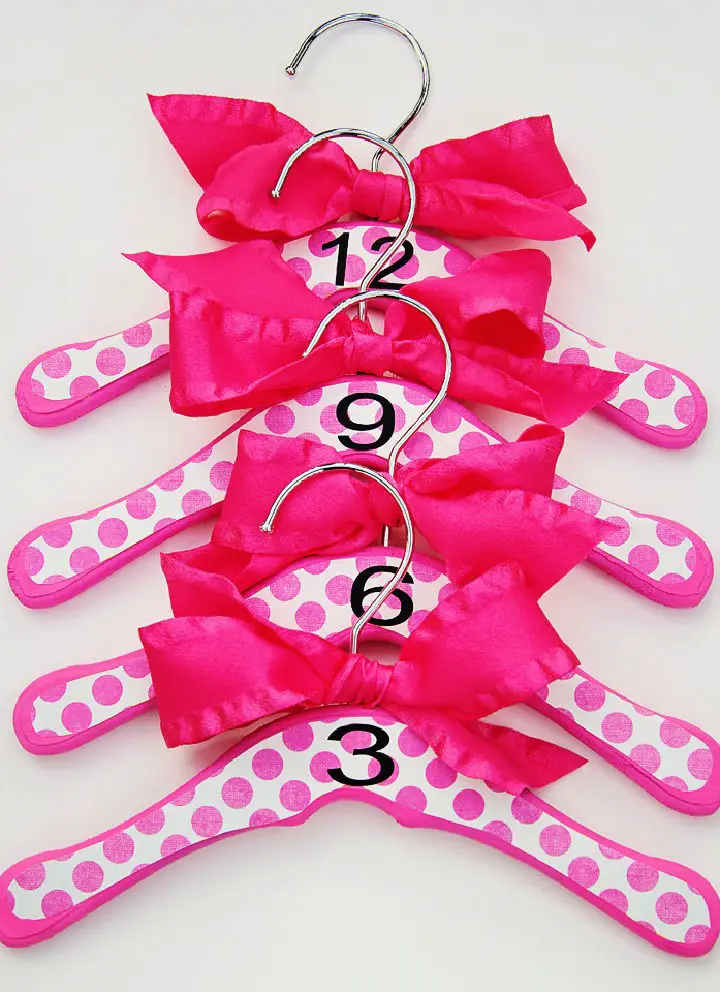
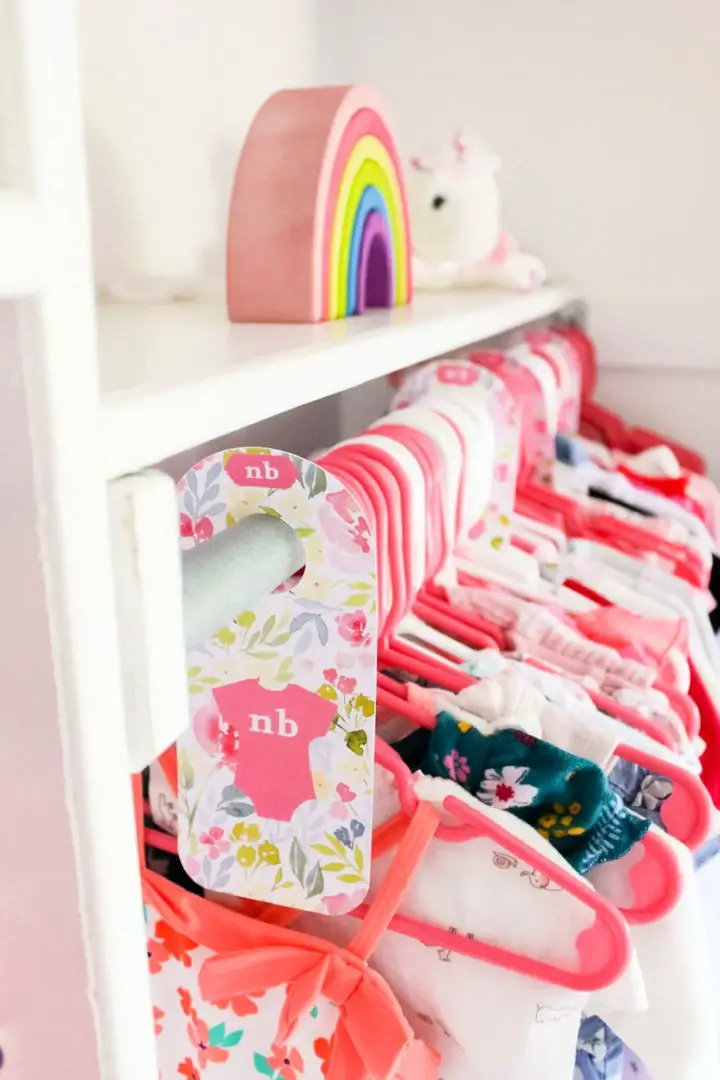
Create enchanting baby clothing dividers that bring a touch of whimsy to a nursery. For a Barbie-themed room, craft these charming organizers using unfinished wood hangers, paint, scrapbook paper, and a dash of creativity. By painting the hangers a soft pink hue and embellishing them with cut-out designs and delicate bows, you can personalize each divider for various clothing sizes, helping new parents maintain order in their little one’s closet. This comprehensive guide will walk you through the process of creating these sweet dividers, offering expert tips to ensure your DIY project turns out beautifully. Perfect for gifting or personal use, these organizers are a delightful addition to any baby’s wardrobe.
Easy DIY Nursery Clothes Closet Dividers
Creating personalized DIY nursery clothes closet dividers is an exciting project that combines organization with a personal touch. By following simple steps, you can craft sturdy and visually appealing dividers using materials like cardstock, chipboard, and Mod Podge for finishing touches. This project makes for a thoughtful baby shower gift or a unique addition to your own nursery’s wardrobe. The result is neatly sorted clothes by size, making it easy for parents to find the perfect outfit as their little one grows. With clear instructions, you can ensure your dividers turn out beautifully, adding charm and functionality to any baby’s closet.
Make Your Own Baby Closet Dividers
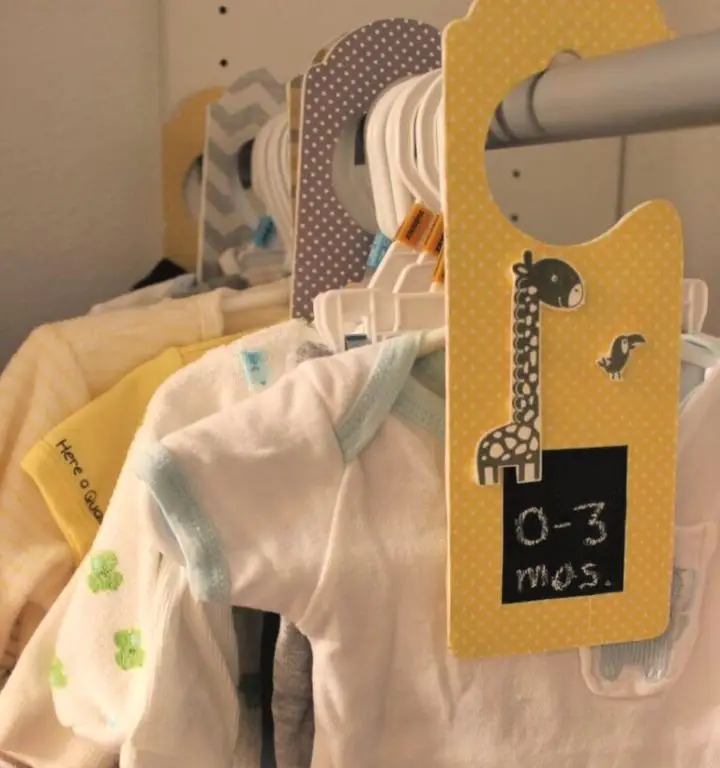
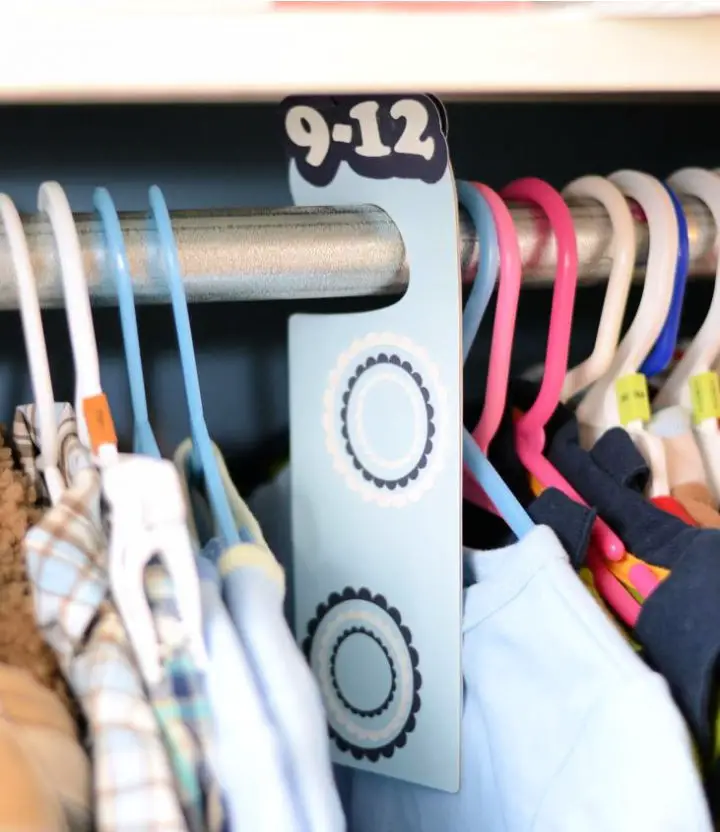
Transform your baby’s closet into a tidy and charming space by creating DIY Baby Closet Dividers, inspired by Lindi & Russ. This project empowers you to design and build customizable dividers that adapt to your child’s growth, from infant to toddler sizes. With minimal materials like scrapbook paper, doorknob hangers, chalkboard paint, and basic crafting tools, you can effortlessly categorize baby clothes by size, making them easily accessible and well-organized. The step-by-step guide provides a comprehensive approach, ensuring that even novice crafters can produce a professional-looking result. Not only does the final product boost nursery organization efficiency, but it also infuses your baby’s closet with a personalized touch.
Free Printable Harry Potter Baby Closet Dividers
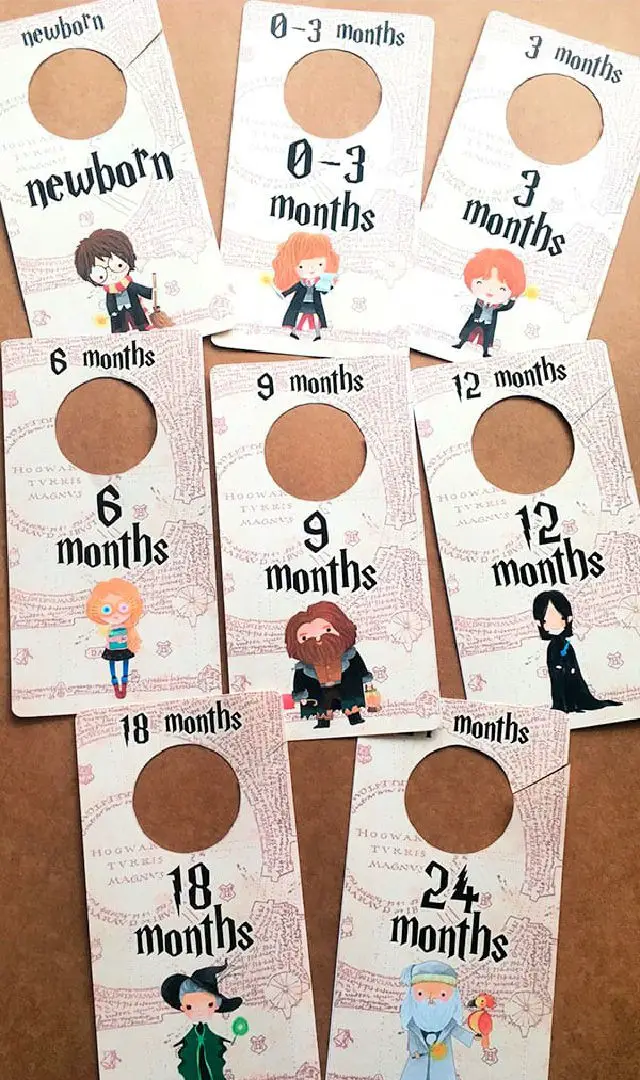
Transform your baby’s nursery into a whimsical wonderland with the free printable Harry Potter baby closet dividers from Lovely Planner. These delightful organizers, featuring beloved characters from the iconic series, allow you to effortlessly categorize your little one’s wardrobe by size – from newborn to 24 months. The charming designs come in two captivating versions: one showcasing a medley of magical characters and another spotlighting Harry Potter as the main attraction. This thoughtful DIY project is perfect for expectant parents who are also Harry Potter fans, or as a unique baby shower gift. With clear instructions and a straightforward list of materials required, you’ll be well on your way to adding a touch of magic to your nursery’s organization. So gather your scissors, cardstock, and get ready to cast a spell of tidiness with these enchanting closet dividers!
How to Make Baby Closet Dividers at Home
If you’re looking for a budget-friendly and creative way to manage your baby’s wardrobe, look no further than DIY baby closet dividers. With the help of YouTube tutorials, you can transform everyday materials like cereal boxes, wrapping paper, and white glue into custom storage solutions that not only add a personal touch to your nursery but also keep your little one’s clothing collection organized. By following clear step-by-step instructions, you can create dividers tailored to categorize baby clothes by size or type, making it easier for you to find what you need when you need it.
DIY Baby Closet Clothing Dividers
Transform your baby’s closet into a tidy haven with a creative twist! Karley Hall’s YouTube tutorial is the perfect solution to keep tiny garments organized. By following her step-by-step guide, you’ll learn how to craft custom DIY baby closet clothing dividers using tools like the Cricut Maker and Glowforge. With these versatile tools, you can cut, engrave, and personalize dividers that not only categorize clothes by size but also add a playful touch to the nursery’s décor. Karley’s clear instructions make the process enjoyable and accessible, even for those new to crafting. The result? Functional and stylish closet dividers that will delight both you and your little one.
Baby Closet Dividers With Cricut
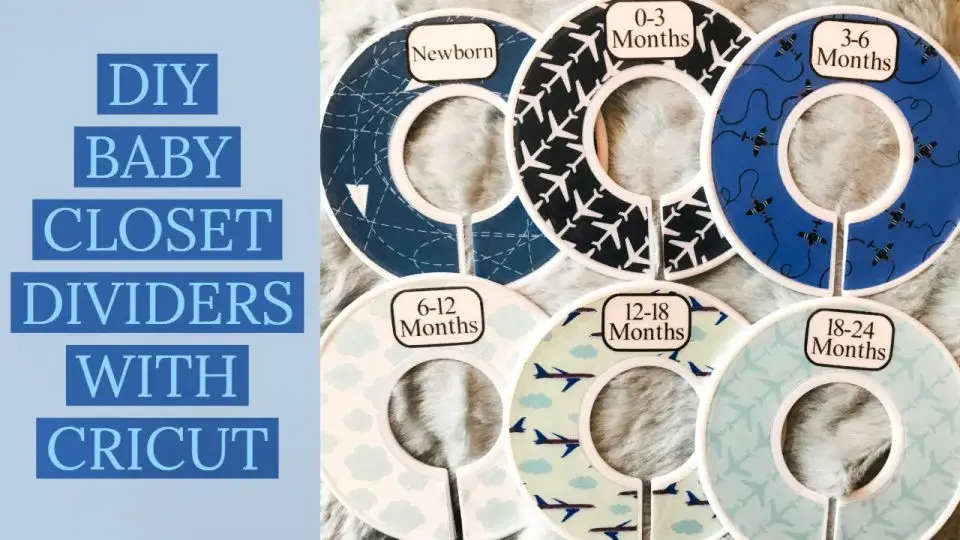
Kayla’s Cricut Creations provides a thorough online guide for crafting DIY baby closet dividers using their Cricut machine and print then cut feature. This step-by-step tutorial is designed for crafty individuals who value personalization, offering clear instructions for measuring and cutting custom shapes, selecting visually appealing backgrounds, and adding text labels to create unique dividers that categorize baby clothes by size or age. The video tutorial delves into the process of achieving a professional finish, providing viewers with valuable tips and insights. Furthermore, the guide includes product links for all necessary materials, empowering crafters to produce high-quality closet dividers that not only organize but also add a touch of creativity to any baby’s wardrobe.
How to Do Baby Closet Dividers
Elevate your child’s room or nursery with a dash of DIY charm! By following the creative process outlined by Cathie Filian and Steve Piacenza, you can transform a simple store-bought closet divider into a customized organizer that perfectly complements your space’s decor or your little one’s favorite colors. This fun and easy project not only brings tidiness to a child’s room but also adds a splash of personality to any closet in your home. To get started, head over to Plaid Crafts’ YouTube channel and watch the step-by-step tutorial that will guide you through this creative endeavor.
Make Baby Closet Dividers With Cricut
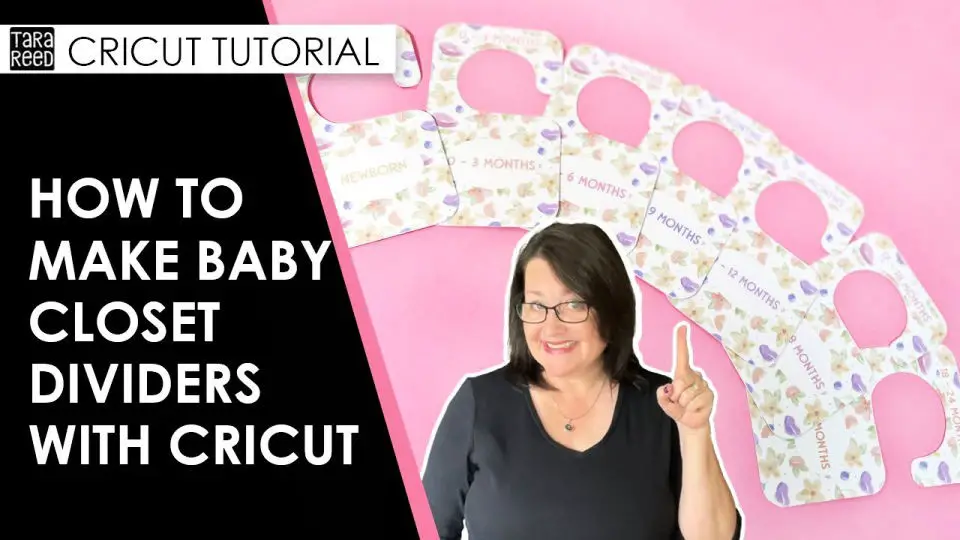
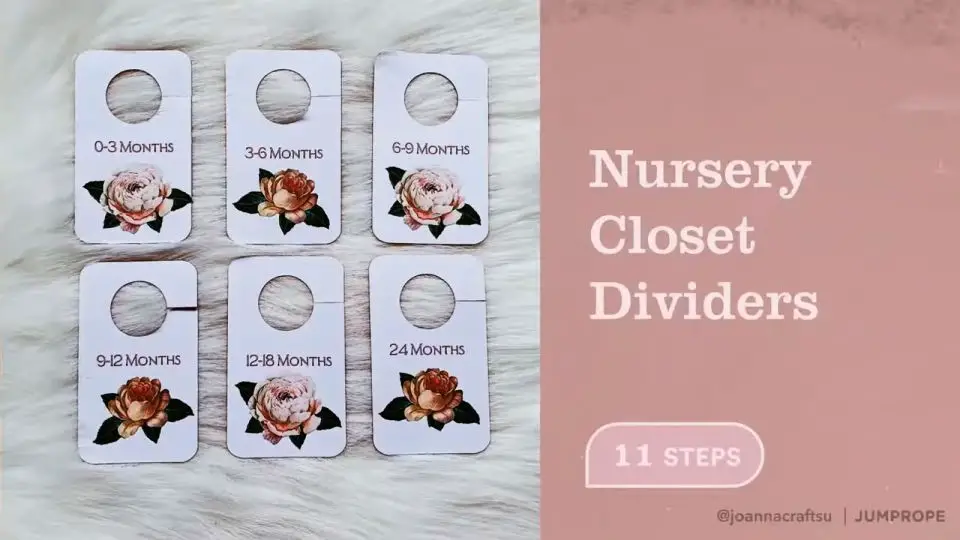
With the help of a Cricut and Tara Reed’s YouTube tutorial, creating charming baby closet dividers becomes an accessible DIY project. This thoughtful gift or personal touch can be tailored to various themes, such as the featured sweet floral design. The comprehensive video guide walks you through setting up print-then-cut files in Cricut Design Space, right down to the final assembly of the dividers. At 3:03, don’t forget Tara’s crucial print setting tip for a flawless finish. For those looking to purchase the dividers, they are available on DesignBundles and Etsy. If you’re passionate about crafting organized spaces for little ones, Tara’s video is an invaluable resource for creating both practical and adorable nursery accessories.
Baby Shower Gift Closet Dividers

If you’re seeking inspiration for a thoughtful and unique baby shower gift, look no further than YouTube’s SimplyAnything channel. This creative DIY project offers a personalized touch to any nursery by helping new parents organize their baby’s clothing in a charming way. The tutorial guides viewers through choosing the right scrapbook paper, tracing and cutting out custom closet dividers, and finishing them with Mod Podge for durability. To add an extra special touch, you can use a Sharpie to label each divider according to different stages of the baby’s growth. This handmade gift is not only practical but also shows the effort and care that goes into creating something truly special. By following this tutorial, you’ll be able to create a delightful and functional gift that parents will cherish and use as their little one grows.
Nursery Closet Dividers With Cricut
Personalizing your baby’s nursery with DIY decor is a thoughtful touch that can be achieved with ease using Cricut. A featured YouTube tutorial takes you on a step-by-step journey to create charming nursery closet dividers that keep your little one’s clothes organized by size or type, all while staying within budget and adaptable to any nursery theme. The video guides you through the process from selecting images and fonts to applying the final stickers, making it accessible for those new to crafting to achieve professional-looking results. With the right supplies and your Cricut machine, you can add a unique and practical touch to your baby’s space, transforming their nursery closet into a cozy haven.
Baby Closet Dividers Tutorial
Organizing a nursery can be both exhilarating and daunting, particularly when it comes to keeping baby clothes neatly categorized by size. Mollie Larsen’s ingenious DIY Baby Closet Dividers tutorial offers a creative and practical solution to this common conundrum. On her lifestyle blog at allaboutgoodvibes.com, she provides a step-by-step guide that empowers parents to craft their own custom closet dividers, making it effortless to categorize and find baby outfits swiftly.
Conclusion:
In the end, crafting your own DIY baby closet dividers is more than just an enjoyable activity – it’s also an effective way to streamline your little one’s wardrobe. As you gather materials, assemble pieces, and fine-tune the final product, you’ll have ample opportunities to infuse your nursery with personal touches while keeping those adorable outfits tidy. This comprehensive guide on making baby closet dividers offers everything you need to get started, guaranteeing that your baby’s clothes are neatly organized and effortlessly accessible. Moreover, these dividers can serve as thoughtful gifts for expectant parents, blending creativity with eco-friendliness. So, what’s stopping you from embarking on this DIY adventure and imbuing your baby’s closet with a special charm?
