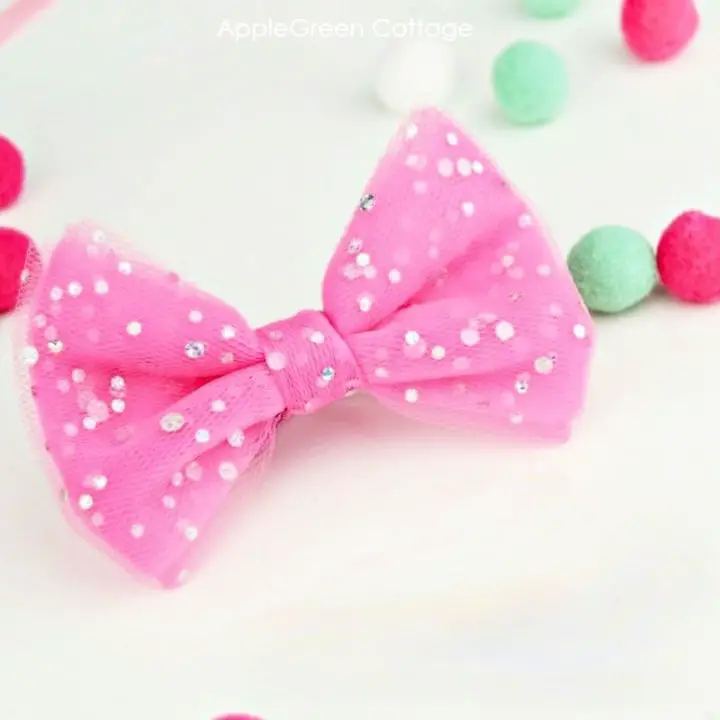
Create your own breathtaking tulle bows with our user-friendly, step-by-step guide. This fun and creative activity is perfect for crafters of all levels, adding a personal touch to gifts, decorations, and outfits. With our expert guidance, you’ll learn how to select the right supplies, master various techniques, and customize your creations to stand out. From mastering different styles to addressing common challenges, we’ve got you covered. Whether you’re looking to add a pop of color, a dash of sparkle, or achieve a specific size, our comprehensive guide will walk you through every step to transform simple tulle into stunning bows that wow.
How to Make a Tulle Bow – Step-by-Step Guide
Crafting tulle bows is an excellent way to add a personal touch to various items such as headbands, hair clips, dresses, and home décor. With just a few simple supplies and a dash of creativity, you can create stunning bows in two distinct styles. To help you achieve beautiful results, we have prepared a clear, step-by-step guide that will walk you through the process.
Supplies You’ll Need:
To get started with this creative project, you’ll need the following materials. First and foremost, you’ll require a six-inch wide tulle on a roll, which will serve as the foundation of your design. Next, you’ll need a thread to help bind everything together. A pencil is necessary for making any necessary marks or measurements. In addition to these basic supplies, you’ll also need a measuring tape or ruler to ensure accurate dimensions. Of course, no DIY project would be complete without some scissors on hand, perfect for cutting your tulle and any other materials you might use. You’ll also want to have some scrap cardboard on standby, which can be used as a backing material if needed. Finally, a hot glue gun will come in handy for adhering any of the components together.
Step 1: Make Your Template
To begin creating your bow template, first determine the width of your bow, as this will dictate the size of your template. The height of your template will automatically be six inches, matching the width of the tulle you’ll use. For instance, if you choose a nine and a half inch wide bow, proceed with that measurement. Next, cut out a central guide piece from cardboard, approximately three inches wide by three and a half inches tall. This piece will serve as the focal point for the bow’s cinch and ensure your tulle is properly aligned.
Step 2: Wrap the Tulle
To create a stunning tulle bow, start by placing the tulle roll at the top of your template and carefully winding it around. The more tulle you wrap, the fuller and fluffier your finished bow will be. Once you’re satisfied with the desired level of fullness, simply cut the excess tulle from the roll, leaving a neat and tidy end.
Step 3: Slide and Tie
To achieve the desired look, gently slide the wrapped tulle down to the lower portion of your template, maintaining its original shape. Once in place, secure the center of the bow using a thread, taking care not to tighten it excessively, as this might compromise the bow’s natural silhouette.
Step 4: Cover and Cut
To add a polished finish to your DIY bow, carefully wrap a small piece of tulle around the center where you’ve secured the thread with a hot glue gun. This will effectively conceal the tied thread and give your bow a sleek appearance. Once in place, trim any excess tulle to maintain a uniform look.
Styling Your Bow:
The moment you’ve been waiting for has finally arrived – your very first DIY bow style is complete! This charming embellishment can instantly elevate a wide range of items, from decorative accents to gifts, making it an ideal addition to your holiday celebrations and other special events.
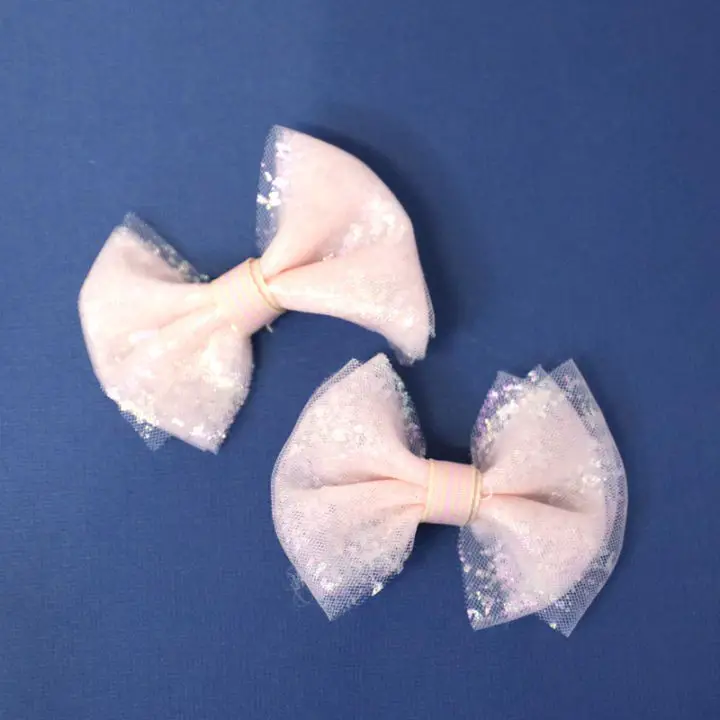
For the Second Style:
When crafting your tulle embellishments, experiment with different wrapping techniques by adjusting the thickness or fluffiness of the fabric around your template. This subtle variation can significantly impact the overall aesthetic of the bow. For an added layer of uniqueness, consider incorporating a contrasting color or material at the center of the tie to create a striking visual effect. By mastering these two fundamental methods, you’ll be able to craft bespoke bows tailored to your personal style and the occasion’s tone.
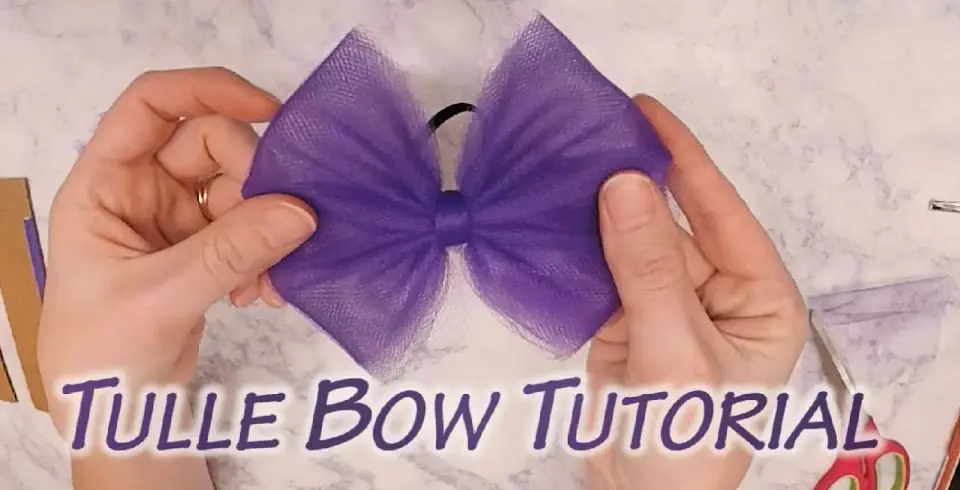
Video Tutorial
To enhance your understanding of the DIY tulle bow-making process, I recommend supplementing this written guide with a step-by-step visual tutorial on YouTube. The synergy between the two formats offers a comprehensive learning experience that is both informative and engaging. By combining the clarity of the written instructions with the precision of the video demonstration, you’ll gain a deeper appreciation for the intricacies of creating stunning tulle bows. Feel free to experiment with different colors and sizes to infuse your personal style.
Variations and Customizations for DIY Tulle Bows
While traditional DIY tulle bow-making involves adhering to a specific formula, the true essence of this craft lies in its potential for artistic expression and uniqueness. Whether you’re creating for a particular event or simply indulging in a creative outlet, there are several ways to infuse your tulle bows with personal touches and make them truly one-of-a-kind.
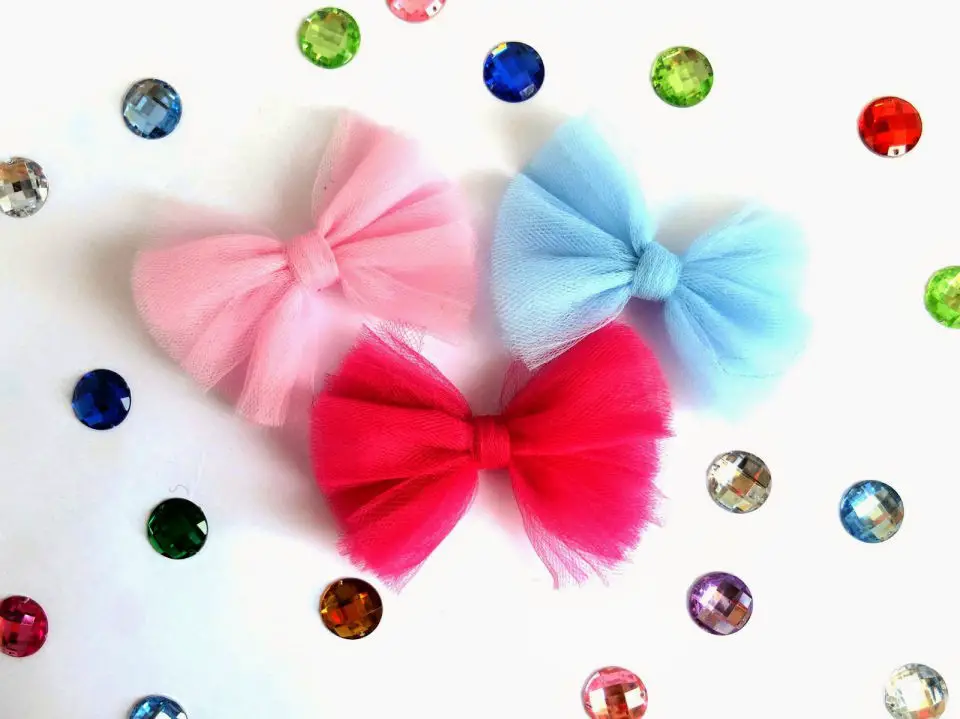
Choose Your Colors
With an array of vibrant hues to choose from, tulle offers endless possibilities for customization. To seamlessly integrate it into your event’s aesthetic, select a color that harmonizes with the theme or reflects your personal style. For added visual interest, blend two or more colors to create a unique and eye-catching effect. Moreover, layering lighter and darker shades can introduce an element of dimensionality to your design, allowing you to experiment with bold contrasts and striking combinations.
Size It Right
The versatility of bow sizes is striking. A majestic, voluminous bow can be the focal point of a gift or decorative arrangement, commanding attention and making a bold statement. Conversely, its smaller counterparts can excel as understated yet elegant additions to hairstyles or clothing, adding subtle flair without overwhelming the overall aesthetic.
Add Some Sparkle
Elevate the allure of your bows by incorporating glitter tulle or tulle infused with metallic threads. Alternatively, opt for a more understated shimmer by attaching rhinestones or sequins, allowing the subtle sparkle to add depth and visual interest.
Texture and Patterns
While uniformity may be appealing, it’s essential to recognize that not all tulle is created equal. Some varieties boast visual interest through patterns, such as polka dots or stars, which can inject a whimsical charm into your creations. Others showcase unique textures, like ruffles or embossing, which can lend an air of sophistication to your bows.
Embellish with Extras
Elevate the simplicity of a tulle bow by incorporating creative embellishments. Consider adding ribbons, buttons, beads, or artificial flowers to the central axis or outer perimeters of your design. These thoughtful additions can instantly transform your basic bow into a stunning work of art, imbuing it with unique character and visual appeal.
Tie It Differently
Venture out and explore the realm of creative knot-tying! Try your hand at crafting unique bows with varying loop counts, such as a double or multi-looped design, to add an extra layer of visual interest.
Make It Functional
When crafting bespoke tulle bows, consider adding a discreet clip or pin to the reverse side, allowing for effortless attachment to various items such as hairbands, bags, or clothing. This thoughtful touch enables users to repurpose their creations, tailoring them to suit their personal style and flair. By embracing customization, individuals can express themselves authentically, showcasing their creativity through a truly one-of-a-kind accessory.
Troubleshooting Tips for DIY Tulle Bows
When crafting DIY tulle bows, it’s not uncommon to encounter a few snags along the way. However, with a few troubleshooting tips up your sleeve, you’ll be well on your way to overcoming common challenges and creating beautiful bows. To combat slippery tulle, try securing the end of the fabric to your work surface using clear tape, ensuring it stays put as you work. For evenly sized loops, utilize a template such as a book or cardboard cutout to wrap the tulle around, providing consistent results. If your tulle isn’t holding its shape, a light application of fabric stiffener or hairspray can help, followed by a brief drying period before reshaping your bow. And don’t worry if you make a cutting mistake – you can always add an extra layer of tulle to adjust the length or repurpose the piece as the center wrap for a smaller bow. As with any new skill, practice is key, so don’t get discouraged by minor setbacks – they’re all part of the learning process.
Sustainability Note for DIY Tulle Bows
When it comes to crafting, sustainability is just as important as creativity. To reduce the environmental footprint of your DIY tulle bow project, start by choosing eco-friendly materials. Opt for tulle made from recycled or sustainably sourced fibers that are biodegradable and gentle on the planet. If you already have some old tulle lying around – perhaps from a garment or decoration that’s no longer needed – repurpose it for your bows instead of buying new. Another key consideration is minimizing waste. When cutting your tulle, take the time to plan your cuts carefully to reduce scraps. Any leftover material can be saved for smaller projects or used as stuffing for pillows, toys, or other creations. Finally, when your event has come and gone, don’t toss those beautiful tulle bows in the trash just yet. Depending on their material, they may be reusable or recyclable for future projects. By following these simple tips, you’ll not only create stunning tulle bows but also do your part to protect the planet.
Maintenance and Care for Your DIY Tulle Bows
To ensure your handcrafted tulle bows remain stunning, it’s crucial to adopt a regular maintenance routine. By following these simple steps, you’ll be able to extend the lifespan of your DIY masterpieces and keep them looking their absolute best.
Firstly, start by gently fluffing out any flattened or tangled tulle fibers. This will help restore the bow’s natural texture and prevent further matting. Next, inspect your bows for any loose threads or stray fibers that may be detracting from their overall appearance. Simply snip these away using a pair of scissors to maintain a neat and polished finish.
Another key aspect of preserving your DIY tulle bows is storing them properly when not in use. To do this, consider investing in a high-quality cloth bag or storage container specifically designed for delicate fabrics like tulle. This will help protect your creations from dust, moisture, and other environmental factors that could cause damage or discoloration over time.
By incorporating these easy-to-follow maintenance tips into your daily routine, you’ll be able to enjoy the beauty of your DIY tulle bows for years to come.
Handling Tulle Gently
When working with tulle, it’s essential to exercise caution to prevent damage to this fragile fabric. Tulle is prone to tearing or snagging, making it crucial to handle it delicately, particularly when manipulating the material to create bows or adjustments.
Storing Bows Safely
To preserve the integrity of your tulle bows when they’re not in use, it’s essential to store them properly. Opt for a cool and dry environment, as high humidity or direct sunlight can cause damage. To ensure they remain unwrinkled, avoid stacking or crushing them. Instead, consider using a soft, padded hanger to suspend the bows from above, thereby maintaining their natural shape. By following these simple storage guidelines, you’ll be able to keep your tulle accessories looking their best.
Cleaning with Caution
When encountering a dirty tulle bow, employ a gentle approach to cleaning. Dampen a cloth and use it to spot-clean any stains, being mindful not to apply too much pressure or utilize harsh chemicals that might compromise the fabric’s integrity.
Keeping Away from Heat
When working with tulle, it’s essential to be mindful of its sensitivity to heat. This delicate material has a tendency to melt or become distorted when exposed to high temperatures. To preserve the integrity of your creations, ensure that your bows are kept at a safe distance from direct sunlight, heaters, and hot surfaces.
FAQs About DIY Tulle Bows
When embarking on a DIY tulle bow project, you might encounter some uncertainties. To ensure a smoother creative process, here’s a rundown of frequently asked questions and their corresponding answers.
What type of tulle is best for making bows?
When it comes to selecting the ideal tulle for crafting stunning bows, a stiffer type tends to be the most effective choice. Options like nylon and polyester tulle are excellent options due to their ability to retain their shape well. On the other hand, if you’re aiming for a softer, more whimsical appearance, high-quality silk tulle is a wonderful alternative.
How much tulle do I need for one bow?
To craft a standard-sized bow, you’ll need a suitable amount of tulle. A general guideline is to allocate 2-3 yards for a standard bow, depending on the desired size.
Can I wash tulle bows?
For optimal care, tulle bows require a gentle touch. To clean them, immerse them in cold water mixed with a small amount of mild soap. Be cautious not to wring or twist the fabric, as this could cause damage. Instead, carefully remove excess moisture by gently pressing on it. Allow the bow to air dry completely, avoiding direct sunlight and heat sources.
How can I prevent my tulle bow from fraying?
To minimize fraying concerns, consider applying a clear barrier along the edges of the tulle using either a light coat of clear nail polish or a specialized fabric sealant engineered to prevent unraveling.
Is it possible to iron tulle bows?
When it comes to ironing tulle, it’s generally recommended against due to its potential to melt or lose its shape altogether. Instead, consider using a steamer on a low setting, keeping a safe distance from the delicate fabric to gently remove wrinkles.
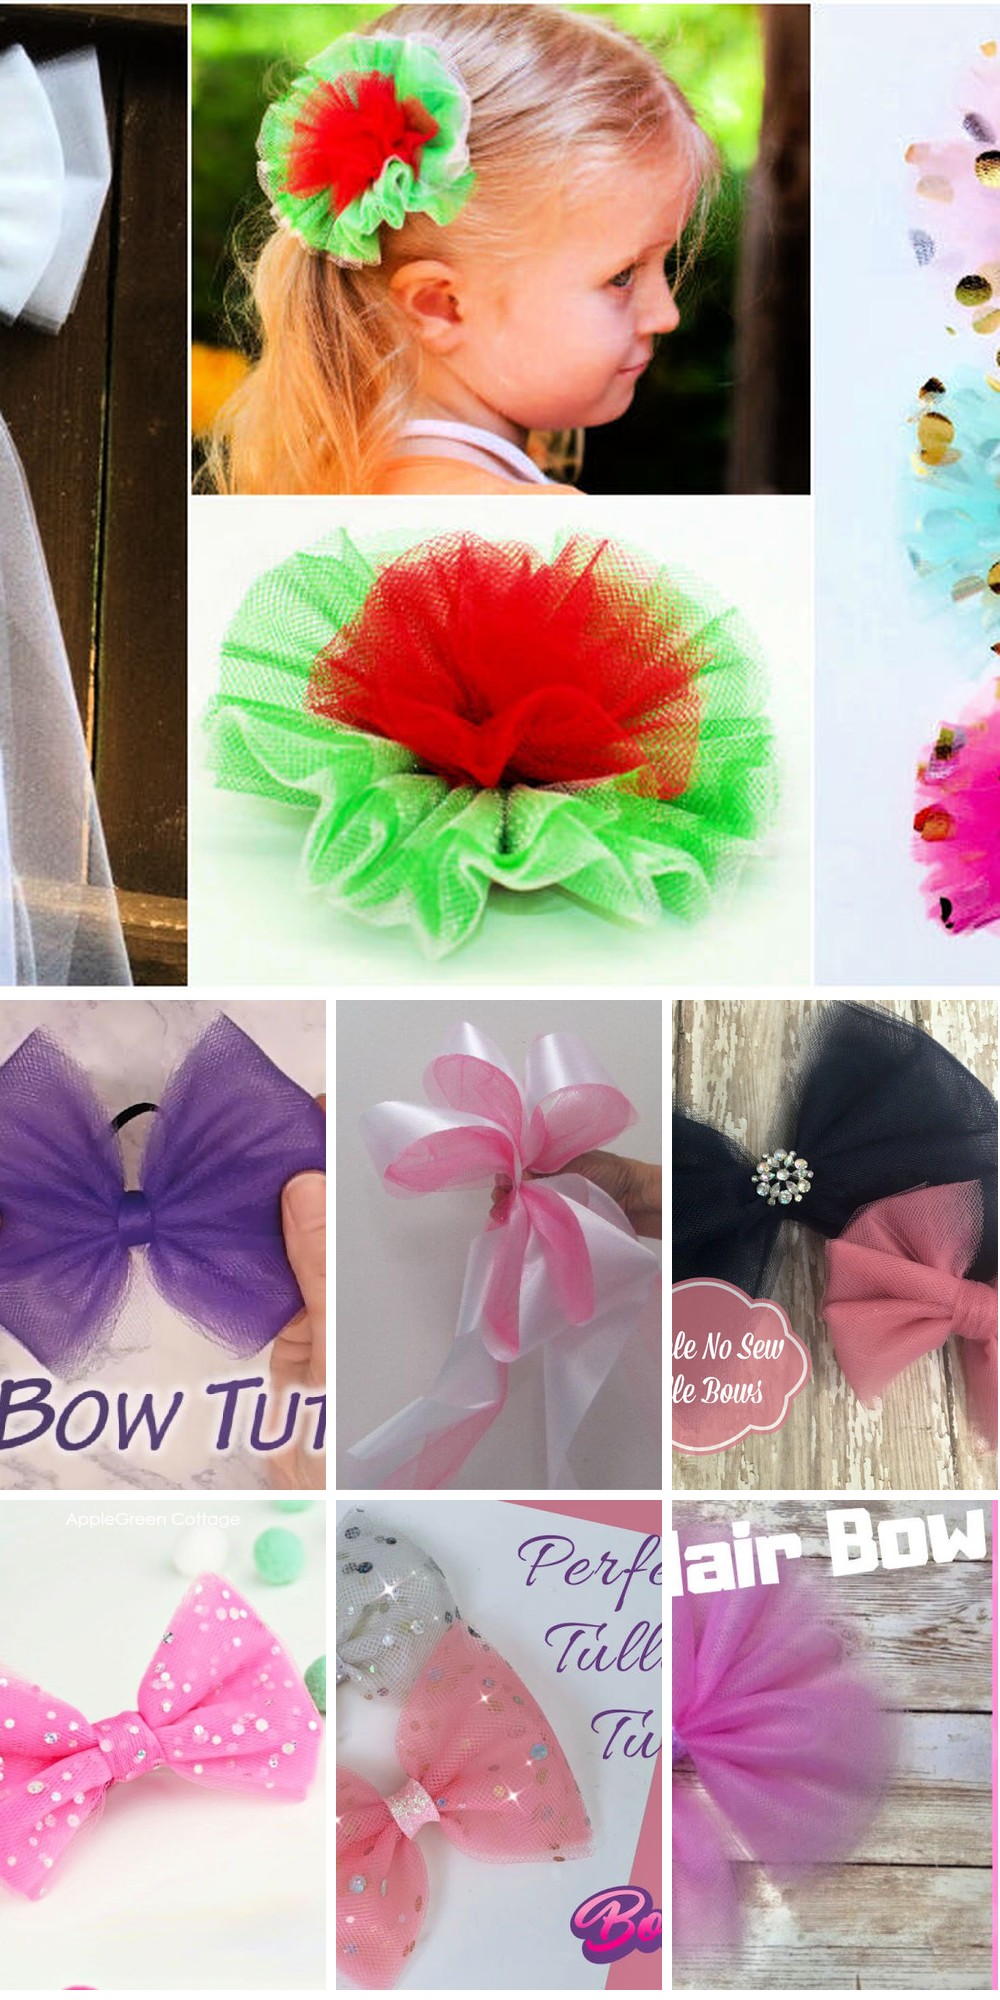
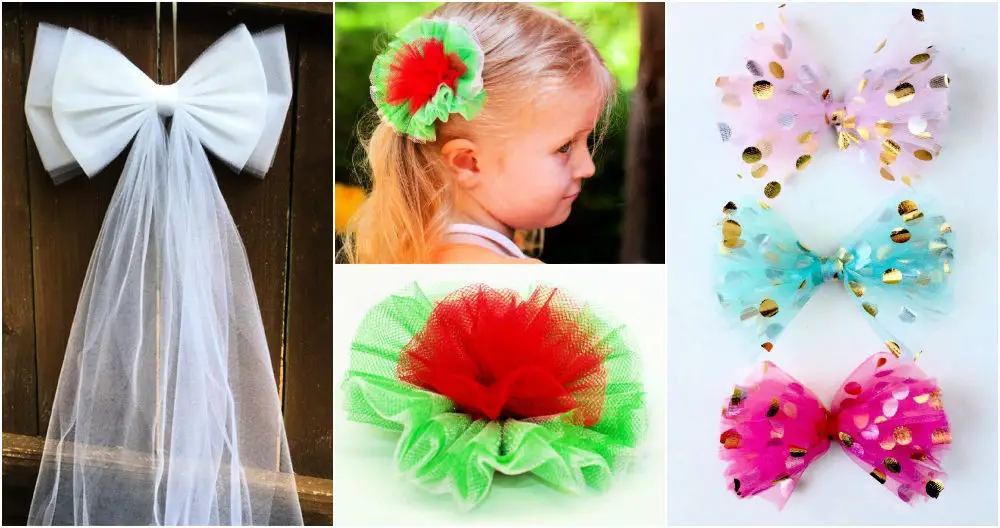
15 DIY Tulle Bow Ideas to Make Your Own Tulle Bows
Transform your celebrations with the elegance of handcrafted tulle bows. In this comprehensive guide, we’ll explore 15 creative DIY tulle bow ideas that will elevate any occasion from ordinary to extraordinary. Learn the simple techniques and methods needed to create stunning tulle bows that are uniquely yours.
How to Make a Tulle Gift Bow
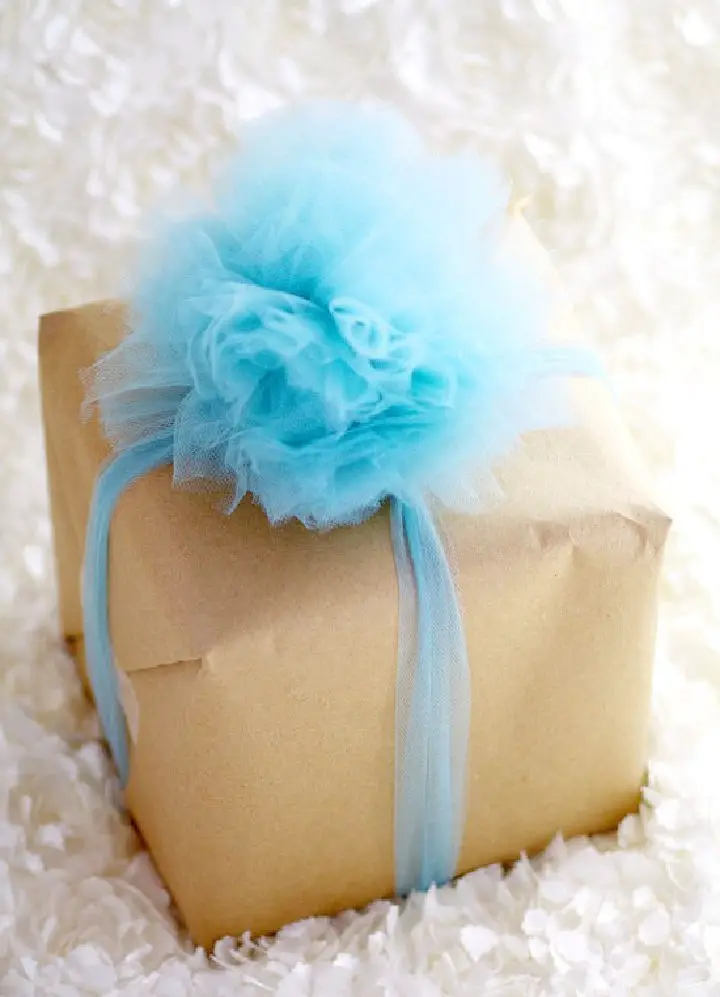
To elevate your gift-wrapping game, create a stunning DIY tulle gift bow using just six simple steps. The Gracious Wife’s comprehensive tutorial walks you through the process of crafting a sophisticated yet understated accessory that can be applied to gifts of all shapes and sizes. Unlike elaborate paper designs, this humble embellishment requires no specialized materials, making it an ideal choice for personalizing presents for any occasion. By following these straightforward instructions, you’ll add a thoughtful touch to your gifts, leaving a lasting impression on recipients.
No Sew DIY Tulle Bow
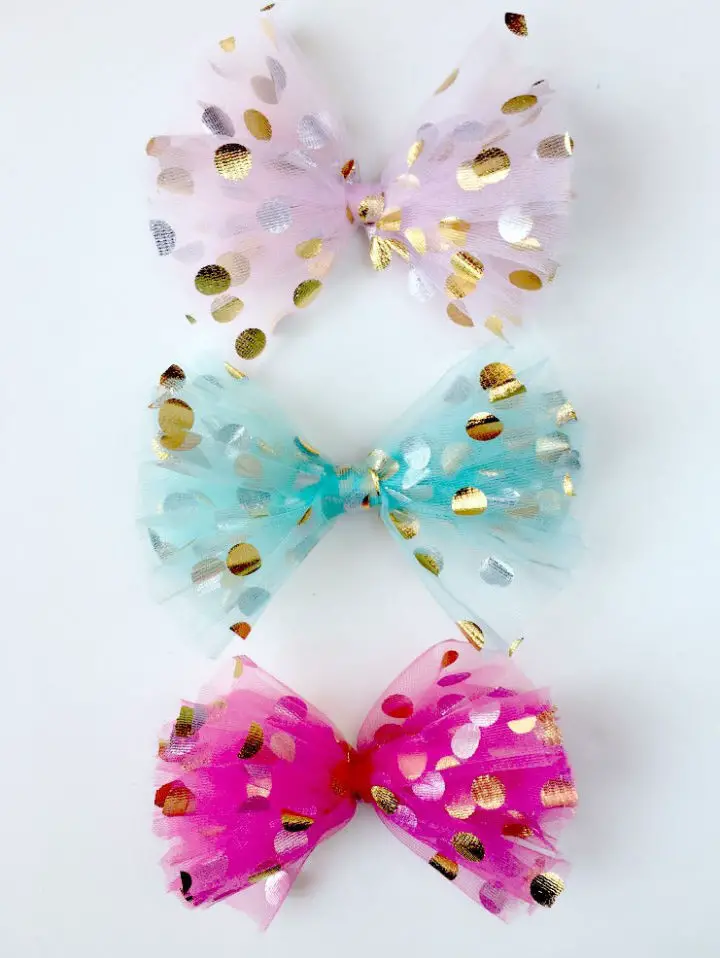
Immerse yourself in a world of creativity with Satsuma Designs’ DIY Tulle Bow Tutorial, specifically designed for those who crave adding a touch of whimsy to their gifts, outfits, or home decor. This comprehensive guide takes you by the hand, walking you through the effortless process of crafting stunning tulle bows that can be used to adorn clothing, costumes, presents, and even furniture. With crystal-clear instructions, a concise materials list, and practical tips, you’ll be well on your way to creating your own show-stopping embellishments. Elevate your craft projects by incorporating these charming tulle bows and experience the delight they bring to any occasion.
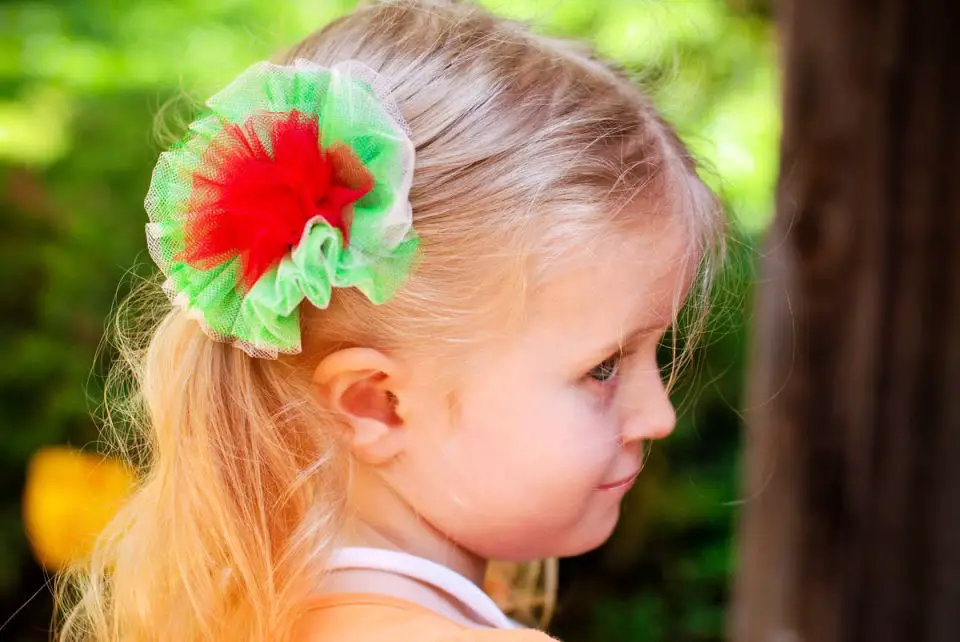
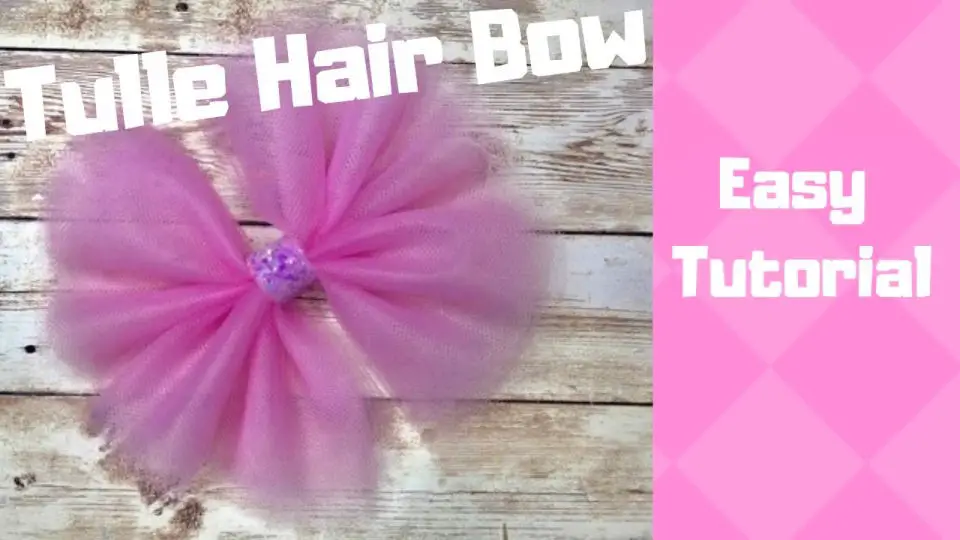
Make Your Own Tulle Hair Bow
Creating a charming tulle hair bow is an effortless way to infuse elegance into any outfit. With the guidance from The Hair Bow Company, this delightful craft is now within reach! By following seven straightforward steps, you can craft your own no-sew tulle bows that are perfect for any age and occasion. This process involves selecting a desired size, cutting the tulle, wrapping it around itself, and securing it without requiring any sewing expertise. The tutorial not only provides step-by-step instructions but also offers valuable tips on utilizing everyday household items to simplify the crafting experience. Whether you aim to add a personal touch to your hair accessories or create a thoughtful gift, this guide ensures a fun and fulfilling creative journey.
DIY Tulle Carnation Bow at Home
Mandy Beyeler’s Tulle Carnation Bow Tutorial at Sugar Bee Crafts offers a comprehensive guide for crafting enthusiasts seeking to infuse their creations with whimsy. This step-by-step tutorial, sourced from Birdsong Bows, simplifies the process of crafting a charming tulle carnation bow. The required materials are readily available at local craft stores, including tulle, thread, a needle, and a few other basic supplies. With Mandy’s clear and engaging instructions, even beginners can navigate the hand-sewing process with ease, emphasizing precision and patience when handling the delicate tulle. The result is a beautifully crafted carnation bow that can be proudly worn or gifted, adding a personal touch to any outfit or occasion.
How to Make Your Own Tulle Bow
If you’re looking to add a touch of personal style to your tutu, Stitch11’s tutorial on creating and attaching a charming tulle bow is a must-read. The step-by-step guide takes you through the process with ease, from forming the initial loop to securing the bow in place. This clear instruction ensures that you can achieve a beautifully tied bow that adds elegance to your tutu. Perfect for craft enthusiasts who enjoy DIY projects and want to add unique details to their handmade garments, this tutorial is a great way to get creative and enjoy the satisfaction of crafting something special.
DIY Tulle Hair Bow – Step by Step Instructions
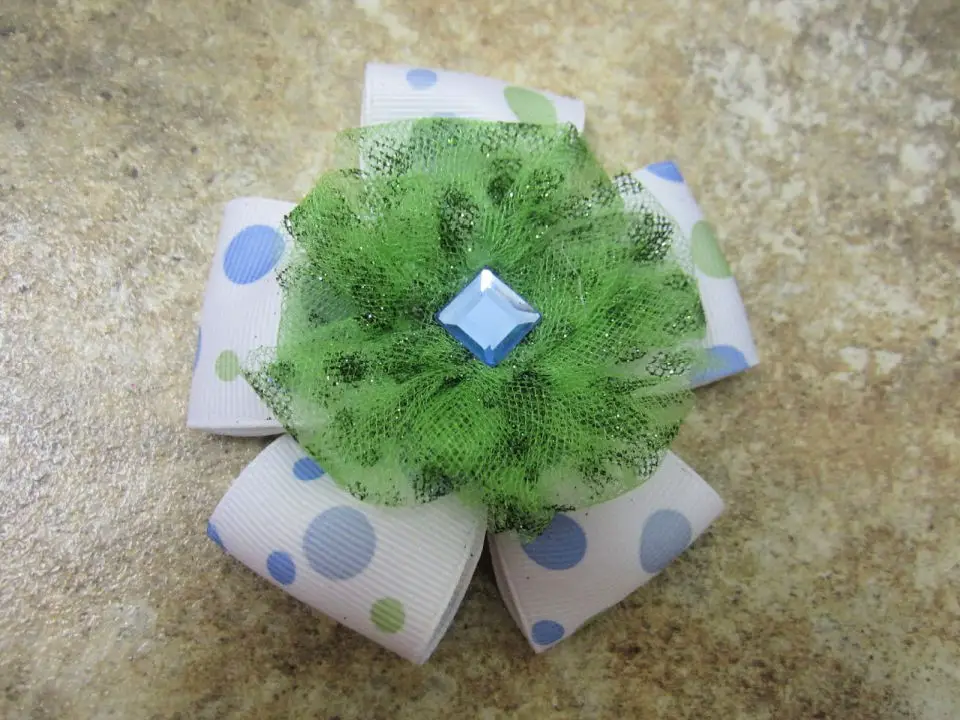
Transform your school season with a dash of creativity by crafting delightful tulle hair bows for your little one. This comprehensive guide takes you through the process of creating charming accessories that not only add a personal touch to your daughter’s school outfits but also ignite your own imagination. You’ll discover step-by-step instructions on selecting ribbons that harmonize with your child’s wardrobe, expertly cutting and sealing edges to prevent fraying, folding, and gluing for stability, as well as sewing to shape the bow’s silhouette. To add an extra layer of flair, learn how to incorporate various colors and designs of tulle, finishing touches like adding gems, and master the art of attaching the bow securely to a hair barrette. This engaging tutorial makes it effortless and enjoyable to create unique hairpieces that mirror your child’s distinct personality. Whether for gifts or as a fun project, this guide empowers you to fashion hair bows that are as one-of-a-kind as your child.
Make a Tulle Bow for Gift Wrapping
Mastering the art of creating tulle bows can be a game-changer for anyone looking to add a personal touch to gifts or elevate their craft projects. With just a spool of 6-inch wide tulle and a pair of scissors, you can create an eye-catching adornment that’s sure to impress. The process involves folding the tulle into layers and tying them together to form a fluffy, voluminous bow. The unique texture of the tulle allows for easy manipulation, ensuring that your bow retains its shape and charm. This skill is particularly valuable for those who appreciate the finer details in craft or are keen on giving their gifts a unique and handcrafted feel. By following these straightforward and easy-to-understand instructions, you’ll be able to add this versatile technique to your crafting repertoire.
DIY Satin and Tulle Pew Bow
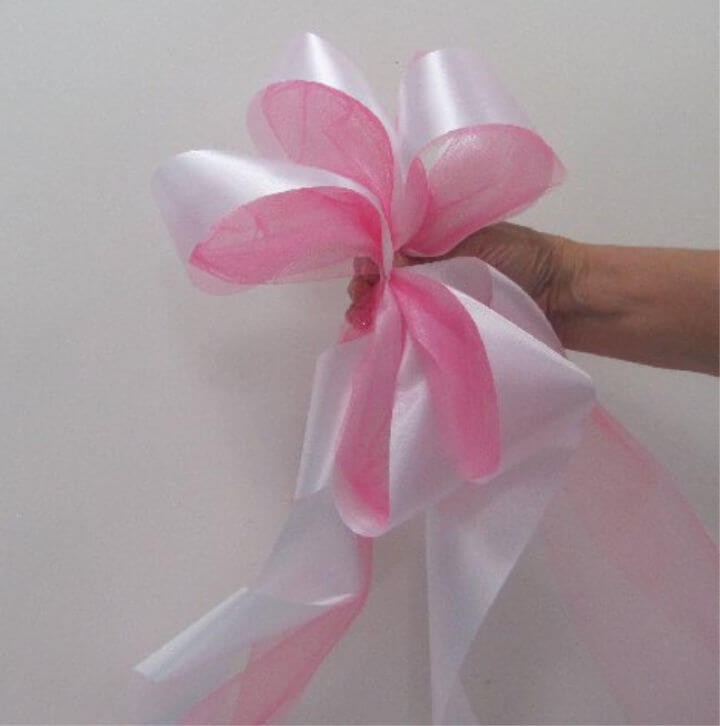
Elevate your wedding decor with the addition of satin and tulle pew bows, bringing a touch of elegance and personalization to any ceremony space. Our comprehensive guides on Wedding Flowers provide step-by-step instructions for crafting stunning bows that can be used to enhance the charm of your event’s decorations. In addition to creating beautiful bridal bouquets, wedding corsages, groom’s boutonnieres, reception centerpieces, and church decorations, our tutorials offer valuable insights into buying wholesale flowers and discount florist supplies, helping you stay within budget while still achieving professional-looking results. With a little creativity and patience, you can create a truly customized celebration that reflects your unique style.
Easy and Quick DIY Tulle Bow
Discover the joy of creating beautiful tulle bows with AppleGreen Cottage’s comprehensive guide. This user-friendly tutorial eliminates the need for precise measuring, templates, or sewing, making it accessible to craft enthusiasts of all levels. In under five minutes, you can produce stunning tulle bows perfect for adorning hair accessories, gift packages, or festive decorations. The step-by-step process is enhanced by a helpful video and crystal-clear photos, guaranteeing an enjoyable and successful crafting experience. Whether you’re preparing for a party or seeking to add a touch of handmade charm to your accessories, this quick and charming project is sure to delight.
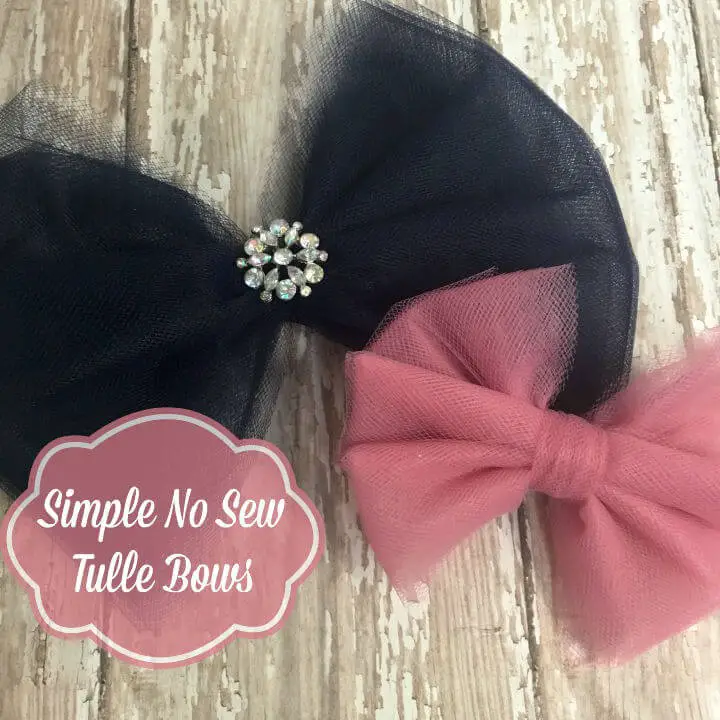
Tulle Bow With Detailed Instructions
To create stunning tulle bows, follow this comprehensive tutorial by The DIY Fox. Perfect for adding a touch of sophistication to hair accessories, brooches, or headbands, this step-by-step guide requires just a few simple materials: tulle fabric, a coffee mug mat, scissors, matching thread and needle, and a pin. By wrapping the tulle around the pin, stitching it in place with your needle and thread, and trimming the excess material, you’ll craft a gorgeous, fluffy bow that can be used to elevate outfits or add a special touch to gifts and decorations.
How to Do You Make Tulle Bow
Add a touch of whimsy to any outfit with a handmade tulle bow, perfect for crafters of all levels. This step-by-step guide will show you how to create your own charming accessory for spring or a lovely addition to a baby gift. With a focus on selecting the right materials and mastering the simple process of cinching and securing your bow, you’ll be creating durable and beautiful results in no time. Whether you’re looking to adorn hair clips, headbands, or gift packages, tulle bows offer endless opportunities for personalization with various colors and embellishments. Get ready to craft something truly special and practical.
Handmade Tulle Bow Tutorial
Discover the art of creating stunning tulle bows with Meadowlark Monograms’ comprehensive YouTube tutorial. With just a few simple materials – tulle, cardboard, and scissors – anyone can master this elegant craft, regardless of their skill level. Perfect for adding a touch of sophistication to gifts, hair accessories, or home decor, these beautifully crafted bows are sure to impress. The tutorial is designed to be engaging and easy to follow, making it accessible to crafters of all levels. For those looking to take their creativity to the next level, our collection of related videos offers inspiration for a variety of projects, from unique bow styles to show-stopping tutus. Join us and add a playful charm to your next project with a handmade tulle bow.
Large DIY Tulle Hair Bow
Transform your hairstyles with a stunning DIY tulle hair bow project from Enchanted Sparkle Crafts’ informative YouTube tutorial. With a few basic materials like tulle, card, glue, glitter, and a clip, you can create a whimsical accessory that adds a touch of magic to any outfit. The step-by-step guide is perfect for crafty individuals, offering clear instructions that are easy to follow. As you master the art of crafting large, eye-catching bows, you’ll discover endless possibilities for unique gifts, special occasion accessories, or everyday style enhancements. Visit the YouTube page for the full video and start your creative journey today.
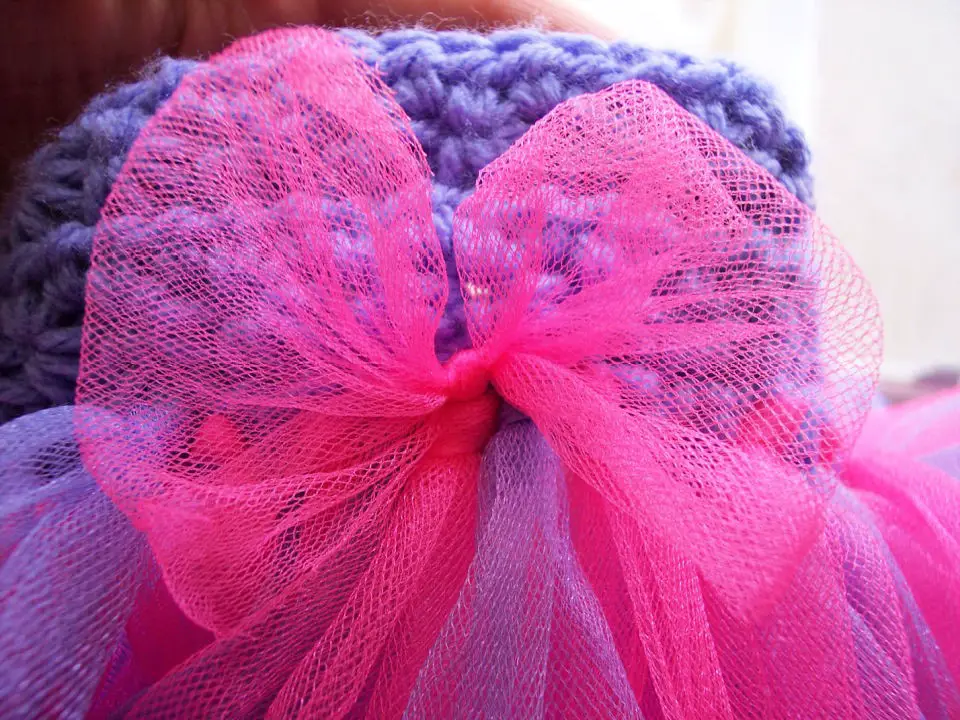
Homemade Pinch Tulle Hair Bow
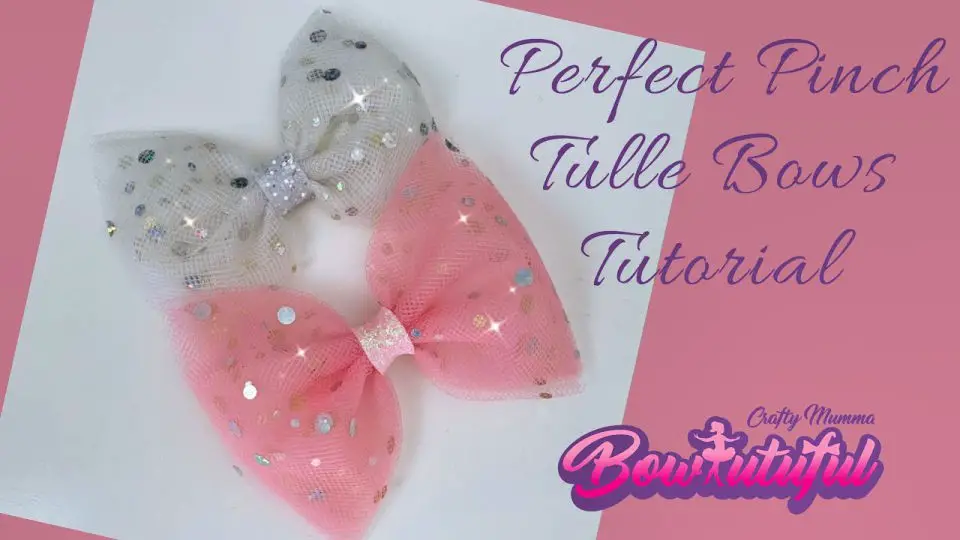
Transform your hairstyles with the enchanting charm of handmade tulle hair bows. By following Crafty Mumma’s comprehensive DIY guide on YouTube, you can master the art of creating ‘Perfect Pinch’ tulle hair bows that exude sophistication and playfulness. This meticulous tutorial takes you through each step, from precisely measuring and cutting the tulle to meticulously sewing or pinching it into a bow shape and securing it with a clip, making it perfect for crafty enthusiasts who delight in crafting their own accessories.
Making Two Styles Tulle Bow
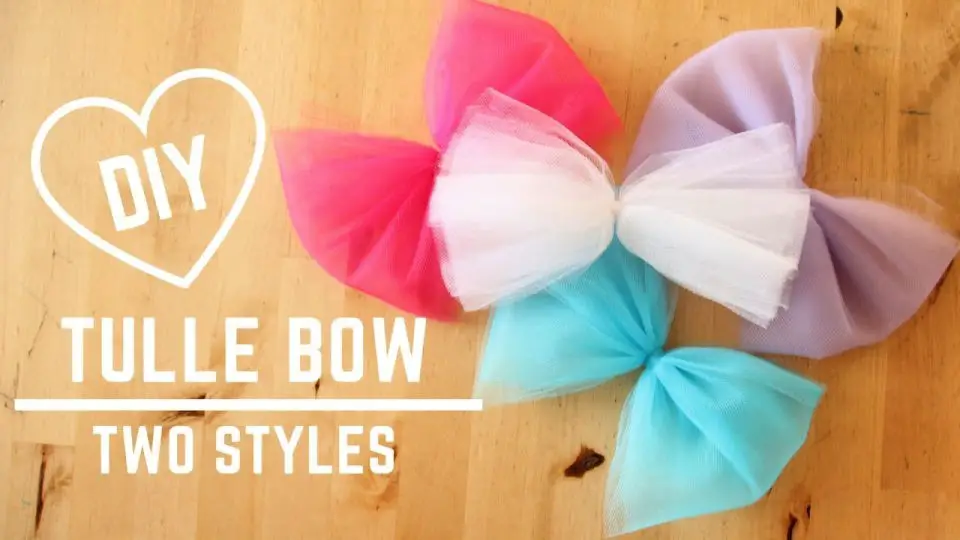
Master the art of crafting elegant tulle bows in two distinct styles using this DIY tutorial. Whether you’re looking to add a personal touch to hair accessories, dress accents, or enhance party decor, this step-by-step guide provides everything you need to get started. With just a few simple tools like tulle, thread, and scissors, along with a hot glue gun for finishing touches, you’ll be able to produce beautiful bows in various sizes and for any occasion. And thanks to the comprehensive visual walkthrough on YouTube, you can learn at your own pace, gaining confidence and creative flair as you assemble and customize your very own tulle bows.
Frequently Asked Questions
Discover the art of crafting a stunning DIY tulle bow through this in-depth guide. Not only will you learn the fundamental steps involved in creating this beautiful adornment, but also gain valuable insights on how to customize it to suit your personal style. Whether you’re looking to add a touch of elegance to a wedding bouquet or create a whimsical accent for a party decoration, mastering the art of DIY tulle bow-making is an essential skill. By following the step-by-step instructions and practical tips outlined in this guide, you’ll be well on your way to creating a truly unique and show-stopping piece that’s sure to impress.
How do you make a wedding tulle bow?
To create a stunning wedding tulle bow, begin by cutting four pieces of tulle into desired lengths – two longer strips for the loops and two shorter strips for the tails. Next, tie a central knot on each pair of strips to form the foundation of your bow. Then, wrap an additional knot around these initial knots to give shape to the loops. Secure each loop with a small knot before moving on to attach the remaining tails by tying a final knot. Once complete, use scissors to tidy up any stray threads and then fluff out your masterpiece for a perfectly polished finish.
How do you tie a decorative bow with tulle?
To create a stunning decorative bow using tulle, begin by preparing two long strips of this sheer fabric. The first step is to tie the two pieces together at their midpoints, forming a central knot. Next, take one end of each strip and wrap it around the other in an ‘X’ shape. Gently pull the loops tight to create a balanced appearance. For added drama, you can fluff or fan out the loops to create a lush, textured effect. To secure your bow, use a safety pin to fasten the ends together, or apply a small amount of adhesive with a glue gun. Voila! You now possess a gorgeous tulle bow that’s sure to add a touch of elegance to any setting.
How many yards of tulle Do I need to make a bow?
The amount of tulle required for a bow is directly linked to its size. For instance, a 6-inch wide bow typically necessitates around 10-15 yards of tulle. Larger bows, however, may demand as much as 20 yards or more, depending on the desired size and design. To be safe, it’s always best to purchase extra tulle, just in case you need it for your project.
How do you make a puffy bow?
To create a charming puffy bow, follow these simple steps: Begin by cutting two long strips of ribbon and an additional shorter piece. First, tie the shorter strip around the center of the longer strips, forming a looped knot that serves as the foundation for your bow. Next, use your fingers to gently pinch and separate each side of the ribbon into two distinct loops. Secure these loops with a dab of glue if desired to ensure they stay in place. Finally, fluff out the bow to give it its signature puffy appearance and tie a knot at the back to keep everything tidy. Voila! You now have a delightful puffy bow that’s ready to adorn your outfit or gift.
How do you make a tulle bow for a beginner?
To craft a stunning tulle bow, start by cutting four lengths of tulle fabric to your desired size. Next, gather the edges together at one end and create a secure knot or loop. Hold the middle in place with an elastic band, allowing you to shape the loops on either side. Once you’re satisfied with the arrangement, use a ribbon to tie everything together, resulting in a beautiful and elegant bow.
How do you tie a bow with tulle ribbon?
To create an exquisite finishing touch on gifts or decorations, look no further than the versatile tulle ribbon. The art of tying a bow with this delicate material begins by forming two loops by looping the ribbon around your fingers twice and pulling it tight in the middle to create a secure foundation. Next, cross one loop over the other, twisting it once before securing it with a knot. Finally, gently fluff the loops to achieve a neat and elegant finish.
How do you wrap a bow with tulle as a gift?
To create a beautiful tulle bow for your gift-wrapping project, begin by cutting the desired length of tulle fabric and folding it in half. Next, place the center of the folded tulle around the gift box, securing it with a gentle tie. From this point, manipulate both ends of the tulle to form an ‘X’ shape by twisting each end independently. Finally, tighten the ‘X’ by pulling gently on each side, and secure the bow in place using ribbon. With these simple steps, you’ll be able to craft stunning tulle bows that add a touch of elegance to your gifts.
How do you put tulle on a bow?
To add a touch of elegance to your bows, start by cutting the tulle into strips of uniform length. Next, gather these strips together and secure them at one end with a knot. Then, wrap the tulle around the center of your bow in a series of loops until you reach the opposite end. Finish off the look by securing the ends with another knot and trimming away any excess material. Finally, gently fluff out the tulle to achieve the perfect texture. With these simple steps, you’ll be able to create beautifully embellished bows that add a touch of whimsy to your projects.
How do you make a tulle pew bow?
To craft a stunning tulle pew bow, begin by determining its desired size. Cut multiple strips of fabric to this length and width. Next, fold each strip in half and secure them together at the midpoint using a piece of fishing line or ribbon. To maintain the bow’s shape as you assemble it, tie both ends around a sturdy stick or dowel rod. Finally, wrap the central area with a ribbon, and your elegant tulle pew bow is ready to adorn any setting.
How do you tie a fancy tulle bow?
To craft a stunning tulle fancy bow, begin by forming a loop with the material and securing it in the middle with a gentle tie. Next, create a second loop and cross it over the initial one, tying them together once more at the midpoint. Take each of the resulting four ends and draw them towards the center, where you’ll form another knot to keep everything in place. Finally, give your bow a gentle fluffing to achieve the desired shape and voila! Your lovely creation is complete.
Conclusion:
As we conclude our comprehensive guide on 15 DIY tulle bow ideas, it’s evident that creating exquisite tulle bows is remarkably accessible, yet packed with endless opportunities for personalization and innovation. From selecting bold hues and incorporating subtle sparkles to exploring diverse sizes and textures, these DIY endeavors empower you to imbue your creations with a unique flair. With step-by-step instructions, trouble-shooting guidance, and meticulous care advice, you’re now well-prepared to craft breathtaking tulle bows that can effortlessly elevate any outfit, gift, or decorative setting, leaving the possibilities virtually limitless.