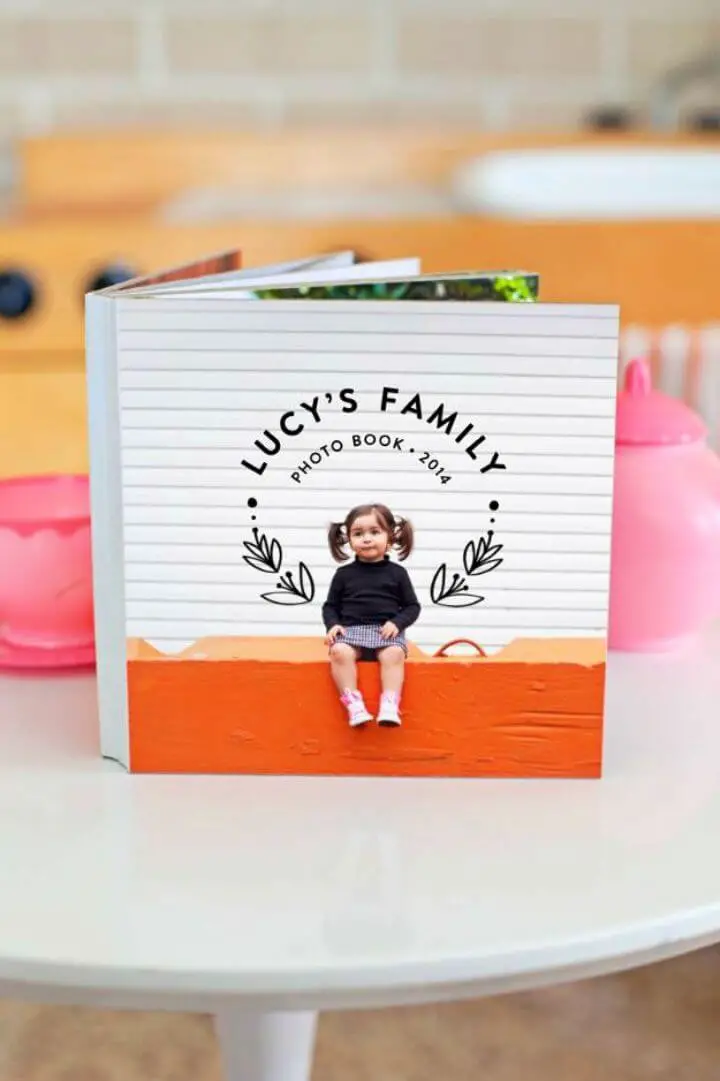
Creating a DIY photo album is a thoughtful way to safeguard and display your treasured memories. Unlike mass-produced options, these handmade albums boast a unique charm that reflects your personality. This comprehensive guide presents 25 innovative ideas for crafting one-of-a-kind photo albums that do justice to your cherished moments. From selecting the ideal materials to arranging your photos with precision, each step is designed to make your album a true reflection of you. To bring your vision to life, we provide a detailed, easy-to-follow tutorial on creating a photo album from scratch. Whether you’re a newcomer or seeking to revamp your photography habits, our expert tips on customization and creative layouts ensure your project turns out exceptional. As you progress, you’ll discover strategies for seamlessly integrating technology and preserving your album, guaranteeing the longevity of your memories.
Personalization Tips for Your DIY Photo Album
When crafting a DIY photo album, it’s essential to infuse it with personal touches and creative flair. To achieve this, start by selecting a theme that resonates with you, whether it’s based on a specific event or period in your life. This will provide a clear focus for your album and give you direction as you curate the contents.As you plan out your album, consider the colors that will best complement your photos and theme. A thoughtful color palette can evoke emotions and create a cohesive look. For instance, soft pastels can convey a sense of nostalgia, while bold hues can add energy and vibrancy to your album.To add texture and visual interest, incorporate decorative elements such as stickers, washi tape, or patterned paper. Just be mindful not to overpower the photos themselves. You can also use captions and quotes to provide context and give voice to your memories. Keep the text concise and relevant to the accompanying photo.For added visual appeal, experiment with different photo sizes. Larger images can serve as focal points, while smaller ones can be used to create collages or add depth to your spreads. Don’t forget to include interactive elements like pockets, envelopes, or fold-outs that can hold additional mementos and stories.Ultimately, the goal is to tell a story through your photos. Arrange them in a way that flows logically and takes the viewer on a journey through your memories. Consider grouping related images together and leaving space for journaling or notes to share your thoughts and feelings about the moments you’re capturing.By following these tips, you’ll create a photo album that not only preserves your memories but also serves as a meaningful keepsake that reflects your personality and creative vision.
How to Make a Photo Album – Step by Step Guide
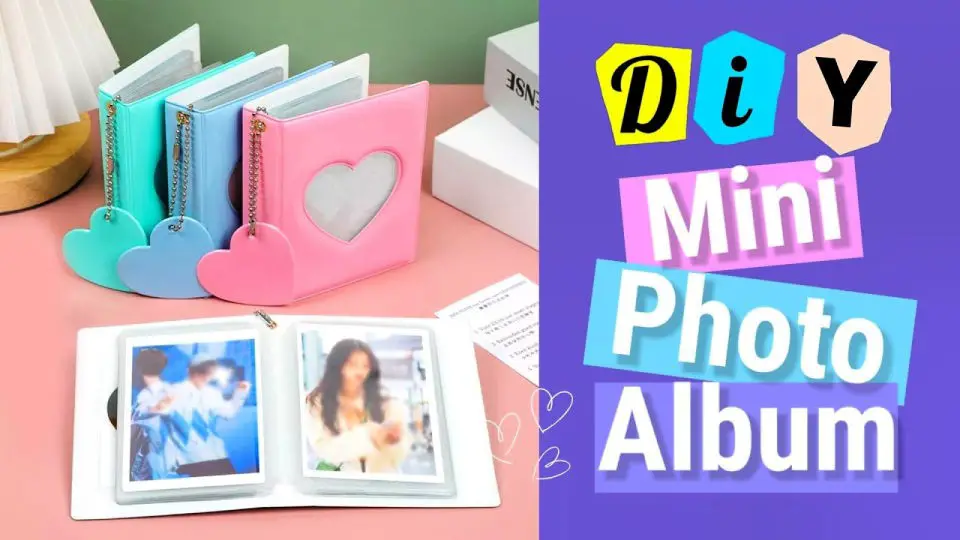
Crafting a mini photo album is an excellent way to preserve your most treasured memories. This straightforward process requires minimal materials and only a few hours of your time, making it perfect for both beginners and those seeking a quick creative outlet. With clarity and helpfulness in mind, this guide aims to empower you with the skills necessary to create your own personalized photo album from the comfort of your own home.
What You’ll Need:
To create a beautiful and unique scrapbook, you’ll need some essential materials. These include photos, which should be printed in small sizes to conserve space and maintain a cohesive look. You’ll also require a string or ribbon to add a decorative touch to your pages. For the album cover, use cardstock or any thick paper that can withstand handling without bending or warping. A hole punch will come in handy for attaching photos and other memorabilia to the pages. Finally, don’t forget a pair of scissors to trim any excess photo edges or cut out shapes from the cardstock.
Make a Photo Book Step-by-Step Guide
Create a captivating photo book by following these straightforward steps:
Firstly, gather your cherished moments by selecting the photos you want to feature in your album. Cut a piece of cardstock slightly larger than your photos to serve as the cover.
Next, organize your photos into a coherent narrative or categorize them according to event, time, or theme. This step enables you to visualize your mini album before its completion.
Attach each photo to the corresponding page using glue or tape, ensuring they are securely fastened. You can leave a small border around each photo to create a framed effect if desired.
Once your photos are in place, punch two holes along one edge of the cardstock, spacing them evenly for smooth turning of the album’s pages.
To bind your album, thread a length of string or ribbon through the holes and secure it with a bow. This not only keeps your album intact but also adds a decorative touch.
Finally, feel free to add personal touches to your mini photo album by writing captions under each photo, decorating the cover, or attaching stickers and embellishments.
Video Tutorial
To further enhance your crafting experience, I highly recommend checking out Tushu art & craft’s step-by-step video tutorial on making a mini photo album at home. The visual guide beautifully complements this written guide, providing an intuitive and easy-to-follow demonstration of the techniques involved. In just a few minutes, you can craft a personalized keepsake that showcases your love for memories and creativity, effortlessly transforming your favorite moments into treasured possessions.
Creative Layouts for Your DIY Photo Album
Crafting the visual narrative of your DIY photo album is akin to weaving a tapestry of memories. The strategic arrangement of images can elicit emotions, transport you back in time, and evoke a sense of nostalgia. With this in mind, consider these layout ideas to create an engaging and well-organized album that brings your treasured moments to life.
The Chronological Layout
Chronologically organize your memories by arranging your photos in the order they occurred. This narrative-driven approach is ideal for storytelling albums that capture a specific moment in time, such as a special occasion like a wedding or a memorable getaway. By presenting events in the sequence they unfolded, you’re creating a visual timeline that immerses viewers in the experience.
The Thematic Layout
To streamline your photo organization, consider grouping them by overarching themes. Think of distinct categories like family, friendships, travel, and hobbies. This approach proves particularly effective when dealing with a diverse collection of photos taken over an extended period. By doing so, you’ll be able to effortlessly locate specific memories within the context of their respective themes.
The Candid and Posed Layout
To create a visually appealing photo album, consider combining candid and posed photographs. Candid shots often capture genuine, unscripted moments, whereas posed photos allow for more creative control and artistic expression. By blending these two styles, you can introduce a sense of variety and surprise to your album, making it more engaging and memorable.
The Color-Coded Layout
When it comes to organizing group photos, one creative approach is to categorize them by the dominant colors that appear in each image. This technique not only adds visual appeal but also allows you to showcase the diverse emotions and atmospheres captured in each memory. By grouping photos together based on their color palette, you can create a unique and engaging visual narrative that tells a story of its own.
The Seasonal Layout
When crafting an album that spans an entire year, consider segmenting it into distinct sections aligned with the changing seasons. This narrative approach can effectively convey the passage of time and the corresponding transformations that occur throughout the year.
The Event Highlight Layout
Major events in the narrative should be given dedicated pages, allowing for a more expansive exploration of their significance within the story. By doing so, you’re drawing attention to the pivotal moments that have shaped the characters and plot, making them feel even more crucial to the overall arc. This approach also provides an opportunity to delve deeper into the emotional resonance of these events, creating a richer reading experience for your audience.
The Landscape and Portrait Layout
To visually engage your audience, incorporate a mix of landscape and portrait orientations in your design. This will not only add visual interest but also create opportunities for layering smaller images over larger ones, effectively creating depth and dimension.
The Negative Space Layout
When designing a visually appealing album, it’s crucial not to overcrowd the space with too many images. Instead, strategically incorporate negative space, also known as white space or empty space, around your photographs. This thoughtful approach helps prevent the album from feeling cluttered and chaotic, allowing each photo to take center stage. By leaving some breathing room between images, you create a more harmonious and balanced visual experience that guides the viewer’s attention to the intended focal point – the captivating photograph itself.
The Interactive Layout
To elevate the viewer experience, incorporate interactive elements such as envelopes or tags within your photo album. These tactile additions can contain supplementary photos or insightful information, effectively transforming your album into an immersive storytelling medium. By thoughtfully incorporating these layout options, you’ll create a visually appealing and engaging visual narrative that not only organizes your memories but also brings them to life in a captivating way.
Tech Integration in Your DIY Photo Album
Take your DIY photo album to the next level by fusing traditional storytelling with cutting-edge technology. By incorporating innovative features, you can create an immersive experience that brings your cherished memories to life. Here’s how: You can add a personal touch by including QR codes that link to video messages or home movies. Imagine being able to share a funny story about a photo just by scanning the code. For a more comprehensive view of a moment, combine physical photos with digital elements by creating a section where viewers can scan a code to access a digital photo gallery.Augmented reality apps allow you to turn your album into an interactive experience. Simply scan a photo and watch as it transforms into a video right on the page. This adds a whole new dimension to storytelling. Don’t forget to make a digital backup of your album online. Not only does this preserve your memories, but it also enables you to share them with loved ones around the world. You can even record and link sound clips that relate to your photos, such as music from a concert or laughter from a family gathering.If your album features travel photos, consider integrating interactive maps that show the locations where the photos were taken. Viewers can explore these places virtually. Finally, if you’ve shared moments on social media, include a section in your album that features these posts. You can print them out or provide links to them online. By incorporating these technological elements, your DIY photo album will become more than just a collection of photos – it’ll be an engaging multimedia experience that lets you and others interact with your memories in a dynamic way.
Preservation Techniques for Your DIY Photo Album
To ensure the longevity of your DIY photo album, it’s crucial to implement effective preservation techniques that protect your memories for years to come. By following these methods, you’ll be able to safeguard your photos and album from damage, ensuring they remain a treasured collection of moments.Start by selecting acid-free materials for your album, including paper, adhesives, and other supplies. Acidic substances can cause photographs to deteriorate over time, so opting for acid-free products is essential. Additionally, when printing photos at home, use archival-quality ink that’s designed to resist fading.To prevent damage from light exposure, store your album in a place where it’s not directly exposed to sunlight or UV rays. Consider using UV-protective sleeves or glass when displaying photos. Moreover, maintain a stable climate for your album by keeping it in a cool, dry environment with consistent temperature and humidity levels.When handling your photos and album, be mindful of your touch. Always handle them with clean hands, or even better, use cotton gloves to prevent oils and dirt from transferring to the photos. Furthermore, avoid overstuffing your album, as too many pages or photos can cause stress on the binding and lead to damage.Regularly inspect your album for signs of wear or damage. Catching issues early can prevent further deterioration. It’s also essential to make digital backups of your photos, providing an additional layer of security in case something happens to your physical album.
FAQs and Troubleshooting for Your DIY Photo Album
For many, creating a DIY photo album can be a fulfilling endeavor. However, it’s not uncommon to run into a few challenges or uncertainties throughout the process. To help you navigate these potential hurdles and enjoy a seamless album-making experience, we’ve put together a comprehensive guide that addresses common questions and issues.
Q: What type of paper is best for printing photos at home?
When it comes to printing at home, selecting the right paper can make all the difference in terms of print quality and longevity. For this purpose, opt for acid-free matte or glossy photo paper that is specifically designed for printing. This type of paper is formulated to produce high-quality prints that will remain vibrant and durable over time.
Q: How can I fix a photo that is sticking to the plastic sleeve?
When attempting to remove a stuck photograph, start by slowly threading a length of dental floss between the image and its surrounding sleeve, exercising caution to avoid applying excessive force that could potentially cause harm to either the photo or the sleeve.
Q: My album pages are warping. What can I do?
When it comes to preserving your vinyl collection, it’s essential to address one common issue that can warp records: humidity. To mitigate this problem, store your albums in an environment with controlled temperature and humidity levels. This could mean keeping them away from direct sunlight or high-humidity areas like bathrooms or kitchens. Additionally, consider investing in a dehumidifier specifically designed for music rooms or storage spaces to maintain a stable climate that won’t compromise the integrity of your records.
Q: The colors in my printed photos look different from my screen. Why?
When it comes to ensuring accurate color representation, understanding how screens and printers process colors is crucial. To achieve color consistency, start by calibrating both your monitor and printer. This will help eliminate any discrepancies that may arise from their unique approaches to handling colors. Additionally, make sure to use the correct color profile for your specific printer, as this will also impact the final output.
Q: How can I safely remove a photo that’s been glued down?
To effectively remove photos from sticky surfaces, start by applying a small quantity of un-ducalled Sticker, Tape, and Label Remover using a cotton swab. This solution will briefly counteract the adhesive properties of the surface, enabling you to carefully lift the photo without causing any damage or tearing.
Q: Can I use regular glue for my photo album?
When it comes to preserving your precious memories, it’s essential to exercise caution when using adhesives. Regular glue, in particular, can pose a threat due to the presence of acids that may harm your photos. Instead, opt for safer alternatives like photo corners, double-sided tape, or specialized glue sticks designed specifically for scrapbooking purposes.
Q: How do I choose the right album size?
When it comes to organizing your digital photo collection, a crucial consideration is the size and display strategy for each image. For maximum versatility, opt for standard dimensions such as 8×8 inches, 12×12 inches, or A4 format, which are widely accessible and can be easily shared or printed.
Q: What’s the best way to label my photos?
When it comes time to add captions or notes to the back of your photos, use a high-quality acid-free pen designed specifically for photo-safe writing. Be gentle when applying pressure to avoid inadvertently creating unwanted indentations on the front side of the image. By following these guidelines and keeping them in mind as you create your DIY photo album, you’ll be better equipped to overcome any obstacles that may arise during the process. As with any project, patience and a delicate touch are essential for ensuring the longevity and preservation of your cherished memories.
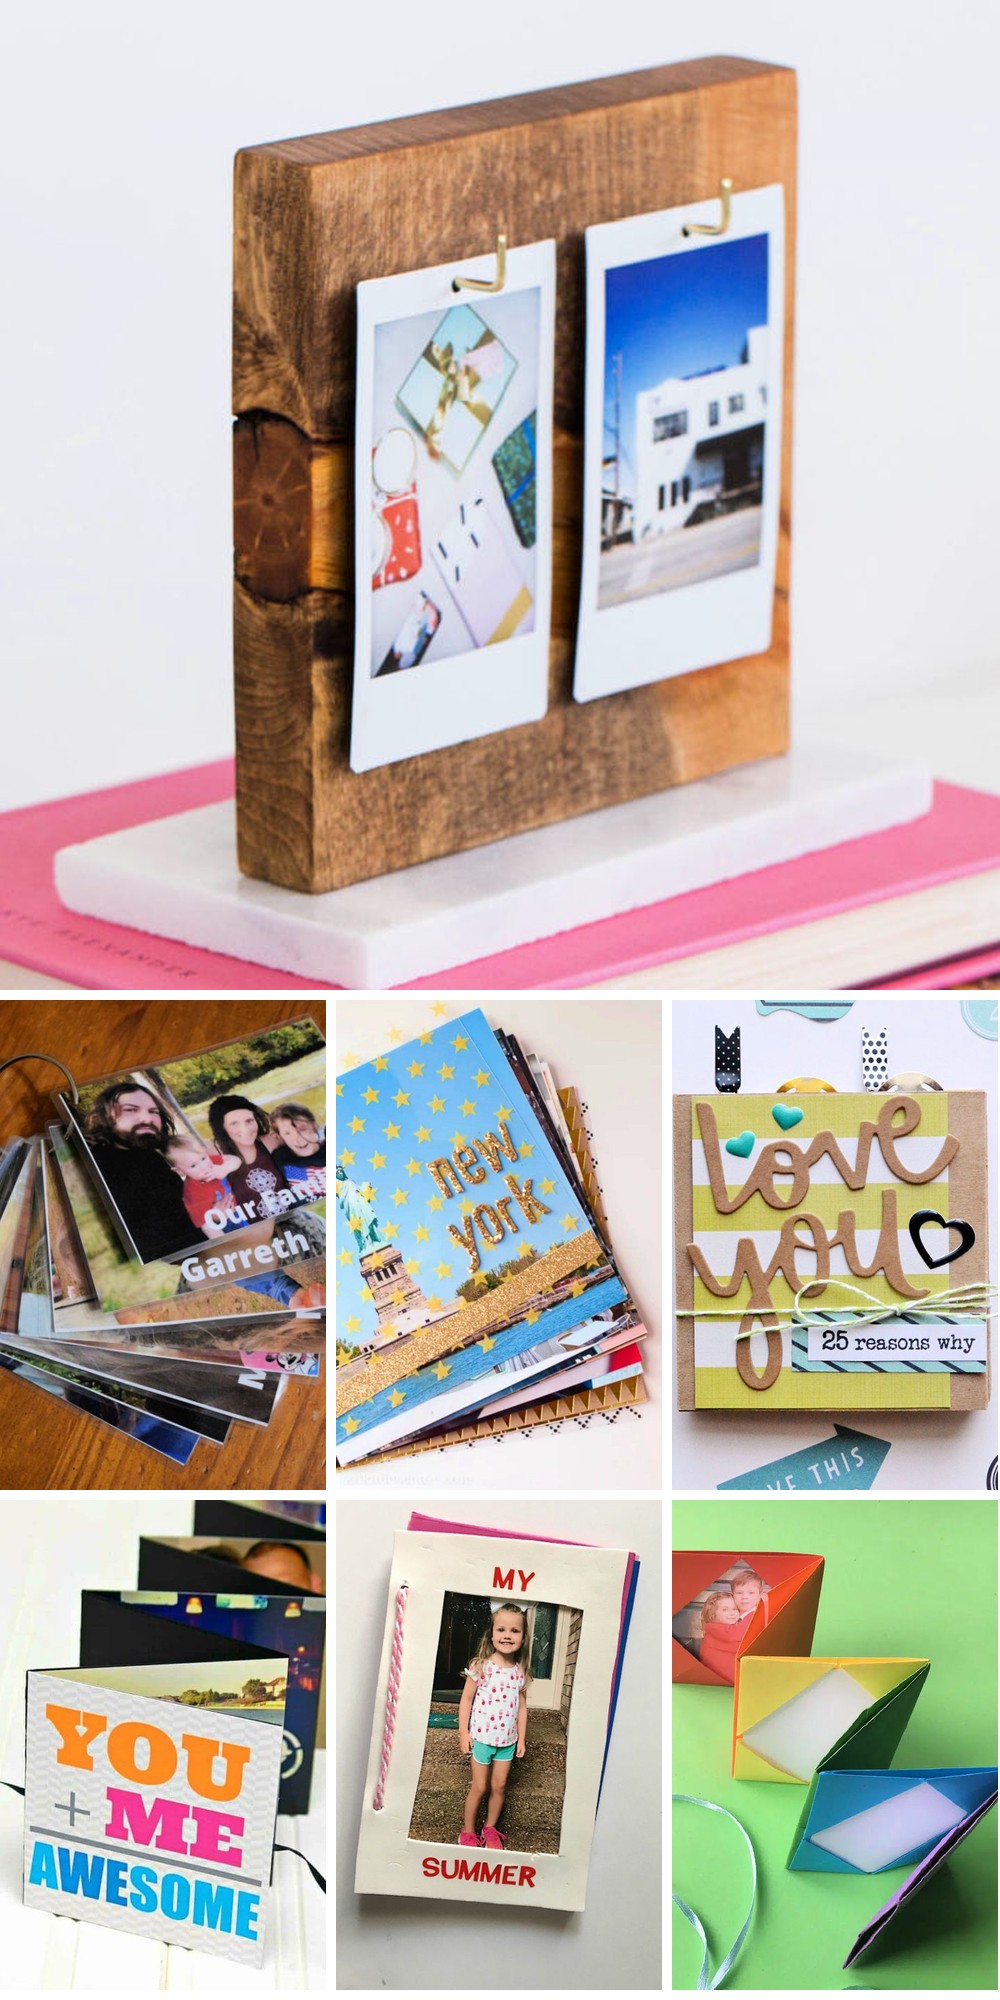
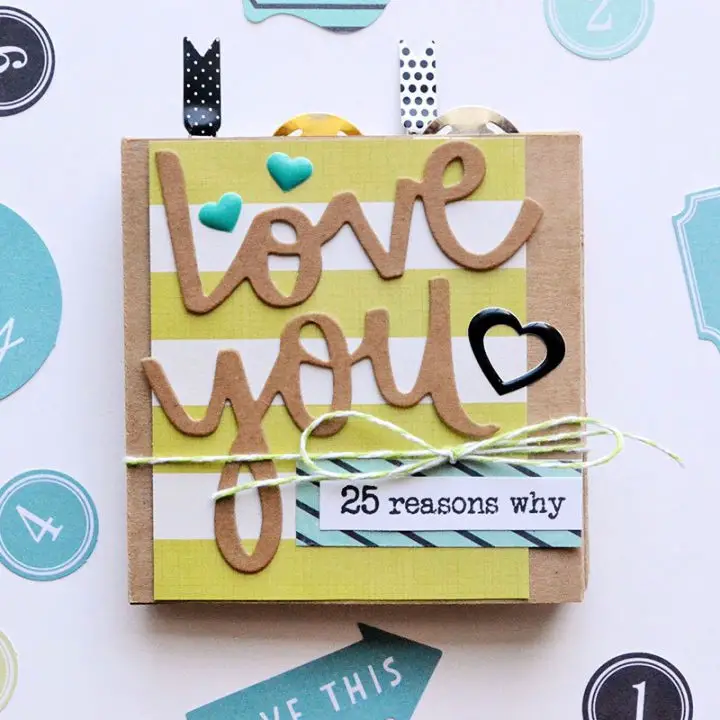
25 Creative DIY Photo Album Ideas to Try
Transforming cherished moments into visually stunning displays is as easy as crafting a personalized photo album. Explore this extensive collection of 25 innovative DIY ideas, carefully curated to help you turn your most treasured memories into works of art that will be cherished for years to come.
DIY Flower Accordion Photo Album
Create a one-of-a-kind gift for Mother’s Day by upcycling scrapbook paper and chipboard into a heartfelt DIY accordion album. With the guidance of Crafting Cheerfully, you can transform your favorite photos into a custom flower-covered keepsake that mom will treasure. The project is designed to be accessible to crafters of all skill levels, with a free pattern and step-by-step instructions provided. By making this album, you’ll add a personal touch of handmade love to Mother’s Day celebrations, making it a truly special and memorable present.
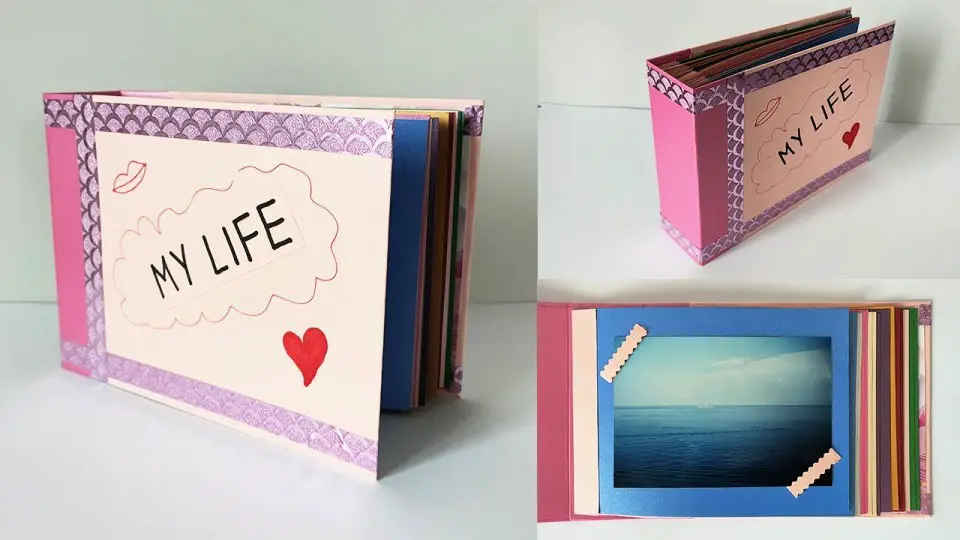
Easy DIY Photo Memory Book
Transform cherished photo memories into a treasured keepsake by following Lynn Lilly’s simple DIY guide on Craft Box Girls. Create a personalized album that captures the essence of your family’s special moments, and preserve them in a beautifully crafted book. With Paper House Productions’ vibrant floral collection, you can craft a one-of-a-kind frame, embellish pages with heart stickers, washi tape, and flower micro stickers, and weave together memories with colorful yarn, forming a unique storybook filled with love and nostalgia. This heartwarming project is perfect for personal use or as a thoughtful gift for loved ones.
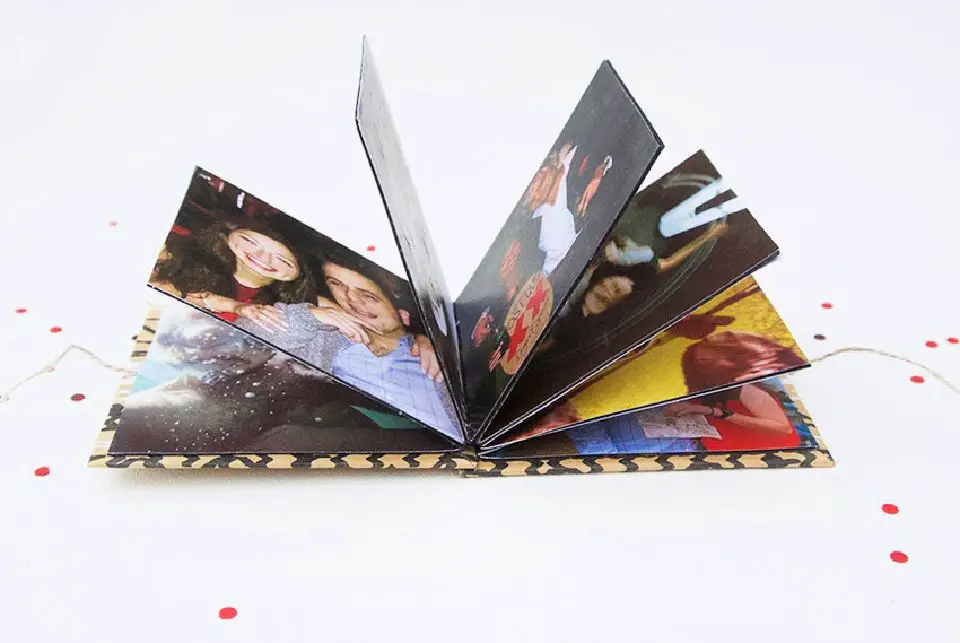
Making a Flip Photo Album
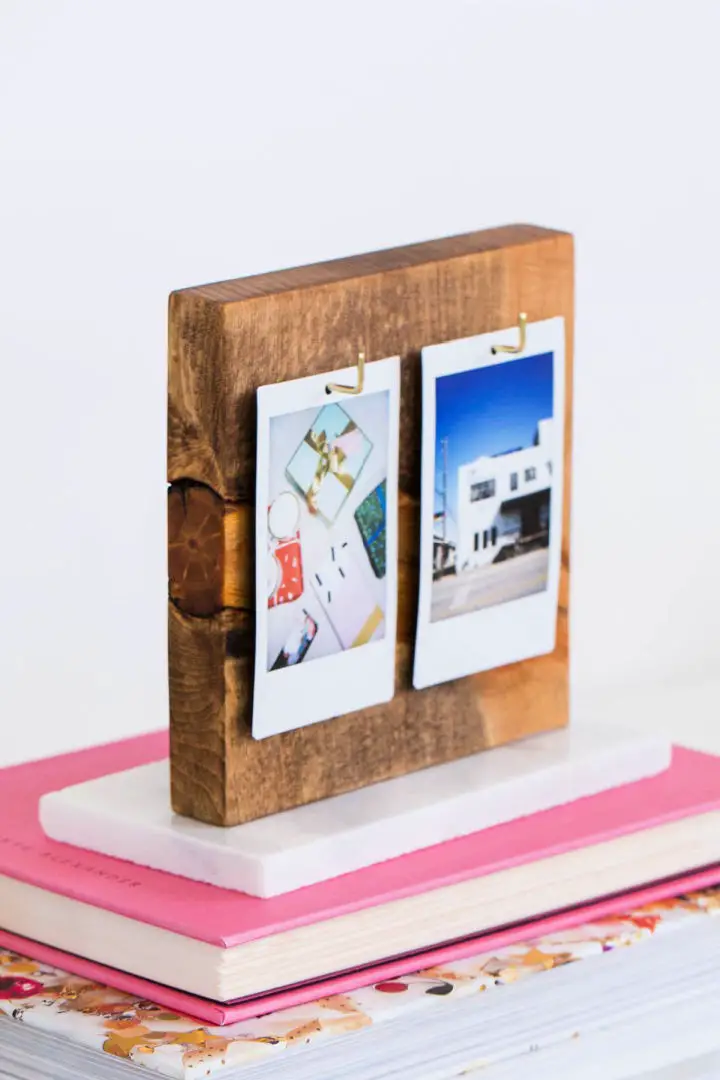
Transform cherished memories into a stunning DIY flip photo album with this step-by-step guide from sugar & cloth. A thoughtful gift for parents or a treasured keepsake, this project harmoniously blends sophistication and personal charm.
To create this masterpiece, gather a wooden square, a marble tile, and your most beloved Instax Mini prints. Elevate the wood’s natural beauty with a rich stain, punch precise holes in your photos, and secure them with elegant gold hooks for a polished finish. Then, expertly bond the wood to the marble tile, resulting in a sturdy and stylish foundation.
Say goodbye to clumsy clay magnets and hello to a refined photo album that’s sure to delight! With this easy-to-follow guide, you’ll craft a one-of-a-kind treasure that will be cherished for years to come.
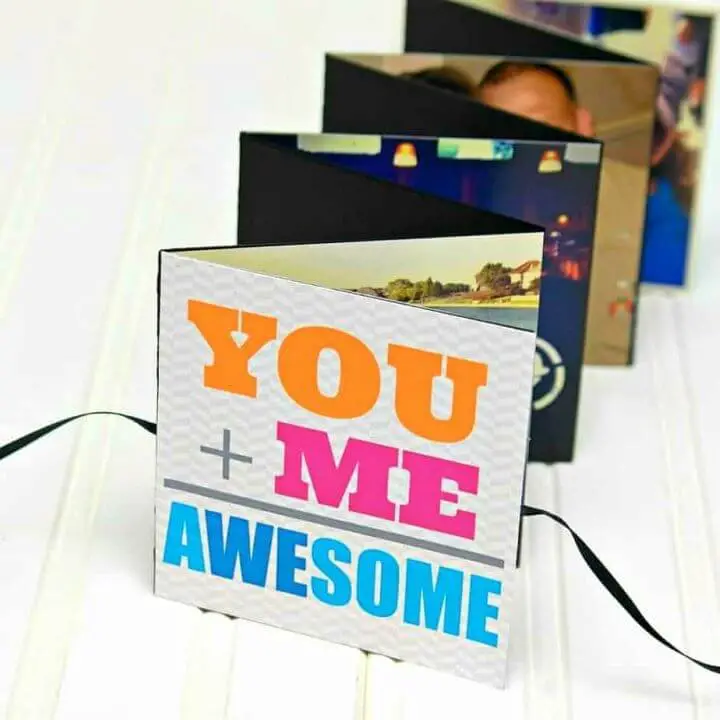
How to Make Fold Out Photo Album
Transforming a simple sheet of paper into a treasured keepsake is easier than you think. With our step-by-step guide, you can turn a piece of poster board or kraft paper into a one-of-a-kind photo album that’s as unique as it is charming. Start by creating the album’s foundation by scoring and folding the paper into an accordion shape, then secure each section with a gentle touch. As your masterpiece takes shape, infuse it with memories by adding photos, journal entries, and decorative flourishes. To complete the look, tie everything together with a rustic twine or ribbon, imbuing your creation with a homespun charm. Whether you’re making it for a loved one or keeping it as a personal treasure, this handmade photo album is sure to be cherished for years to come.
Baby Proof Dry Erase Photo Album Tutorial
Create a personalized photo album at home to cherish your treasured memories. This DIY project is not only easy to make but also offers a unique way for your little ones to explore and learn. The best part? It’s durable enough to withstand baby’s playtime, making it an excellent activity for the whole family. To get started, gather your essential materials: a laminator, photo-size laminating pouches, a single-hole punch, loose leaf rings, and some printed photos. Laminating your pictures ensures they’re protected from scratches and spills, while punching holes and adding loose leaf rings creates a flip-through book that’s both educational and fun. The best part? It invites creativity, allowing you to draw on laminated surfaces and add personal touches to make it truly special. Give it a try, and enjoy watching your family engage with this homemade treasure.
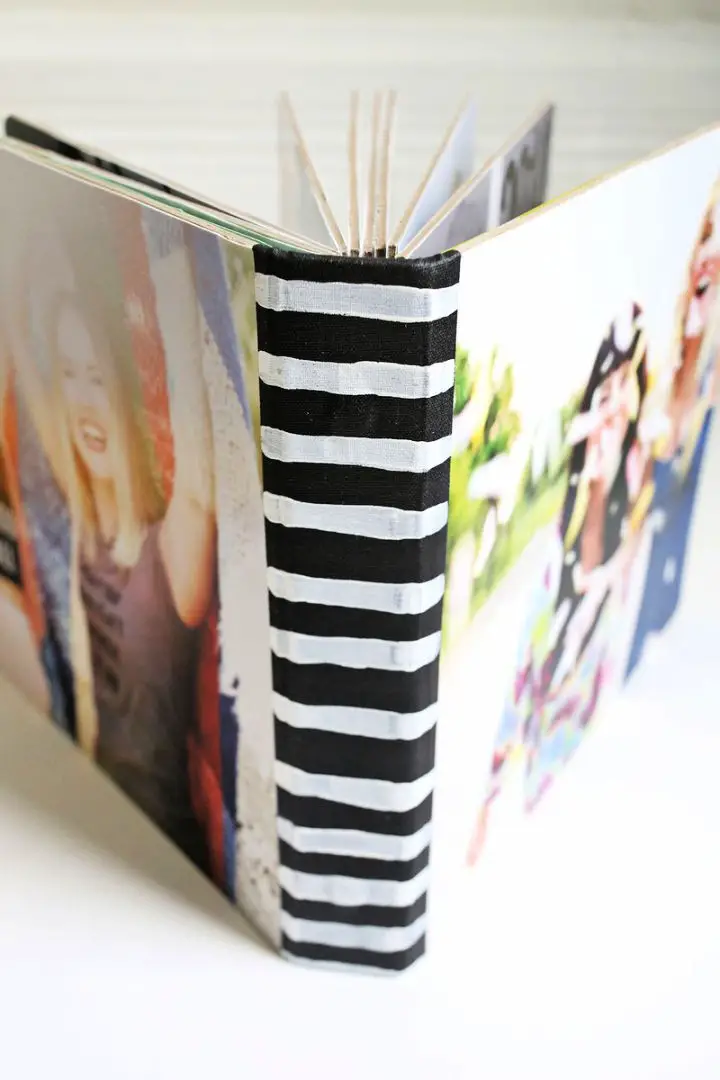
DIY Fabric Covered Photo Album
Transform your photo storage into a personalized treasure trove by crafting unique fabric-covered photo albums using the easy DIY guide from Crafty Nest. Ditch the boxes and hard drives, where cherished memories can get lost in digital limbo. With minimal sewing required, you can create durable and stylish albums that safeguard your pictures while showcasing them beautifully. Learn to craft washable covers from your favorite fabrics and tailor your albums to fit your unique style. Follow simple steps to cut, fold, and sew the fabric, ensuring consistent size and design throughout. This project doubles as a creative outlet and makes for thoughtful, custom gifts for loved ones. Get ready to revolutionize your photo storage with this practical and fun DIY craft.
Mini Origami Photo Album Tutorial
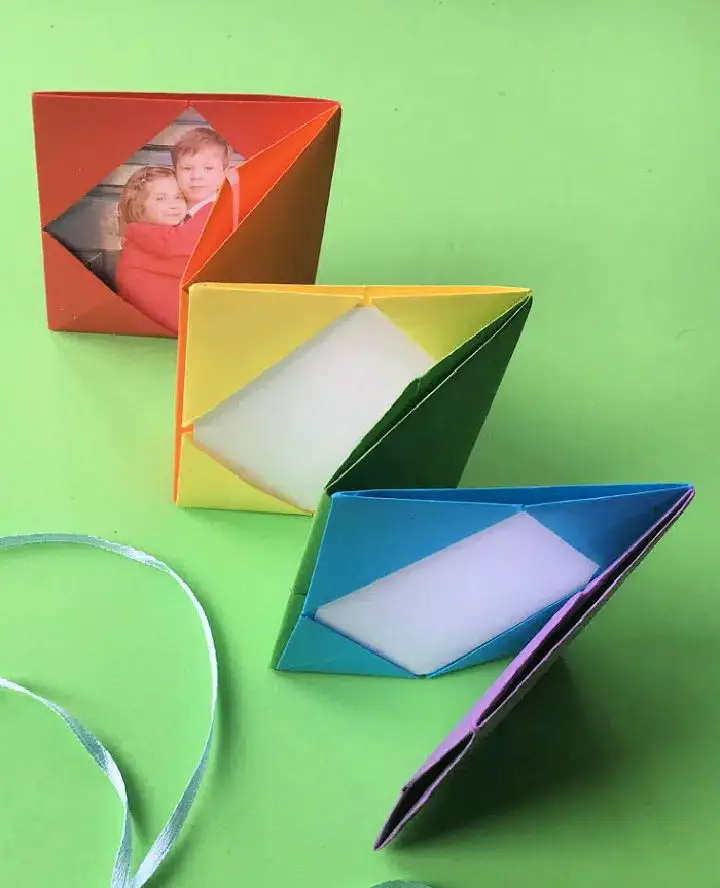
Transform ordinary photos into extraordinary keepsakes by creating charming mini origami photo albums. With Red Ted Art’s step-by-step tutorial, you’ll be guided through the process of crafting accordion-style books that can be personalized with your favorite memories. Simply combine basic materials like origami paper and optional ribbon to customize the length and style of your album. If you’re a visual learner, don’t worry – a video guide is also available to help you master each fold. This delightful project is perfect for both kids and adults who crave adding a personal touch to their memories, making it an ideal activity for gifting on special occasions like Mother’s Day.
Make a Sister Photo Book
Crafting a personalized photo book for your sister is a heartfelt way to celebrate your bond and create a treasured keepsake. By following Elsie Larson’s easy-to-follow tutorial, you can transform simple materials like cardstock and adhesive into a stunning chipboard album filled with cherished memories. This DIY project not only makes for a unique gift but also serves as a beautiful reminder of the special moments shared between sisters. As you select your favorite photos and add personal touches, you’ll create a one-of-a-kind book that beautifully captures the essence of your relationship. With Larson’s step-by-step guidance, you’ll be able to assemble and decorate your album with ease, resulting in a professional-looking finish that will leave your sister feeling loved and appreciated.
DIY Valentine Instagram Photo Book
Transform cherished Instagram photos into a charming mini album that’s perfect for gifting or treasuring. This creative and budget-friendly DIY project combines simplicity with personalization using cardstock, chipboard, and twine. Follow the step-by-step guide to craft a beautiful collection of memories that will be cherished for years to come.
Whether commemorating a special occasion or seeking a unique gift for an anniversary or birthday, this DIY mini album offers an engaging way to preserve and share favorite moments. Its ease of assembly and customizability make it a craft that brings joy and sentimentality into any home. As you glue, cut, and decorate, get ready to create a lovely, handcrafted photo album that’s uniquely yours.
Tiny Travel Album in a Box
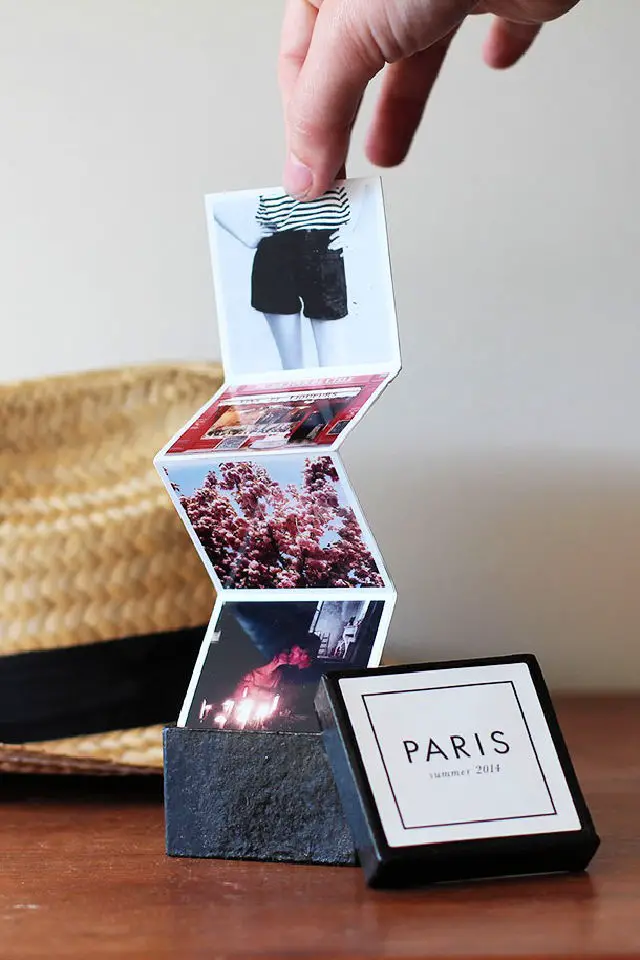
Transform everyday memories into a charming Tiny Travel Album in a Box using Canon’s crafting guide. Jenn Rose Smith’s creative approach combines the convenience of Canon’s SELPHY CP910 wireless photo printer with the elegance of square labels to create a personalized, accordion-style photo album housed in a sleek box. By following simple steps to cut, fold, and decorate this DIY project on Camille Styles, you can turn digital images into a tangible keepsake that adds a unique touch to any coffee table. This fun and engaging craft is perfect for reliving your journeys with friends and family, bringing cherished moments to life in a way that’s both nostalgic and modern.
Making a Foam Photo Album for Kids
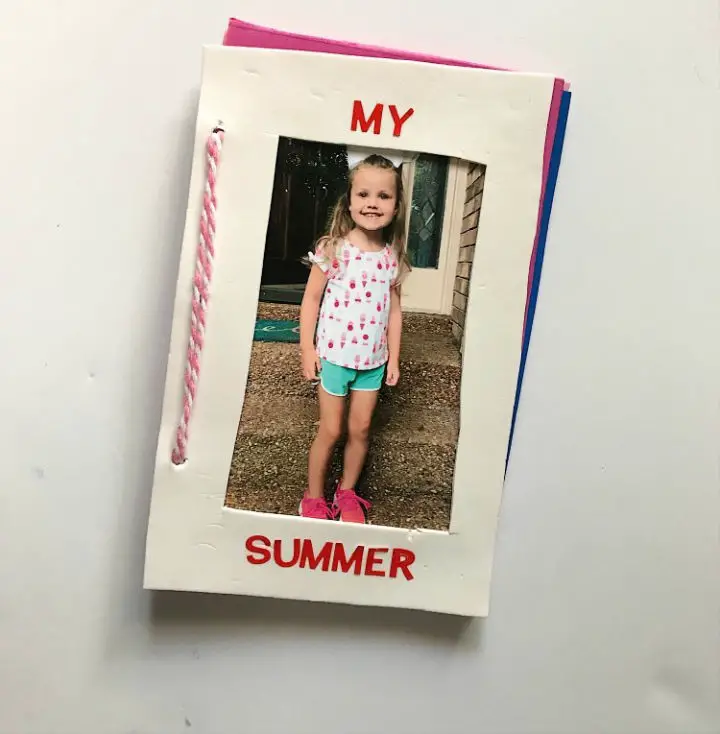
Create a treasured keepsake for your kids by crafting a DIY foam photo album, the perfect summer activity! This hands-on project from Family Focus Blog invites your little ones to preserve their favorite memories and develop their creativity. Using simple materials like craft foam sheets, letter stickers, scissors, and string, this album can be customized with a personal touch.
Step-by-step, guide your child through the process of cutting and assembling their photo book, leaving space for them to fill with snapshots of summer adventures. This engaging activity not only fosters creativity but also keeps family moments alive, making it an ideal way to spend quality time together.
Get ready to make lasting memories with this delightful craft project that your kids will treasure for years to come!
Quick DIY Magnetic Album
On The Scrapper In Me blog, we’re excited to share with you a simple yet meaningful DIY project that lets you create a personalized magnetic album, perfect for preserving cherished memories. This easy-to-follow tutorial is ideal for crafty enthusiasts who want to showcase their favorite photos and keepsakes in a unique and customizable way. By combining Crate Paper products with magnetic tape and cardboard, you’ll learn how to construct an accordion-style inner album that’s both functional and visually appealing. With step-by-step instructions and helpful tips on customization, this project is sure to add a special touch to your crafting skills and become a treasured keepsake for years to come.
Make a Photo Album With Instax Film
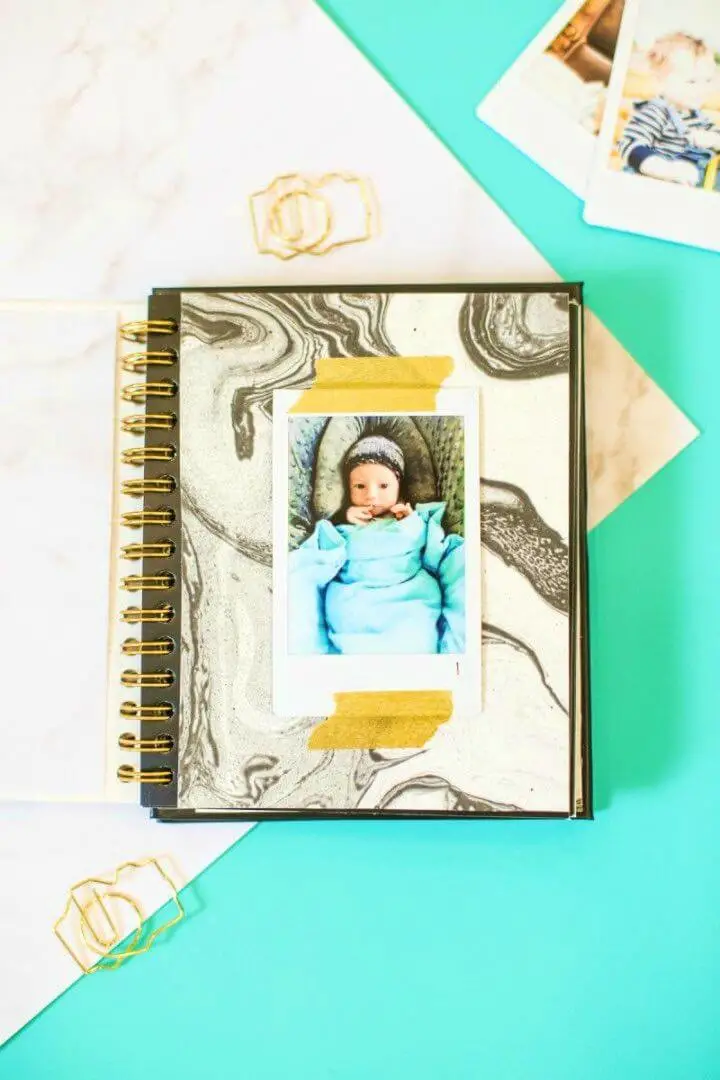
Transform ordinary smartphone memories into extraordinary keepsakes with these innovative homemade photo album ideas. By combining the magic of Instax Film with some basic crafting supplies, you can create a unique and personalized album to cherish for years to come. The process is delightfully simple, requiring only a few essential materials like patterned paper, washi tape, and a spiral-bound book. This hands-on approach to preserving memories is not limited to baby milestones – it’s a versatile project suitable for any occasion that will leave you with a treasured keepsake.
DIY Family Photo Board Book
Crafting a family photo board book is an endearing way to preserve cherished memories with your loved ones. By following Mandi Johnson’s straightforward guide from A Beautiful Mess, you can create a sturdy and visually appealing keepsake using basic crafting supplies. The step-by-step process involves cutting chipboard, attaching photos, and assembling the book, resulting in a treasured tome that brings delight during storytime. The included practical tips ensure that your handmade book withstands repeated handling, making it an excellent tool for kids to learn and identify family members. This rewarding DIY project allows you to craft a meaningful memento that celebrates the bonds of family.
Homemade Photo Album
Looking for a thoughtful way to celebrate Mother’s Day? Consider creating a personalized, handmade photo album that’s sure to become a treasured keepsake. By following our easy-to-follow guide, you can turn your favorite memories into a charming, one-of-a-kind gift that will warm the heart of any mother or grandmother. With just a few simple materials like scrapbook paper, washi tape, and ribbon, you can craft a unique ‘brag book’ that brings cherished moments from your digital galleries to life. This engaging tutorial is perfect for showing appreciation on Mother’s Day, and it’s a great way to get creative while giving back to the special mothers in your life.
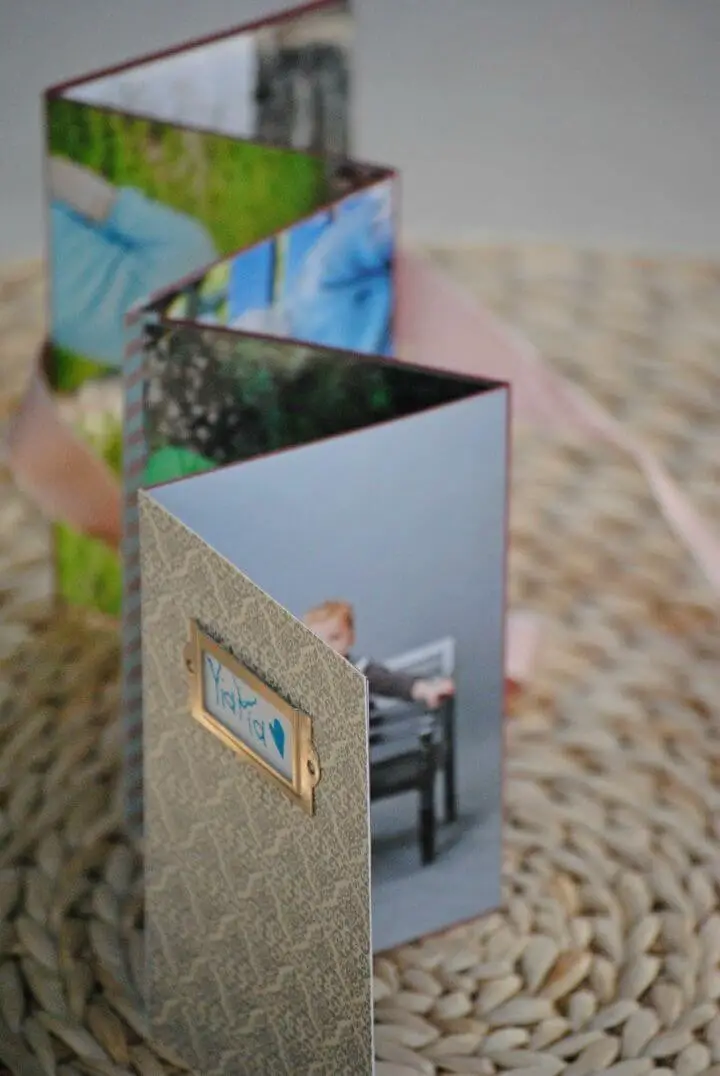
Easy DIY Folding Envelope Mini Album
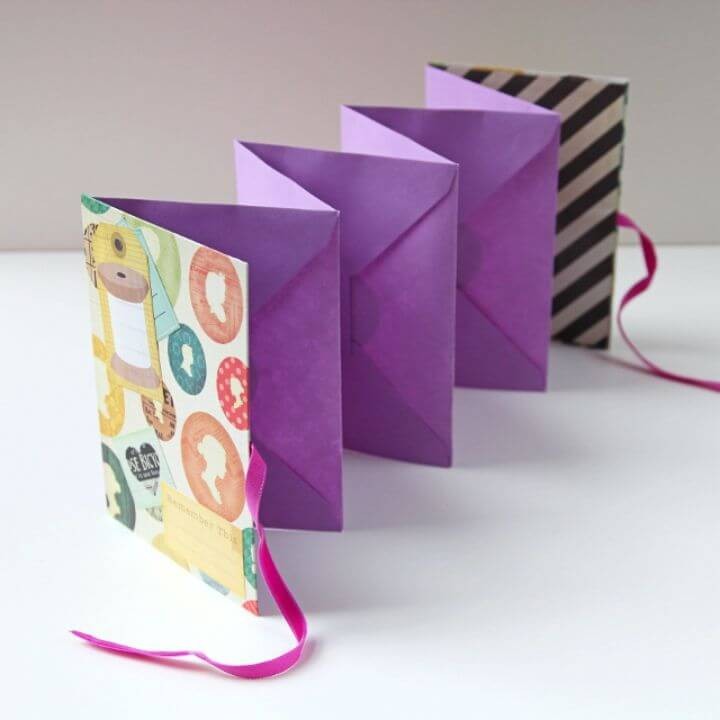
Create a charming DIY folding envelope mini album by following our step-by-step guide. This expandable treasure trove is perfect for storing and showcasing your cherished printed photos without becoming overstuffed. To get started, you’ll need envelopes, scrapbook paper, cardstock, double-sided tape, ribbon, and glue. Begin by assembling the accordion structure by flattening and adhering your envelopes together. Next, create a protective hardcover that’s slightly larger than your envelopes. Decorate and secure your covers, then personalize your mini album with photos and embellishments. With simple, clear instructions, this project is accessible and enjoyable for anyone looking to preserve their precious moments in a creative way.
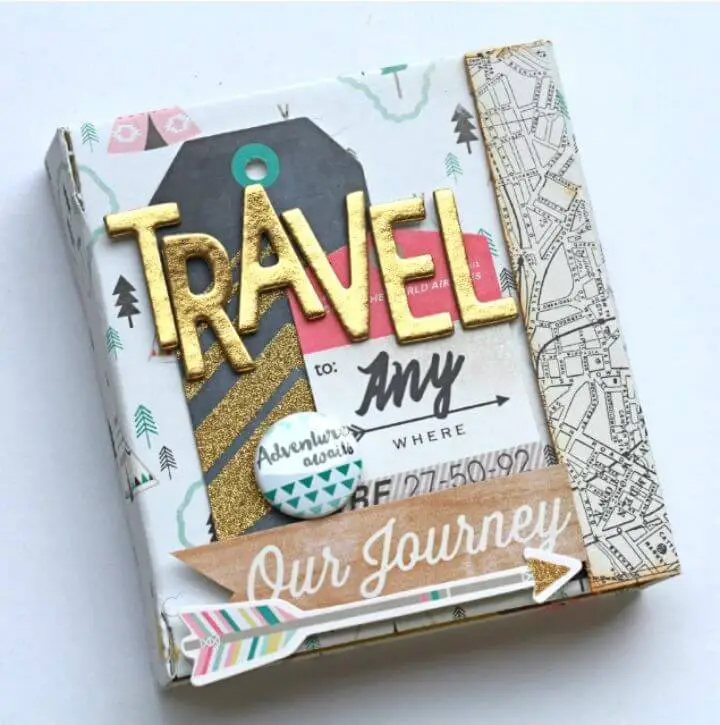
How to Make a Travel Photo Album

Transform your travel experiences into a treasured keepsake by creating a personalized photo album using an easy-to-follow scrapbooking tutorial. To get started, collect the following materials: 8×8 printed photos, decorative acetate sheets, cardstock, binder rings, paper flags, glitter tape, and foam glitter stickers. Begin by arranging your photos back-to-back, then punch holes to create a seamless binding process. Secure the pages together using binder rings for a professional finish. For an added touch of sparkle, apply glitter tape along the edges or use foam glitter stickers to add visual interest. Finally, incorporate paper flags with notes about your adventures, allowing you to relive the memories in vivid detail. With this straightforward guide, you’ll be able to craft a stunning album that showcases your travels and vacation experiences in no time.
Make Your Own Accordion Photo Book
Transform cherished memories into a treasured keepsake with this intuitive DIY guide. By following these simple steps, you can create a personalized photo book that’s as unique as it is meaningful. Start by gathering basic materials like cardstock, your favorite snapshots, double-sided tape, and ribbon. Then, let your creativity shine by cutting, folding, and adorning your way to a stunning photo album. Perfect for crafting one-of-a-kind gifts for loved ones – whether it’s a thoughtful surprise for grandparents or a special token for that someone special. Don’t forget to add the finishing touch with a vibrant cover design from Happy Go Lucky.
Easy DIY Fabric Photo Album for Baby
Transform your favorite pictures into a stunning collection by crafting a DIY photo album that’s as unique as it is durable. With this step-by-step guide, you can create a charming fabric photo album that’s perfect for personalizing a baby shower gift or preserving cherished memories of your own little one.
This project offers endless possibilities for customization – choose from an array of fabrics to match your style and adjust the number of pages to fit your photo collection. The tutorial takes you through the process, from selecting materials like fabric, fleece, and clear vinyl to assembling the album with a professional finish. With easy-to-follow instructions and helpful tips along the way, you’ll be flipping through your delightful fabric photo album for years to come.
How to Make Photo Album With Pape
Creating a handmade photo album is an excellent way to preserve cherished memories in a uniquely personal and creative manner. For those interested in crafting a one-of-a-kind repository for their photographs, a YouTube tutorial by Bir Parça Kağıt offers a comprehensive step-by-step guide to making the process seamless. The video showcases various photo album ideas that can be tailored to suit individual styles and needs.
From selecting the ideal paper to assembling the album, this DIY project delves into the intricacies of paper craft and scrapbooking. Perfect for those who love adding a personal touch to their keepsakes, the finished product can serve as a thoughtful gift or a treasured item for one’s own collection. By gathering materials and allowing creativity to flow, individuals can create a beautiful home for their memories.
Beautiful DIY Photo Album
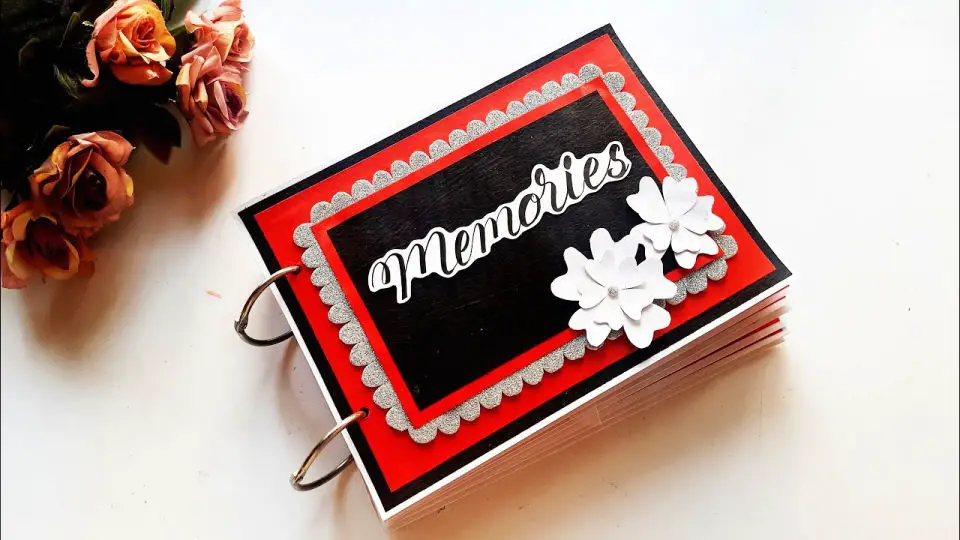
Turn ordinary photo albums into extraordinary memories with our easy-to-follow tips. If you’re looking for a creative way to preserve cherished moments or gift a personalized keepsake to friends and loved ones, we’ve got you covered. YouTube’s Handmade Cards Ideas channel offers an engaging tutorial on crafting a beautiful handmade photo album that’s perfect for DIY enthusiasts of all skill levels. This step-by-step guide is designed to be accessible and easy to follow, using everyday materials to keep costs low and the end result unique. By following this tutorial, you’ll transform your photographs into a stunning collection that will be treasured for years to come.
How to Make a Folding Photo Album
Transforming your living space with one-of-a-kind creations is just a few steps away. With these comprehensive guides, you’ll discover how to turn ordinary materials into extraordinary decorative pieces that showcase your personal flair. Whether you’re looking to craft a stylish vase or create a whimsical photo album, the projects outlined here are designed to be accessible and adaptable to various tastes and skill levels. As you work through these tutorials, you’ll unlock the secrets to crafting decorations that not only reflect your unique style but also elevate the comfort and beauty of your home.
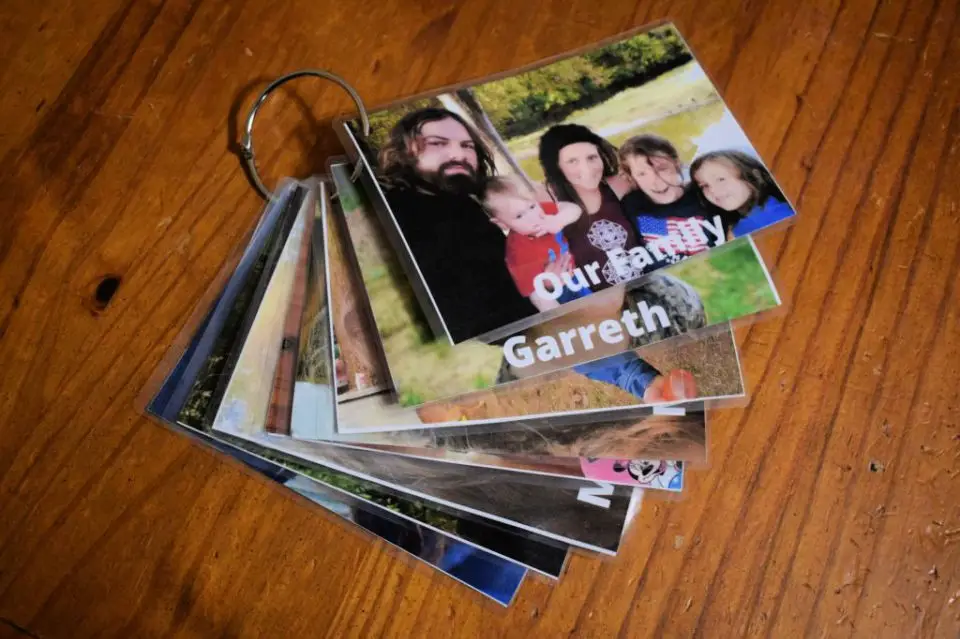
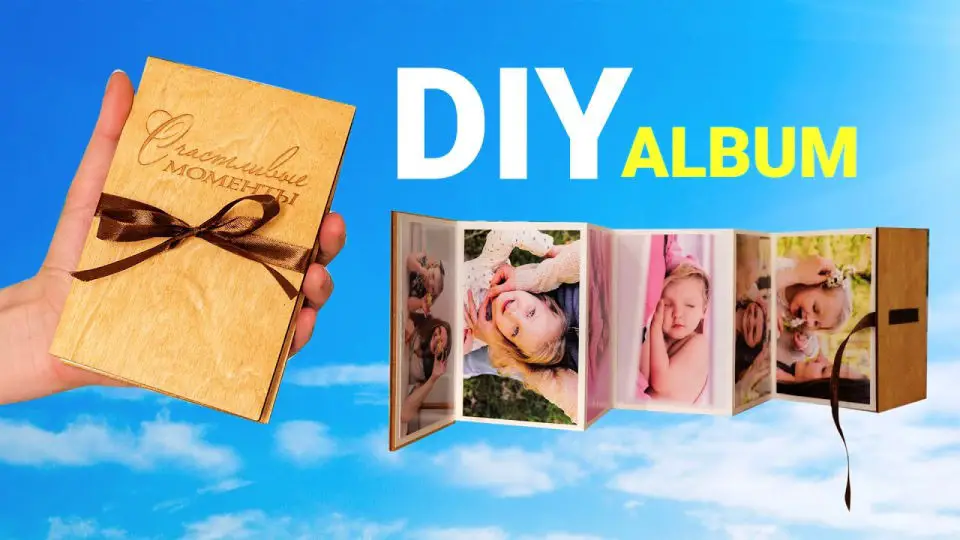
Making a Mini Photo Album at Home
To preserve and showcase cherished memories, creating a photo book that tells a story is an excellent way to go. Whether you’re looking to make a thoughtful gift or a personal memento, making a mini photo album at home is a fantastic DIY project that requires minimal materials and effort. With YouTube’s 5-minute tutorial, even the busiest of schedules can accommodate this creative activity, which results in a unique keepsake that’s perfect for flipping through and reliving your favorite moments.
DIY Photo Album for a School Project
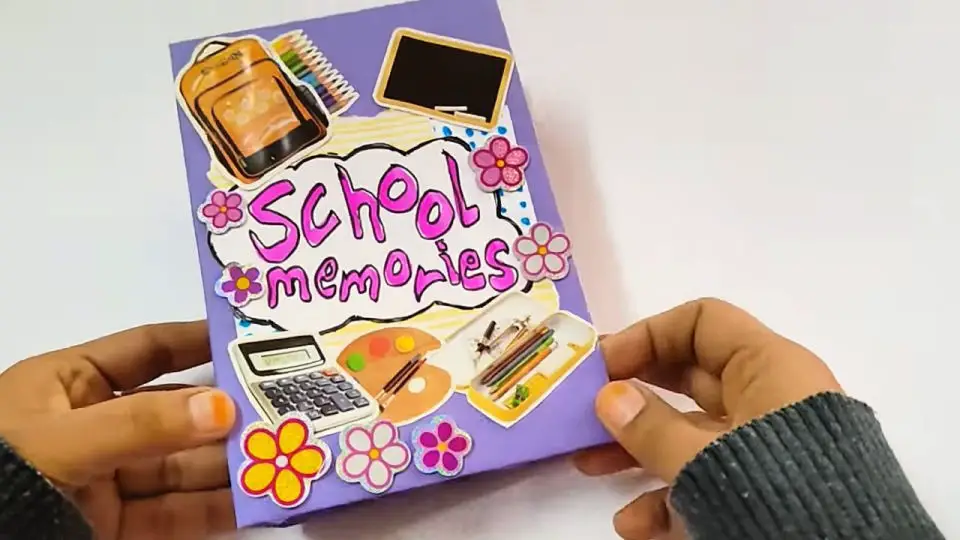
Crafting a DIY photo album can be a fun and engaging experience, especially when paired with a school project. For grade 4 students looking to add a personal touch to their assignments, YouTube offers an array of resources to help bring their ideas to life. One particularly useful video provides a step-by-step guide on creating a handcrafted photo album, complete with scrapbook ideas and clear demonstrations. With this tutorial, you can transform your photos into a beautifully curated album that captures the essence of your experiences. Not only does this approach allow for creative expression, but it also adds a unique and thoughtful element to any project. By exploring YouTube’s vast collection of tutorials and getting inspired, you’ll be well on your way to creating a one-of-a-kind photo album that showcases your personality and creativity.
How to Make a Mini Photo Album
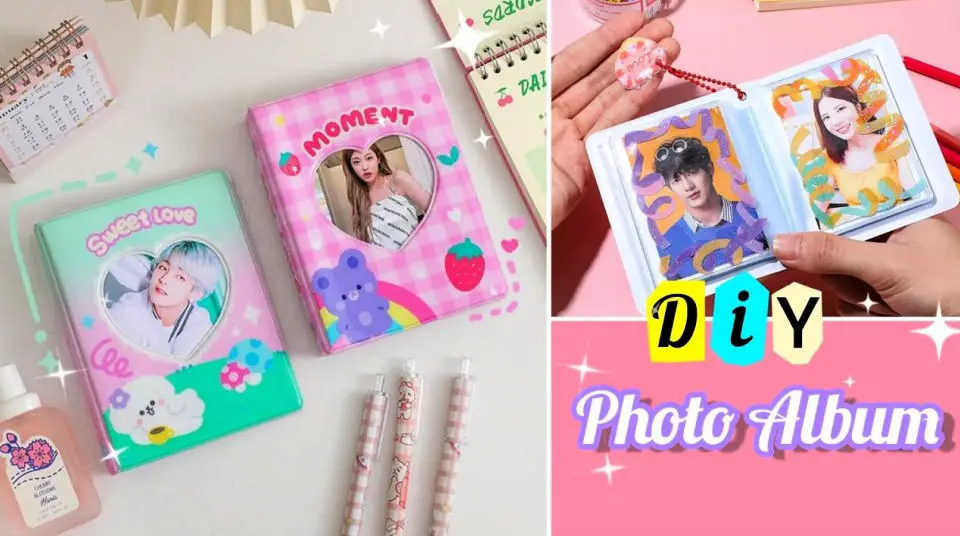
Unleash your creativity and turn cherished memories into stunning works of art with DIY photo book ideas that push the boundaries of style and innovation. For K-pop enthusiasts, creating a DIY Behind-the-Scenes (BTS) mini photo album can be a thrilling project that showcases your favorite group’s moments in a unique and personalized way. A recent YouTube tutorial offers a straightforward guide to crafting an adorable mini photo album, perfect for storing BTS photocards or cherished memories. With a focus on paper craft, the tutorial is designed to be accessible to everyone, allowing you to produce a charming keepsake that reflects your personal taste. To learn the secrets of creating your own mini photo album, watch the video for a step-by-step demonstration. This project is an excellent way to personalize your collection or give it as a thoughtful, handmade gift to fellow BTS fans.
Conclusion:
As our exploration of 25 creative DIY photo album ideas comes to a close, it’s clear that there are countless ways to make memories last. From mastering the fundamentals of assembling a photo album to experimenting with innovative designs and leveraging technology, we’ve covered the crucial elements necessary to elevate your DIY photo album projects. With these creative ideas under your belt, you’re poised to craft an unforgettable album that leaves a lasting impression. By combining effective preservation methods with a dash of creativity, you can transform your photo collections into treasured keepsakes that will be cherished for years to come.